Top Minecraft Building Tips — Stop Building Dirt Boxes
Your first house is a flat box of one block type, and you can feel that it looks bad without knowing why. The fix is a handful of techniques — palette, depth, roof angles — that turn a cube into something you are proud of.
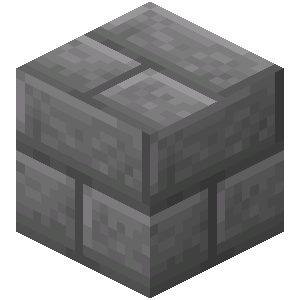
Your first Minecraft house is a flat rectangle of one block type, probably oak planks or cobblestone, with a flat roof and a hole for a door. You can feel that it looks bad. What you might not know is why — and the why is the same handful of mistakes every new builder makes. Fix those, and the same amount of effort produces something you would actually show people.
This is not an art-school lecture. It is a set of concrete techniques: which blocks to combine, how to stop walls from looking like a single boring plane, and how to build a roof that does not look like a parking lot. Master five of these and your builds jump a full tier, no mods or world-edit required.
Why your builds look flat
Three mistakes are responsible for nearly every "noob house," and they compound:
- One block type, everywhere. A whole house of plain oak planks reads as a single flat color with no detail to catch the eye.
- Perfectly flat walls. Every face is one smooth plane. There is no shadow, no in-and-out, so light hits it evenly and it looks like a billboard.
- A flat or missing roof. A flat slab on top is the single biggest tell of a beginner build. Real-feeling structures have sloped, overhanging roofs.
Notice these are all about variation — of material, of surface depth, and of shape. Good builds have it; flat builds do not. Every tip below is just a specific way to add one of those three.
Pick a palette of 3 to 5 blocks
The fastest upgrade is a deliberate block palette: a set of 3 to 5 blocks that work together, used consistently across the whole build. Too few and it looks flat; too many and it looks like a junk pile. Three to five is the sweet spot.
A good palette usually has roles:
- A primary (the dominant wall block) — stone bricks, deepslate, or planks.
- A secondary (trim, frames, corners) — a contrasting wood or stone.
- An accent (small details, windows, doors) — glass, a bright wood, or a metal.
Some palettes that just work:
| Style | Primary | Secondary | Accent |
|---|---|---|---|
| Medieval / rustic | Stone bricks | Oak or spruce wood | Cobblestone, dark oak trim |
| Modern | White concrete | Gray concrete | Glass, quartz |
| Cozy cottage | Spruce planks | Stripped logs | Stone, glass panes |
| Castle | Stone bricks + deepslate | Andesite | Dark oak, iron bars |
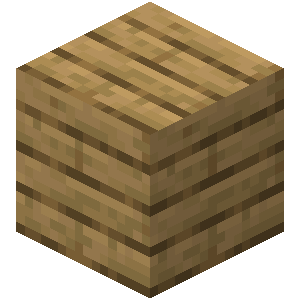
Steal palettes shamelessly. When you see a build you like, note its three or four main blocks and use that combination on your own structure. Palette is the single highest-leverage decision in a build, and copying a proven one is not cheating — it is how every builder learns.
Break up flat walls with depth
A flat wall is a dead wall. The fix is depth: push some parts in and pull others out so the surface catches shadow.
Concrete moves to break up a wall:
- Pillars and columns. Run vertical strips of a contrasting block (logs, a different stone) every few blocks. Instant structure and rhythm.
- Step the wall in and out. Recess a section by one block, or bump out a bay window. Even a single-block offset transforms how light reads on the surface.
- Frame your windows and doors. Surround openings with trim blocks or trapdoors so they sit in the wall instead of floating on it.
- Vary the floor and ceiling height. Sunken floors, raised platforms, and split levels add depth in the third dimension, not just the wall face.
This one technique — never leave a wall a single uninterrupted plane — does more for a build than anything else on this list. Pillars plus a one-block recess turns a flat box into something with bones.
Texture mixing and gradients
Once your walls have depth, add texture mixing: blending blocks of similar color but different surface within the same wall. Stone, andesite, cobblestone, and stone bricks are all gray-ish, so scattering them across a wall adds visual noise and "wear" without changing the overall color.
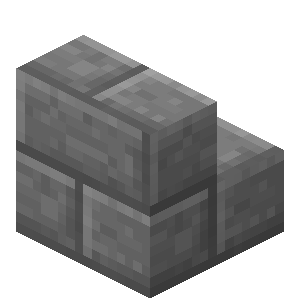
- Texture mixing keeps one color family and varies the surface — a stone wall with cobblestone and cracked/mossy stone bricks mixed in looks aged and detailed instead of sterile.
- Gradients transition from one block to another in sequence — light to dark, or one material into another — by interleaving them in increasing ratios. Choose blocks close in brightness and shape so the blend reads as smooth rather than checkerboard.
The trick with both is restraint: you are adding subtle variation, not chaos. A handful of texture blocks sprinkled into a wall reads as detail; an even 50/50 mix usually reads as a mess.
Roofs make or break the build
The roof is the number-one giveaway of a beginner build, so it earns its own section. The rule: on medieval, rustic, and cottage builds, do not use a flat roof. Slope it.
How to build a roof that works:
- Use stairs for the slope. Stack stairs in a stepped diagonal to form a pitched roof. This is the core technique — a stair roof immediately reads as "intentional."
- Use slabs to soften angles. Slabs are half a block tall, so they let you transition heights by half-steps and smooth out the harsh stair edges. Combining stairs and slabs gives you angles between the blocky defaults.
- Add an overhang. Extend the roof 1 to 2 blocks past the walls. Overhangs cast shadow on the walls below and make the whole structure feel grounded and real instead of capped.
- Pick a roof material that contrasts the walls. Dark wood or deepslate over a light stone wall, for instance, so the roof reads as a distinct element.
A pitched, overhanging stair-and-slab roof on top of a depth-varied wall in a good palette is, honestly, 80% of what separates a "wow" build from a dirt box. If you only fix one thing, fix the roof.
Details that sell it
Once the structure is right, small details push it over the line. These are cheap and high-impact:
- Lighting. Lanterns, sea lanterns, hidden glowstone, and campfires. Warm light at night makes any build feel alive (and stops hostile mobs spawning on it — handy for your survival base).
- Trapdoors and item frames. Trapdoors make shutters, awnings, and detail panels. Item frames hang tools, maps, and decoration.
- Plants. Flower pots, leaf blocks, vines, and hanging foliage break up hard edges and add color.
- Asymmetry. A perfectly symmetrical build can look sterile. A chimney on one side, an attached lean-to, an offset entrance — small asymmetry reads as lived-in.
- Paths and surroundings. A build floating on flat grass looks unfinished. A gravel or path-block walkway, some fences, and a bit of terraforming tie it to the world.
Build the structure first, then detail. New builders waste time decorating a wall they later tear down. Get the palette, depth, and roof locked, then add lanterns and plants. Details on a bad shape are lipstick; details on a good shape are the finish.
Shape and scale before blocks
The most advanced tip is also the least obvious: the silhouette of a build matters more than its blocks. Before you place a single decorative block, get the shape and scale right.
- Go bigger than feels natural. Beginner builds are almost always too small and cramped. A house that feels roomy in your head is usually a few blocks too short and too thin once placed. Add a couple of blocks in every dimension.
- Avoid the perfect rectangle. An L-shape, a cross, an attached tower, or an offset wing instantly reads as more interesting than a single box.
- Rough out the silhouette first. Block out the overall shape in a cheap placeholder block, walk around it, and adjust the proportions before you commit to your real palette. It is far cheaper to fix a bad shape now than after you have detailed it.
Shape, palette, depth, roof, details — in that order. Run a build through those five and pair it with a scenic seed that gives you good terrain to work with, and you will not build a dirt box again.
Quick Action Checklist
Run every build through these, in order:
- Block out the silhouette first — go bigger than feels natural, avoid a plain rectangle
- Choose a palette of 3 to 5 blocks with a primary, secondary, and accent
- Never leave a wall a single flat plane — add pillars, recesses, and framed openings
- Mix textures within a color family for aged, detailed surfaces
- Slope the roof with stairs, soften it with slabs, and add a 1-2 block overhang
- Add lighting (lanterns, glowstone) for night appeal and mob safety
- Finish with plants, trapdoors, and a bit of asymmetry
- Tie the build to the world with paths and light terraforming
Frequently Asked Questions
How do I make my Minecraft builds look better?
How many block types should I use in a build?
How do I build a good roof in Minecraft?
What is texture mixing in Minecraft building?
Why do my Minecraft houses look flat and boxy?
Should I detail a build before or after the structure?
Keep Reading
Related Guides
Minecraft Survival Guide for Beginners: Your First Days
You have about ten minutes of daylight before the sun sets and the world tries to kill you. Here is exactly what to do with them — punch a tree, build a tool chain, and get a roof over your head before the zombies arrive.
Best Minecraft Enchantments, Ranked — The Ones Worth Your XP
Mending is the enchantment that ends the grind — gear that repairs itself forever. Everything else is a fight over your XP and anvil uses. Here is what actually earns a slot, ranked, with the real max levels.

Best Minecraft Seeds — Spawns Worth Starting On
A seed is just the number that generates your world, but the right one drops you next to a village, a ravine full of exposed diamonds, or a woodland mansion. Here are seeds worth your time — with the version tags that actually matter.
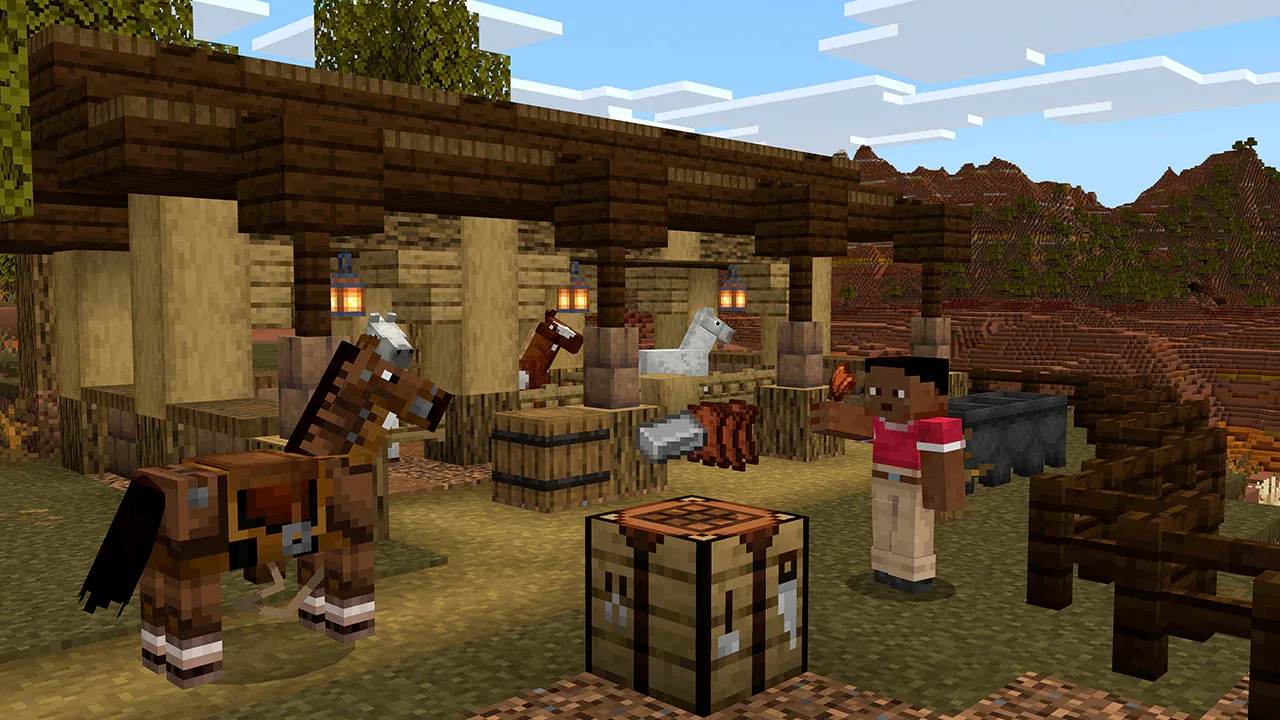
How to Make a Saddle in Minecraft: Recipe and Loot Odds
Saddles have been craftable since June 2025: three leather and one iron ingot. Here is the recipe and what it really costs, every chest, trade and mob drop that still gives one with Java and Bedrock odds, the five chests that stopped, all eleven mobs it fits, and how shears take it back.
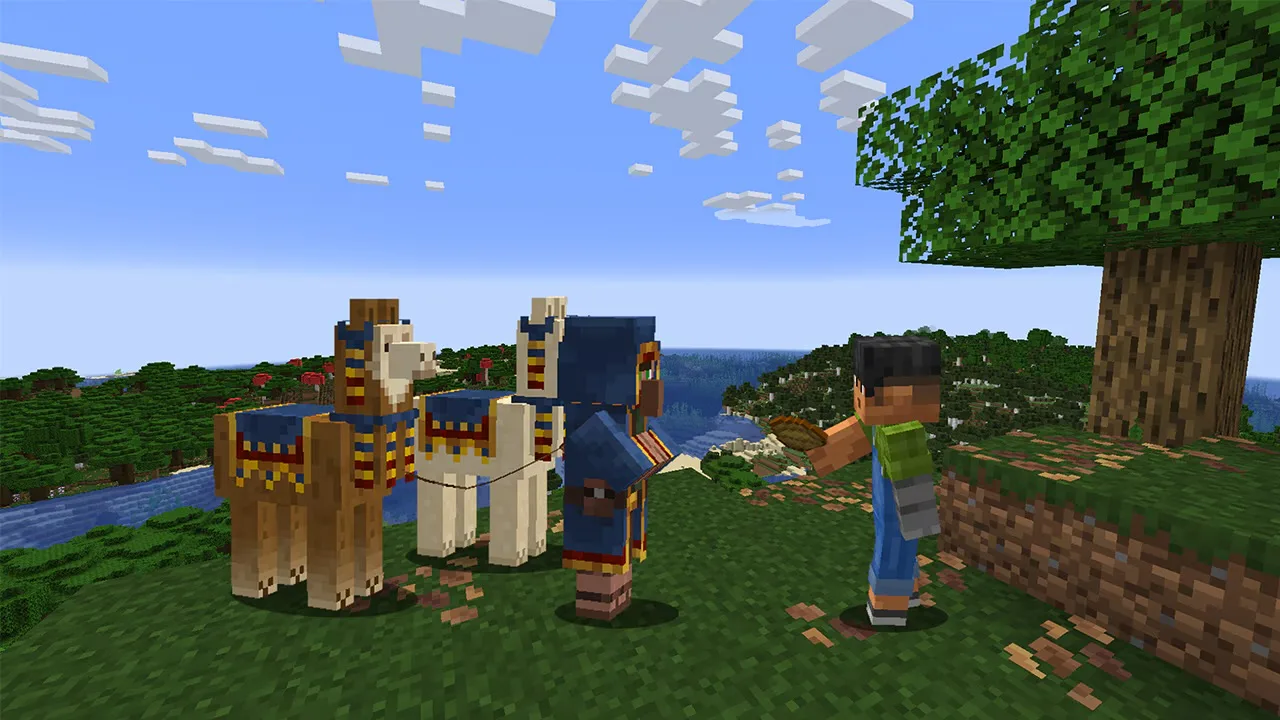
Minecraft Wandering Trader Guide: Trades, Spawns and Llamas
Every wandering trader shows 9 offers drawn from a pool of 100 that is the same on Java 26.3 and Bedrock 26.50. Here is the full price list from the game's own trade files, the odds of seeing the offer you want, what the trader buys from you, how long one takes to spawn, and why a name tag will not keep it.

Minecraft on Switch 2: Free Upgrade, Price and Minecoins
Digital owners of Minecraft for Nintendo Switch get the native Switch 2 version free in most regions until January 31, 2027. Cartridge owners have been offered nothing so far. Here are the editions, the US prices, what the native version changes, and the Minecoins change that lands on the same day.