Minecraft Survival Guide for Beginners: Your First Days
You have about ten minutes of daylight before the sun sets and the world tries to kill you. Here is exactly what to do with them — punch a tree, build a tool chain, and get a roof over your head before the zombies arrive.
You spawn into a brand-new world with empty hands, full health, and a sun that is already arcing toward the horizon. A full Minecraft day is 20 real-time minutes, and only about 10 of those are usable daylight. That is your runway. Everything in this guide is built around one idea: get a tool chain and a lit shelter before that first sunset, because the moment it gets dark, the world starts spawning things that want you dead.
This is the no-fluff version. Not "here is what a block is" — you can see the blocks. This is the order of operations that takes a fresh spawn to a player who survives the night, eats, and wakes up with a plan. Mid-game stuff like the Nether and enchanting can wait; right now you just need to not die.
The clock is already running
The first thing to internalize: daytime is for gathering, nighttime is for hiding (or sleeping). Hostile mobs spawn in light level 0 on the surface at night and in any dark cave at any time. During the day, the sun burns zombies and skeletons, so the surface is mostly safe. That gives you a hard deadline.
Before you touch anything, take three seconds to look around. Are there trees? A river? Animals? A village? Note your surroundings, because the worst beginner mistake is wandering off and getting hopelessly lost on the first day with no bed and no markers. Pick a recognizable landmark near spawn — a tall hill, a distinctive tree, a lake — and build close to it.
If you remember one rule from this entire guide, make it this: do not explore far on day one. Set up a base near spawn first. You can always range out tomorrow with a full belly, a sword, and a bed to respawn at.
Punch wood, then build the tool chain
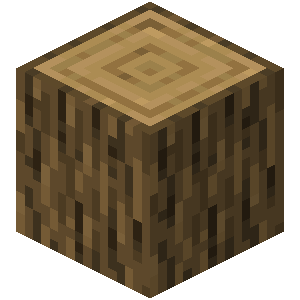
Walk up to a tree and hold the attack button until the log pops out. No axe needed yet — your fist works, it is just slow. Collect at least four logs to start, but honestly grab a full stack-ish chunk (12 to 16) so you are not running back. Wood is the bottleneck for everything early.
Now the crafting chain, in strict order:
- Logs into planks. One log crafts into four planks in your 2x2 inventory grid.
- Planks into a crafting table. Four planks make a crafting table, which unlocks the full 3x3 grid. Place it down — you will use it constantly.
- Sticks. Two planks stacked vertically make four sticks. You need sticks for every tool.
- A wooden pickaxe first. Three planks across the top, two sticks down the middle. This lets you mine stone.

With a wooden pickaxe, go mine stone — you want around 11 to 20 cobblestone. Cobblestone upgrades your whole kit: a stone pickaxe, stone axe, and stone sword mine faster and hit harder than wooden ones, and you will leave wooden tools behind almost immediately. Make a furnace out of eight cobblestone (a ring around the edge of the crafting grid). That is your base kit: stone pickaxe, stone axe, stone sword, furnace, and a few torches.
For torches you need coal. Coal ore is the black-speckled stone you will see in hillsides and caves; mine it with any pickaxe. One coal plus one stick makes four torches. If you cannot find coal before dark, you can smelt logs in the furnace to make charcoal, which crafts torches exactly the same way.
Food before you starve
Your hunger bar drains as you sprint, jump, and take damage. Let it empty and you stop regenerating health; let it hit zero and you start starving. So food is not optional, it is just less urgent than a shelter on minute one.
The fastest early food sources:
| Source | How to get it | Notes |
|---|---|---|
| Cows / pigs / sheep | Hit them with your sword, cook the raw meat | Steak and cooked pork are the best early food, period |
| Chickens | Same, plus they drop feathers for arrows | Cook the chicken — raw chicken can give you food poisoning |
| Sheep | Also drop wool for a bed (see below) | Three wool + three planks = a bed |
| Berries / apples | Sweet berry bushes, or oak leaves drop apples | Low saturation, but free and instant |
| Wheat / bread | Break tall grass for seeds, farm later | A day-two project, not day one |
Cook raw meat in your furnace before eating it. Cooked food restores far more hunger and saturation than raw, and the cook is cheap. Keep a few cooked steaks or pork on you at all times once you have a herd nearby.
Surviving night one
There are two ways to handle the first night, and both are fine.
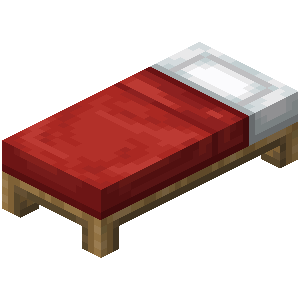
Option A: Sleep through it. If you found three sheep, kill them for wool, craft a bed (three wool in a row above three planks in a row), and sleep when the sun goes down. Sleeping fast-forwards to morning and — critically — sets your respawn point to that bed. This is the cleanest first night. You skip the danger entirely and you stop respawning back at world spawn when you eventually die.
Option B: Bunker down. No sheep, no bed? Dig into the side of a hill or wall yourself into a small dirt or cobblestone box. Place a torch inside so nothing spawns in your shelter, and wait out the night. You can mine straight ahead (never straight down) to start an underground base while you wait. Just do not dig the last block to the surface until daylight.
Never dig straight down. The block beneath you might be a cave with a 20-block drop, a lava pool, or a pit full of mobs. Dig in a staircase pattern or one-block-offset instead. This single habit will save your life more than any weapon.
The mistake to avoid on night one is going out to fight. You have a stone sword and no armor. A creeper will delete your shelter and you with it. Hide, sleep, or mine — do not hunt.
Your first real mining trip
Once you have a base, a bed, food, and stone tools, you go down. The goal of an early mining trip is iron, which unlocks armor, better tools, a shield, and buckets.
A few mining fundamentals:
- Bring torches. Place them as you go so caves stay lit (no new mob spawns) and you can find your way back. A dark tunnel behind you is a mob highway.
- Watch for iron ore. It is stone with orange-tan flecks. You need a stone pickaxe or better to mine it, then smelt the raw iron in a furnace into ingots.
- Lava is everywhere below y-level 11. It does not announce itself. Mine carefully, keep a water bucket if you have one, and never tunnel blindly into a glow.
- Iron gets you armor. Five iron makes a chestplate, the single best piece. A full iron set plus an iron sword and shield makes you genuinely dangerous instead of fragile.
Diamonds live deep — best odds are around y-level -59 in current versions — but that is a day-two-or-three goal. Iron first. Iron is what turns survival from "barely hanging on" into "running the place."
The mobs that will kill you
Know your enemies so you stop panicking at every shadow.
| Mob | Threat | How to handle it |
|---|---|---|
| Zombie | Slow melee, burns in daylight | Easy. Back up and swing, or just wait for sunrise |
| Skeleton | Ranged bow, kites you | Close the gap fast or break line of sight. A shield blocks arrows |
| Creeper | Silent, explodes, destroys terrain | The real killer. Hit it and immediately back off, or avoid entirely |
| Spider | Climbs walls, fast | Annoying but weak. They are neutral in daylight |
| Enderman | Tall, neutral unless you look at its head | Do NOT look directly at it. Leave it alone early |
The creeper is the one that ruins runs. It makes almost no sound until the hiss, and the explosion blows a crater in your base and your health bar. The rule: never let a creeper get within a few blocks. If you hear the hiss, sprint away — the blast has a short fuse and a limited radius.
Set a spawn and stop dying
Death in Minecraft drops all your items where you fell and respawns you at your set point (or world spawn if you never slept). Your items despawn after five real-time minutes, so a bad death far from home can wipe your whole inventory.
Two habits prevent disaster:
- Always sleep in a bed when you build one. It sets your respawn point. Dying then sends you home, not back to the random world-spawn point miles away.
- Build a small chest at base and store anything you would hate to lose. Carrying your diamonds into a lava cave is how you lose your diamonds. Bank the good stuff before risky trips.
Once you have a bed, a chest, iron armor, and a steady food supply, you have officially survived the beginner phase. Everything after that — the Nether, enchanting your gear, automating farms with redstone — is built on this foundation.
Java vs Bedrock differences
The early game is nearly identical across editions, but a few things differ:
- Combat. Java Edition has an attack-cooldown timer — your hits do full damage only when the weapon "recharges," so spamming clicks is weaker than timed swings. Bedrock has no cooldown, so faster clicking is fine. Beginners on Java should pace their attacks.
- Hunger and food. Mechanics are the same, but exact saturation values can differ slightly. Cook your food on either edition.
- Seeds. The same seed number generates completely different worlds on Java vs Bedrock — relevant once you start hunting for good starter seeds.
- Mob behavior. Largely the same for the mobs above, with minor pathfinding and spawn-rate differences that will not matter to a beginner.
Whichever edition you are on, the first-day priority list is the same: wood, tools, food, light, shelter.
Quick Action Checklist
Your literal to-do list for the first ten minutes:
- Note a landmark near spawn so you do not get lost
- Punch 12 to 16 logs
- Craft: planks, crafting table, sticks, wooden pickaxe
- Mine ~20 cobblestone, upgrade to stone pickaxe, axe, sword, and a furnace
- Get coal (or smelt charcoal) and make torches
- Kill 2 to 3 animals and cook the meat
- Build a bed (3 wool + 3 planks) or wall yourself into a lit shelter
- Sleep through night one — it sets your respawn point
- Day two: mine down for iron, never straight down, always carry torches
Frequently Asked Questions
What should I do first in Minecraft survival?
How do I survive the first night in Minecraft?
Why should I never dig straight down in Minecraft?
What is the most dangerous mob for beginners?
How do I get iron in Minecraft?
Is the early game different on Java vs Bedrock?
Keep Reading
Related Guides
How to Make a Saddle in Minecraft: Recipe and Loot Odds
Saddles have been craftable since June 2025: three leather and one iron ingot. Here is the recipe and what it really costs, every chest, trade and mob drop that still gives one with Java and Bedrock odds, the five chests that stopped, all eleven mobs it fits, and how shears take it back.
Minecraft Ice Caves Guide: Frostbite, Icicles and Freezing
Minecraft's fifth cave biome is mostly packed ice, its icicles drop when you light them, and its new zombie variant applies a brand-new Freezing effect with its melee hits. The ice caves drop is playable today in Bedrock Preview 26.60.29 and not yet in Java. Here is what is in it, with the numbers, and what could still change.
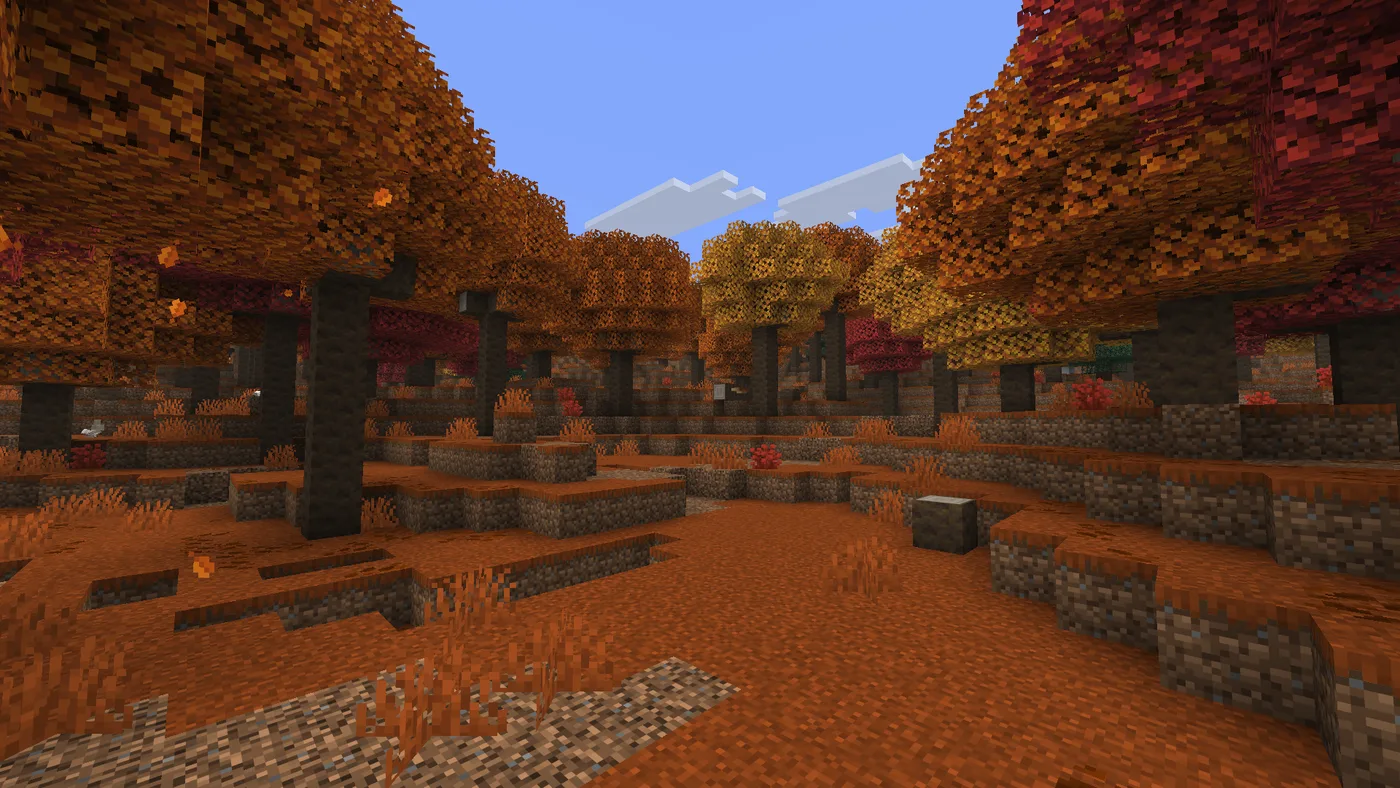
Minecraft Wilderness Bound Guide: Dappled Forest and Camps
Minecraft quietly swapped its whole version-numbering scheme and shipped a full content drop the same week — a new autumn biome, camping structures with a chest that hides in a different spot every time, and the game's first real sit-down furniture. Here is every number from Wilderness Bound, checked against the wiki the day after launch.
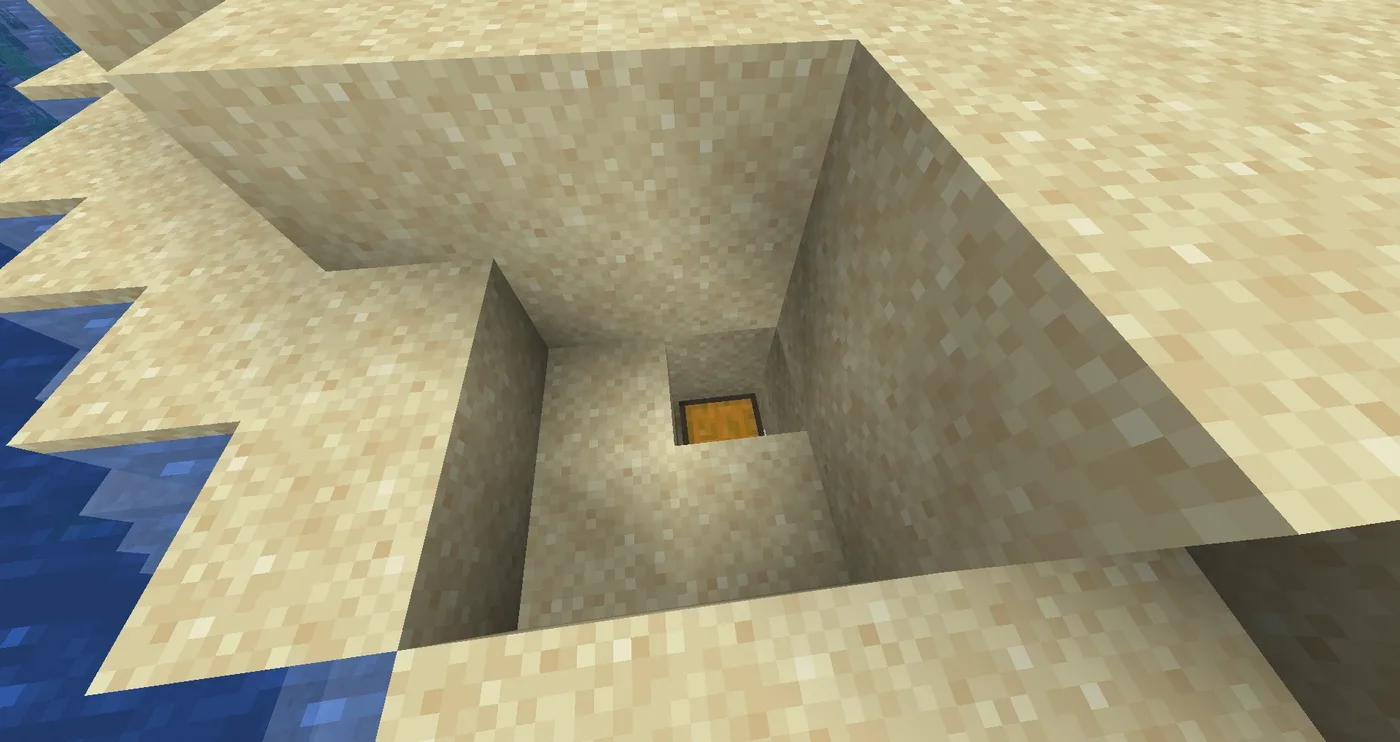
Minecraft Buried Treasure Guide: Maps, Loot, Where to Dig
The red X is not the hard part of a Minecraft treasure hunt — the last three blocks are. The chest always generates at the same spot inside its chunk, the map that finds it comes from exactly two structures, and since the nautilus arrived, these chests carry loot you cannot craft or trade for. Here is the whole chain with the percentages.
Best Minecraft Enchantments, Ranked — The Ones Worth Your XP
Mending is the enchantment that ends the grind — gear that repairs itself forever. Everything else is a fight over your XP and anvil uses. Here is what actually earns a slot, ranked, with the real max levels.
Best Minecraft Seeds — Spawns Worth Starting On
A seed is just the number that generates your world, but the right one drops you next to a village, a ravine full of exposed diamonds, or a woodland mansion. Here are seeds worth your time — with the version tags that actually matter.