How to Beat the Wither in Minecraft
The Wither is the boss you build yourself — three skulls, four blocks of soul sand, and an eleven-second timer before it tries to delete your base. Here is how to spawn it on your terms, the gear that wins the fight, the Java-versus-Bedrock difference nobody warns you about, and the nether star that powers a beacon.
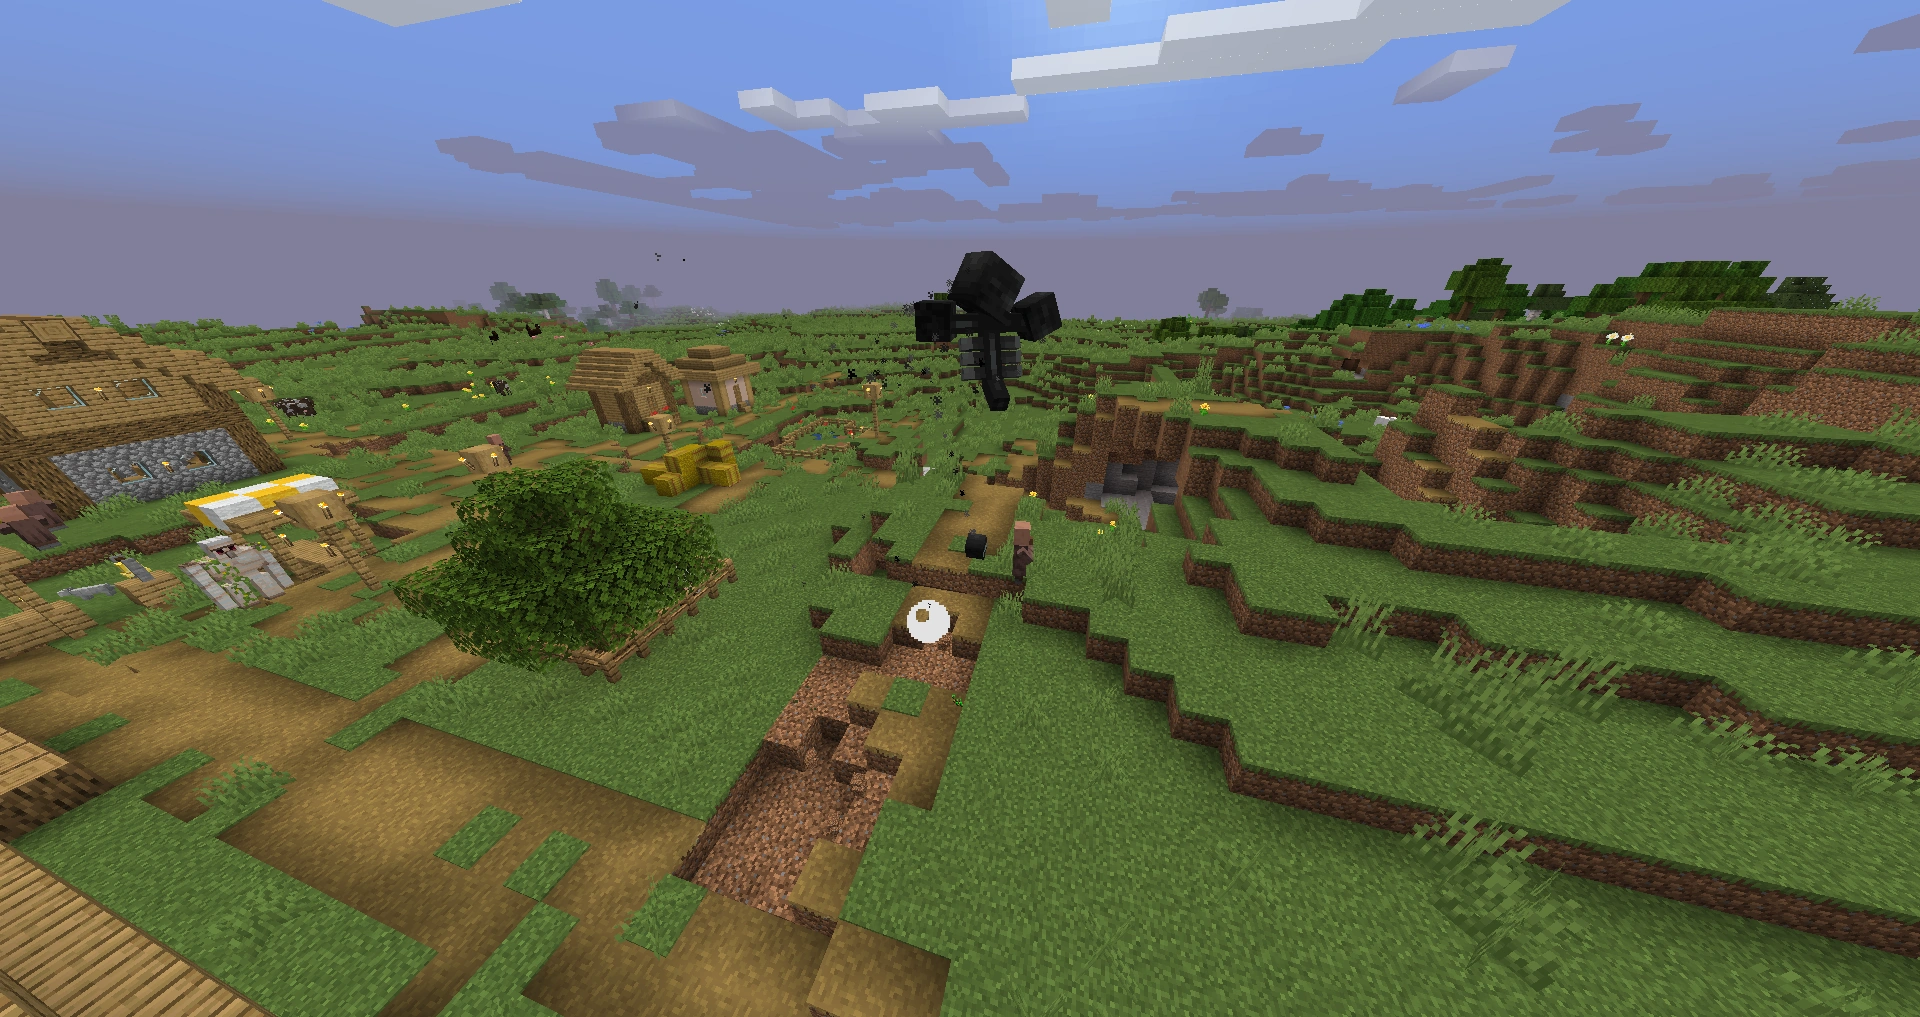
Unlike the Ender Dragon, the Wither does not sit waiting at the end of a portal. You build it. You gather the pieces, you stack them in a specific shape, and then you have eleven seconds before a three-headed flying skull bomb comes alive and tries to demolish everything around it. Spawn it carelessly — in your base, near your storage, on the surface — and you will spend the next hour repairing craters. Spawn it on your terms, in a box you prepared, and it is one of the most controllable boss fights in the game.
The reward is worth the trouble: the Wither is the only source of the nether star, and the nether star is the one ingredient you need for a beacon. So this is the full run — farming the skulls, the exact spawn recipe, the gear that wins, the arena that keeps your world intact, and the single biggest difference between fighting it on Java versus Bedrock, because that difference changes your entire strategy.
What the Wither actually is
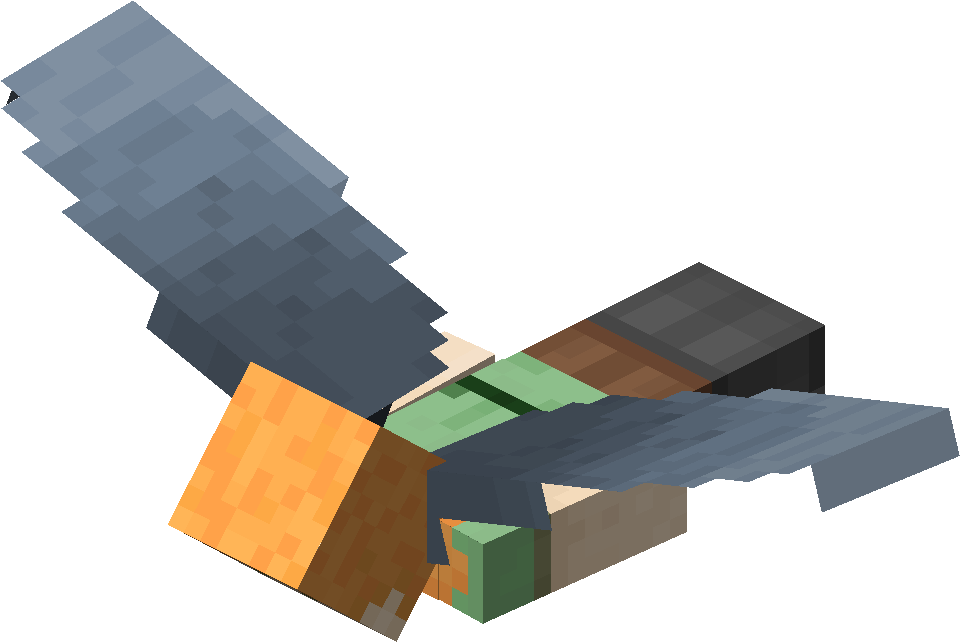
The Wither is a flying boss with three heads and 300 health on Java (and on Bedrock's Easy difficulty; Bedrock scales it to 450 on Normal and 600 on Hard). It attacks by firing wither skulls from its heads — black skulls that deal direct damage and inflict the Wither effect, plus occasional blue skulls that home in and destroy even blast-resistant blocks like obsidian.
The Wither effect is the nasty part. It works like Poison's evil cousin: it turns your health bar black and drains it over time — but unlike Poison, the Wither effect can actually kill you. Poison stops at half a heart; withering does not. Get stacked with Wither II and ignore it, and you will die standing still.
It also has passive regeneration (1 health per second on Java) and, on Java, heals 5 health on a killing blow against another mob — so do not summon it in a mob-heavy area where it can snack to recover.
Farming the three wither skeleton skulls
Before anything else, you need three wither skeleton skulls, and this is the real time sink of the whole project.
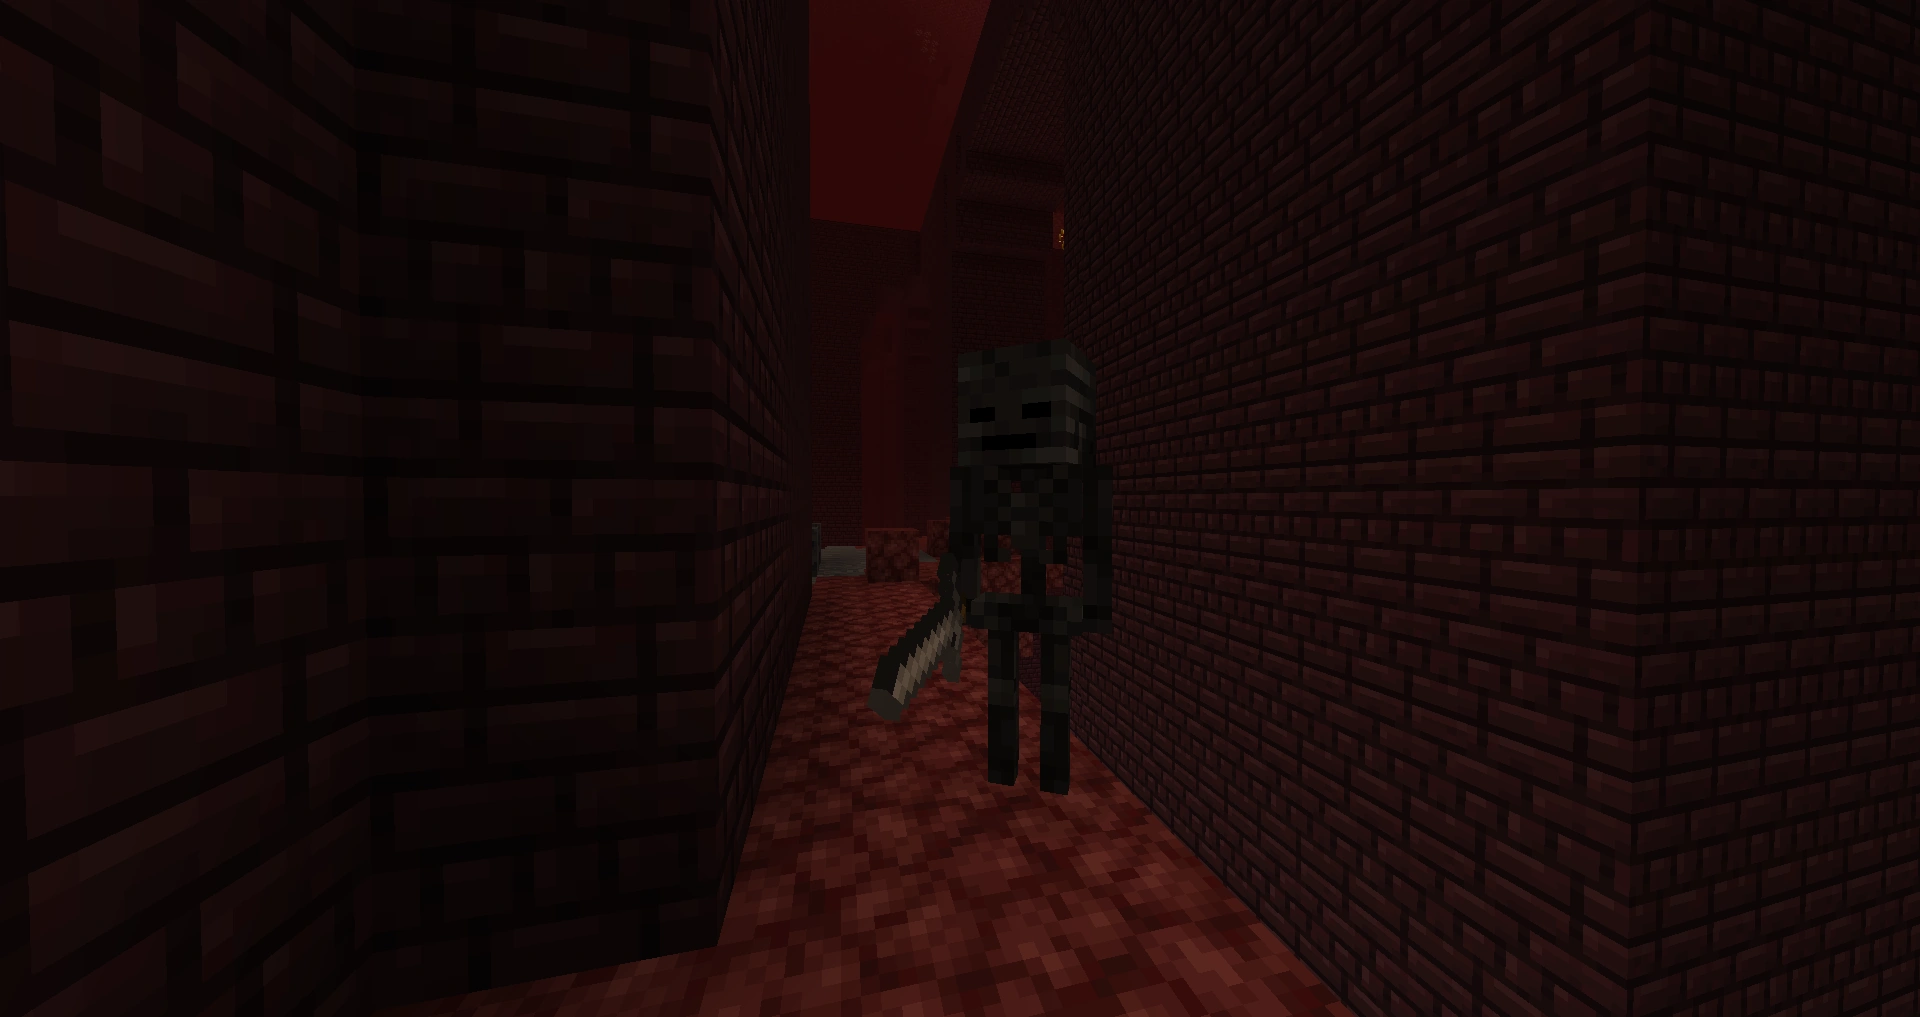
Wither skeleton skulls drop only from wither skeletons, the tall black skeletons that spawn in nether fortresses at light level 0-7. The drop is rare on purpose: a wither skeleton has a base 2.5% chance to drop its skull when killed by a player (or a tamed wolf). That is roughly one skull per 40 kills at the base rate.
Looting is how you speed this up. Each level of Looting on your sword raises the drop chance:
- Looting I: 3.5%
- Looting II: 4.5%
- Looting III: 5.5% (on Java; Bedrock's Looting III pushes it to 8.5%)
So a Looting III sword roughly doubles your odds on Java and more than triples them on Bedrock. Bring one. Find a nether fortress, set up around the dark corridors where wither skeletons spawn (light level matters — keep it dark for spawns, but light a safe standing spot for yourself), and grind. Watch out: wither skeletons inflict the Wither effect with their stone swords too, so do not facetank a crowd of them with low health.
Expect this to take a while. Three skulls at base rate is a real grind; with Looting III it is merely tedious. A fortress with a good spawn area, or a dedicated wither-skeleton farm, turns it from "an evening" into "a coffee break."
How to spawn the Wither
Once you have three skulls, the spawn structure is precise. You need:
- 4 blocks of soul sand or soul soil (you can mix them) placed in a T shape: three blocks in a horizontal row, plus one block hanging down from the center of that row — like an upside-down T, or a plus sign with the top and one arm missing.
- 3 wither skeleton skulls placed on top of the three blocks in the upper row.
You place the skulls last — the moment the third skull goes on, the spawn triggers. There has to be air on either side of the base for it to form. The orientation does not actually matter (it can be built sideways or upside down), but the standard upright T is easiest to get right.
The instant it spawns, the Wither enters an 11-second (220-tick) charge-up: it floats in place, immobile and invulnerable, its body flashing between black and blue while its health bar fills. This window is a gift. It cannot move or attack yet, but at the end of the charge it releases a massive explosion centered on itself. That explosion is why you never spawn it in your base — and why the smart play is to spawn it boxed in, then start hitting it the instant the charge ends.
Gear and potion prep
You do not want to be underequipped for this. Minimum viable, then ideal:
Armor and weapon:
- Full diamond armor at minimum; netherite is much better thanks to its knockback resistance, which matters against the Wither's shove. Protection enchantments across the set.
- A Smite-enchanted sword. The Wither counts as an undead mob, so Smite out-damages Sharpness against it specifically. A Smite V netherite sword is the fastest melee kill in the game here. (Keep a Looting III sword for the skull-farming phase, but for the boss itself, raw damage wins — bring Smite.)
Consumables:
- Strength potions — multiply your melee damage and shorten the fight dramatically.
- Healing / Regeneration potions to outpace the Wither effect's drain.
- Milk buckets — drinking milk instantly clears the Wither effect. Carry several; this is your panic button.
- Golden apples or enchanted golden apples for the absorption and regen buffer.
- Plenty of food to keep your hunger topped for natural regen.
Bow or crossbow with Power for chipping it during the airborne phase (more relevant on Java — see the edition section).
Building the arena
The right arena turns a chaotic boss fight into a controlled execution. The goal: contain the spawn explosion and the blue skulls, and deny the Wither room to fly away from your sword.
The classic approach is a bedrock-enclosed box, because bedrock is the one block the Wither's blue skulls cannot destroy. The two most popular spots:
- The Nether roof / bedrock layer. Experienced players spawn the Wither in a small pocket dug into the indestructible bedrock above the Nether, so it physically cannot escape or break out. Tight and totally contained.
- A dedicated obsidian/deepslate bunker in the Overworld. Obsidian survives most of the punishment, but blue skulls can eventually break even obsidian, so leave no gaps and expect some repair.
Whatever you build, make it small — a low ceiling stops the Wither from rising out of melee reach and forces it to sit where you can hit it. Spawn it inside, step back from the blast radius during the 11-second charge, then close in the moment it activates. If you are going for the cheesy-but-effective method, spawn it encased so tightly it can barely move, then chip it down through a one-block gap.
The fight, step by step
- Spawn it boxed in. Place the T, then the three skulls, then immediately back off from the blast radius. Wait out the 11-second charge — it cannot hurt you yet.
- Burn the charge window setting up. Drink your Strength potion and eat a golden apple during the countdown so the buffs are live when it activates.
- The instant the charge ends, commit. The activation explosion fires; then the Wither is mobile. Rush in with your Smite sword and start swinging. With Strength + Smite V, the first health half drops fast.
- Manage the Wither effect. When your health bar goes black and starts draining, drink milk to clear it or pop a Regen/Healing potion. Do not let it tick you out — this is the number one cause of death.
- Watch the half-health threshold. At 50% health the fight changes, and how it changes depends entirely on your edition (next section). Keep pressure on, but be ready.
- Finish it. Keep meleeing through the second half on Java; on Bedrock you will switch tactics. When the bar empties, the Wither dies, dropping its prize and (on Java) about 50 XP when killed by a player.
Java vs Bedrock: the big difference
This is the part that catches people off guard, and it genuinely changes your whole approach at half health.
On Java Edition, when the Wither drops below 50% health it gains a passive "wither armor" effect that makes it immune to all arrows and thrown tridents. Translation: ranged weapons become useless for the back half of the fight. You must finish it with melee. That is why a Smite sword and Strength potions are non-negotiable on Java — you cannot bow it to death. Java has no extra explosions beyond the initial spawn blast, and it does not summon adds.
On Bedrock Edition, the half-health moment is more dangerous in a different way:
- It triggers another large explosion at 50% (and again on death), so a Bedrock arena takes more structural punishment than a Java one.
- Below half, it spawns three wither skeletons as reinforcements (on Normal and Hard difficulty — not on Easy), so you suddenly have adds inflicting their own Wither effect.
- Instead of going arrow-immune, it gains projectile resistance and starts dashing, becoming a faster-moving, harder-to-pin target.
- And its health is higher to begin with on Normal (450) and Hard (600), so the fight simply lasts longer.
The practical takeaway: on Java, plan to melee it down with Smite and ignore your bow after the halfway mark. On Bedrock, prep for the extra explosions and the wither-skeleton adds, expect a longer fight on higher difficulties, and keep your milk and healing stocked for the chaotic second phase.
The payoff: nether star and the beacon
When the Wither dies, it always drops one nether star — guaranteed, every time, no luck involved. The nether star is the entire reason you did this. It is even immune to explosions, so it will not get destroyed by the Wither's own death blast (though lava and the void can still claim it, so grab it).
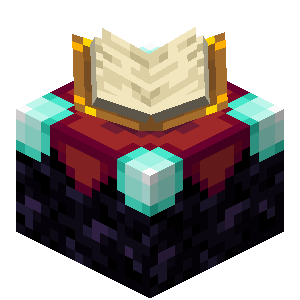
The nether star has exactly one use, and it is a great one: the beacon. The recipe is a 3x3 grid:
- Top row: 3 glass blocks
- Middle row: glass, nether star, glass
- Bottom row: 3 obsidian
That is 5 glass + 1 nether star + 3 obsidian per beacon — and one nether star makes exactly one beacon. To activate it, you build a pyramid of mineral blocks underneath (iron, gold, emerald, diamond, or netherite blocks, freely mixed): a 1-level pyramid needs a 3x3 base of 9 blocks for the weakest tier, up to a 4-level pyramid (164 blocks) for the full menu.
A working beacon projects a beam into the sky and grants area buffs — Speed, Haste, Resistance, Jump Boost, or Strength depending on the tier, plus a secondary Regeneration option at full power. Haste II from a max beacon is a mining game-changer; Resistance + Regen near your base is a survivability blanket. That is the carrot at the end of the whole grind: the skull farming, the careful spawn, the Smite-and-milk fight — all of it exists to put one of these glowing pillars over your base.
![]()
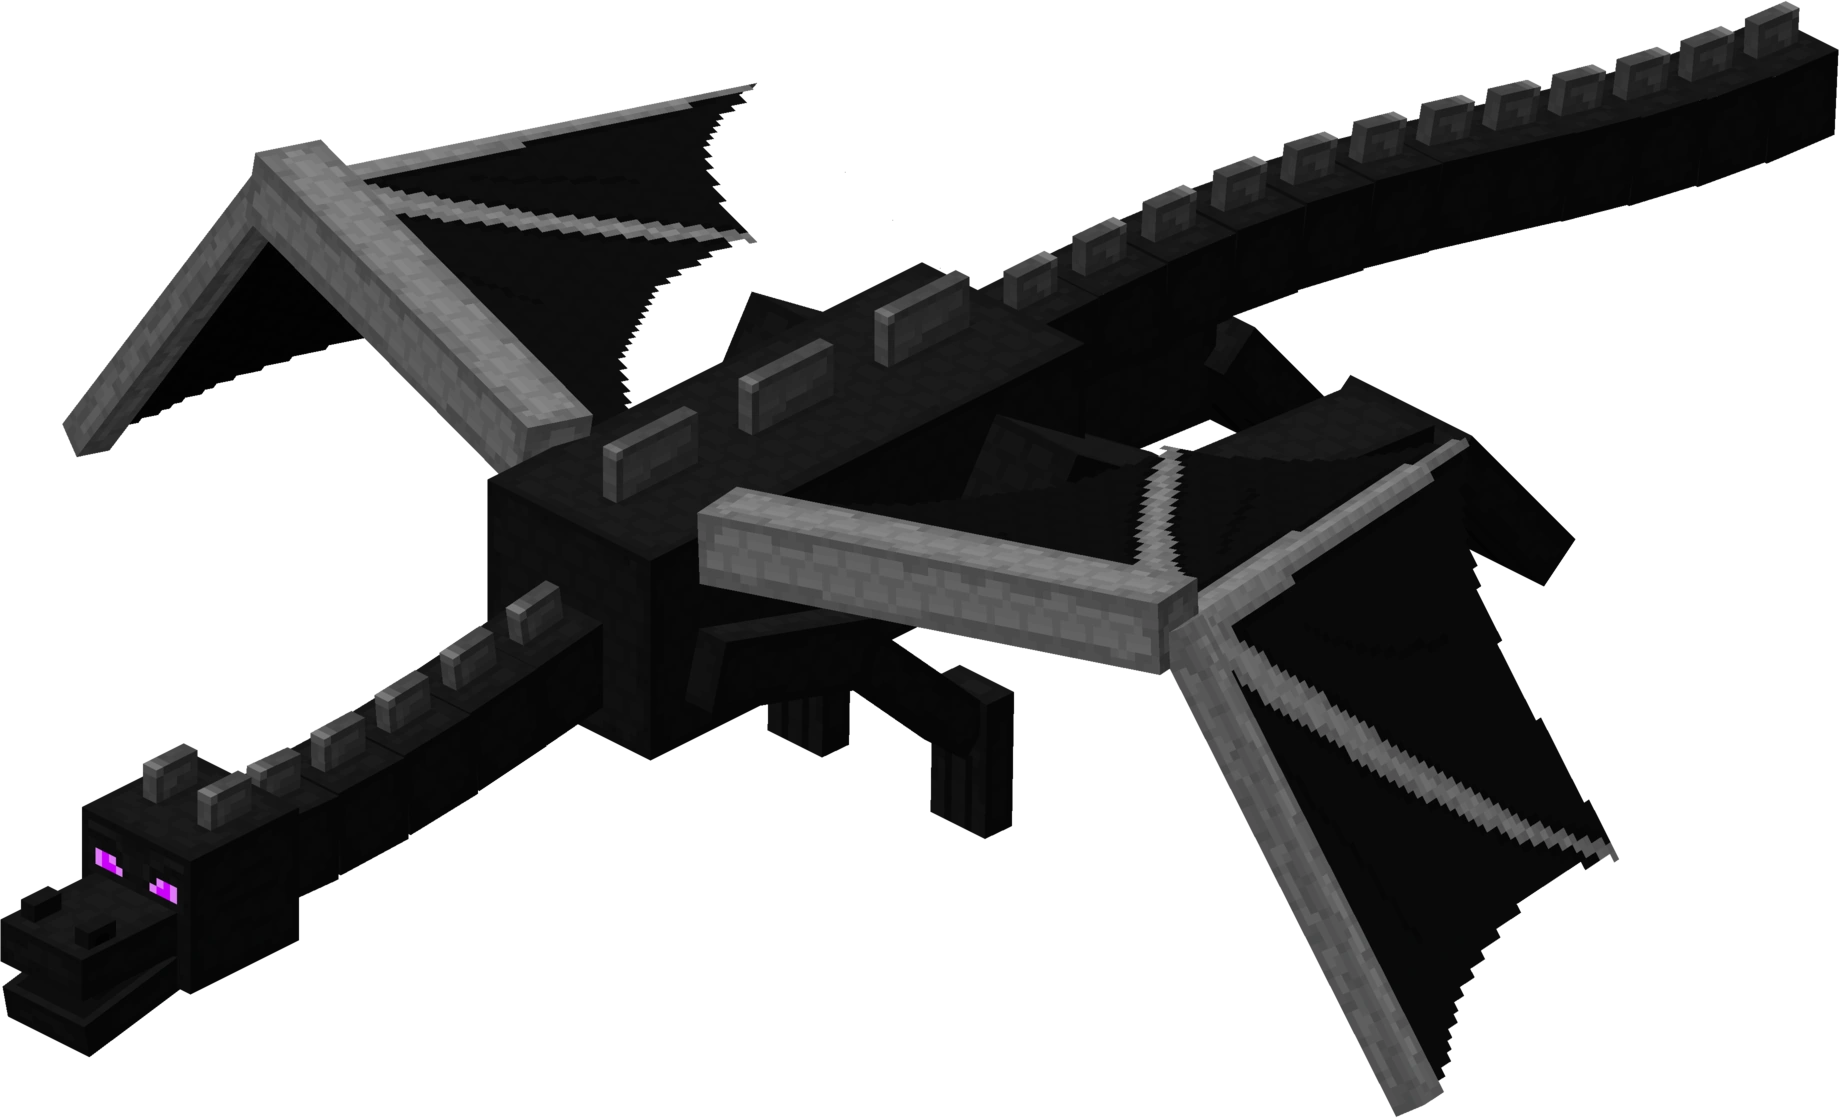
If you have already cleared the Ender Dragon, the Wither is the natural next boss to chase — same endgame tier, but where the dragon gates the elytra, the Wither gates the beacon.
Wither fight checklist
- Farm 3 wither skeleton skulls (2.5% base drop; use a Looting III sword)
- Full diamond/netherite armor with Protection; netherite for knockback resistance
- A Smite sword — the Wither is undead, so Smite beats Sharpness here
- Strength, Healing/Regen potions, and several milk buckets (milk clears withering)
- Golden apples and plenty of food
- Build a small bedrock or obsidian arena that contains the explosion
- Spawn: 4 soul sand/soil in a T, then 3 skulls on top (skulls last)
- Use the 11-second charge to buff up; back away from the activation blast
- Clear the Wither effect with milk before it drains you out
- Java: melee the back half — it goes arrow-immune below 50%
- Bedrock: brace for a second explosion and 3 wither-skeleton adds at 50%
- Grab the guaranteed nether star and craft a beacon (5 glass + star + 3 obsidian)
Frequently Asked Questions
Keep Reading
Related Guides
Minecraft Beacon Guide: How to Build and Power One
A beacon is the closest Minecraft gets to a permanent buff station — stand near one and you get Haste, Speed, or Resistance for free, forever. The catch is everything in front of it: kill the Wither for a nether star, then stack up to 164 mineral blocks into a pyramid. Here is the whole build, tier by tier.
Minecraft Elytra Guide: How to Get Wings and Fly
The elytra turns Minecraft from a walking sim into a flying game. There is exactly one place to get it — an End ship in the outer End — and getting there means beating the dragon first. Here is the full route, how to actually fly, and how to keep the wings from dying on you.
How to Beat the Ender Dragon: A Complete Guide
The Ender Dragon is the closest thing Minecraft has to a final boss, and the fight is genuinely winnable on your first try if you prep right. Here is the full run: gear checklist, finding the portal, killing the crystals that heal her, the two fight phases, and what to grab after.
Minecraft Anvil & Repairing Guide: Beat "Too Expensive!"
The anvil is the most misunderstood block in Minecraft. Half of players burn levels in the wrong order and then watch their netherite sword hit "Too Expensive!" forever. Here is exactly how repairing, combining, and the prior-work penalty work — and the order of operations that keeps your gear fixable.
Minecraft Survival Guide for Beginners — Surviving Your First Days
You have about ten minutes of daylight before the sun sets and the world tries to kill you. Here is exactly what to do with them — punch a tree, build a tool chain, and get a roof over your head before the zombies arrive.
Best Minecraft Enchantments, Ranked — The Ones Worth Your XP
Mending is the enchantment that ends the grind — gear that repairs itself forever. Everything else is a fight over your XP and anvil uses. Here is what actually earns a slot, ranked, with the real max levels.