Minecraft Beacon Guide: How to Build and Power One
A beacon is the closest Minecraft gets to a permanent buff station — stand near one and you get Haste, Speed, or Resistance for free, forever. The catch is everything in front of it: kill the Wither for a nether star, then stack up to 164 mineral blocks into a pyramid. Here is the whole build, tier by tier.
A beacon is the closest Minecraft gets to a permanent buff station. Build one, stand near it, and you get a status effect — Haste, Speed, Resistance, Jump Boost, or Strength — that just keeps applying for as long as you are in range, with no potion to brew and no timer to babysit. Haste II next to a mining base makes deepslate crumble. Resistance plus Regeneration around your home turns it into a place where almost nothing can kill you. That beam of light shooting into the sky is the flex; the buffs are the actual reason you do it.
The reason most players do not have one is that the entry fee is steep. A beacon needs a nether star, and the only thing in the game that drops a nether star is the Wither — a boss you have to summon and beat yourself. After that you still have to stack up to 164 blocks of refined metal and gems into a pyramid to unlock everything. This guide walks the whole chain in order: get the star, craft the beacon, build the pyramid tier by tier, and pick the right effect. Every block count here is verified against the Minecraft Wiki, because the internet is full of pyramid math that is off by a layer.
What a beacon actually does
A beacon is a single block that, once placed on a pyramid of mineral blocks and fed one ingot, projects a vertical beam of light and grants a chosen status effect to every player inside a radius around it. The effect refreshes constantly while you stand in range, so it never actually runs out — step away and it lingers for several seconds, then fades.
Two things make it special compared to potions:
- It is hands-off. No brewing stand, no ingredients, no re-drinking every few minutes. Set it once and forget it.
- It scales. A bigger pyramid unlocks stronger effects, a longer range, and a second effect on top of the first.
The beam itself is cosmetic — but you can dye it by dropping stained glass into the beam path, and it can shine straight through glass, water, leaves, and even bedrock. Functionally, the beam does nothing; the buffs are the payoff.
Step 1: get a nether star from the Wither
There is no shortcut here. A nether star drops only from the Wither, and it drops every single time you kill one — guaranteed, no luck involved. One Wither, one star, one beacon. (The star is even immune to explosions, so the Wither's own death blast will not destroy it.)
The Wither is a boss you build:
- Farm 3 wither skeleton skulls from wither skeletons in nether fortresses (a 2.5% base drop, so bring a Looting III sword to speed it up).
- Place 4 blocks of soul sand or soul soil in a T shape, then put the 3 skulls on top of the upper row. The third skull triggers the spawn.
- Fight it inside a contained arena — it explodes on spawn, so never summon it in your base.
The full boss fight, including the big Java-versus-Bedrock difference at half health, is its own project. If you have not done it yet, read the full Wither walkthrough before you commit. The short version: full diamond or netherite armor, a Smite sword (the Wither is undead), Strength and Healing potions, and milk buckets to clear the lethal Wither effect. Win, and the star is yours.
Step 2: craft the beacon
Once you have the nether star, the beacon recipe is a 3x3 grid:
- Top row: 3 glass blocks
- Middle row: glass, nether star, glass
- Bottom row: 3 obsidian
That is 5 glass + 1 nether star + 3 obsidian for one beacon. The glass is trivial (sand plus a furnace), and obsidian you make by pouring water onto lava source blocks and mining it with a diamond or netherite pickaxe. The whole limiting factor is the star, which is why a beacon is treated as an endgame trophy: the recipe is cheap, but the one ingredient that matters costs you a boss fight.
One star makes exactly one beacon. If you want multiple beacons running different effects, you fight the Wither once per beacon.
Step 3: build the pyramid
A beacon does nothing sitting on the ground. It has to be placed on top of a pyramid of solid mineral blocks, centered, with the beacon block one layer above the smallest tier. The size of the pyramid decides everything: how strong the effect is, how far it reaches, and whether you get a second effect.
There are four pyramid tiers. Here are the exact block counts:
| Tier | Pyramid layers (top to base) | Mineral blocks needed | Total if single material |
|---|---|---|---|
| 1 | 3x3 | 9 | 9 |
| 2 | 3x3 + 5x5 | 34 | 34 |
| 3 | 3x3 + 5x5 + 7x7 | 83 | 83 |
| 4 | 3x3 + 5x5 + 7x7 + 9x9 | 164 | 164 |
So a full four-tier beacon is 164 blocks — which, in raw ingots, is 1,476 of them if you build it out of a single metal. Each tier sits directly under the one above it, growing outward by one block on every side as you go down. The beacon block goes on top of the center of the smallest (3x3) layer, with clear sky above it so the beam can escape.
![]()
Two rules people get wrong:
- The pyramid must be solid and complete at each tier. A hole or a wrong block in a layer drops you down a tier. The game counts the largest fully-built pyramid underneath.
- The beacon needs a clear line to the sky. Anything other than transparent blocks (glass, water, leaves, bedrock) directly above the beacon blocks the beam and switches it off — including a slab, a roof, or even a torch overhead.
The power effects and range
Each tier unlocks more effects and a wider radius. The range grows by a flat 10 blocks per tier, following the formula 10 + (tier x 10) blocks horizontally, and extends a bit above and below the beacon's height too. Here is what each tier gives you:
| Tier | Range | Effects unlocked |
|---|---|---|
| 1 (9 blocks) | 20 blocks | Speed I, Haste I |
| 2 (34 blocks) | 30 blocks | + Resistance I, Jump Boost I |
| 3 (83 blocks) | 40 blocks | + Strength I |
| 4 (164 blocks) | 50 blocks | All of the above, plus the secondary slot |
The five primary effects are Speed, Haste, Resistance, Jump Boost, and Strength. You pick exactly one as the primary at any given time (you can switch later for the cost of one ingot).
![]()
The two effects worth building toward:
- Haste is the mining buff. Haste I from a tier-2+ beacon noticeably speeds up every swing; Haste II (only available at a full pyramid via the level-II secondary option) lets an Efficiency V pickaxe instamine deepslate, which is why serious mining bases park a max beacon at their dig site.
- Resistance flatly reduces incoming damage. Around a base, Resistance plus Regeneration is a survivability blanket that makes most mobs a non-threat.
Speed is great for traversal, Strength turns a melee build into a blender, and Jump Boost is mostly niche.
The secondary effect and regen
The four-tier beacon is the only one that unlocks the second slot, and it gives you a choice. Once you have a full 164-block pyramid, you can either:
- Add Regeneration as a second effect alongside your primary — so you could run, say, Haste I and Regeneration at the same time, or
- Upgrade your primary to level II — turning Haste I into the deepslate-shredding Haste II, or Strength I into Strength II.
You cannot do both at once. Regeneration is only ever available as that secondary option — there is no Regeneration "primary." So the real decision at a full beacon is: do you want a passive heal on top of your buff, or do you want that buff cranked to level II? For a mining beacon, the answer is almost always Haste II. For a home/base beacon, Resistance plus Regeneration is the cozy pick.
Activating and changing the beacon
With the pyramid built and the beacon placed on top, right-click the beacon to open its menu. You will see the available primary effects (greyed out if your tier does not reach them) and, at a full pyramid, the secondary slot.
To activate or change it, you pay one ingot — a single iron ingot, gold ingot, emerald, diamond, or netherite ingot — into the payment slot, pick your effect(s), and confirm. That one ingot is the entire activation cost; it does not consume ingots continuously. Switching effects later costs one more ingot each time, so it is cheap to retune the beacon for whatever you are doing that session.
If the beacon ever goes dark, it is almost always one of two things: a block got placed over the beam (breaking its line to the sky) or a block in the pyramid got removed or replaced with a non-mineral block, dropping you below the tier you need.
Which blocks to build with
The pyramid can be made of any mix of these five block types, and mixing is totally fine — the game does not care if your pyramid is half iron and half diamond. The valid blocks are:
- Block of Iron
- Block of Gold
- Block of Diamond
- Block of Emerald
- Block of Netherite
Each of those is 9 ingots/gems crafted into a solid block (netherite blocks are 9 netherite ingots, which is brutally expensive). Because mixing is allowed, the standard advice is simple: build it out of iron. A tier-4 beacon is 164 blocks, and iron is by far the most farmable of the five — an iron farm can pump out blocks for days, while 164 diamond blocks (1,476 diamonds) is a fantasy for most worlds.
A common move is to build the bulk in iron and trim the visible top layer in diamond or emerald purely for looks. The effect is identical no matter what it is made of; the pretty blocks are a vanity tax. If you want a flex pyramid, mixed-material builds (the iron/gold/diamond/emerald checkerboard look) are a popular show-off project once you are rich.
Beacon tips most players miss
A few things that save real time and resources:
- Build with iron, not diamond. The effect is the same. Spend diamonds on gear, not on a pyramid nobody mines.
- Dye the beam with stained glass. Drop a stained-glass block anywhere in the beam's path and the beam takes that color from that point up. Stack multiple colors for a gradient.
- The beam pierces glass, water, leaves, and bedrock. You can build a roof over the beacon out of glass and it still works — handy for an indoor beacon room.
- One beacon, one effect at a time (until tier 4). If you want both Haste and Speed up constantly, that is two separate beacons, which means two Withers.
- Range stacks across beacons. Park two beacons close together and stand where their radii overlap to get both effects at once.
- Put the mining beacon at your dig site, not your base. A beacon's buff only reaches 50 blocks at most; it does you no good at home while you mine a thousand blocks away.
Beacon build checklist
- Beat the Wither for a guaranteed nether star (full walkthrough linked above)
- Craft the beacon: 5 glass + 1 nether star + 3 obsidian
- Decide your tier: 9 / 34 / 83 / 164 mineral blocks for tiers 1-4
- Build the pyramid solid and centered, beacon on top of the 3x3 layer
- Keep clear sky (or only glass/water/leaves) directly above the beacon
- Build it from iron blocks — the effect is identical and iron is farmable
- Right-click, pay one ingot, pick your effect (Haste for mining, Resistance for base)
- At a full tier-4 pyramid, choose Regeneration OR a level-II primary
- Place the beacon's buff where you actually play — its range tops out at 50 blocks
Frequently Asked Questions
Keep Reading
Related Guides
Minecraft Hardcore Mode Guide: How to Survive Permadeath
Hardcore mode locks you to Hard difficulty and gives you exactly one life. Die once and the world is over — you watch it as a ghost. Here is how the mode actually works, and the survival plan that gets you past the deaths that kill most runs.
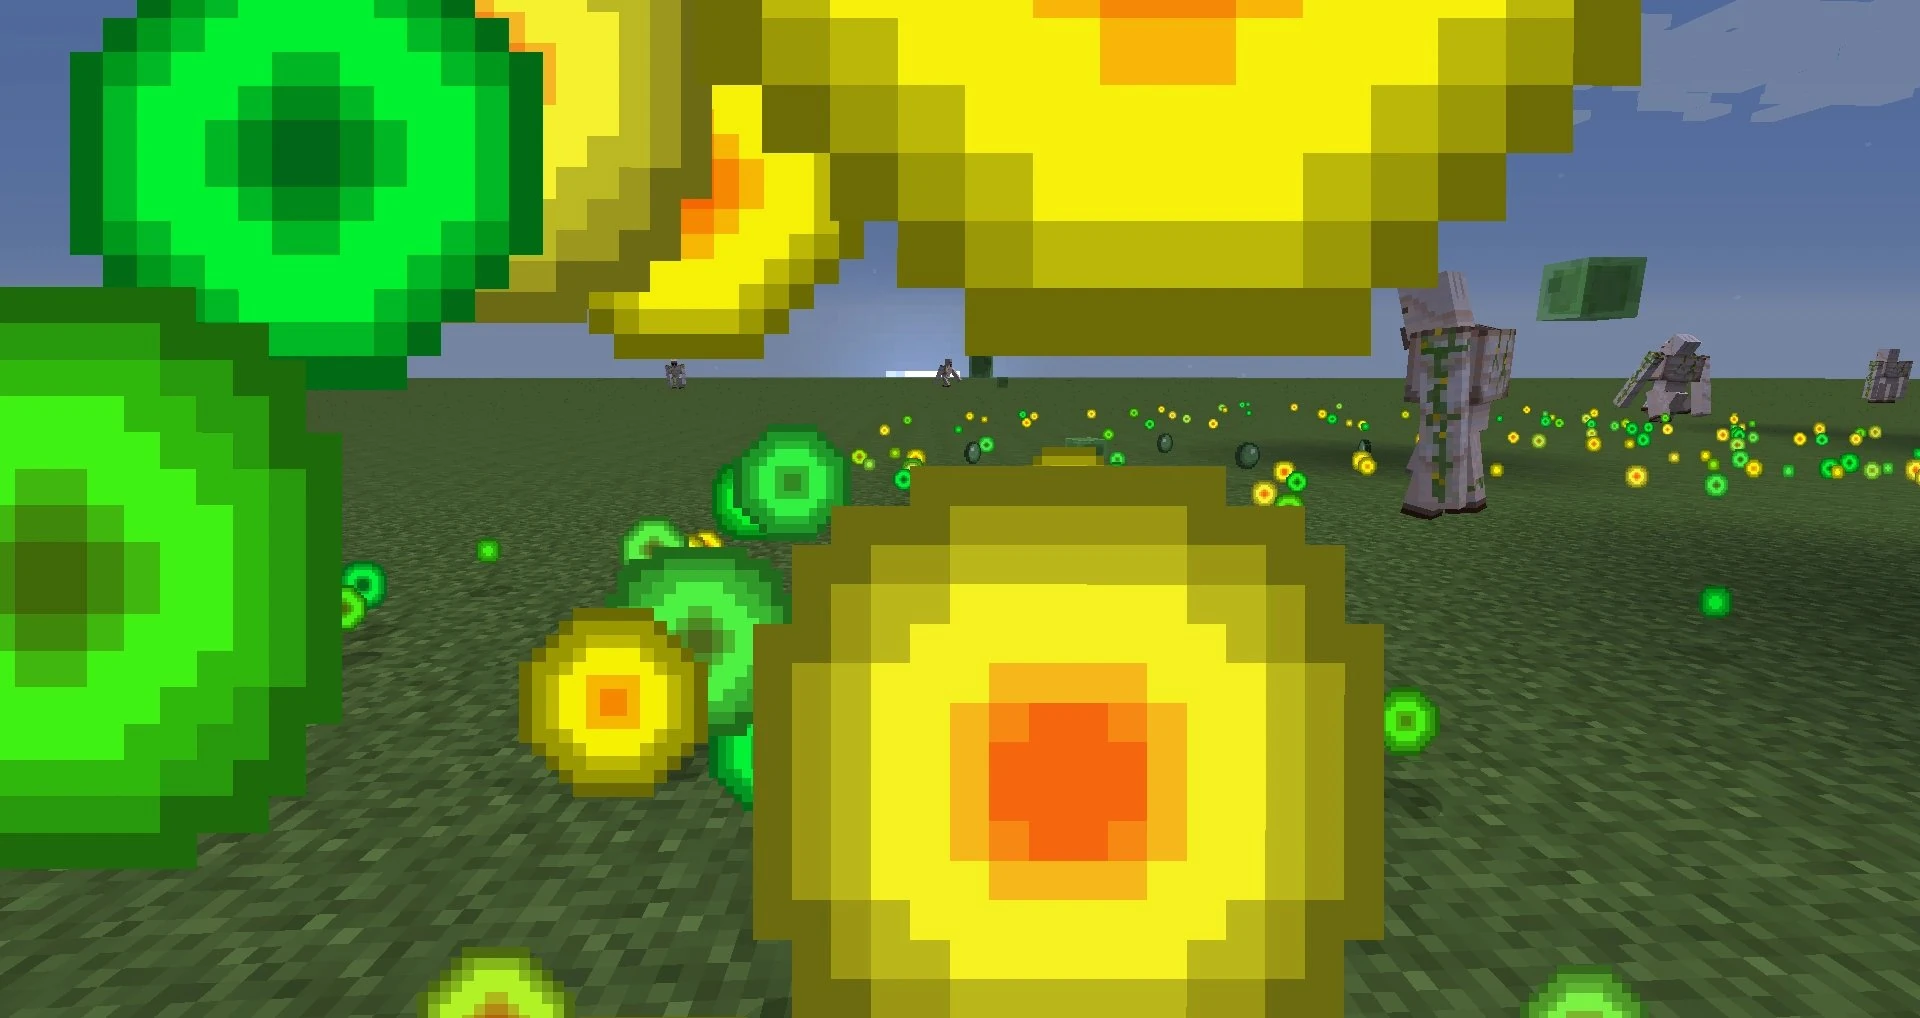
Minecraft XP Guide: Fastest Ways to Level Up
XP is not points — it is the currency that runs your whole late game: enchanting, anvils, and Mending gear that repairs itself. Here are the fastest XP sources actually worth your time, ranked, with the real values.
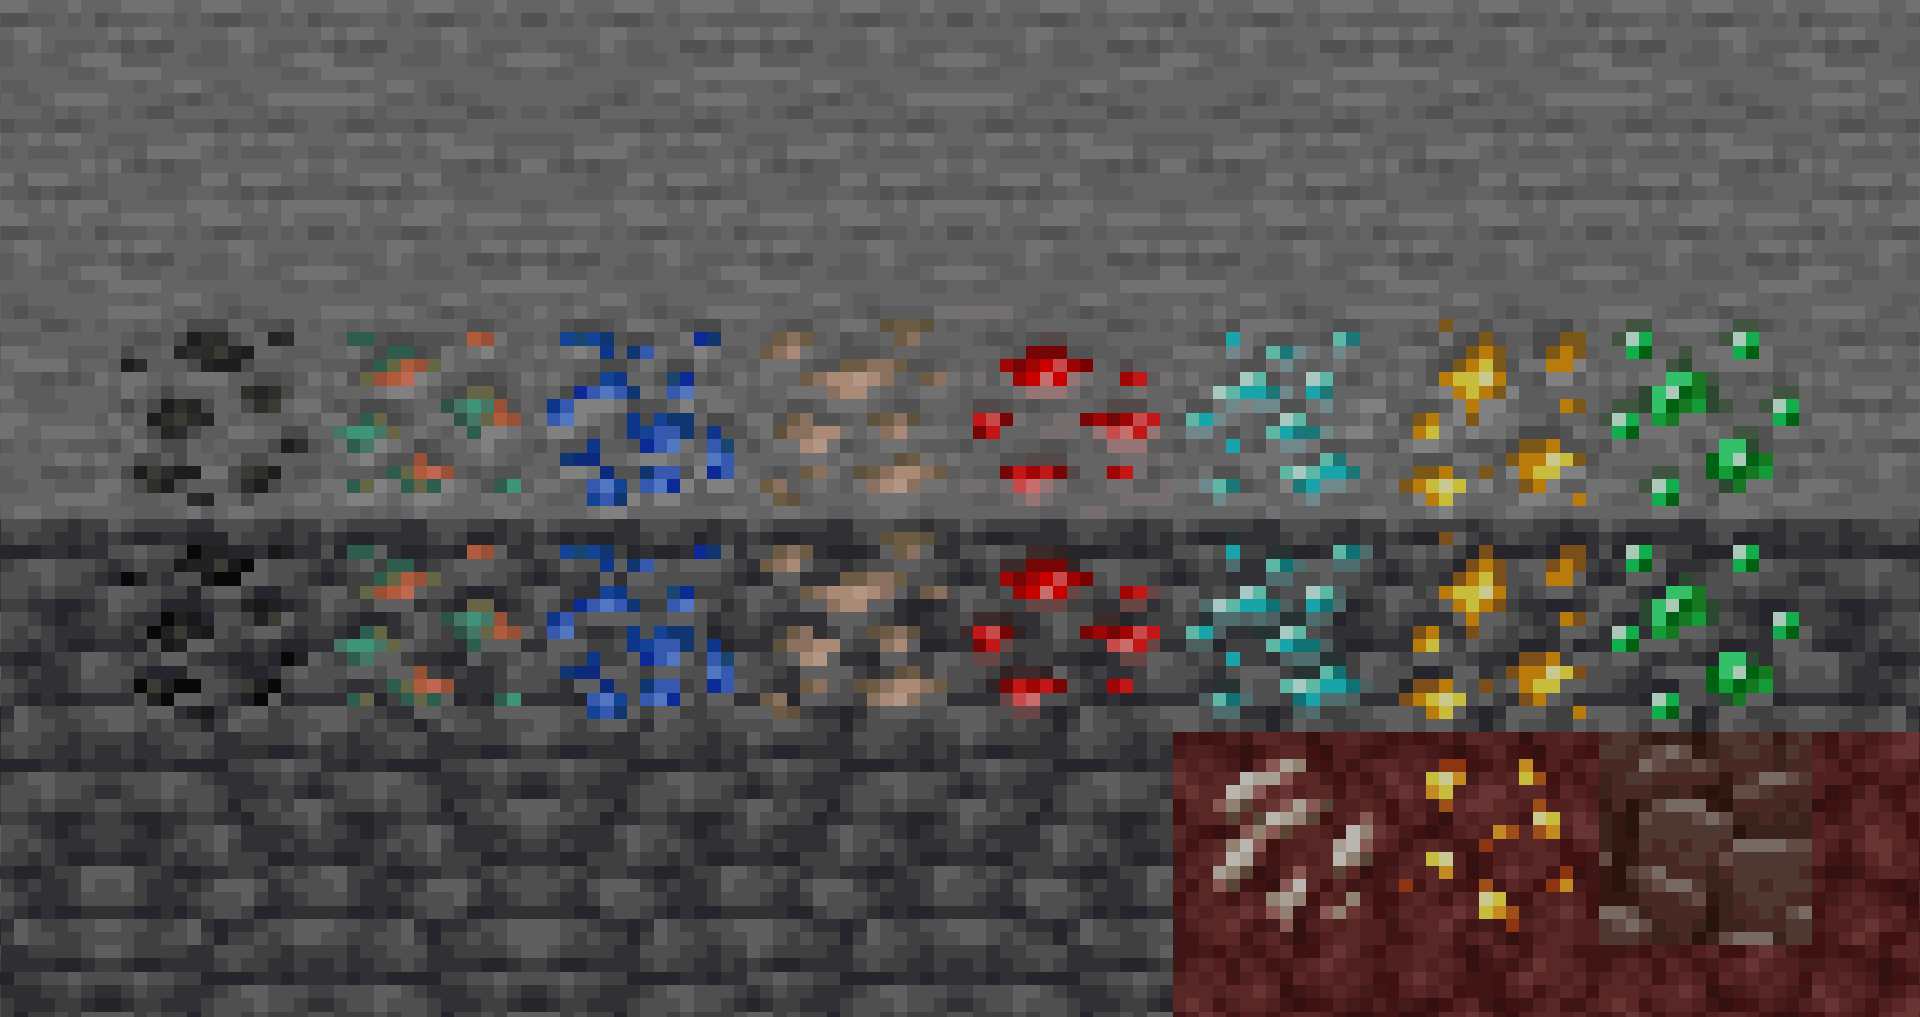
Minecraft Mining Guide: Best Levels for Every Ore
Since the 1.18 world overhaul, every ore lives in a known altitude band — and most are densest at a specific Y level you can stand on. Diamond at -59, gold at -16, copper at 48, iron at two separate peaks. Here is the exact level for every ore, plus which mining pattern and gear actually pays off.
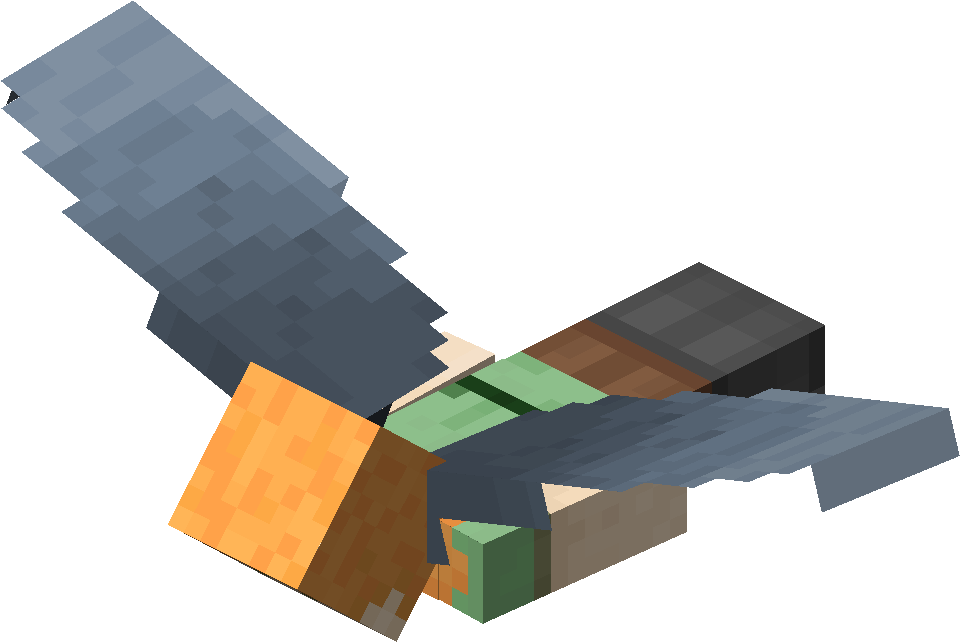
Minecraft Elytra Guide: How to Get Wings and Fly
The elytra turns Minecraft from a walking sim into a flying game. There is exactly one place to get it — an End ship in the outer End — and getting there means beating the dragon first. Here is the full route, how to actually fly, and how to keep the wings from dying on you.
Minecraft Survival Guide for Beginners — Surviving Your First Days
You have about ten minutes of daylight before the sun sets and the world tries to kill you. Here is exactly what to do with them — punch a tree, build a tool chain, and get a roof over your head before the zombies arrive.

Best Minecraft Enchantments, Ranked — The Ones Worth Your XP
Mending is the enchantment that ends the grind — gear that repairs itself forever. Everything else is a fight over your XP and anvil uses. Here is what actually earns a slot, ranked, with the real max levels.