Pokemon Pokopia Beginner Guide: What To Do In Your First Hours
Pokopia does not punish you for playing badly. It punishes you for building beautifully in the wrong place before you have the tools to move it. Here is the early-game order of operations that saves you a teardown.
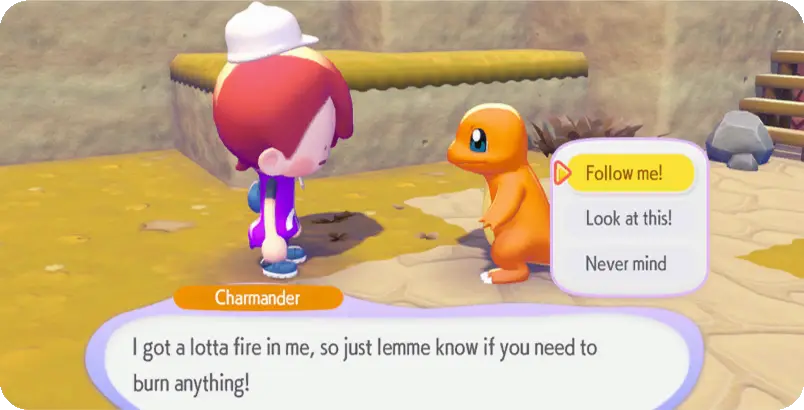
The single most expensive mistake in Pokopia is building something gorgeous in the first ten hours. Not because the game penalizes creativity, but because you unlock Strength from Machoke in Rocky Ridges, which lets you push large boulders and blocks around, and you unlock Rollout from Graveler in the same region, which chews through terrain far faster than Rock Smash does. Anything you carefully terraformed by hand before those two skills existed is going to look like it took four times the effort it needed to, and half of it you will want to move anyway.
So the early game is not really about making a nice island. It is about acquiring verbs. Every skill Ditto learns is a new way to edit the world, and the players who front-load skill acquisition end up with better towns in less time than the players who start decorating on day one.
Pokopia released March 5, 2026 as a Nintendo Switch 2 exclusive, and it landed harder than a Pokemon spin-off has any right to: 2.2 million units in its first four days and an 89 on Metacritic, making it the highest-rated Pokemon game on the site. That reception makes sense once you play it, because underneath the pastel life-sim surface it is a genuinely deep building game. This guide covers the order of operations that gets you to the good part fastest.
What Pokopia actually is
You play as a Ditto that has transformed into human shape after waking from a long slumber, dropped into a world humans have left behind. Professor Tangrowth points you at the problem: the land is dead, and you are going to fix it.

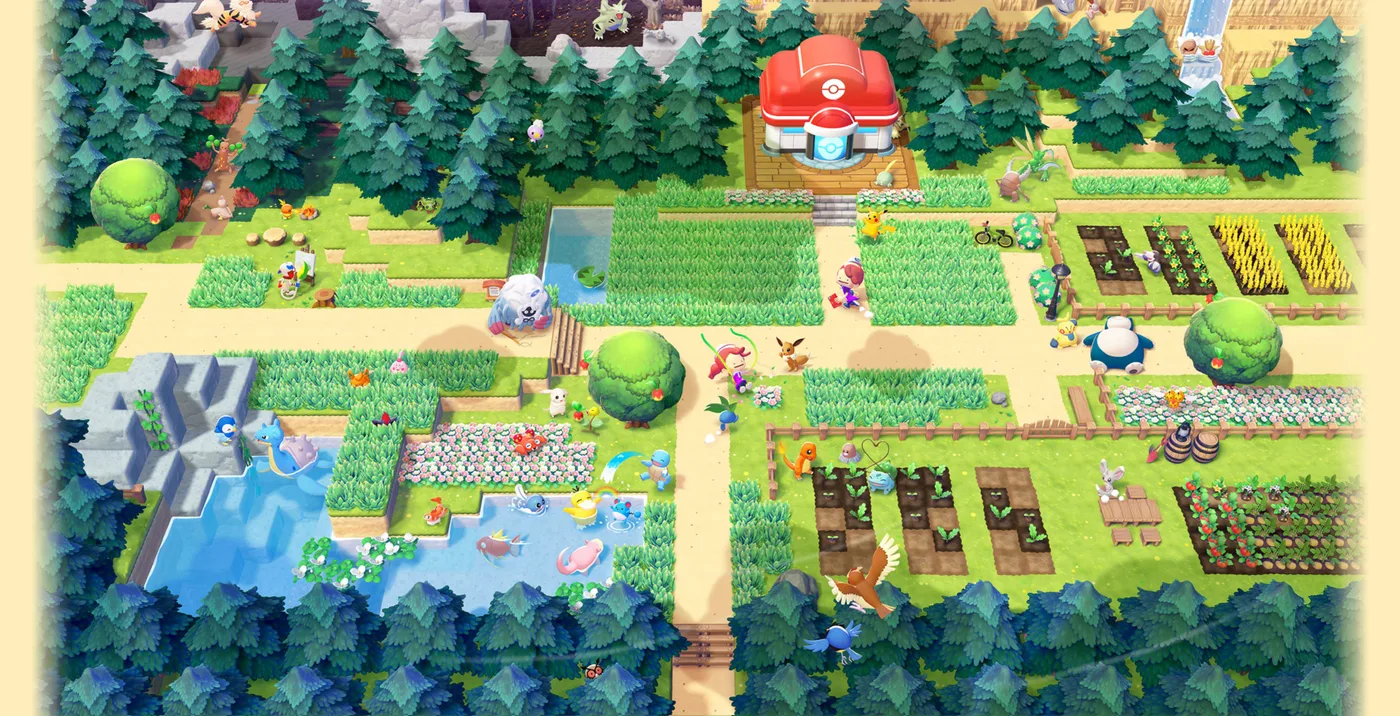
The loop is collect, build, attract, repeat. You gather materials, craft furniture and structures, arrange them into habitats that specific Pokemon like, and those Pokemon move in. Once they live with you, you befriend them, and befriended Pokemon teach Ditto their moves. Those moves are your terraforming toolkit, which lets you build better habitats, which attracts more Pokemon, which teaches more moves.
There are five main regions, all built on Kanto locations: the Withered Wasteland, Bleak Beach, Rocky Ridges, the Sparkling Skylands, and Palette Town. You progress between them by raising your rank, so the regions gate your skill list. This is the structural reason the guide advice everywhere is "do the story first" — the story is where the verbs live.
Five things to do in your first hour
Do these before you get absorbed in decorating.
- Set your camera distance to Far. It is in settings. The default sits the camera uncomfortably close to Ditto, which makes judging block placement genuinely harder. This is a thirty-second fix that improves every subsequent hour.
- Learn to hold Y instead of tapping it. Holding Y inhales items continuously rather than one press per item. If you spend your first three hours tapping, you will feel it in your thumb.
- Follow the story to Squirtle and Bulbasaur. These give you Water Gun and Leafage, the two moves you will use more than any other. Water Gun waters tiles in front of you in a plus-shaped pattern to revitalize dead ground; Leafage pulls grass up out of dry earth. Everything green on your island traces back to these two.
- Establish one hub near the Pokemon Center. Put your workbench and your storage boxes in one place, adjacent to each other. Do not scatter crafting stations around the island because it looks charming. It does not stay charming.
- Play about thirty minutes to unlock Mystery Gifts. The menu opens after roughly half an hour of playtime and is worth checking for distributed items.

PP is your real difficulty setting
Every move Ditto uses costs PP, displayed as a blue curved bar. Run it dry and Ditto gets tired and stops being useful. PP is not a combat resource here; it is your work shift. A bigger PP pool is literally more building per session.
Two things matter:
- Food restores PP. Berries work, and anything edible works. Early on your options are thin, so stock Leppa Berries and Carrots aggressively. Once you unlock cooking in Rocky Ridges, cooked meals become the efficient restore and you stop thinking about this.
- PP Up items raise your maximum. Buy them from the Pokemon Center store. This is the highest-value early purchase in the game and most new players underspend on it.
There is also a pacing trick worth internalizing: alternate heavy-cost moves with cheap ones. Rock Smash and Rollout drain the bar quickly; Water Gun and Leafage are light. Interleaving them stretches a session considerably compared to spamming one expensive move until you are empty.
Food does double duty, too, because certain dishes permanently upgrade specific moves. Soup extends Water Gun's range. Salad expands Leafage so it can create duckweed on water and pull moss. Bread lets Cut work at range and through metal. Hamburger Steak hardens Rock Smash so it breaks tougher materials. These are not consumable buffs you have to re-apply — they are unlocks, and they are easy to miss entirely if you treat cooking as flavor text.
Fix your bag before you fix your island
Inventory pressure is the number one thing that makes early Pokopia feel tedious, and it is almost entirely solvable with purchases you can make immediately.
- Packing Tips and Handy Bag items expand your carrying capacity. Buy them from the store early, before cosmetics.
- Storage boxes placed adjacent to a workbench automatically supply materials to it. You do not have to pull items out and hold them to craft. This one mechanic changes crafting from a chore into a non-event, and a surprising number of players never notice it.
- Hold X with the bag open to sort. Free organization.
- Separate item types across multiple boxes rather than dumping everything into one. Labeled frames help once your material count climbs.
Chase the yellow speech bubbles
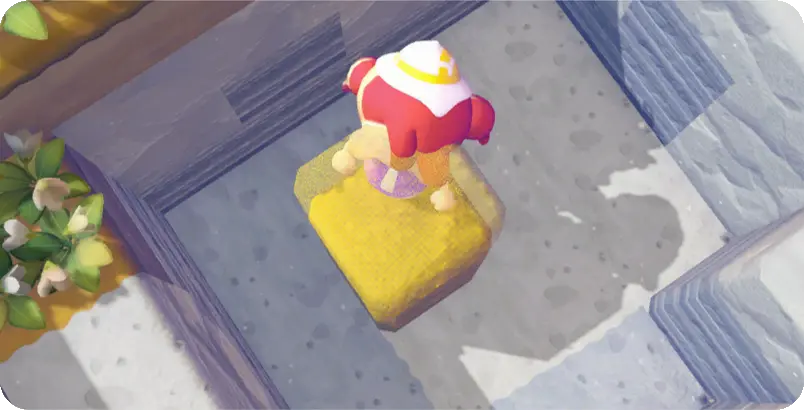
Pokemon on your island display yellow speech bubbles when they have something meaningful for you — a story beat, a request, a new arrival. These are your quest markers, and they are the fastest route through the regional gates.
Talk to your befriended Pokemon regularly, especially any that look like they are pondering something. Requests chain, and the Squirtle and Chikorita chains in particular feed directly into move unlocks you do not want to be missing at hour twenty.
You can also have up to five Pokemon following you at once, which a lot of players never test because they assume the cap is one or two. Each Pokemon has a specialty — Fly, Teleport, Crush, Bulldoze and others — and construction kits require an assigned Pokemon with the right specialty to complete. Bringing a five-Pokemon crew with complementary specialties means you stop walking back across the island to fetch the one that can do the job. Use the Pokedex search (press Plus) to find who has the specialty you need.
Build a house, not just a flower patch
Habitats come in two flavors, and the difference matters more than it first appears.
A natural habitat is an outdoor arrangement — tall grass, flower beds, a water feature. They are cheap, fast, and effective at attracting Pokemon. Habitat 001 is literally four Tall Grass, and it pulls in Bulbasaur, Charmander, Charizard, Squirtle, Oddish and Geodude.
A house is a built structure. The minimum viable home is four walls two blocks high, a door, and three pieces of furniture. Houses cost more, but they give you interior space to decorate, and interior decoration is how you push a resident's comfort into the top tiers. Natural habitats hard-cap how happy a Pokemon can get because there is no inside to furnish.
Early on, spam natural habitats to build population. As you settle in, convert your favorites to houses. There is a full breakdown of comfort mechanics in our Pokopia habitat and comfort guide.
The daily routine that compounds
Pokopia runs on your Switch 2 system clock, so it has real daily content. Five minutes a day of this is worth hours of unfocused play:
- Check the Pokemon Center PC for daily challenges, the shop, and stamps. Challenges pay Life Coins.
- Visit a Dream Island. Unlocked after befriending Drifloon, these are resource runs that do not alter your town terrain, which makes them the safe way to farm. You can only visit one type per day, so do it every day.
- Play on Sunday if you can. Shiny spots — the sparkles in water and on flowers — appear noticeably more often on Sundays. Sunday is your Honey and recipe stockpiling day.
- Ask residents about their comfort level and act on one of them.
Early mistakes that cost you a rebuild
- Decorating before Rollout. Rollout smashes through blocks fast, and it is imprecise. Rolling through a finished plaza is a real hazard. Terraform first, decorate after.
- Underbuying PP Up and bag upgrades in favor of furniture. The upgrades multiply everything you do afterward.
- Ignoring the Habitat Dex hints. Traces of Pokemon appear on the ground; interacting with them registers habitat hints in your Habitat Dex. Free recipes, easy to walk past.
- Building your hub far from the Pokemon Center. You will visit the Center daily forever.
- Treating cooking as optional. It is your PP economy and four permanent move upgrades.
One last note on pace: none of this is a race. The game sold four million copies to an audience that mostly wants to build a nice place for a Snorlax to nap. Take the efficiency advice as far as it is fun and no further.
Quick Action Checklist
- Set camera distance to Far in settings immediately.
- Hold Y to vacuum items; hold X in the bag to sort.
- Push the story to Squirtle (Water Gun) and Bulbasaur (Leafage) before doing anything decorative.
- Buy PP Up, Packing Tips, and Handy Bag from the Pokemon Center store before furniture.
- Put storage boxes adjacent to your workbench so crafting pulls materials automatically.
- Stock Leppa Berries and Carrots; unlock cooking in Rocky Ridges and eat Soup, Salad, Bread, and Hamburger Steak for permanent move upgrades.
- Travel with five Pokemon chosen for complementary specialties.
- Spam natural habitats early; convert to houses (4 walls, door, 3 furniture) once you want high comfort.
- Do the daily PC challenges and one Dream Island run every day. Save big foraging for Sunday.
- Delay serious decorating until you have Strength and Rollout from Rocky Ridges.
Frequently Asked Questions
What should you do first in Pokemon Pokopia?
How do you increase PP in Pokemon Pokopia?
How many Pokemon can follow you in Pokopia?
Should you build houses or natural habitats in Pokopia?
Is Pokemon Pokopia on Nintendo Switch 2 only?
Keep Reading
Related Guides

Pokopia Photo Ops: All 50 Highlight Reel Shots and Frames
Pokopia's Highlight Reel is a 50-shot photo checklist, and it is where most of the game's photo frames come from. Here is every photo op, the Pokemon and prop each one needs, the 15 that pay a frame, and where Serebii and Bulbapedia disagree on the setup.
Pokopia Paint Guide: All 18 Colors, Patterns and Smearguru
Pokopia's paint system runs through Smearguru, a Pokemon the story never makes you meet. Here is how to unlock it, which berry makes which paint, the recipe for all 18 colors, and where every one of the 116 patterns comes from.

Pokopia Halloween Event: Pumpkaboo's Sweet Surprises Guide
Pokopia's first Halloween event adds Pumpkaboo and Gourgeist from October 17 to November 1, 2026, and it has a gate the Feebas event did not: you need Camouflage from Zorua. Here is the confirmed schedule, the checklist to clear before it opens, and what is still unannounced.
Pokopia Team Initiation Challenge: All 9 Steps and Badges
The sand-covered tower on the Withered Wasteland beach runs a nine-step request, and it is the last one before the credits. Here is each delivery it asks for, where each item actually comes from, and the combined bill so you can stockpile once instead of nine times.
Pokopia's Jump Rope Contest Returns: First Repeat Event
Every Pokopia event so far has been a one-and-done window. Bulbasaur's Jump Rope Contest just broke that pattern, running a second time five months after its April debut. Here is what changed, what did not, and how many days you actually have left.

Pokopia CDs Guide: Every Song and How DJ Rotom Works
Pokopia never puts its soundtrack in a menu. Every track beyond the default ambience is a physical CD, hidden in glowing blocks and Dream Islands with no in-game checklist to work from. Here is the full list, where the CDs come from, and why DJ Rotom is worth more than a CD player.