PUBG Blue Zone & Rotation Guide: Beat the Circle
The blue zone kills more players than enemies do, and almost all of those deaths are avoidable. Here's how circle damage ramps every phase, when to move versus hold, and how to play the edge without ever eating the wall.

More players die to the blue zone than they'd ever admit, and almost none of those deaths were bad luck. They were bad clocks. Somebody looted one crate too long, took the scenic route around a hill, or assumed the early zone "barely tickles" right up until it didn't. The blue zone isn't a random hazard you react to — it's a published timetable that punishes the same mistake every single game. Learn the timetable and you stop dying to it forever.
This is the rotation and zone-survival guide that the endgame circle strategy guide builds on top of. Endgame is about the last three rings, where positioning wins or loses the game. This is everything that happens before that — how the zone damages you, how to read the next circle, and how to be inside it without sprinting through the open like a panicked deer.
The blue zone is a clock, not a wall
Here's the mental model that fixes most zone deaths: the playzone is a countdown, not an obstacle. On the map, the area outside the current safe zone is shaded blue, and before each shrink the game shows you a white circle marking exactly where the next safe zone will be. When the timer hits zero, the blue boundary closes in toward that white circle at a constant rate until they line up — then it pauses, and the cycle repeats.
That means you always have two pieces of information: where the wall is now, and where it's going. Every rotation decision is just math against those two facts and the clock between them. Players who get caught aren't unlucky — they ignored the clock or never looked at the white circle.
The blue zone forces players closer together as the match goes on to speed the game up. That's the whole design. So treat every shrink as a deadline you already know about, not a surprise. You were told where to be and roughly when. Getting caught is an information failure, not a movement one.
A few mechanics worth burning into memory. Damage ticks hit everyone at the same time, once per second, and the timing values below are the PC version — Krafton tunes circle timings and damage across patches and they differ slightly by map, so treat the exact numbers as directional and confirm the current values in-game. What does not change is the shape of the curve: early circles are forgiving, late circles are lethal, and the ramp between them is steep.
How blue zone damage actually ramps
The single most expensive misconception in PUBG is that "the blue does the same thing all game." It does not. Blue zone damage per second climbs hard with every phase, and the jump between mid and late circles is brutal.
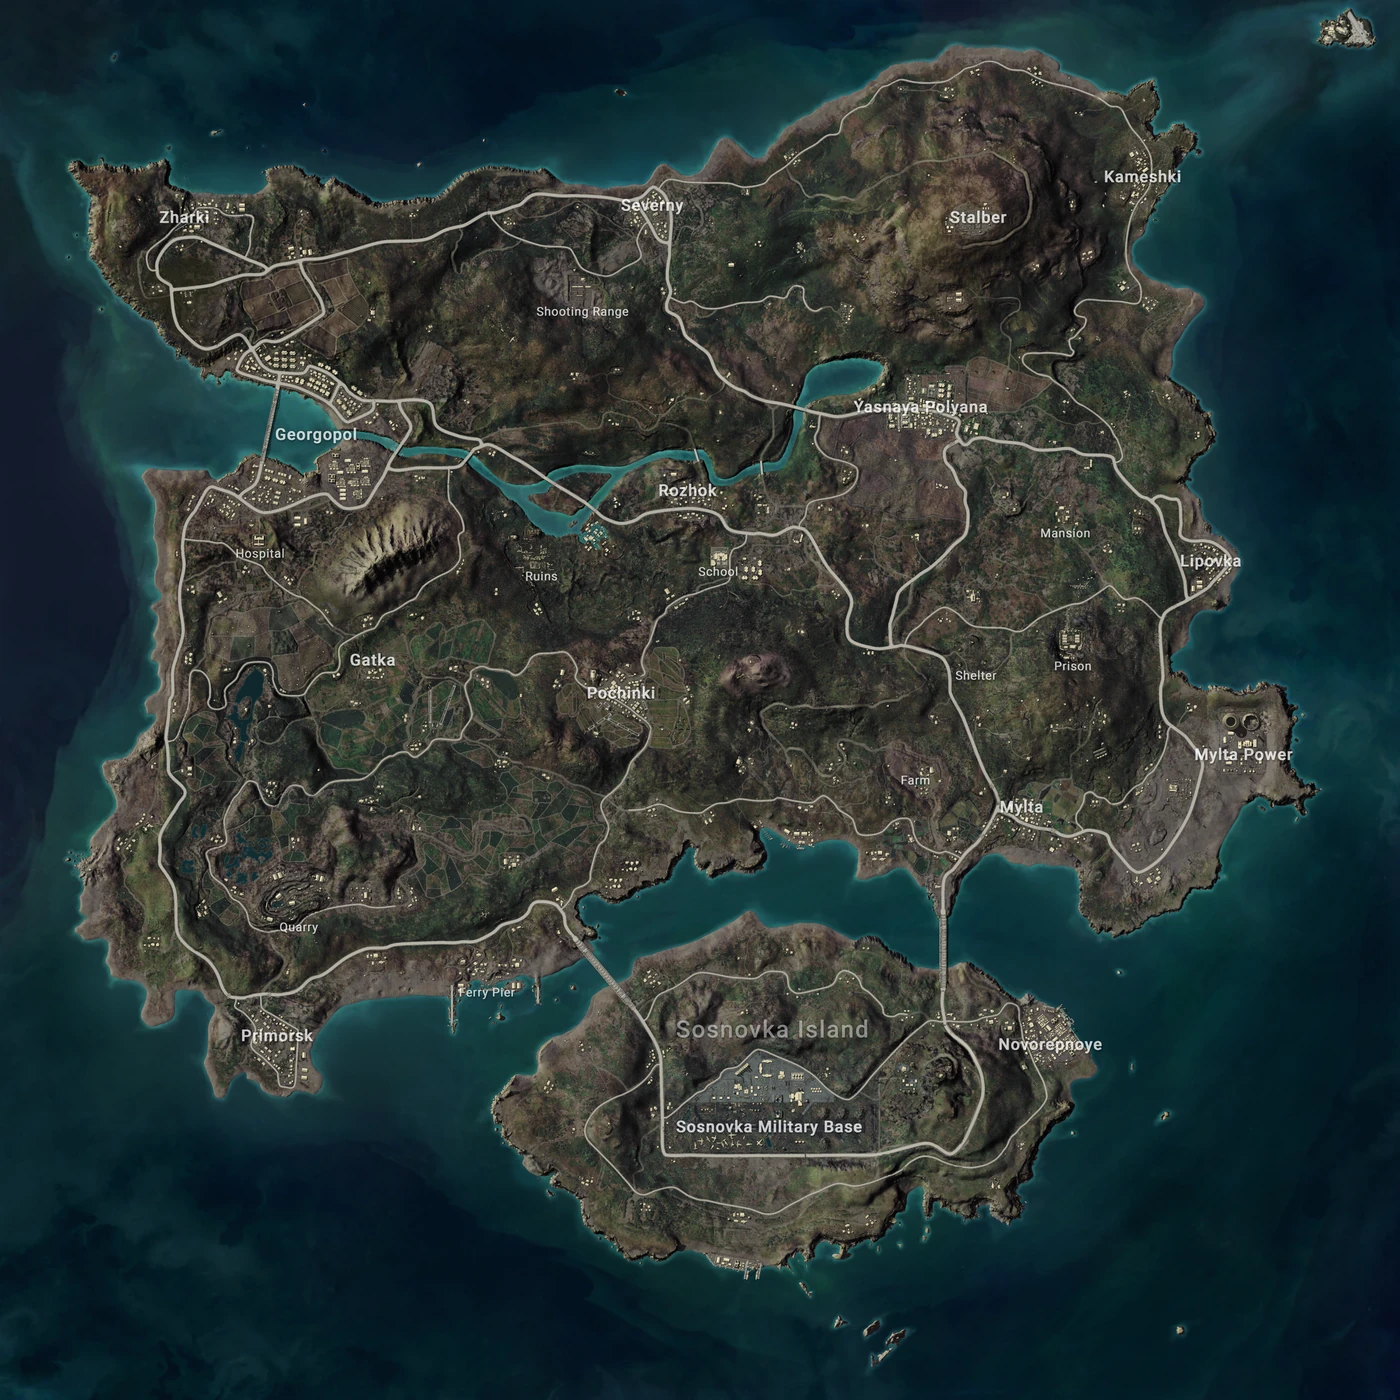
Roughly how it scales on Erangel (PC values, patch-variable):
| Phase | Damage per second (in the blue) | What it means for you |
|---|---|---|
| Circle 1 | ~0.4% | A tax. You can loot a building out in the blue if you have to. |
| Circle 2-3 | ~0.6-0.8% | Annoying. A short detour through the blue is survivable. |
| Circle 4-5 | ~1-3% | Now it bites. Crossing the blue costs real HP and a heal. |
| Circle 6-7 | ~5-7% | Deadly. You will die in the blue without constant healing. |
| Circle 8 + final | ~9-11% | A death sentence. Seconds in the blue, not minutes. |
PUBG also made circle damage variable by distance — the further outside the playzone you are, the more damage you take per tick. So standing one step into the blue at circle 6 is survivable for a moment; sprinting back from 400 meters out is not. The lesson is the same either way: the cost of being caught isn't a flat fee, it scales with both the phase and how far you stranded yourself.
The practical takeaway is brutal and simple. In the first three circles, the zone is a suggestion — you can take a fight, loot a compound, or grab a vehicle even if you're technically late. From circle 4 onward, the blue is a weapon, and by circle 6 it's the deadliest thing on the map. The single best habit you can build is front-loading your rotations: move early while the zone is cheap so you're never paying late-phase prices to catch up.
Read the white circle before you move
The white circle is the most under-used piece of information in the game. Every shrink, before the wall moves, the game hands you the exact center and size of the next safe zone. Most players glance at it, panic about the wall behind them, and run blindly toward the middle. That's how you sprint straight into the team that's already holding the good ground.
What to actually read off the white circle:
- Where the safe zone is relative to you. Are you already inside it, on the edge, or outside? If you're already inside the next circle, you may not need to move at all — let other teams run the gauntlet to you.
- What terrain the new center sits on. A circle pulling onto an open field is a death trap with no cover; a circle pulling onto a compound or ridgeline is worth racing for. Plan the route, not just the destination.
- Which teams have to cross open ground to make it. If the zone pulls away from a popular drop, whole squads have to rotate through exposed terrain. That's your ambush, and their problem.
- Whether you're on the favorable side. Coming into the new circle from high ground or from cover beats arriving across a flat, sightline-heavy approach. Sometimes a longer route on the protected side beats the direct line.
Reading the white circle turns a frantic run into a plan. You're not "getting to the middle" — you're picking a specific piece of ground inside the next safe zone and choosing the route that gets you there seen the least.
When to rotate: early vs late
There are two valid rotation styles, and the right one depends on the phase, your loadout, and how many teams are alive.
Early rotation means leaving before the zone shrinks, while the blue is cheap, to claim ground inside the next circle first. The upside is huge: you arrive with time to set up, take cover, and watch later teams walk into your sightlines. The downside is you move while you can still be seen by everyone, and you commit before you have full information. Early rotation wins when the next circle is far, when you have a vehicle, and in the first few phases where being caught out costs almost nothing.
Late rotation means holding your position until the last reasonable moment, then moving in behind the teams that left early. The upside is information — you let others fight over the new ground and walk in to clean up, and you avoid being the team everyone shoots at crossing the field. The downside is the clock: cut it too fine in a late phase and the blue eats you alive, because that's exactly where damage spikes. Late rotation wins when you're already near the next center, when the circle is small and close, and when you have the healing to survive a few ticks if you misjudge it.
The mistake to avoid is the worst of both: leaving late and slow. If you're going to rotate late, you need a fast, covered route and the heals to back it up. If you don't have those, rotate early. For the broader movement mechanics that make either style work — how to cross open ground, when to vault, how to use cover-to-cover — read the movement and positioning guide.
Edge play vs center play
Once you're inside the safe zone, where you sit inside it is its own decision.
Playing the edge means hugging the blue boundary, with the zone at your back. The big advantage: nobody can shoot you from behind, because behind you is the blue. You only have to watch the angles in front of you, which cuts your threat directions roughly in half. The risk is that the next circle can pull away from you, turning your safe edge into a long, exposed rotation — and if you misread the shrink, you're suddenly the team caught in the open. Edge play rewards patience and punishes laziness.
Playing the center means sitting near the middle of the safe zone with cover. You keep maximum flexibility for the next shrink no matter which way it pulls, and you're rarely the team forced to make a desperate run. The cost is that you can be engaged from every direction, so you need real cover — a compound, a rock cluster, a treeline — not just open grass. Center play rewards a strong defensive position and good awareness.
There's no universally correct answer, but a reliable default: play the edge when you trust your read on the next circle, play a covered center spot when you don't. And whichever you pick, the endgame circle strategy guide covers how these choices compress in the final rings, where the zone is tiny and every angle matters.
When the zone traps you
Sometimes the dice screw you. You land on the far edge of the map, the circle pulls to the opposite corner, and now you're staring at a rotation longer than the timer allows. Don't panic-sprint and die in the blue with a full inventory — there are tools.
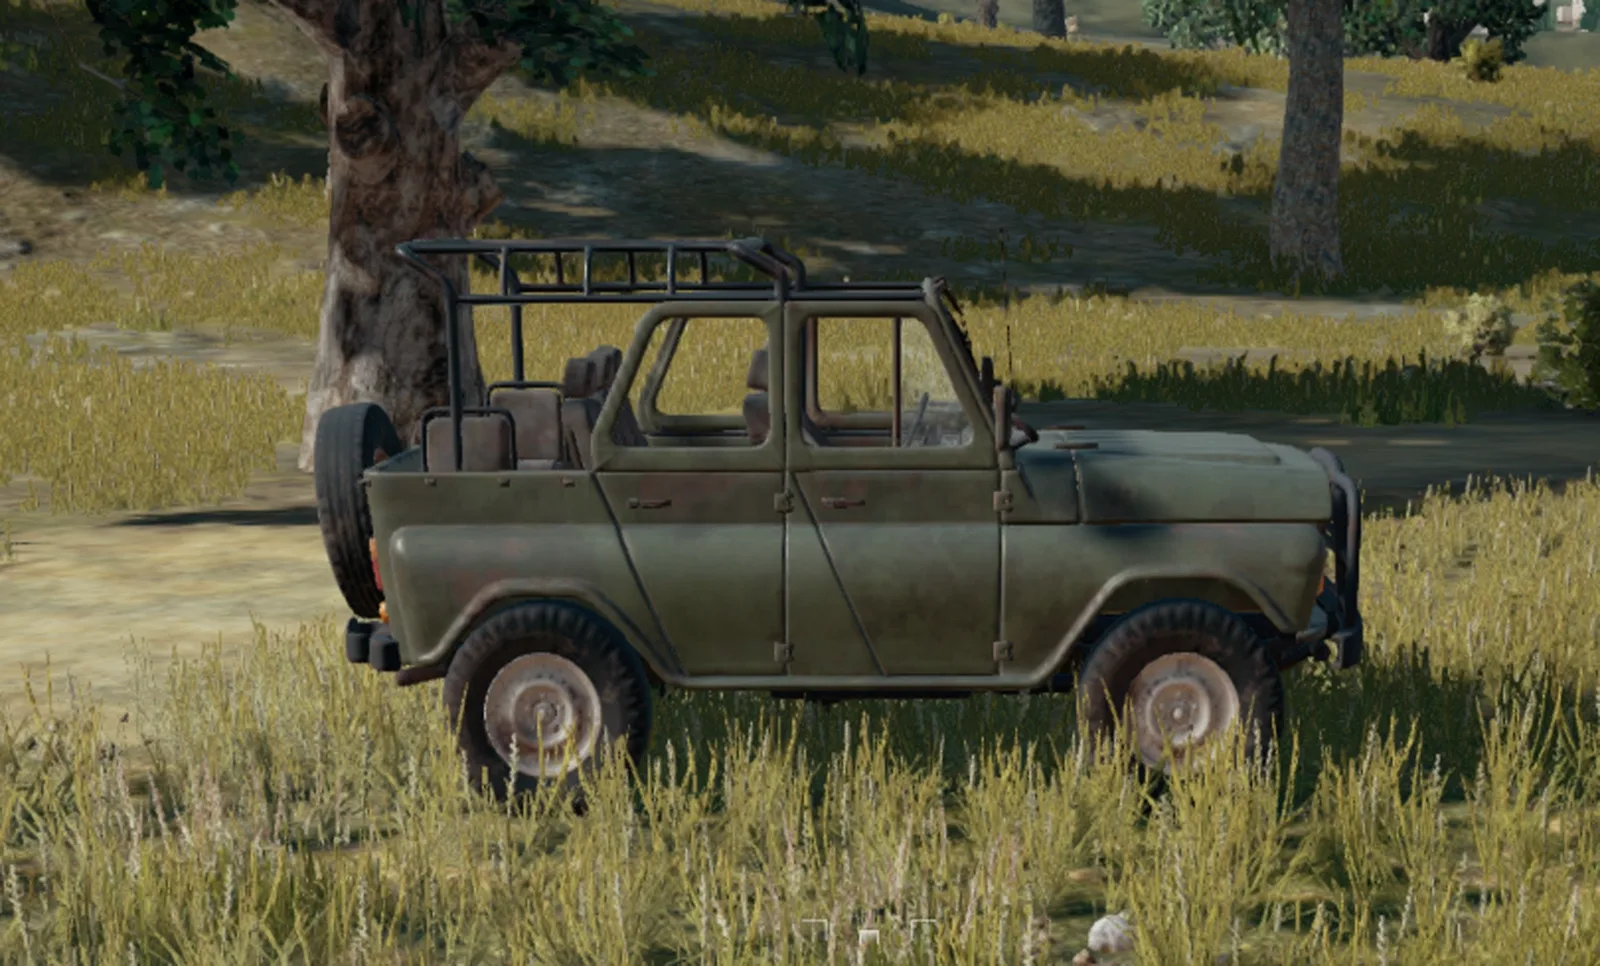
- Grab a vehicle. On the big maps, a car is the only honest answer to a brutal zone pull. Vehicles outrun the wall comfortably in early-to-mid phases. The trade-off is noise and exposure — everyone hears you coming. For which rides handle which terrain, see the best PUBG vehicles guide.
- Heal through it deliberately. If you must cross blue, pre-heal before you enter, carry your meds in easy reach, and accept that you're trading HP for distance. In phases 1-3 this is routine; from phase 5 it's a last resort.
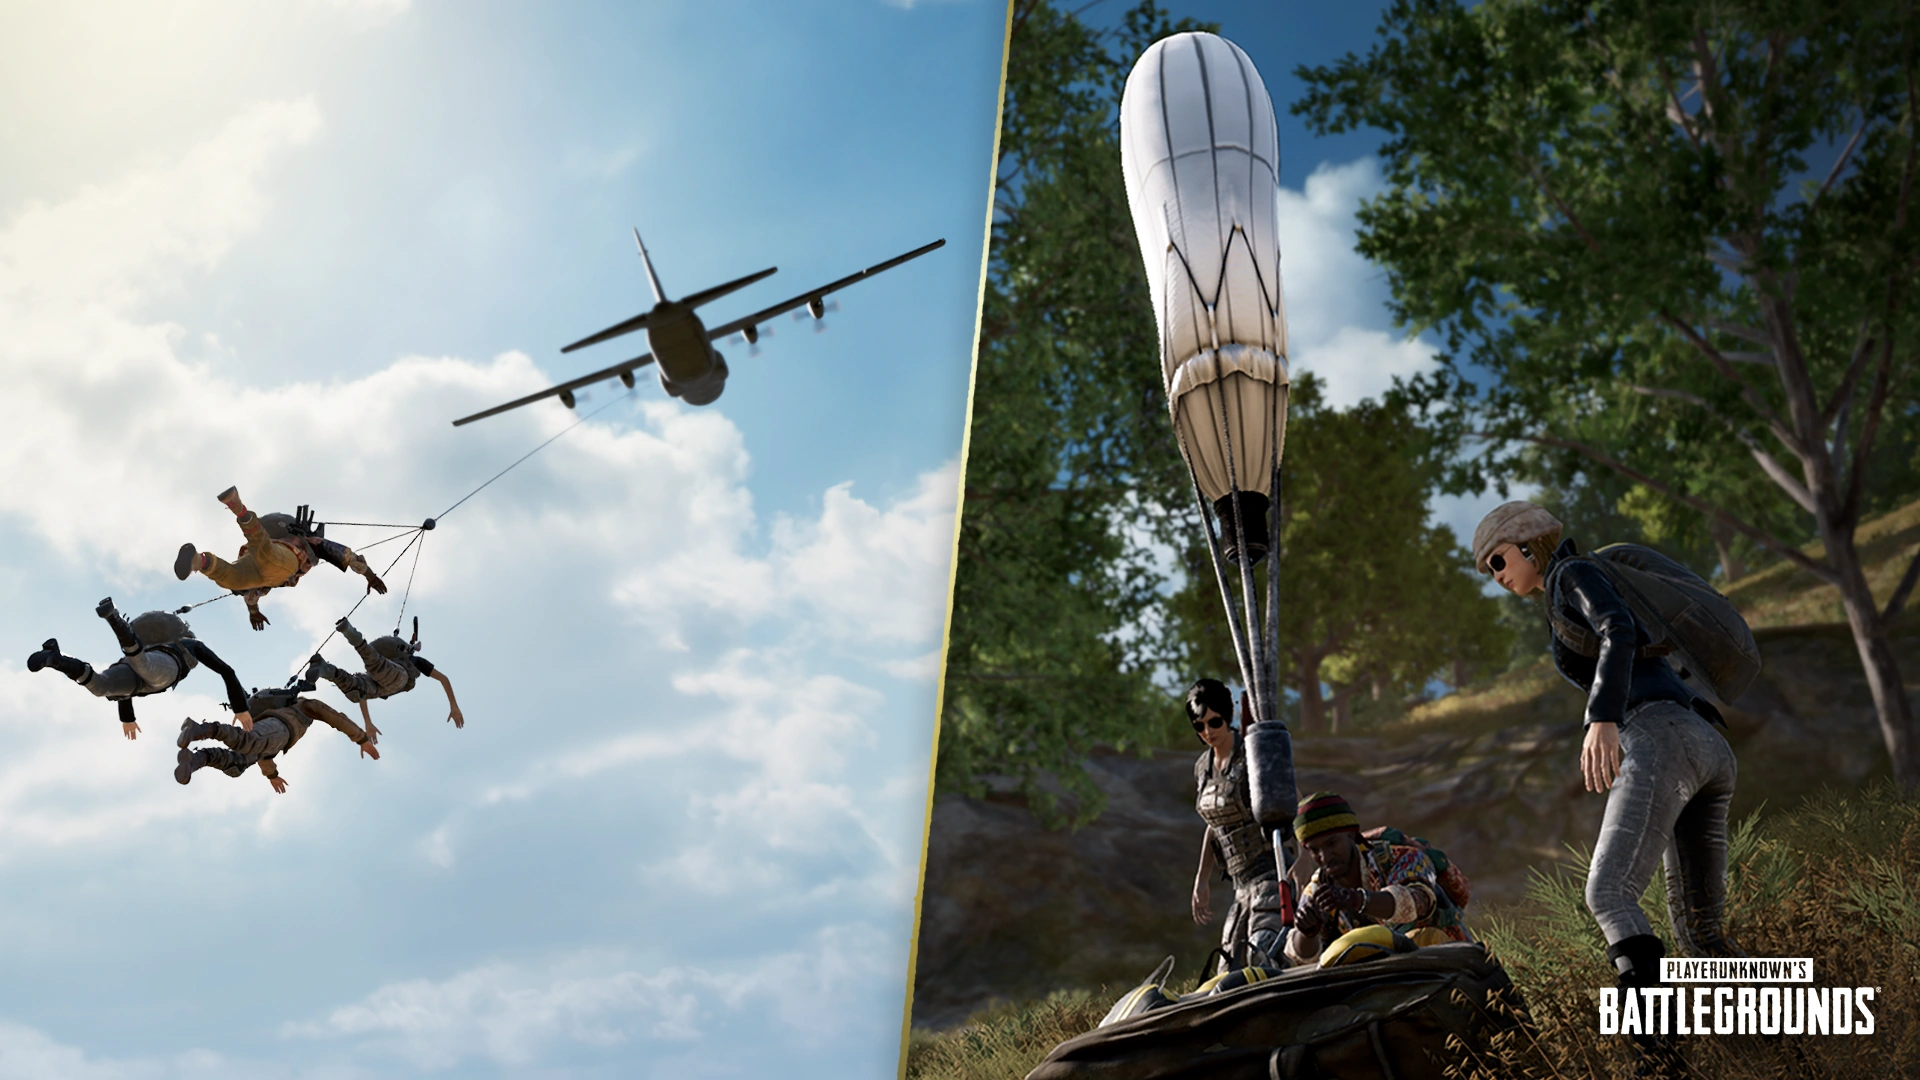
- Use an Emergency Pickup if you have one. On the maps that feature it, the Emergency Pickup deploys a balloon that a plane snags after about 60 seconds, hauling up to four players toward the center of the safe zone. It's the bail-out for being stuck deep in the blue with no way to outrun it — just know you can't shoot while you're hanging in the air, so you're vulnerable in transit, and it can't be used before the first circle or after the fourth.
One more wrinkle worth knowing: the Blue Zone Grenade is a throwable that creates a small patch of blue-zone damage on the ground for a few seconds. It's an offensive tool, not a rotation one, but it teaches the same instinct in miniature — a hard "you cannot stand here" zone that flushes enemies out of cover. If you're caught defending a spot, denying ground with one is the same logic the playzone uses against you all match.
Rotation by map
The same principles read differently depending on the terrain, because map size dictates how much the clock punishes you.
- Big maps (Erangel, Miramar): Distances are long, so vehicles are close to mandatory and early rotation is heavily favored. A bad zone pull on Miramar without a car is frequently fatal, because the open desert gives you no cover to leapfrog and the rotations are the longest in the game. Front-load every move here.
- Mid maps (Vikendi, Taego, Deston): A middle ground — vehicles help but you can sometimes foot-rotate if you read the white circle early. The varied terrain means cover-to-cover movement is viable on more of the map than on Miramar.
- Small maps (Sanhok, Karakin, Paramo): Circles are tight and rotations are short, so the blue zone is far less of a movement problem and far more of a fight-density one. You're rarely far from the next circle, but everyone else isn't either — expect contact on every rotation. For which map suits your playstyle, the maps ranked guide breaks them all down.
Across every map the throughline holds: the blue zone is information, not luck. Read the white circle, respect the damage ramp, move while the zone is cheap, and you'll spend the late game holding ground instead of bleeding out in the open.
Quick Action Checklist
- Treat the blue zone as a published clock — you always know where it's going and roughly when
- Front-load rotations: move early in circles 1-3 while damage is cheap
- From circle 4 on, never get caught in the blue without heals — damage ramps hard and scales with distance
- Read the white circle every shrink: where it is, what terrain it sits on, who has to cross open ground
- Rotate early when the circle is far or you have a vehicle; rotate late only with a fast covered route and meds
- Play the edge when you trust your circle read; play a covered center spot when you don't
- On big maps, grab a vehicle — a bad zone pull on foot is a death sentence
- Keep an Emergency Pickup as a bail-out for being stranded deep in the blue (where the map offers it)
Frequently Asked Questions
Keep Reading
Related Guides
PUBG Mid-Game Guide: Own Phases 2 Through 5
You survived the drop and you'll survive the final ten — but the match is decided in the messy middle, phases two through five, where most players just react to the blue and hope. Here's how to turn the mid-game into a lead instead of a coin flip.
PUBG Duo Strategy Guide: How to Actually Win as Two
Duos is the least forgiving mode in PUBG and nobody talks about it that way. You get exactly one teammate, which means you get exactly one mistake — and the moment you're both down, the game ends instantly with no third player to clean up. Here's how two players actually win.
PUBG Bridge Crossing Guide: Beat the Camp or Take the Water
The bridge camper is the most hated player in PUBG and also one of the most correct. A bridge is a chokepoint with no cover and exactly two exits, which makes it the best free-kill spot on Erangel. Here's how to get across one alive — and how to be the guy holding it.
PUBG Flanking Guide: Win Fights From the Side
A head-on peek war between two decent players is a coin flip. A flank removes the coin. Here's how to get to an enemy's blind side, when it's worth it, and how to close the kill without handing it back.

Best Weapons in PUBG: Tier List
Every PUBG tier list is out of date the moment a balance patch drops. So here's the list, ranked by role, plus the durable logic to re-tier any gun yourself when the next patch shakes things up.
Best PUBG Loadouts & Attachments
A naked M416 and a fully kitted M416 are basically two different guns. Here's how to build the strongest two-gun loadouts in PUBG and the attachment priority that turns loot into recoil control.