PUBG Bridge Crossing Guide: Beat the Camp or Take the Water
The bridge camper is the most hated player in PUBG and also one of the most correct. A bridge is a chokepoint with no cover and exactly two exits, which makes it the best free-kill spot on Erangel. Here's how to get across one alive — and how to be the guy holding it.
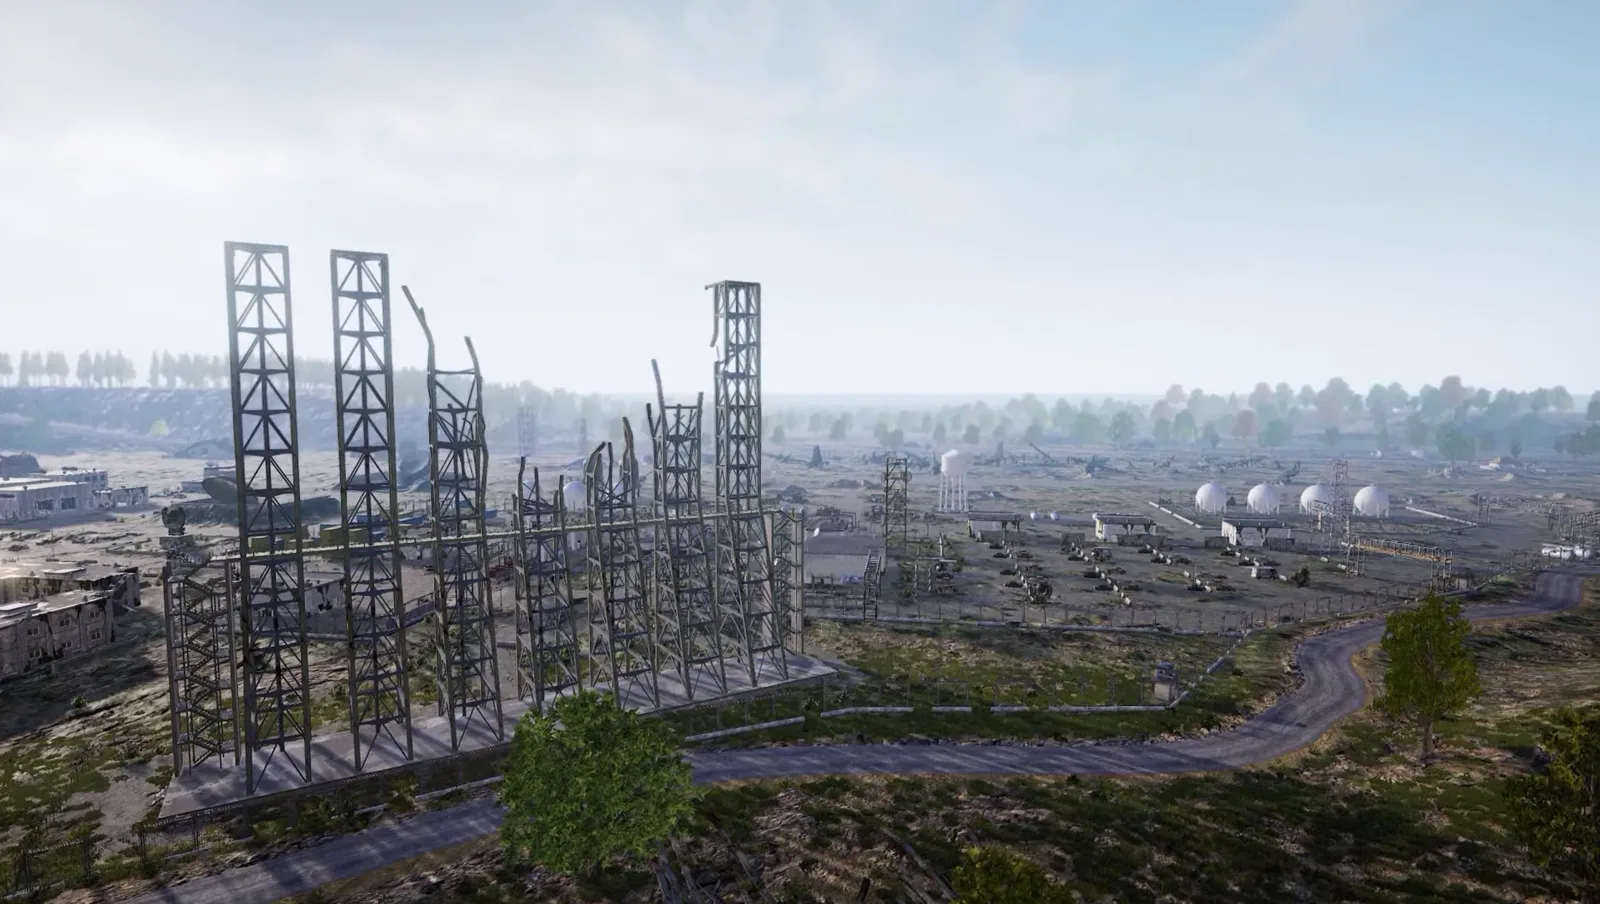
You looted Military Base clean. Level 3 helmet, an AWM you will never explain to anyone, a backpack full of med kits. The circle pulls north, you hop in a Dacia, and you die eleven seconds later on a bridge you have crossed a hundred times, shot by a guy lying prone behind a concrete barrier who has been waiting there since minute four. He gets your AWM. You get a loading screen.
Bridge camping gets called cheap constantly, and the people calling it cheap keep dying to it. It works because it is structurally sound: a bridge is a chokepoint with no cover, no alternate lanes, and completely predictable traffic. The camper knows exactly where you will be and roughly when. That is not cheese, that is map control. This guide is about beating it — reading the camp before you commit, crossing when you have to, going around when you can, and holding the thing yourself when the map hands you the opportunity.
The bridge is a kill zone, not a road
Reframe the object. A bridge looks like infrastructure, so your brain files it as "the way across." It is not. It is a long, narrow, uncovered lane with an enemy-shaped question mark at the far end, and you should treat approaching one with the same suspicion you would give an open doorway in a compound.
The wiki description of Sosnovka's bridges is blunt about why they work as sniping positions: the bridge is mostly uncovered, with only limited obstacles. That is the entire problem in one sentence. On a bridge you cannot:
- Break line of sight. There is nothing to break it with. The barriers are low and sparse, and anything you can hide behind, the camper has already pre-aimed.
- Take an unexpected angle. Your approach vector is known. There is one lane. The camper does not have to scan — he has to wait.
- Retreat quickly. Turning a vehicle around mid-span takes seconds you do not have, and reversing off a bridge under fire is how you end up in the water at 30 HP with no gun ready.
- Trade the kill. Even in a squad, everyone in the vehicle is in the same kill zone at the same time. One well-placed shooter can chew a whole squad because you are all stacked in one predictable box.
Every decision below follows from accepting that. The bridge is not a road you drive on. It is a fight you either win, avoid, or pay for.
Why Erangel bridges matter so much
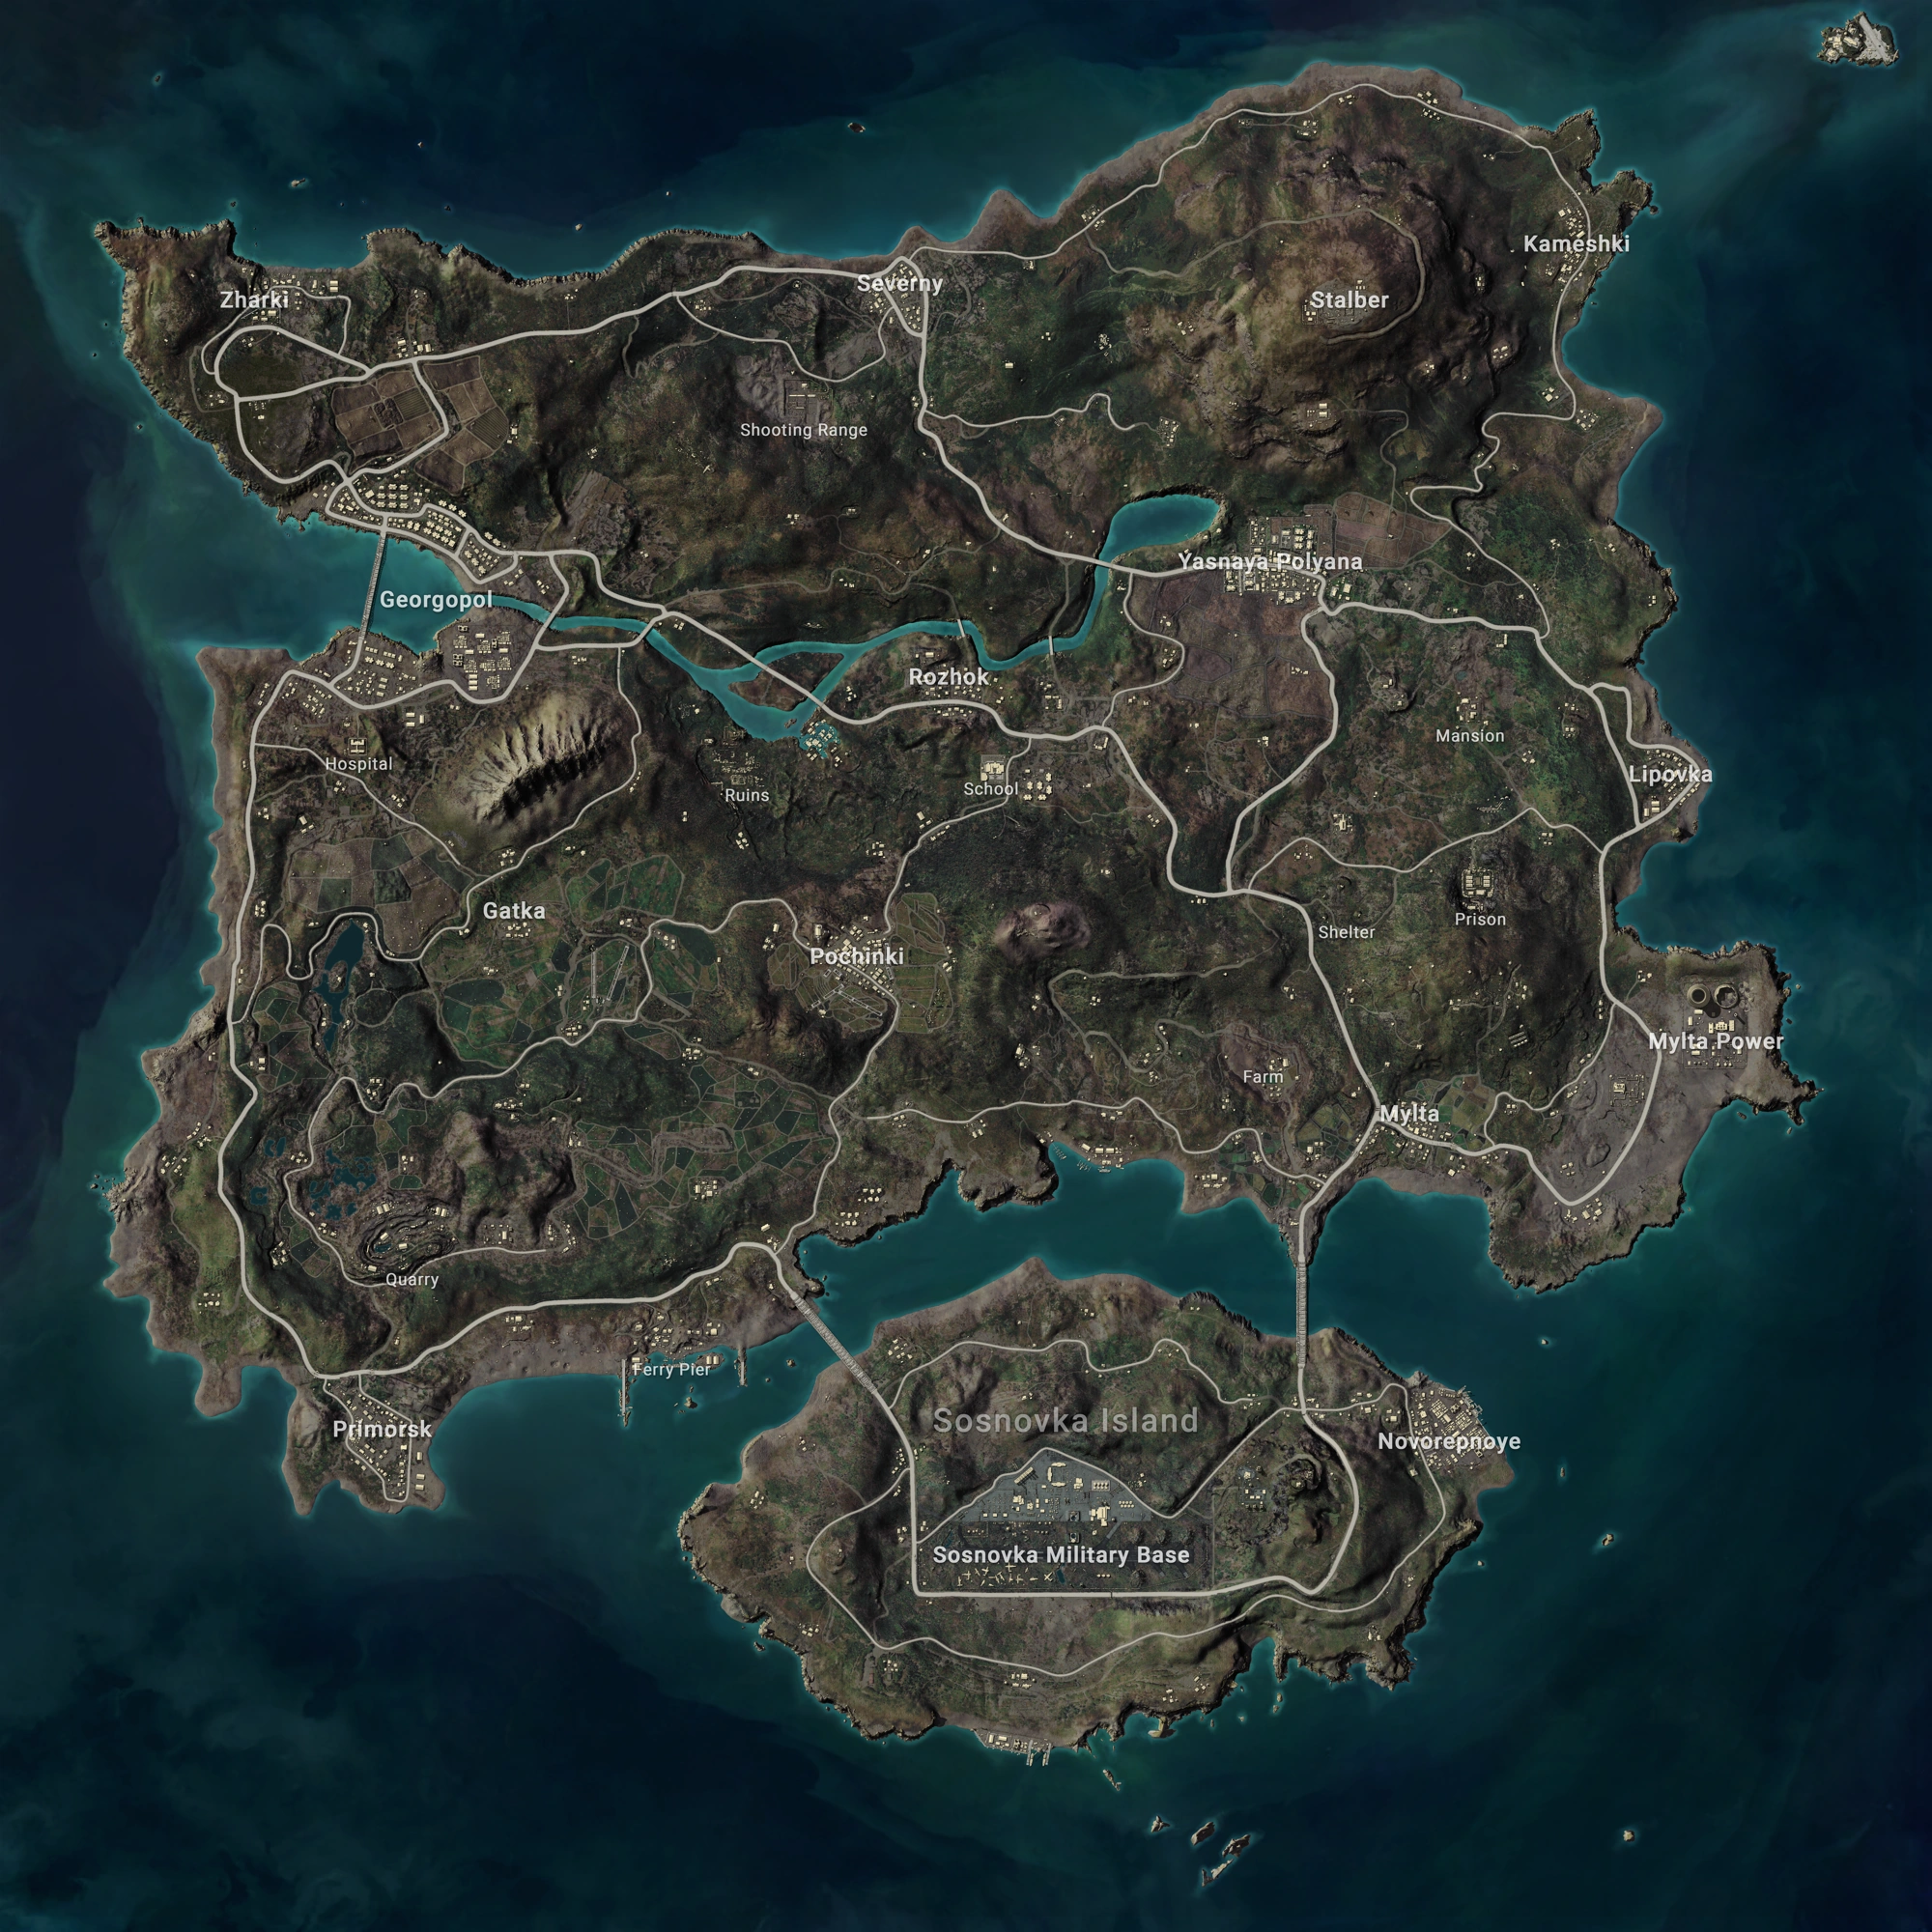
Erangel is an 8x8 km map, and the distance between major landmarks makes vehicles close to mandatory. But the reason bridges dominate Erangel specifically is Sosnovka Island — the landmass in the south holding Sosnovka Military Base.
The critical fact: besides swimming, which is slow, the only two ways onto or off of that island are two street bridges, to the northwest and the northeast. That is it. Two lanes for an entire island holding some of the best loot on the map. Every player who drops Military Base has to solve the same problem at the same time, and everyone camping knows it.
That geometry is what makes Military Base such a loaded proposition. The loot is genuinely excellent, but you are dropping onto an island far from the map center with two exits that a single competent sniper can hold. The wiki even flags the bridge as a great zone-control position for exactly this reason — it lets you stay safe early while everyone else fights.
Erangel's other notable bridges are the pair at Georgopol. The city is split into a northern and a southern section, connected by two bridges. These are shorter and less deadly than the Sosnovka spans, but they matter in a different way: Georgopol is a hot drop with some of the best loot on the map, and those bridges are the seam between its two halves. Early game, players who land south and need to move north funnel through them while still half-kitted.
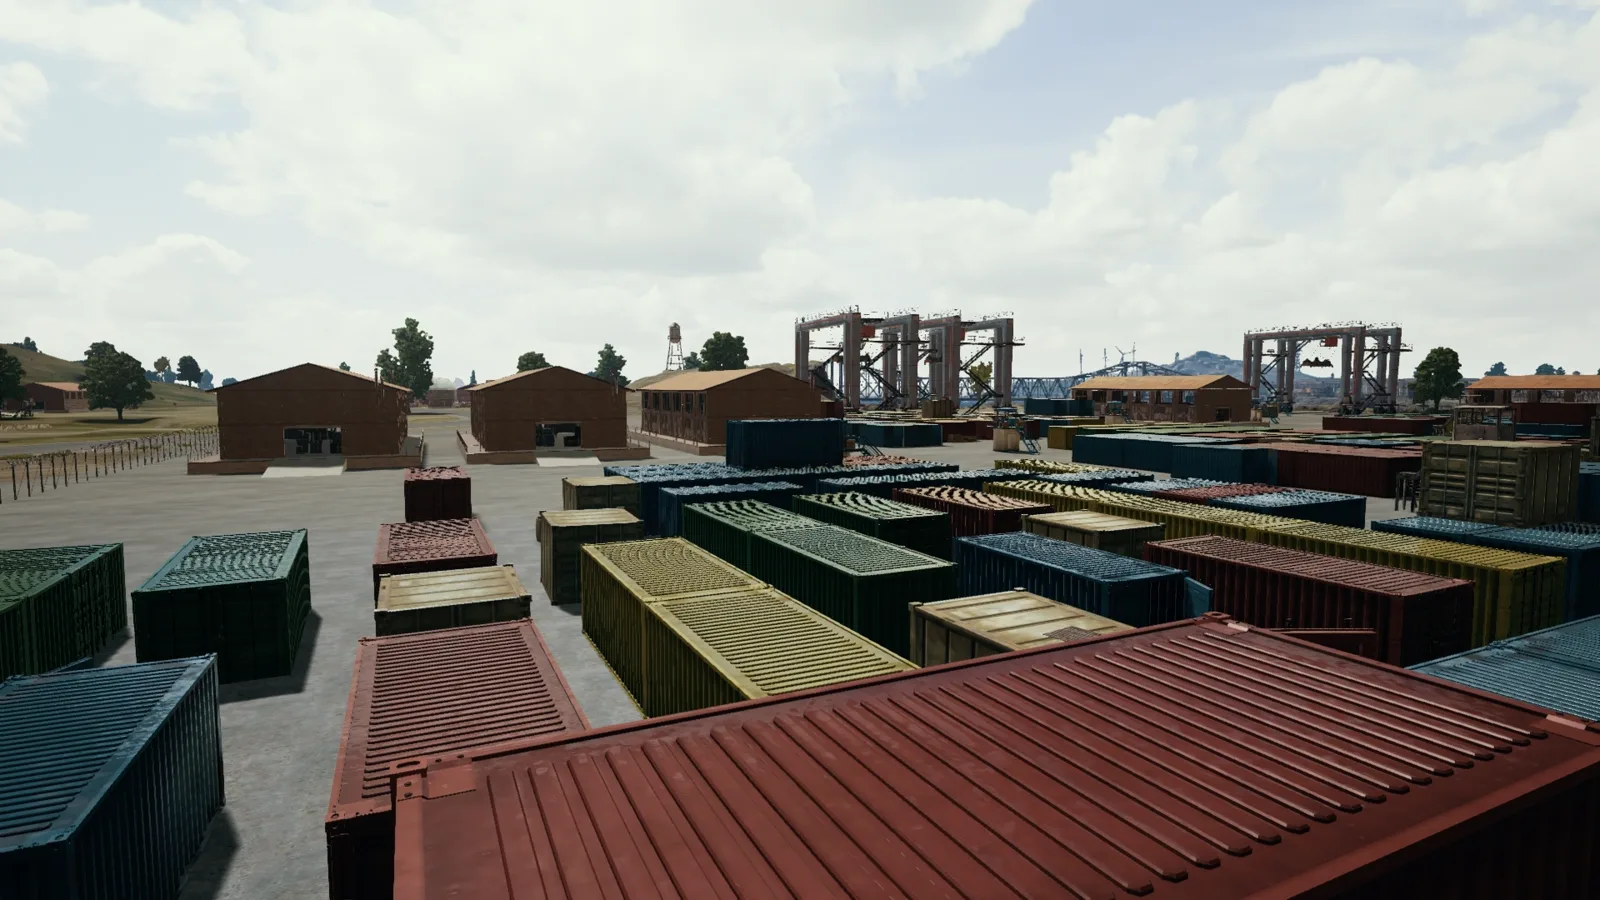
Mylta is also worth knowing as a landmark here: it sits very close to a bridge leading to Sosnovka Island, which makes it a natural staging point when the circle pulls toward the island — and a natural place for someone to be watching from.
Reading a bridge camp before you commit
The best bridge fight is the one you diagnose from four hundred meters away and never enter. Before you commit, gather information:
- Look for the vehicles. Campers arrive by car and they have to park somewhere. An abandoned Dacia at the bridge mouth, a UAZ tucked in the treeline near the approach, a vehicle sitting oddly at the far end — that is a person. Nobody walks to a bridge camp.
- Check the kill feed. If the feed shows deaths near the bridge and nothing since, someone is set up and winning. A quiet feed at a bridge the circle is pushing traffic across is more suspicious, not less.
- Bait the shot. This is the highest-value trick in the whole guide. Send a vehicle across empty, or drive on and immediately reverse off. If someone opens up, you have paid zero lives for the exact position of the camper. On Erangel you can also drive a vehicle to the bridge mouth and let it roll on without you.
- Watch the far end, not the near end. Campers usually set up at the exit, not the entrance, because they want you committed before they open fire. Glass the far side with a scope before you touch the span. Our PUBG spotting guide covers the scan pattern.
- Ask whether you need to cross at all. Check the circle before you assume. Half the bridge deaths in this game come from players crossing on autopilot toward a zone that did not require it.
Crossing by vehicle
Sometimes the circle decides for you and the bridge is the answer. If you are driving it, drive it properly.
- Speed is your only armor. A vehicle at full speed is a genuinely hard target at range. A vehicle that slows down to look around is a stationary coffin. Commit fully or do not commit at all — hesitating mid-span is what actually kills people.
- Do not stop for the wreck. Campers block bridges with destroyed vehicles specifically so you brake. If there is a burning car in the middle of the lane, that is bait with a scope trained on it. Plan your line around it before you enter, or pick another crossing.
- Weave, but not much. Small direction changes throw off leads at range without costing meaningful speed. Big swerves scrub your momentum and make you a slow target instead of a fast one, which is worse than driving straight.
- Bail on the correct side. If you get shot up mid-crossing, exit toward the far end and put the vehicle body between you and the shooter. Bailing back the way you came is how you end up on foot on the wrong side of the map.
- Vehicles explode. A car taking sustained fire will burn, and your whole team is inside it. If the engine is smoking mid-span, get out immediately — riding a burning car to the far end kills more squads than the sniper does. Our PUBG vehicle combat guide covers driving under fire in detail.
Boats: the underrated bridge bypass
Here is the part most players skip: on a map with water, the bridge is optional. Boats let you ignore the chokepoint entirely, and almost nobody uses them well.
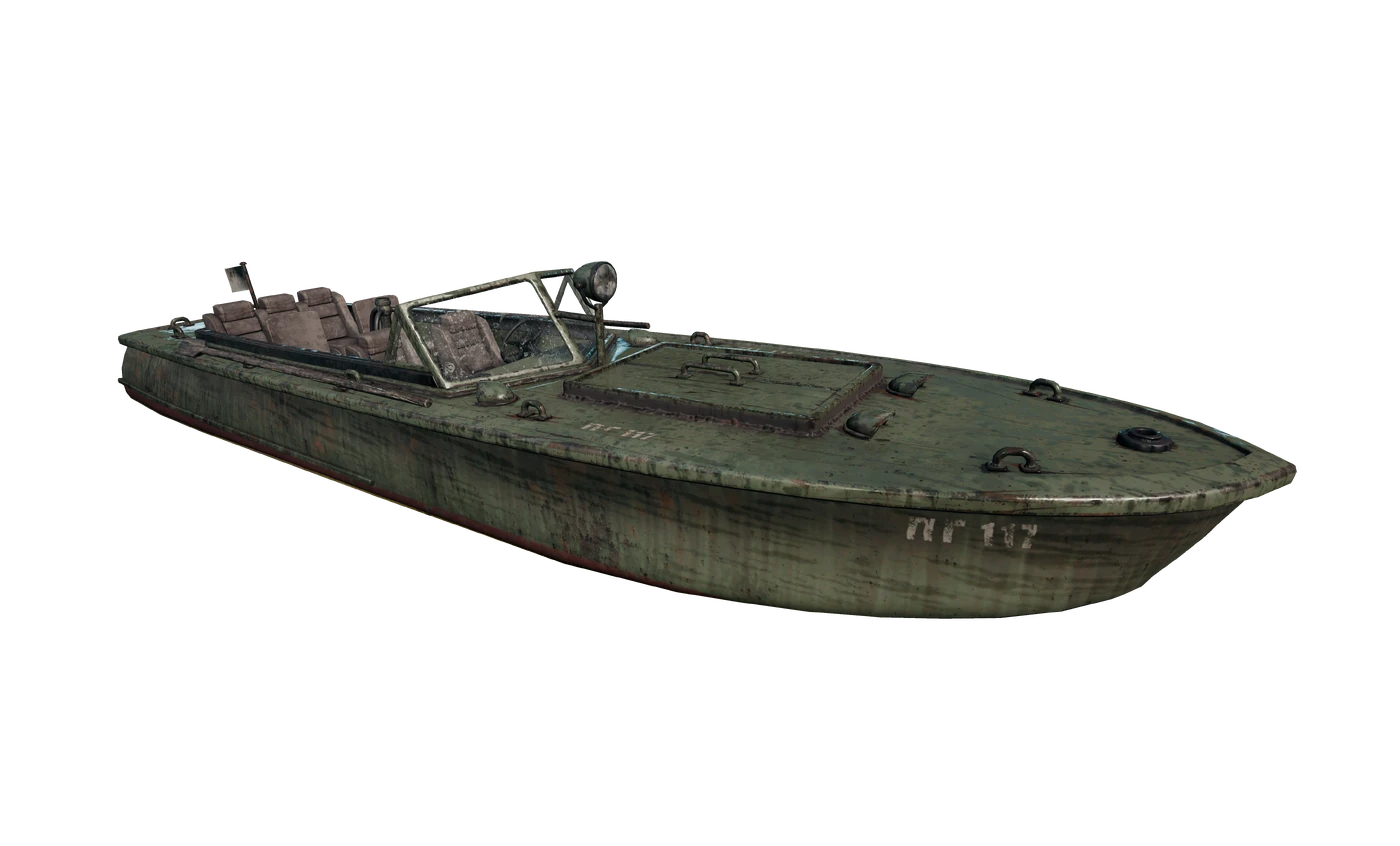
The PG-117 is the standard speedboat. With its boost active — left shift, same as a vehicle — it travels between roughly 86 and 91 km/h at max speed, which makes it genuinely fast for covering coastline and for outrunning a closing play area. The tradeoff is severe and worth stating plainly: the boat has no cover and no protection against ranged attacks. You are a standing target on an open surface. It is a great tool for navigating coastal features and a dangerous one to operate anywhere near an occupied shoreline.
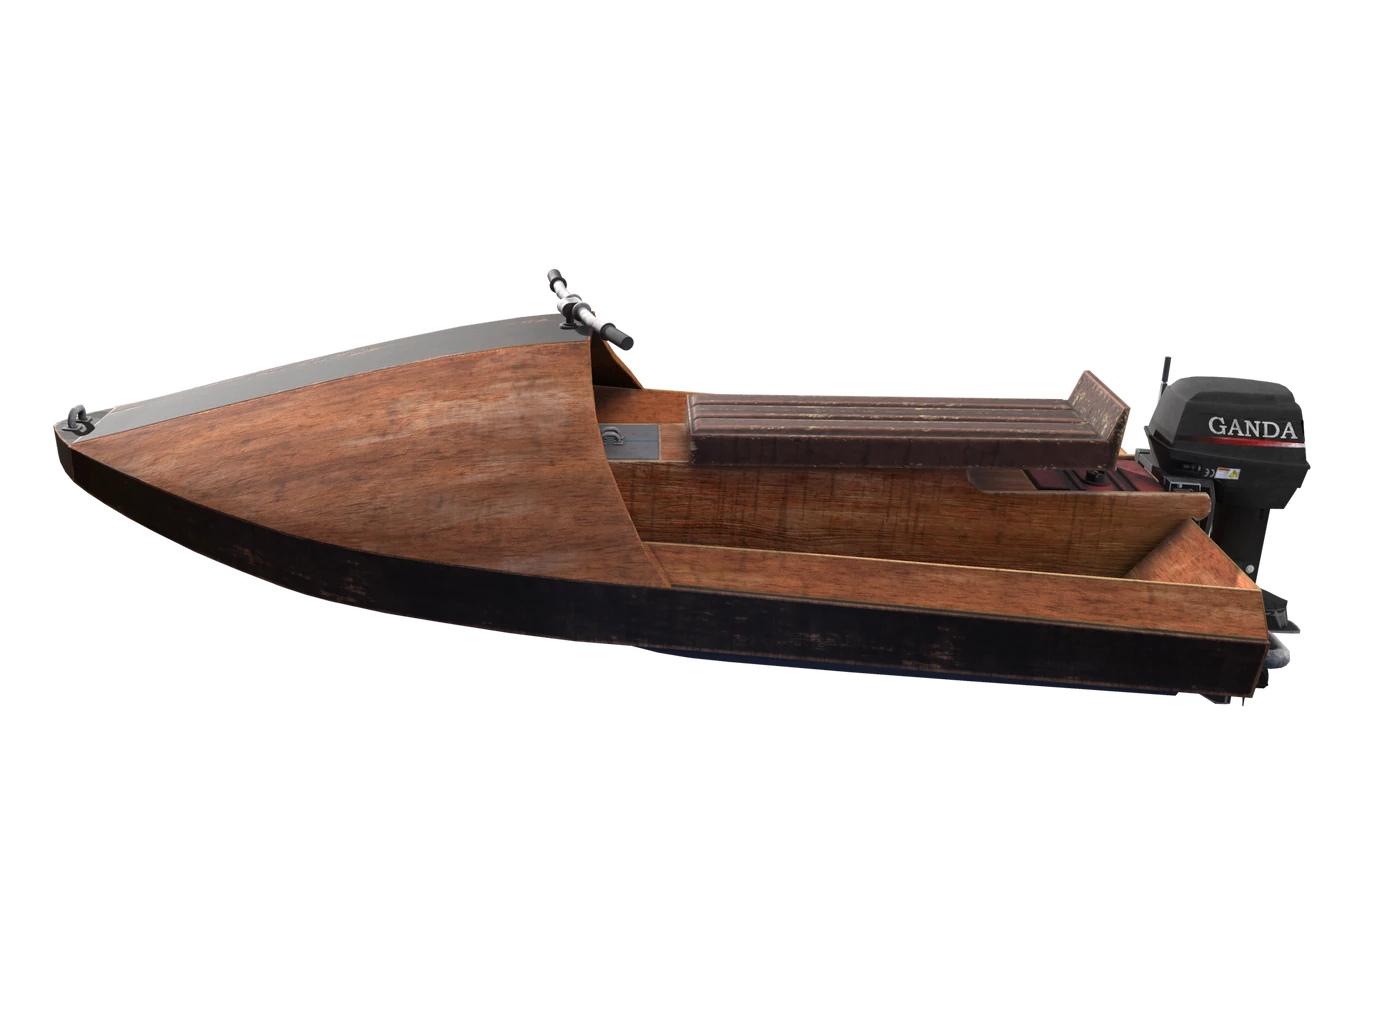
The Aquarail is the jet ski. It holds two players and is significantly more maneuverable than the PG-117, at the cost of top speed — boosted, it runs roughly 74 to 81 km/h. Its smaller size also means the waves affect it more than they affect the boat, so it is bumpier at speed. It spawns on Erangel, Miramar, and Sanhok.
How to actually use them:
- Take the boat when the bridge is hot and the circle is coastal. If the zone pulls along water, a boat rotation skips every chokepoint on land. The camper holding the bridge is watching a lane you are not in.
- Land away from the obvious. Do not beach at the pier everyone beaches at. Pick an unremarkable stretch of shoreline, get out, and walk. The boat's noise carries and its wake is visible.
- Never idle in open water. With no cover, a stationary boat is a shooting-gallery target. Keep moving or get to shore.
- Aquarail for two, PG-117 for reach. In duos the jet ski's agility is usually the better pick; for long coastal rotations the boat's extra speed matters more.
When swimming is actually correct
Swimming is slow. The wiki says so about Sosnovka specifically, and it is the reason bridge camps work at all — if swimming were fast, nobody would bother holding the span. But slow is not the same as wrong.
Swim when:
- The bridge is confirmed camped and you have time. You baited the shot, you know he is there, and the circle is not yet punishing you. Swimming costs time. It does not cost you a coin flip against a scoped rifle.
- You are crossing a short gap, not the coastline. Swimming a narrow channel is a minute of vulnerability. Swimming a genuine sea crossing means the blue zone catches you in open water where you cannot fight back at all.
- You can pick your exit. The best part of swimming is that you choose the shoreline. You are not funneled into a known lane, which is the entire advantage over the bridge.
- You are already in the water. One useful detail: a player in the DBNO state near water can be swum ashore, and teammates can carry a downed player. If a bridge fight goes badly, water is a genuine escape route rather than just a place to drown.
Do not swim when the blue zone is already moving on you. Getting caught mid-channel by the zone with no cover, no vehicle, and a slow swim speed is one of the dumbest deaths available in this game. Our PUBG blue zone rotation guide covers reading the timer properly.
Camping the bridge yourself
If the camp is that strong, be the one running it. The wiki explicitly notes the Sosnovka bridge as a perfect sniping position and a great area for zone control, precisely because it is uncovered with limited obstacles. That cuts both ways, and it is a legitimate strategy — especially early, when it lets you stay safe while the rest of the lobby fights.
- Set up at the exit, not the entrance. Let them commit to the span before you fire. A player who gets shot at the entrance simply reverses off and lives. A player shot at the far end has nowhere to go.
- Take the high ground. Hills or structures overlooking the approach beat lying on the deck. You see the whole lane, you have cover, and you are not standing in the kill zone you created.
- Watch the water too. The smart players are reading this same guide and taking a boat. If you are holding a crossing, hold the shoreline near it, not just the concrete.
- Do not overstay. The moment you fire, you are a known position on a known chokepoint, and the entire point of a bridge camp is that everyone has to come to you. That includes the squad that just watched you kill someone. Take your kills, then leave before the third party arrives — see our PUBG third-party guide.
- Have your zeroing right. Bridges are long. Ranges of 200 to 400 meters are normal, and a shot that misses is a warning you handed out for free. Our PUBG scope zeroing guide covers the adjustments.
Miramar and the other maps
Erangel is the bridge map, but it is not alone. Miramar is also 8x8 km, and its geography creates similar pinch points: the entire area is cut off from the west and northeast by enormous canyons and mountains, with a metal wall to the north, and there is an island to the southeast holding the Prison. Water crossings and canyon routes there create the same funnel logic — a limited number of ways through, all of them predictable.
The general principle transfers to every map: find the places where the map removes your options, and treat them as fights rather than routes. A canyon pass, a single road through a ridgeline, a causeway to an island — they are all bridges wearing different clothes. The Aquarail's presence on Erangel, Miramar, and Sanhok tells you which maps reward thinking about water as a lane.
If you want the per-map breakdown of where those pinch points sit, our Erangel map guide and Miramar map guide cover the terrain in detail.
Quick Action Checklist
- Treat every bridge as a kill zone, not a road — it has no cover and one predictable lane
- Remember Sosnovka Island has exactly two exits: the northwest and northeast street bridges, or a slow swim
- Scan the far end with a scope before you touch the span; campers set up at the exit
- Look for parked vehicles at either bridge mouth — nobody walks to a bridge camp
- Bait the shot with an empty or reversing vehicle before committing
- Check the circle first: half of all bridge deaths are crossings that were never required
- If you drive it, commit at full speed and never stop for a wrecked vehicle
- Bail toward the far end and keep the vehicle between you and the shooter
- Get out immediately if the engine starts smoking mid-span
- Take a boat when the zone is coastal — PG-117 for reach, Aquarail for agility and two players
- Never idle a boat in open water; it has zero protection from ranged fire
- Swim only for short gaps with time to spare, never with the blue zone closing
- If you hold a bridge, take the high ground, watch the water, and leave after your kills
Frequently Asked Questions
How do you cross a bridge in PUBG without dying?
How many bridges lead to Sosnovka Island on Erangel?
Is a boat better than a bridge in PUBG?
What is the difference between the PG-117 and the Aquarail?
When should you swim instead of taking the bridge in PUBG?
Keep Reading
Related Guides
PUBG Blue Zone & Rotation Guide: Beat the Circle
The blue zone kills more players than enemies do, and almost all of those deaths are avoidable. Here's how circle damage ramps every phase, when to move versus hold, and how to play the edge without ever eating the wall.
PUBG Emergency Pickup Guide: Fly Out of Trouble
It looks like a party balloon and it saves games. The Emergency Pickup fultons your squad across the map to the safe zone, but it has strict rules and it hangs you in the open air. Here is how to use it without turning into target practice.
PUBG Recall Guide: Blue Chips and Towers
A dead teammate in PUBG isn't a dead teammate. Grab the Blue Chip out of their deathbox, register it at a tower, and they parachute back in. Here's the full Recall system — flight timings, phase cutoffs, what you come back with, and how to deny the enemy the same favour.
PUBG Zone Prediction Guide: Reading the Circle
You can't predict where the PUBG circle lands. But you can play the odds, read the terrain, and rotate before it forces you. Here's the difference between guessing the zone and beating it.
Best Weapons in PUBG: Tier List
Every PUBG tier list is out of date the moment a balance patch drops. So here's the list, ranked by role, plus the durable logic to re-tier any gun yourself when the next patch shakes things up.
Best PUBG Loadouts & Attachments
A naked M416 and a fully kitted M416 are basically two different guns. Here's how to build the strongest two-gun loadouts in PUBG and the attachment priority that turns loot into recoil control.