PUBG Mid-Game Guide: Own Phases 2 Through 5
You survived the drop and you'll survive the final ten — but the match is decided in the messy middle, phases two through five, where most players just react to the blue and hope. Here's how to turn the mid-game into a lead instead of a coin flip.
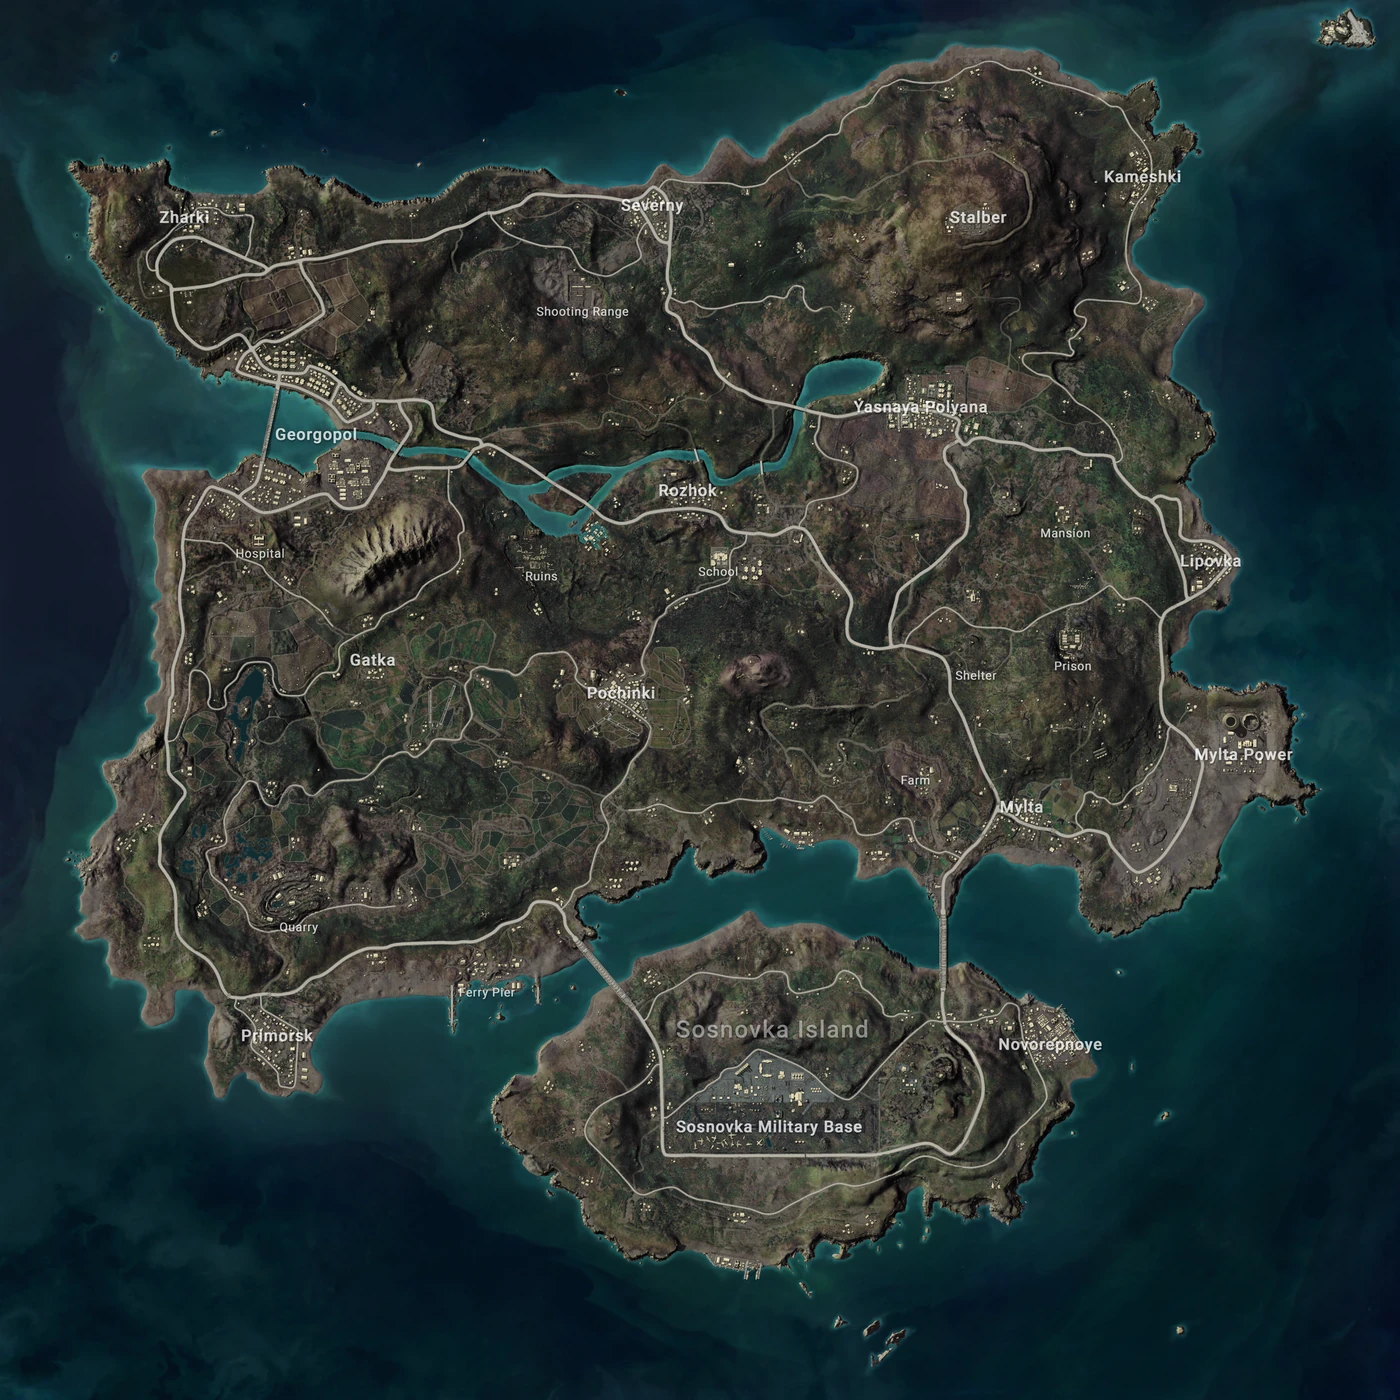
You can be a great dropper and a great clutch player and still hover at a 2% win rate, and the reason is almost always the same: you have no idea what to do between minute ten and minute twenty. The early game is a script — jump, loot, leave. The endgame is a knife fight in a phone booth. The mid-game is neither, and that's exactly why most players fall apart in it. There's no obvious script, so they default to the worst one available: sit in a building, wait for the blue to slap them, then sprint late into whatever gunfight is already in progress on the circle edge.
That's the leak. On the big maps, the stretch from the second circle to the fifth is where the lobby drains from ~40 players down to single digits, and almost none of those deaths are "unlucky." They're players who rotated late, held ground that couldn't defend itself, and took fights that paid nothing. The mid-game doesn't have a script because it's a decision game, and the good news is that decisions can be trained. This is the framework.
The midgame is where lobbies get won
Think of a match as three different games stapled together. The early game is a race against the clock. The endgame is a fight for the last piece of cover. The mid-game is the part where you convert a survivable position into a winning one — or fail to, quietly, and die on the edge of circle five wondering what happened.
Here's the mindset shift: in the mid-game, movement is the primary skill, not shooting. The players climbing toward consistent top-fives aren't out-aiming the lobby. They're arriving at good ground first, forcing everyone else to approach them, and spending the phase getting stronger — better position, more info, sometimes a free kill on a late rotator — while the rest of the server burns resources fighting over nothing. If you already have your drop and loot dialed via the early game guide, the mid-game is the next 30% of your win rate sitting untouched.
Know which phase you're actually in
Most players treat every circle the same. They shouldn't, because the blue zone is not a constant threat — it escalates, and your caution should escalate with it. Early circles are a nuisance you can jog through while eating a bandage; late circles delete you. The single most useful mid-game habit is knowing, at a glance, whether the current blue is a "walk it off" blue or a "do not get caught" blue.
Roughly, the phases break into three tiers of danger:
- Phases 1–2 (the cheap blue). Damage per tick is low enough that crossing open ground inside the zone with meds is a real, often correct option. This is when you can afford to loot a little longer or take a scenic route to dodge a fight.
- Phases 3–4 (the pivot). The blue starts to bite, circles get smaller, and the lobby compresses. This is the true mid-game and where this guide lives — being caught out now costs real health, and the map is small enough that positioning starts to matter more than looting.
- Phases 5+ (the expensive blue). Getting caught is a death sentence, not a tax. By now you should already be inside every circle before it's called, treating the zone as a hard wall.
The mechanic underneath this is simple and worth internalizing: each successive blue zone deals more damage per second than the last and closes faster. The exact per-phase numbers shift with balance patches, but the direction never changes — later is always worse. The full breakdown of tick damage and timers lives in the blue zone rotation guide; for the mid-game you just need the instinct: which tier is this, and how much does a mistake cost right now?
Rotate on the next circle, not the current one
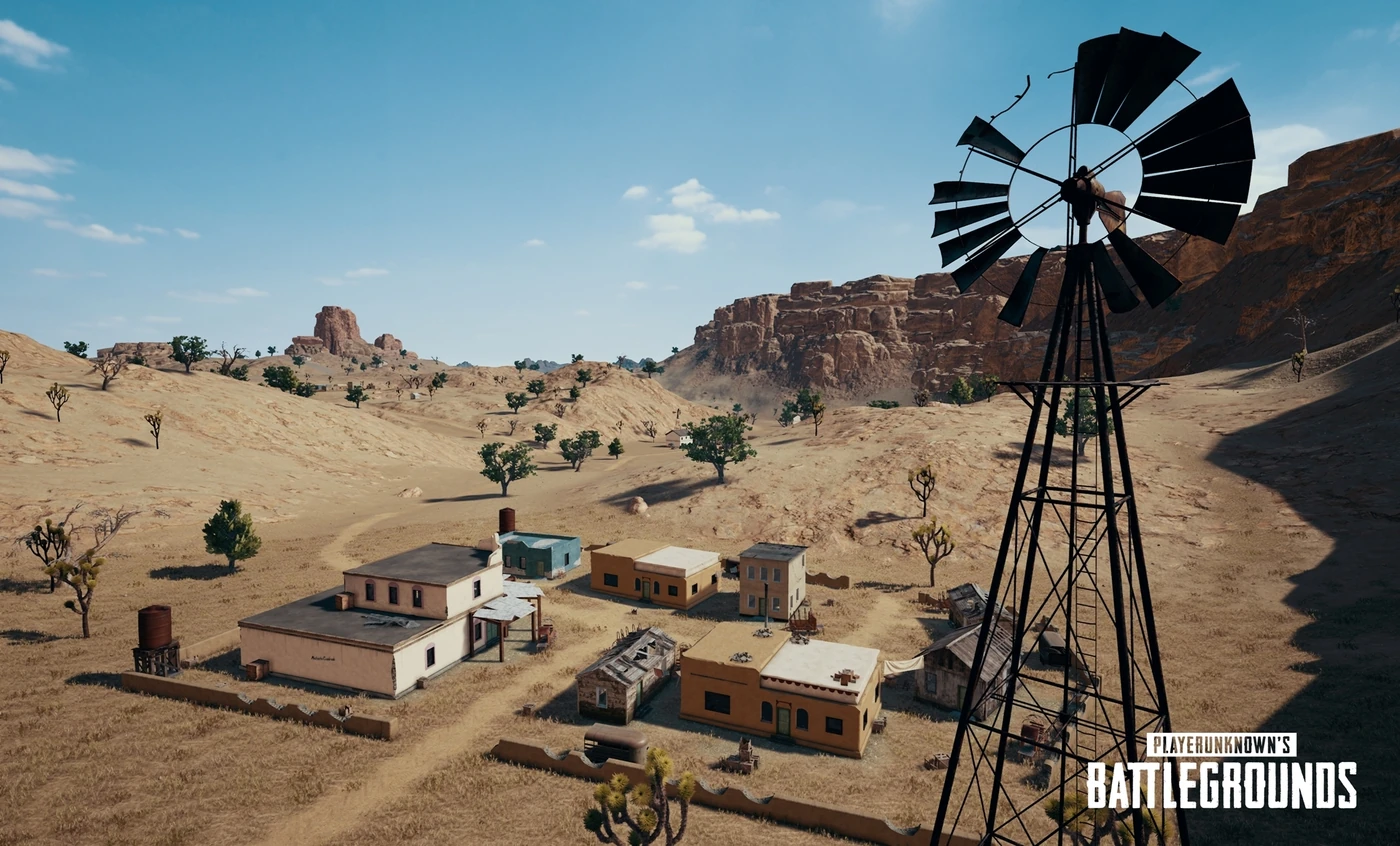
Here's the habit that separates mid-game players from mid-game victims: amateurs rotate to the circle they can see, experts rotate to the circle they can predict. When a new white circle appears, it doesn't just tell you where safe is — it tells you where 30 other players are about to funnel. Your job is to be set up on the good side of that funnel before they arrive.
Concretely, when the circle draws:
- Read the pull, not just the center. If the new circle shifts hard toward one edge of the current one, everyone on the far side has a long, exposed run — and everyone on the near side gets to sit and farm them. Ask which side you want to be the shooter on.
- Move early and arrive with options. The whole point of leaving before the crowd is that you get to choose your ground and settle in. Late rotators inherit whatever cover is left, usually a bush in the open with three squads looking at it. Early movement is a positioning weapon, and the mechanics of doing it cleanly — hugging cover, timing sprints, using terrain — are the whole movement and positioning guide.
- Bank the vehicle question early. In the mid-game a car is a rotation insurance policy, not a joyride. If the next circle is a kilometer away across open ground, you want wheels lined up before the phase, and you want to ditch them a ways out so the engine noise doesn't announce your arrival. Which rides are worth keeping is covered in the best vehicles breakdown.
The reframe: don't ask "am I safe right now?" Ask "where does this circle want everyone to be in 90 seconds, and how do I get to the good part of that first?"
Center vs. edge: pick your poison on purpose
Every mid-game rotation is secretly a choice between two positions, and most players never realize they're choosing. Playing center means holding ground near the middle of the projected circles — you rarely have to move far, but you're exposed from every angle and people rotate through you. Playing the edge means hugging the trailing side of the zone — your back is safe (nobody's behind you, the blue is), but you're always the one pushing forward into the next circle.
Neither is correct in the abstract. The point is to pick one deliberately based on your situation:
- Play the edge when you're outgunned or want a quiet game. Backing onto the blue guarantees you only get shot from one arc, lets you third-party the fights happening ahead of you, and makes late rotations shorter because you're already trailing the zone. The trade is that if the circle pulls away from you, you're the one doing the exposed sprint.
- Play center when you have a strong, defensible position and the loot to hold it. Sitting on a central compound means the circle keeps forming around you and other squads walk into your setup. The trade is exposure — you need cover in every direction and the discipline not to peek every audible.
- Whichever you pick, commit to its downside. The players who die in the mid-game are usually the ones who wanted center's comfort and edge's safety at once — they hold a middle-of-nowhere position with no back and no reason, and get collapsed on from two sides.
A clean rule of thumb: solo or outgunned, favor the edge. Full squad with a fortress, consider center. Everything else is reading the specific circle.
Hold ground that holds itself
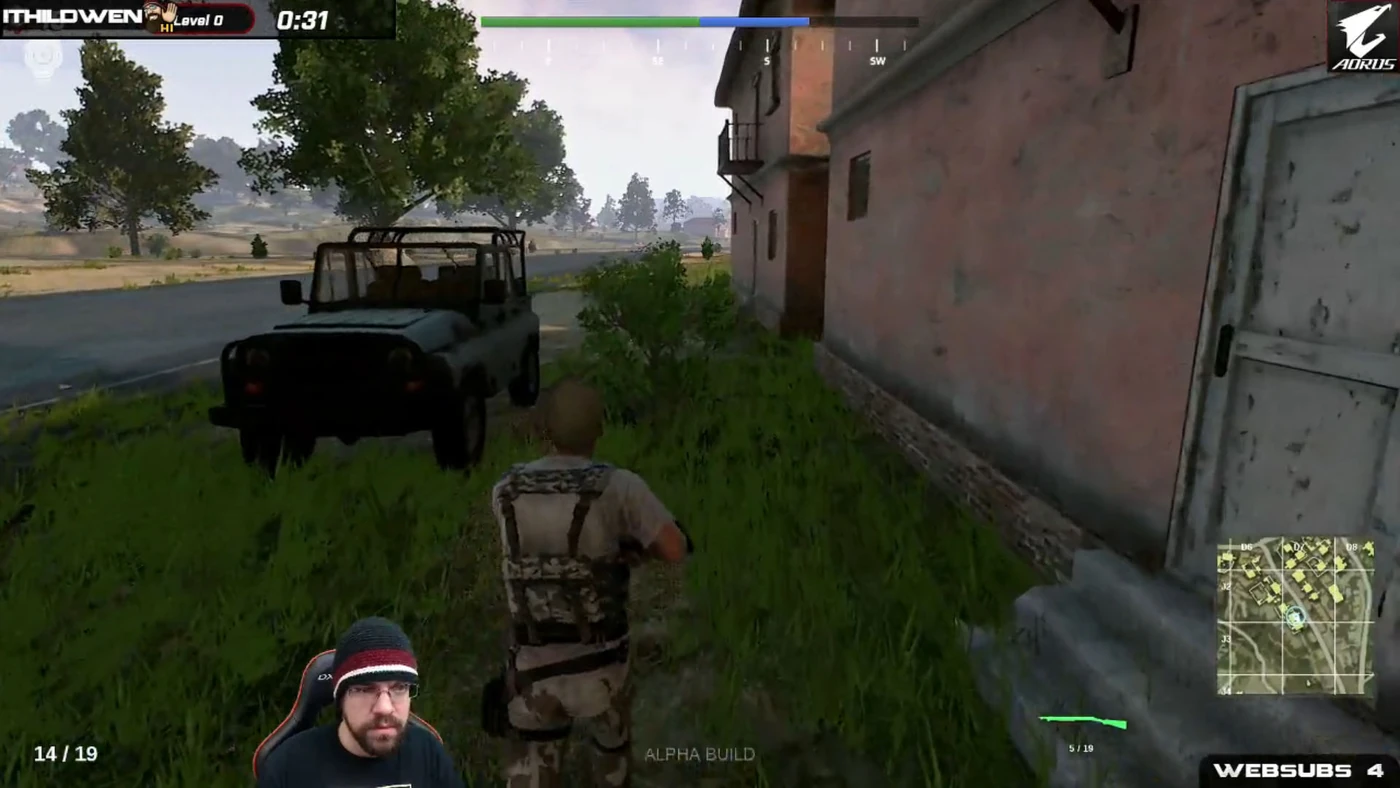
Not all cover is equal, and the mid-game is where that starts to matter. A position "holds itself" when the terrain punishes anyone approaching it — a compound on a reverse slope, a house with a single doored approach, a ridge that forces attackers to crest into your sights. A position that doesn't hold itself is a lone building in a flat field: it looks safe because it has walls, and it's a coffin because anyone with an angle can pin you inside while their squad flanks.
When you settle into mid-game ground, grade it fast:
- Count your open sides. One or two arcs to watch is holdable. Four is a trap. If you're exposed everywhere, you're not holding a position, you're hiding in one.
- Check the back door. A position with the blue or a cliff at your back means nobody flanks you from behind. That's worth more than an extra window.
- Know your exit before you need it. Good ground you can't leave becomes bad ground the second the circle pulls off you. Park the escape route — a treeline, a ditch, the stashed vehicle — before you get comfortable.
- Clear it before you trust it. If you're taking a compound as your hold, sweep it properly first; getting third-partied by the guy who was already inside is a classic mid-game death. The compound clearing guide has the room-by-room routine.
The mid-game reward for good ground is enormous: you make the entire lobby come to you, on your angles, while you spend zero health moving. That's how top-fives are farmed.
Manage the fights you don't have to take
The mid-game is drowning in optional fights, and the single biggest skill upgrade available to most players is taking fewer of them. Every shot you fire is a location broadcast to every squad in earshot, and the mid-game map is small enough that "in earshot" is a lot of squads. A fight you win loudly in phase four often just books a fight you lose in phase five, because the noise pulled a third party onto your cracked-open squad.
Filter mid-game engagements hard:
- Does winning improve my position? A fight that clears a squad off the ground you need is worth it. A fight with someone rotating past you, going somewhere else, is a donation to whoever hears it.
- Am I the one being watched? If you open up on a target, assume a second squad is now watching you. The discipline to hold fire, reposition, and let others burn resources is the core of the third-party guide — the mid-game is where third-partying is most lethal because the lobby is dense but not yet cornered.
- Can I win it fast and leave? A five-second knock-and-loot is a fine mid-game fight. A two-minute cross-map spray war is a beacon. If you can't close it quickly, question whether to start it.
The mid-game is not the phase to prove you can shoot. It's the phase to arrive, set up, and let the impatient thin themselves out.
Squad midgame: move as a shape
Everything above gets harder and more rewarding in a squad, because four players rotating well is a mobile fortress and four players rotating badly is a conga line of free kills. The mid-game squad failure mode is the stretched-out sprint: one player leaves late, the squad strings across open ground, and a set-up team knocks them one at a time down the line.
Move as a shape instead:
- Rotate on one call, together. One player makes the rotation decision and the squad moves as a unit, staggered but mutually covering — nobody's a lone dot 200 meters behind the pack.
- Assign arcs on arrival. The second you hold ground, split the compass so all four sides are watched without anyone doubling up. That's how you convert a position that doesn't hold itself into one that does — with bodies instead of terrain.
- Cover the mover. When one teammate has to cross open ground for the next circle, the other three post up and watch the angles that could punish the run. Rotations are when squads are most vulnerable and most winnable.
- Fight as four or not at all. The mid-game fight filter gains a rule in squads: don't start what the whole team isn't ready to finish together. The full playbook is in the squad strategy guide.
Nail the mid-game and the endgame circle stops being a coin flip — you arrive at it with position, health, and numbers, which is most of the fight already won.
Quick Action Checklist
- Before reacting to any blue, register which tier it is — cheap (walk it off), pivot (respect it), or expensive (never get caught)
- When a new white circle draws, rotate against where it pulls the lobby, not where you're standing
- Move early so you arrive with a choice of ground; late rotators inherit bushes in the open
- Pick center or edge on purpose, then commit to that position's downside instead of straddling both
- Grade every hold: count open sides, check the back door, know the exit before you settle
- Skip fights that don't improve your position or that you can't close fast and quiet
- Line up wheels before the phase if the next circle is far, and ditch them early to hide the noise
- In squads, rotate on one call as a shape, assign arcs on arrival, and cover whoever crosses open ground
Frequently Asked Questions
What is the mid-game in PUBG?
When should you rotate to the next circle in PUBG?
Is it better to play center or edge of the circle in PUBG?
Why do I keep dying in the PUBG mid-game?
Does the PUBG blue zone do more damage in later phases?
Keep Reading
Related Guides
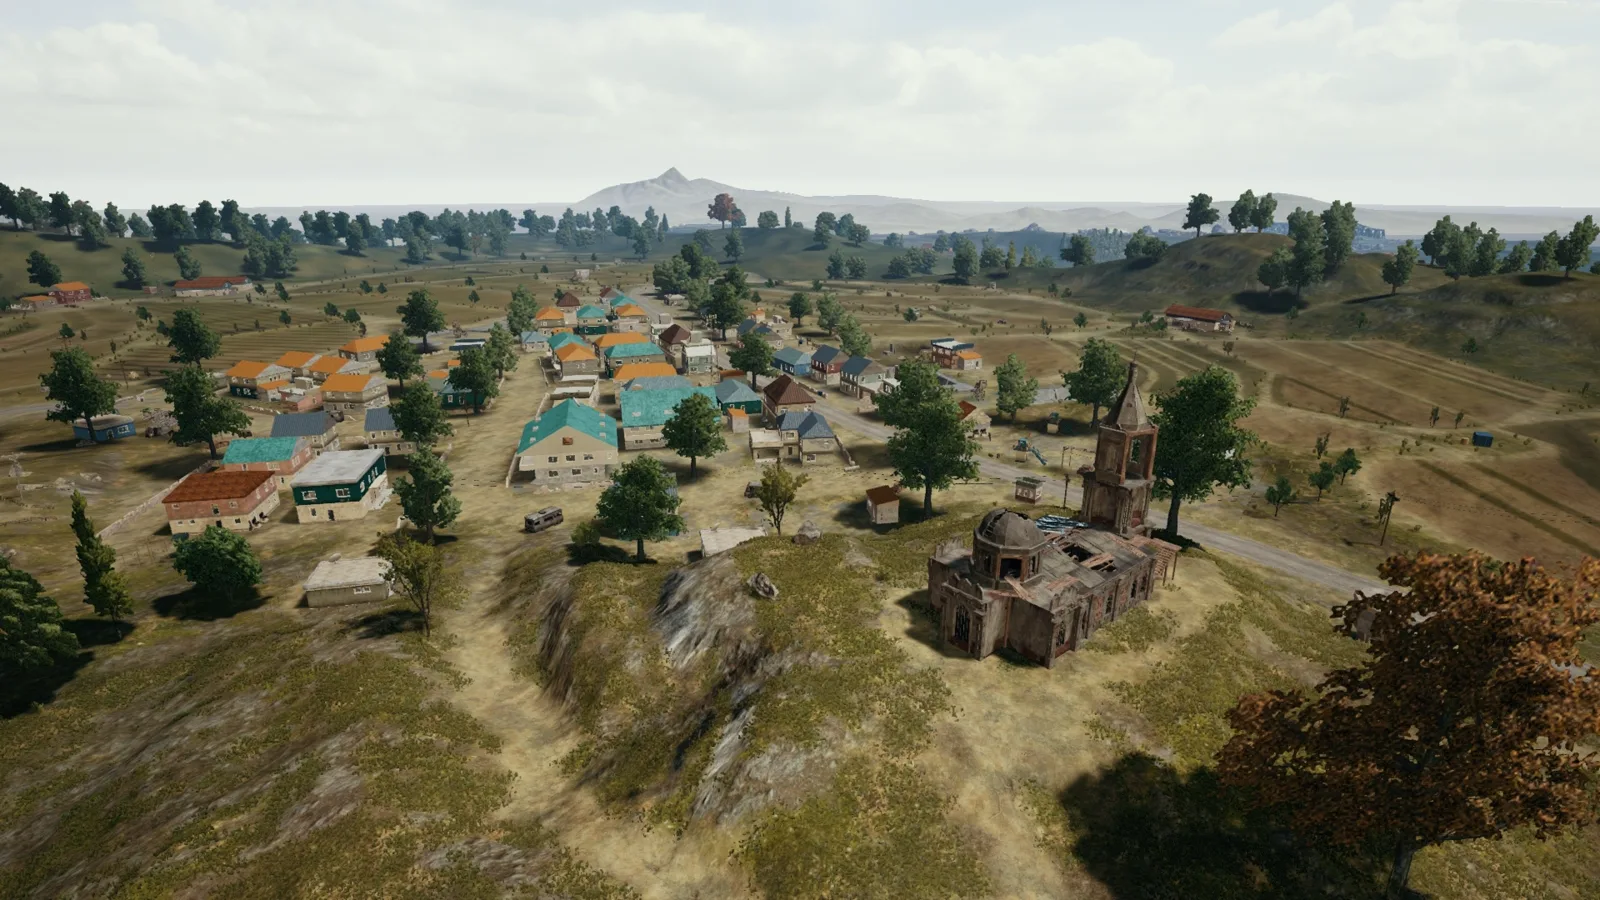
PUBG Duo Strategy Guide: How to Actually Win as Two
Duos is the least forgiving mode in PUBG and nobody talks about it that way. You get exactly one teammate, which means you get exactly one mistake — and the moment you're both down, the game ends instantly with no third player to clean up. Here's how two players actually win.
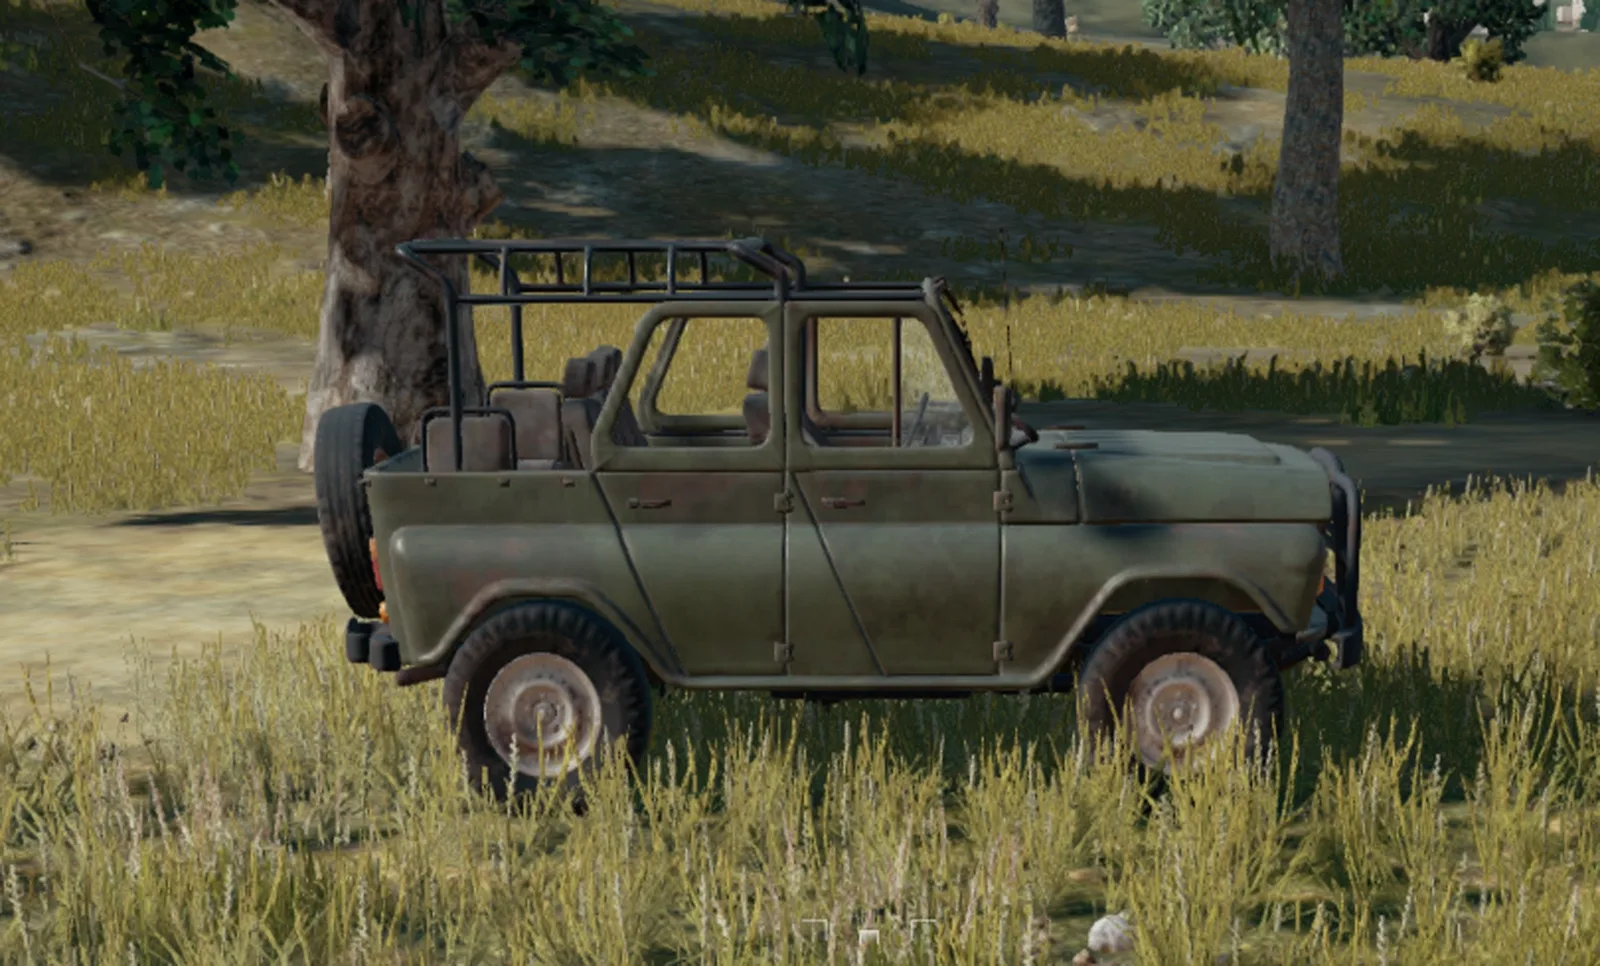
PUBG Flanking Guide: Win Fights From the Side
A head-on peek war between two decent players is a coin flip. A flank removes the coin. Here's how to get to an enemy's blind side, when it's worth it, and how to close the kill without handing it back.
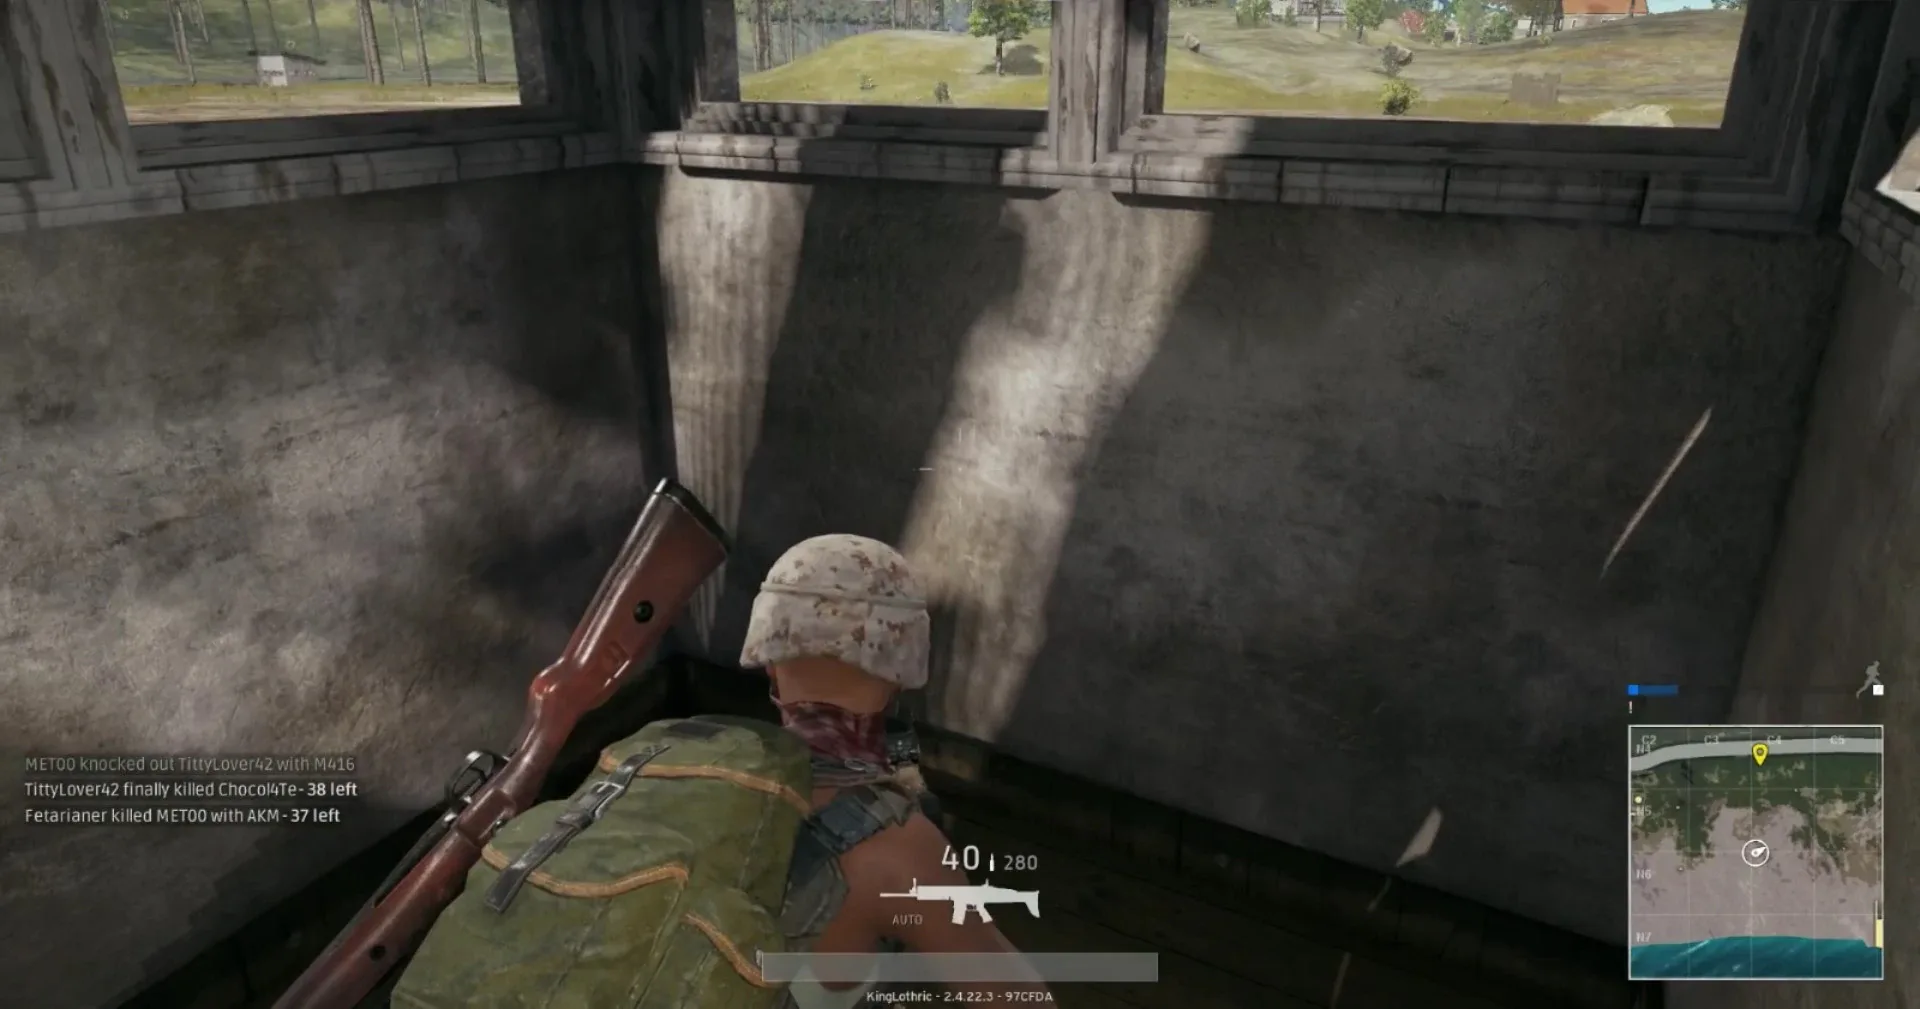
PUBG Third-Party Guide: Avoid and Exploit the Third
The player who wins a PUBG fight and the player who wins the lobby are usually different people — and the difference is the third party. Here's how to stop getting jumped mid-fight and how to be the one doing the jumping.
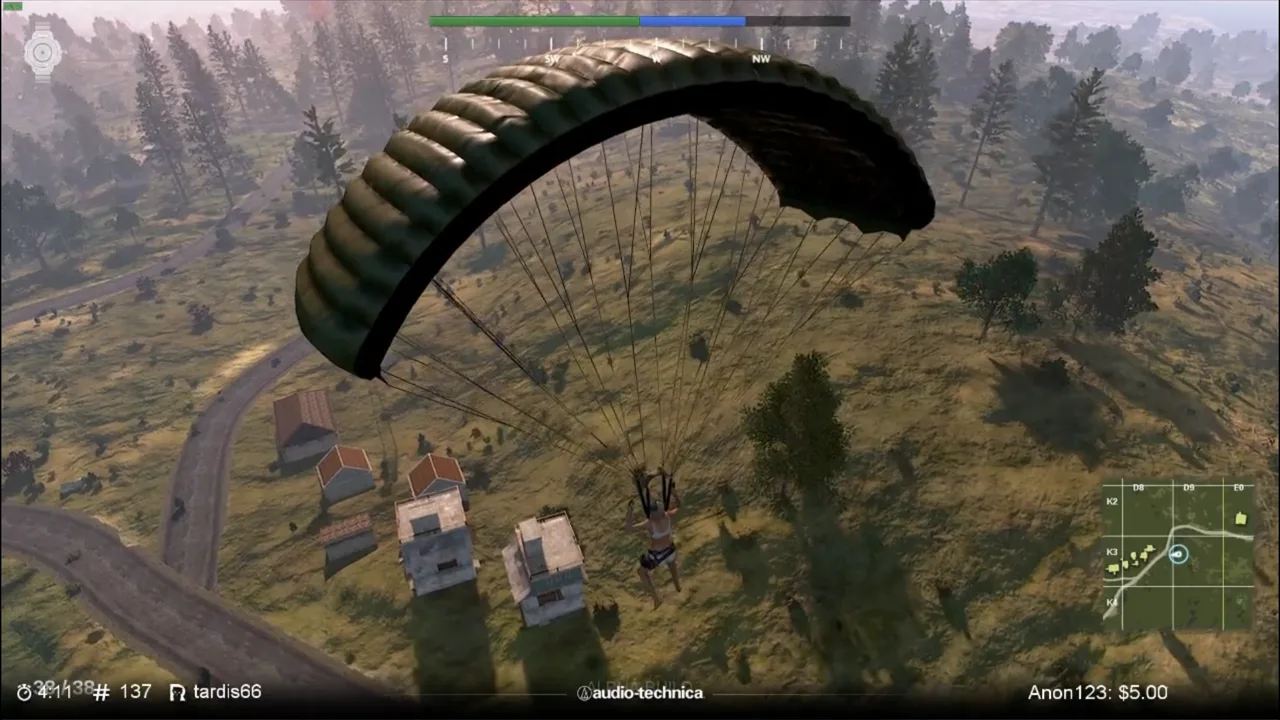
PUBG Solo Strategy Guide: How to Survive and Win Alone
Solo PUBG is a different game from squads, and most people play it like they still have backup. There's no revive, no trade, no one to call the flank — every fight you take is a coin flip you don't have to flip. Here's how to actually survive solo queue and solos-vs-squads.
Best Weapons in PUBG: Tier List
Every PUBG tier list is out of date the moment a balance patch drops. So here's the list, ranked by role, plus the durable logic to re-tier any gun yourself when the next patch shakes things up.
Best PUBG Loadouts & Attachments
A naked M416 and a fully kitted M416 are basically two different guns. Here's how to build the strongest two-gun loadouts in PUBG and the attachment priority that turns loot into recoil control.