Best PUBG Console Settings (PS5 & Xbox)
Default controller settings are why you keep losing gunfights you should win. Here's how to pick a controller layout, dial in three separate sensitivities, set your dead zones, and stop fighting your sticks on PS5 and Xbox.
Most console players lose gunfights they had every right to win, and the reason almost never shows up on the kill cam. It's the controller settings. Out of the box PUBG hands you a layout that buries your most-used actions under awkward button combos, a single sensitivity number that's wrong for half the scopes in the game, and dead zones tuned for a brand-new controller, not the one with worn-out sticks you've been gaming on for two years. Fix those four things and your aim gets visibly better without you touching your reflexes.
This is the console-specific version — PS5, PS4, Xbox Series X|S, and Xbox One all share the same settings menu and the same logic. We're going to pick a button layout, kill the stick drift with dead zones, split your sensitivity into the three numbers that actually matter, and get straight about what aim assist can and can't do for you. None of this is "copy my settings." It's a framework you tune to your own hands.
Console aiming is a different game
If you came from PC, throw out everything you know about flicking. A thumbstick has maybe an inch of physical travel from center to edge, and a mouse has a whole mousepad. That single fact drives every console setting decision: you can't out-flick anyone, so you stop trying to and you build a setup that's smooth, controllable, and consistent instead.
That's also why aim assist exists on console and not in PC lobbies — it's compensating for the input device, not handing you free kills. The players who climb on console are the ones who treat the controller's limits as the rules of the game: lower, smoother sensitivities, clean dead zones, a layout that doesn't make them take a thumb off a stick to heal or jump, and disciplined ADS instead of frantic swiping. Everything below serves that.
The single biggest console mistake is running one sensitivity for everything. The speed that feels great whipping the camera around in third person will throw your crosshair off the target the second you ADS an 8x. PUBG gives you separate sliders precisely so each situation gets the right speed — use them.
Pick a controller layout: Type A, B, or C
PUBG ships several preset button layouts (commonly labeled Type A, B, C and up), and your first real decision is which one you can operate without ever lifting a thumb off a movement or aim stick during a fight. The presets shuffle where jump, crouch, prone, lean, heal, and aim live; the differences matter most in the moments you can least afford to fumble.
What you're actually optimizing for:
- You should be able to jump, crouch, and prone without leaving the right stick. If a layout makes you take your aiming thumb off the stick to vault a wall mid-chase, it's costing you fights. This is the number-one filter.
- Lean (peek left/right) needs to be reachable while aiming. Lean-peeking is core PUBG gunplay, and a layout that puts it somewhere awkward quietly removes a whole technique from your game.
- Heal and throwable inputs should be doable under pressure. You'll be slamming a first aid kit while repositioning — that can't require a two-handed menu dance.
Run a couple of layouts in the training mode and pay attention to which one lets your hands stay home. Most console players settle on a preset that keeps jump/crouch on the bumpers or paddles so the sticks stay glued to camera and movement. If you own a controller with back paddles or buttons — a DualSense Edge, an Xbox Elite, or a SCUF — remap jump and crouch to the paddles and you get the best of every layout at once: full stick control during a fight with no claw grip required.
The one rule: pick a layout and stop switching. A "worse" layout you've drilled for 50 hours beats the "optimal" one you swapped to last night, because muscle memory wins gunfights, not theory.
Set your dead zones first
Before you touch a single sensitivity slider, fix your dead zones — and almost nobody does this in the right order. The dead zone is the amount you have to push a stick before the game registers any movement. Set it too high and your aim feels mushy and delayed off-center; set it too low on a worn controller and your crosshair drifts on its own while you're holding still.
How to dial it in:
- Start low and raise only until drift stops. Put your controller down with the game in an aim state and watch the crosshair. If it creeps, your dead zone is below your stick's resting noise — nudge it up just until the creep disappears, and no further.
- A newer controller wants a smaller dead zone. Tight sticks have less resting jitter, so you can run a smaller dead zone and gain responsiveness off center. An older controller with stick drift needs a larger one to stay still.
- Match it to the controller you actually use. If you swap between a launch-day pad and a fresh one, they'll want different dead zones. Tune for your main.
This is the least glamorous setting in the menu and one of the highest-impact, because every sensitivity number you set afterward is built on top of it. Get dead zones right first and your sensitivity tuning actually sticks.
The three sensitivities that matter
PUBG splits console sensitivity into distinct categories, and treating them as one number is the most common reason console aim feels inconsistent. The three buckets you care about:
| Sensitivity | What it controls | Tuning principle |
|---|---|---|
| General / Camera (free look, no ADS) | Whipping the camera around while not aiming | A touch faster so you can scan and turn quickly |
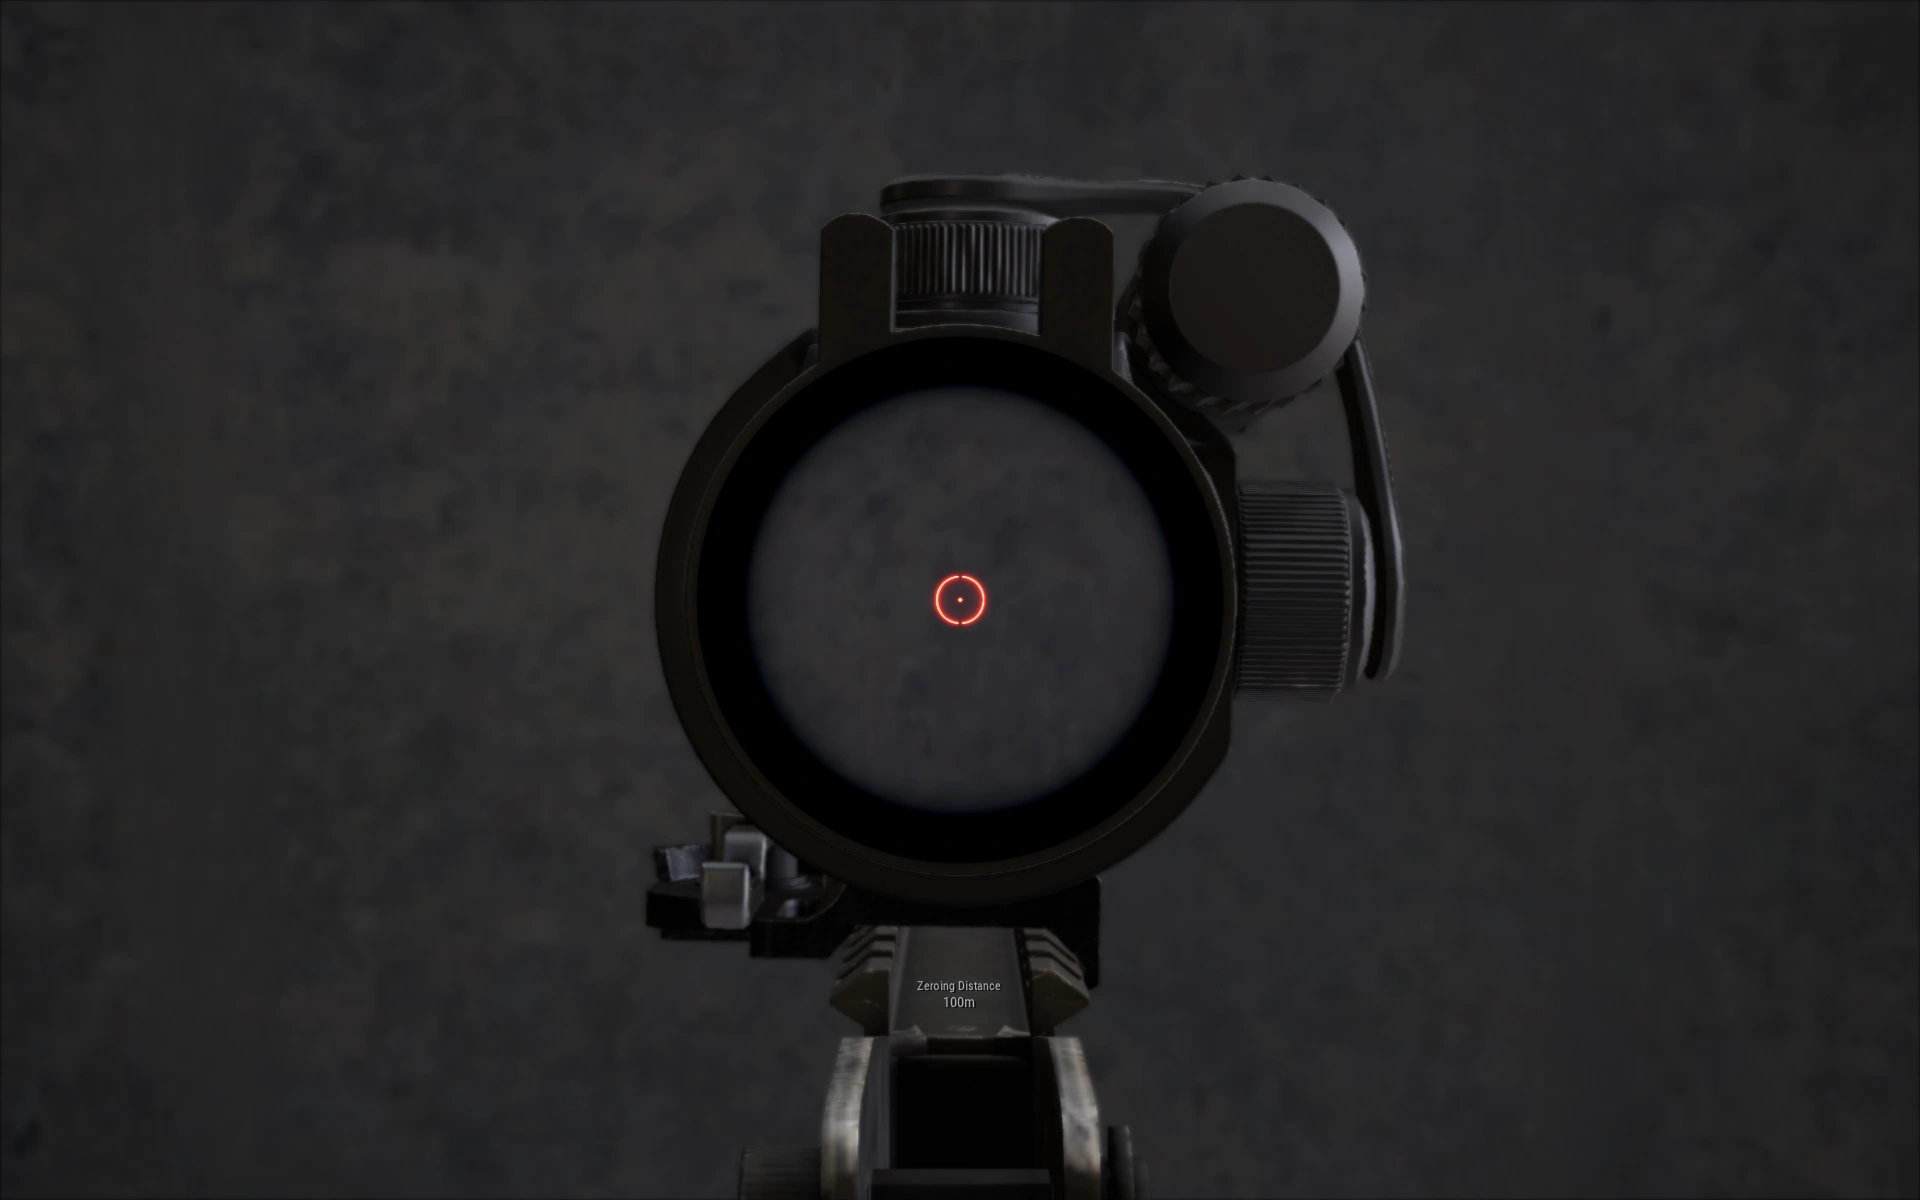
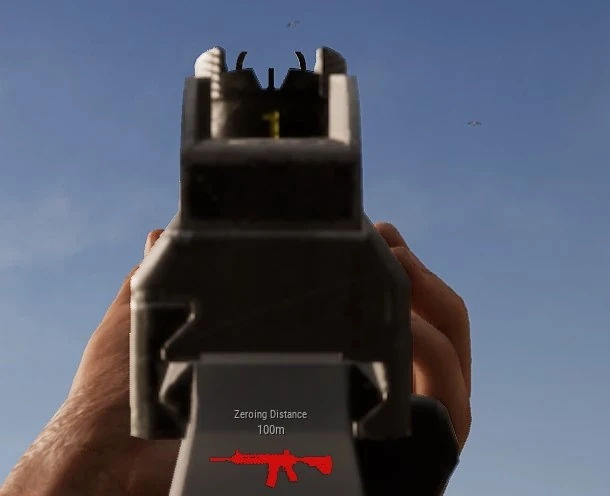
| Targeting / ADS (red dot, holo, iron sights) | Close-range aim down sights | Slower than general for control on close fights |
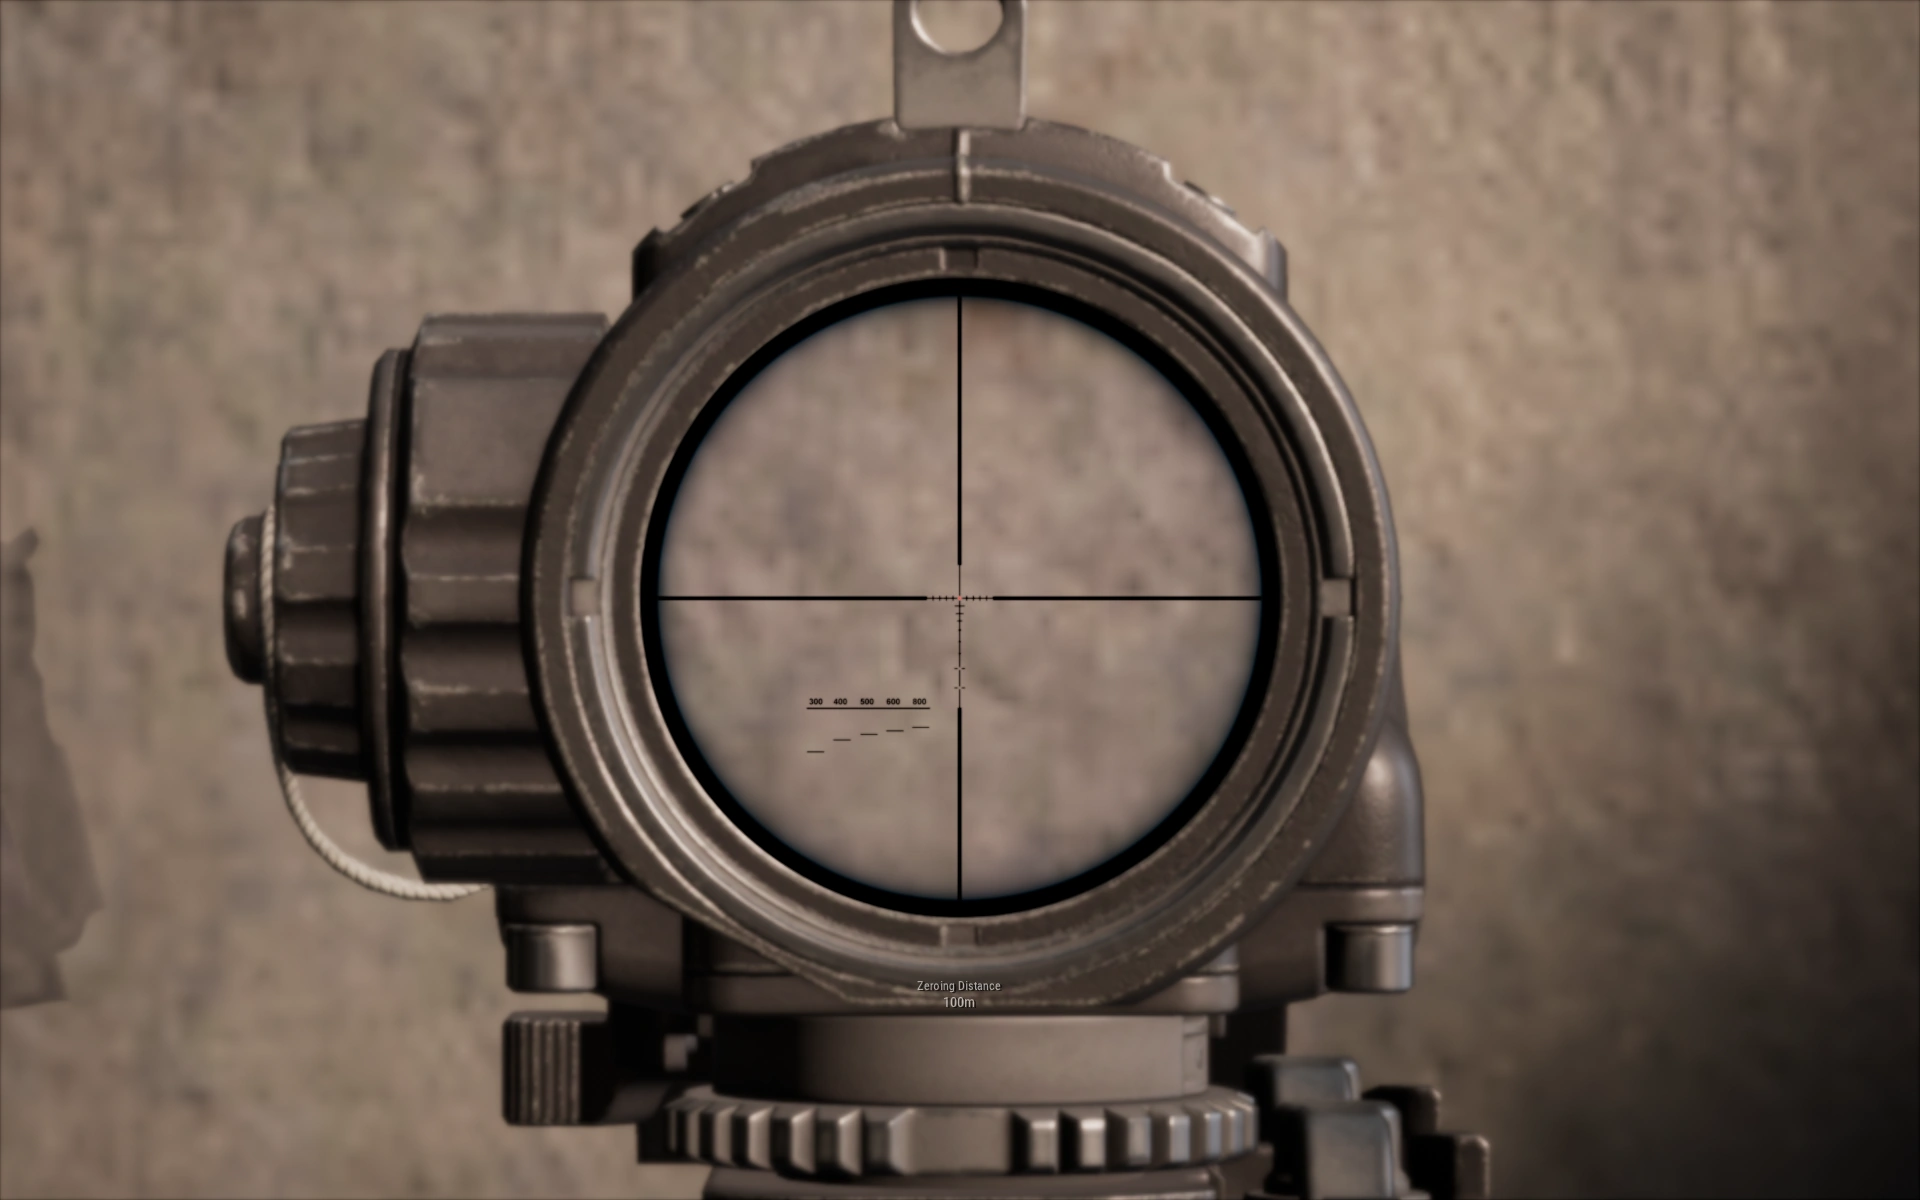
| Scope (per magnification: 2x, 3x/4x, 6x, 8x) | Aiming through magnified optics | Lower as zoom climbs so each scope tracks at a similar real speed |
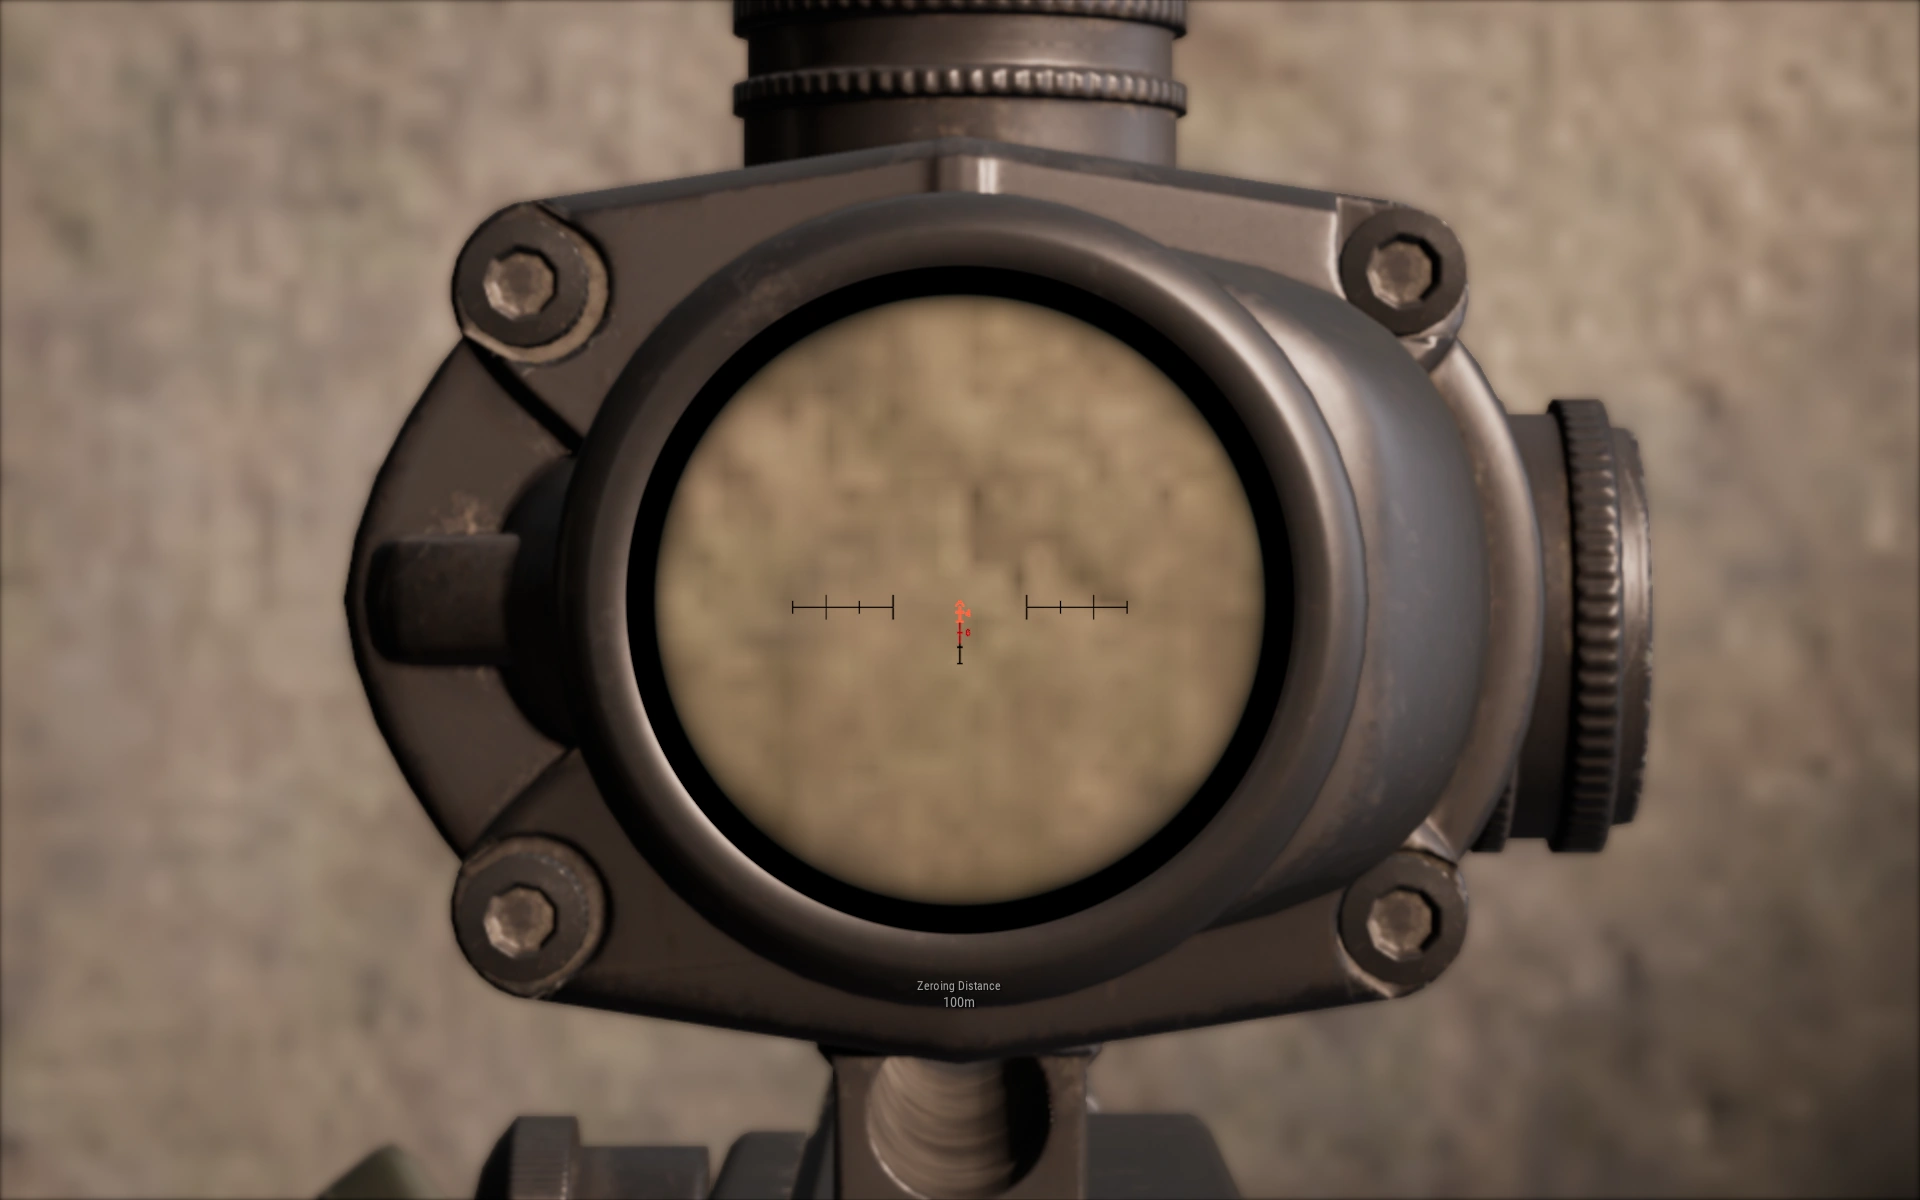
The principle that fixes most console aim: the more a scope zooms, the lower its sensitivity should be. At 8x a tiny stick nudge throws your crosshair across the screen, so your 8x sensitivity should be dramatically lower than your red dot. Set each scope's slider so that tracking a target at that scope's intended range feels deliberate, not twitchy. There's no universal magic number — these are personal values, and pros set them all differently — so use a moderate starting point and tune each one down until it tracks smoothly.
PUBG also exposes a vertical sensitivity multiplier on console — separate up/down speed relative to left/right. A slight vertical reduction can make recoil pull-down feel more controlled, but only touch it once your base horizontal sensitivities are locked, or you'll be chasing two moving targets at once. For the spray mechanics those numbers serve, our recoil control guide breaks down the actual pull patterns.
The method is the same one we use for PC: set a sane baseline, then do all your tuning against a wall and a moving target in training, and commit for a week before you adjust again. The general framework lives in the settings and sensitivity guide; this is the console-flavored version of it.
Aim assist and the technique it cannot replace
Aim assist on console is real, it's on by default, and it's not the crutch PC players think it is. In PUBG it's a mild magnetism that helps your reticle stick to a target as it moves — it does not snap onto heads, and it won't win a fight you've badly out-positioned. The biggest thing to understand: aim assist rewards movement, not standing still. It tends to engage more when you and your target are both moving, which is why strafing while you shoot often tracks better than freezing in place.
Technique that works with the assist instead of against it:
- Strafe during close fights. Moving left-right while you shoot keeps the assist active and makes you harder to hit. Two birds.
- Center your aim at chest height before you ADS. Aim assist helps you hold a target, not find one. Pre-aim where the enemy will be so the assist has something to grab.
- Don't oversteer. The most common console aim error is yanking the stick to correct, overshooting, and yanking back. Smaller, smoother corrections let the assist do its job.
- Burst your magnified shots. At range, recoil beats aim assist. Tap-fire or short-burst with a 4x and up so each shot resets clean.
Aim assist is the floor, not the ceiling. It keeps a console controller competitive, but the players who win still do the work — positioning so they're seen second, ADS discipline, and the dead-zone and sensitivity tuning above. If you want the habits that out-rank pure aim entirely, the advanced tips guide is the next read.
Gyro aiming on PS5 and the edge controllers
If you're on a DualSense (PS5) or DualSense Edge, you have a tool Xbox players mostly don't: motion controls. Gyro aiming lets you fine-tune your aim by physically tilting the controller while a small stick movement does the coarse turn. Done right, it's the closest a controller gets to mouse-like precision for those last few pixels of a long-range shot.
The honest take: gyro is high-skill-ceiling and high-friction to learn. It feels alien for the first several hours and most players bounce off it. But the ones who stick with it gain meaningful precision on magnified scopes, where stick-only aiming runs into the thumbstick's travel limit. If you're going to try it:
- Use it as a fine-tune layer, not your whole aim. Coarse turn with the stick, then settle the reticle with small tilts.
- Pick the activation mode you'll actually use — full-time gyro versus gyro-only-while-aiming. Most players prefer gyro that's active only while ADS so casual camera movement isn't affected.
- Commit to a full week before you judge it. Like every aim setting, the muscle memory is the whole point, and a week is the minimum to know if it's for you.
Xbox controllers lack the built-in motion sensors, so this is largely a PlayStation (and PC-with-DualSense) advantage. If you're on Xbox, don't sweat it — clean dead zones, split sensitivities, and ADS discipline get you most of the way to the same result.
FPP vs TPP and the rest of the menu
A few remaining settings move the needle on console:
- FPP (first-person) vs TPP (third-person). TPP lets you peek over cover with the camera without exposing your body, which is why public TPP lobbies play very differently. FPP removes that camera advantage and rewards raw gunfights and information. Neither is "correct" — but pick the perspective you want to climb in and queue it consistently, because the two reward different instincts. The full breakdown is in our TPP vs FPP guide.
- Audio over a headset, always. PUBG's directional audio is elite, and on console a wired or wireless gaming headset turns footsteps and gunfire into a map of where threats are. Speakers throw that away. This is the cheapest competitive upgrade on console.
- FOV / camera distance where the menu allows it. Console exposes some camera-distance and view options; set them so you can see threats without shrinking distant targets, then leave them. Consistency beats fiddling.
- Crosshair and HUD. Make sure your reticle is visible against PUBG's muddy environments — a color that pops against grass and concrete is worth the 20 seconds it takes to set.
The throughline across the whole menu is the same one that governs sensitivity: pick deliberate settings that serve seeing and hitting enemies, then commit long enough to build the muscle memory that actually wins games.
Quick Action Checklist
- Pick one controller layout that keeps your thumbs on the sticks during fights — then stop switching
- If you have back paddles, remap jump and crouch to them for full stick control
- Set dead zones FIRST: raise from low only until resting stick drift stops
- Split sensitivity into three buckets — general, ADS/targeting, and per-scope
- Lower sensitivity as scope magnification climbs; 8x should be far slower than your red dot
- Leave aim assist on, strafe during close fights, and make small smooth corrections, not yanks
- Burst-fire magnified shots so recoil resets between rounds
- On PS5, try gyro as a fine-tune layer for long-range precision — commit a week before judging
- Pick FPP or TPP and queue it consistently; always play with a headset
Frequently Asked Questions
Keep Reading
Related Guides
PUBG TPP vs FPP: Which Mode Should You Play?
TPP lets you see over a wall without exposing yourself. FPP makes you earn every look. That one camera difference reshapes how every fight in PUBG plays out — here's which mode to actually queue, and why.
PUBG Cover Guide: What Actually Stops a Bullet
Half the deaths in PUBG happen behind something the player thought was protecting them. Bushes, grass, car doors, smoke — here's what actually stops a bullet, what only hides you, and how to use each one without getting killed while you feel safe.
PUBG Drop Shots and Gunfight Movement Guide
The best PUBG duelists don't stand still and out-aim you — they move in ways that make your shots miss high while their own spray stays tight. Here's how drop shots, crouch-spam, and strafe-jiggling actually work, and when each one wins or loses the fight.

PUBG Best Graphics Settings for High FPS
Pros don't run PUBG on low settings because their rigs are weak — they do it because flat, ugly graphics show enemies faster and feed a frame rate that makes tracking easier. Here's the exact PC tuning for max FPS and visibility.

Best Weapons in PUBG: Tier List
Every PUBG tier list is out of date the moment a balance patch drops. So here's the list, ranked by role, plus the durable logic to re-tier any gun yourself when the next patch shakes things up.
Best PUBG Loadouts & Attachments
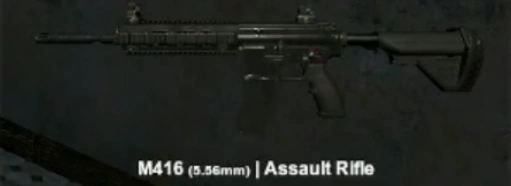
A naked M416 and a fully kitted M416 are basically two different guns. Here's how to build the strongest two-gun loadouts in PUBG and the attachment priority that turns loot into recoil control.