PUBG Taego Map Guide: Comeback BR, Secret Room & Rotations
Taego is the 8x8 that hands you a second life. Here's a real guide to PUBG's Korea map — where to drop, how the Comeback BR, Self-AED and Secret Room actually work, what the gliders change about rotations, and how to close out the only big map where dying early doesn't always mean you're done.

Every other PUBG map plays by the genre's oldest rule: you die, you spectate, you re-queue. Taego quietly broke that rule. This is the 8x8 where dying in the first phase doesn't have to be the end of your game, where a world-loot item lets you pick yourself up off the floor with no teammate in sight, and where a hidden key opens a room full of gear you can't find anywhere else on the map. Taego isn't just "the Korea map" — it's the map that rewrote what an early death means, and most players still treat it like a reskinned Erangel and leave its best mechanics on the table.
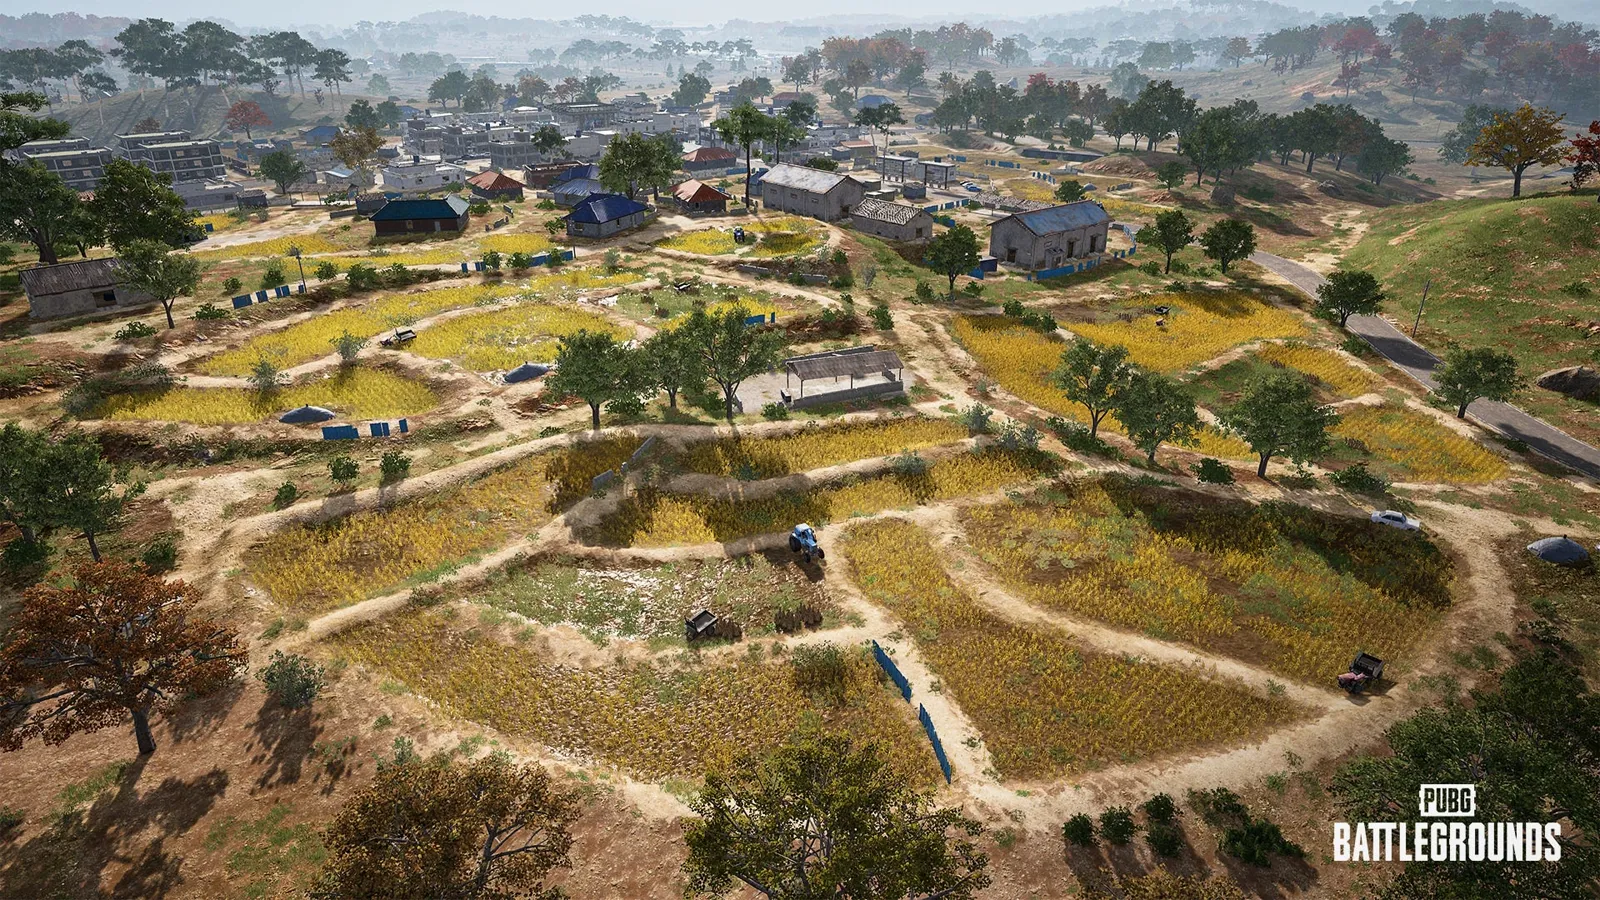
Taego is an 8x8 set in a 1980s-themed Korean battleground — mountains, farmland, dense city districts, and wildlife that snitches on you. The birds and chickens react to player movement and gunfire, so a flock suddenly scattering across a field is a free early warning that someone's moving nearby. Layer the second-chance mechanics on top of that and you get the most distinctive big map in the game. Here's the actual guide: the layout, how the comeback systems really work, the Secret Room math, the drops, the gliders, and how to close it out.
The map that gives you a second life
Taego is a full 8x8 — the same big-map class as Erangel and Miramar, so the pacing is "loot up, move with purpose, play the circle," not the frantic 4x4 knife-fight. What sets it apart is a pair of second-chance systems introduced when the map launched (Update 12.2): the Comeback BR and the Self-AED. No other big map is built around forgiving an early mistake the way Taego is.
That changes the whole risk calculus. On Erangel, dropping a hot contested POI and losing the opening fight just ends your match. On Taego, losing that fight can buy you a ticket to the Comeback Arena instead — which means hot drops are a more reasonable gamble here than anywhere else, because the downside isn't always a hard exit. Players who don't know the systems play Taego scared. Players who do play it aggressive on purpose.
One caveat, because it matters: PUBG's map pool and the exact tuning of these systems are patch-variable. Spawn rates, which modes Taego is available in, and the finer details of the comeback mechanics have been adjusted across updates, and which maps are queueable rotates by season. The fundamentals below hold, but always check the current rules and map rotation in-game.
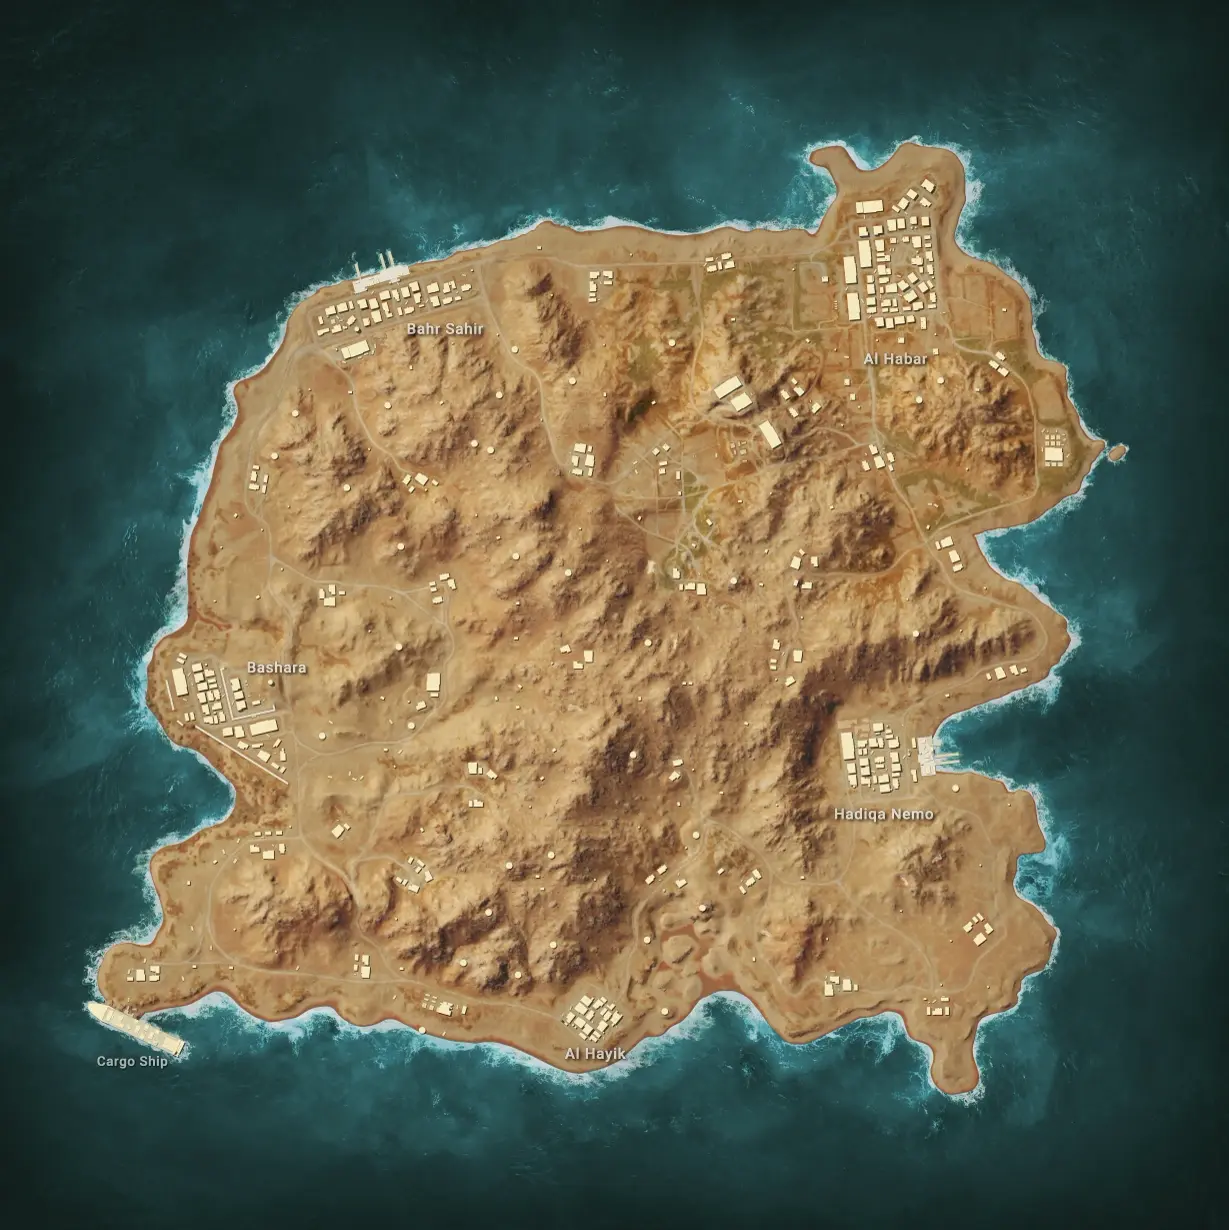
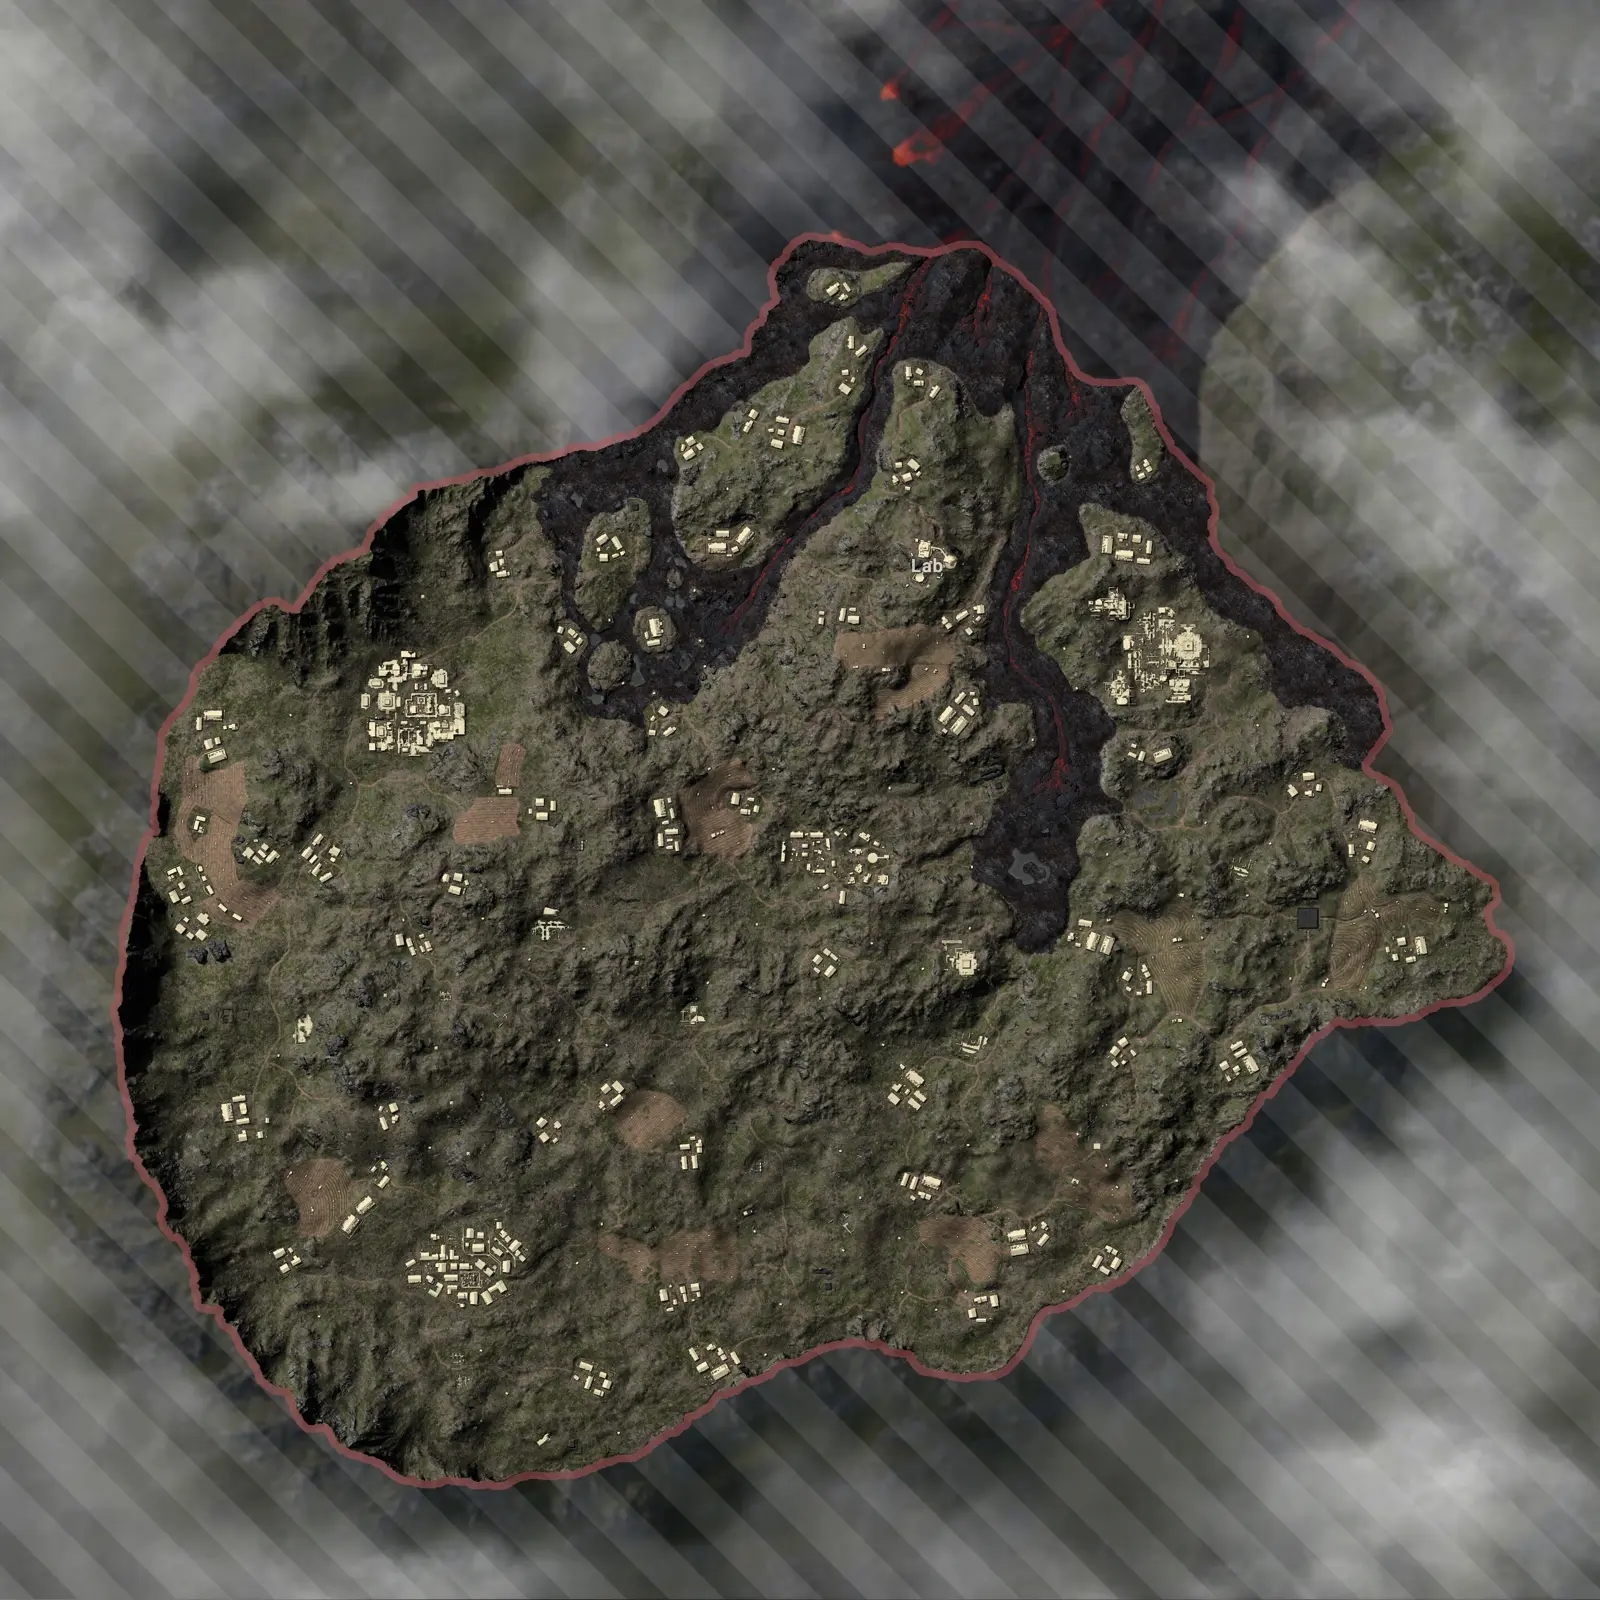
How Taego is laid out
Taego is a roughly 8 km Korean-themed island with the full big-map mix: mountainous terrain, broad farmland and rice fields, dense urban districts, and a scattering of distinctive compounds. The terrain favors long- and medium-range combat across the open farmland, with pockets of tight vertical CQC inside the city blocks.
The named locations worth knowing as your anchors:
| POI | Type | What it is |
|---|---|---|
| Hosan Prison | Compound | A walled prison complex — strong loot, defensible, contested |
| Palace | Landmark | A large ornate compound, big loot, a marquee drop |
| School | Building cluster | A tight campus — dense loot, close-range fights |
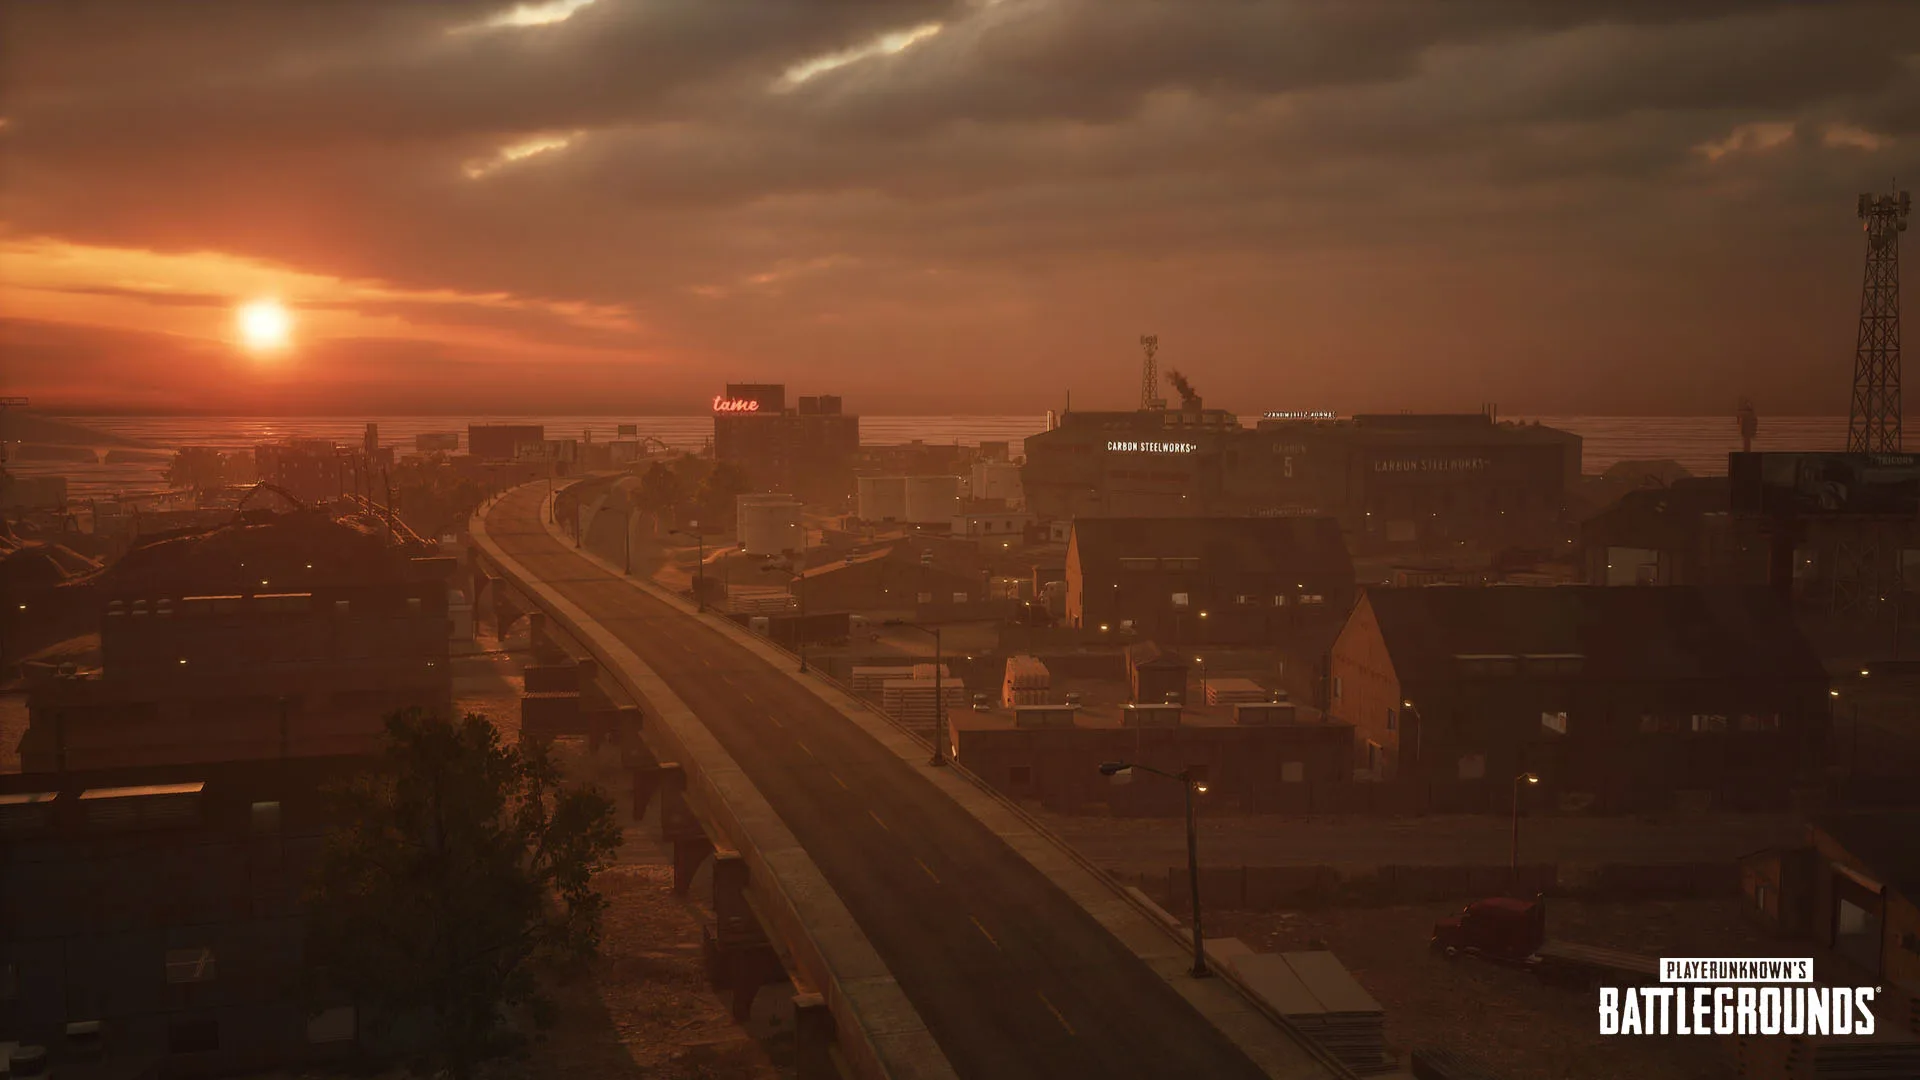
| City districts | Urban | Packed mid-rise blocks, vertical CQC, high loot density |
| Farmland / rice fields | Open terrain | Broad open ground, long sightlines, the rotation problem |
| Mountains | Terrain | High ground and rotation obstacles around the map |
Around those sit numerous smaller towns and compounds that make solid quieter loot stops. The mental model: the marquee compounds (Hosan Prison, Palace) and the city for high loot and fights, the towns for reliable gear, and the open farmland as terrain you cross carefully — because the sightlines are long and the birds are watching.
The Comeback BR and Self-AED
These two are why Taego is special, so it's worth getting them exactly right.
The Comeback BR is a second-chance system: players who die during the first Blue Zone phase aren't immediately out — they get sent to the Comeback Arena, a separate location off the main Taego battleground, to fight a smaller battle royale among the other early casualties. Survive long enough in the Arena and you're transported by helicopter back to the Taego mainland in a later phase to resume your run at the Chicken Dinner. In other words, an early death is a demotion, not an elimination — you earn your way back in.
The Self-AED is the solo version of a teammate revive. It's a world-loot item that lets a downed player revive themselves when DBNO, with no teammate required, and it works in both Solo and Squad matches. In solo, where there's normally no "knocked" state at all, a Self-AED in your bag means a hit that would eliminate you instead puts you into a DBNO state you can recover from yourself. It's a genuine get-out-of-jail item — finding one changes how aggressively you can play a fight.
What this means for how you play Taego:
- Hot drops are less punishing. Because losing the opening fight can route you to the Comeback Arena rather than the lobby screen, you can take contested drops more freely than on other big maps. Fight to win, but know the safety net exists in that first phase.
- Prioritize the Self-AED in your loot. It's one of the most valuable world items on the map. A Self-AED turns a lost solo gunfight into a recoverable mistake and lets a squad player self-rez when teammates can't reach them.
- Don't get sloppy. A second chance is not infinite chances. The Comeback safety net only covers the first phase, and a Self-AED is one item. Play around them; don't throw because of them.
The Secret Room
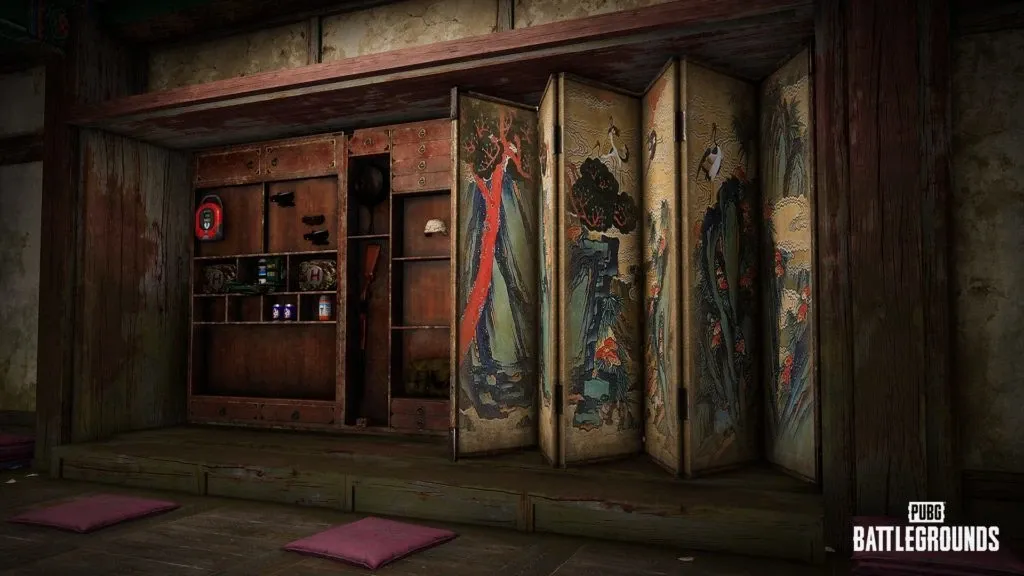
Taego hides a literal loot vault. The Secret Room is a hidden area stocked with top-tier gear — including items you can't loot anywhere else on the Battlegrounds. To get in, you need a key: hidden keys are scattered across Taego, and you have to find one in the world, then take it to the Secret Room to open it.
The honest math on the Secret Room:
- The good: if you get a key and reach the room, you walk out with the best gear on the map plus exclusive items. It's a real power spike, on par with winning a high-tier compound.
- The cost: it's a two-step treasure hunt. You have to find a key (not guaranteed, and it eats loot time), then travel to and clear the room (which other key-holders may also be heading for). The detour can pull you off your circle line.
- The play: treat it as opportunistic, not a plan. If you stumble onto a key while looting normally, then the Secret Room becomes worth a detour. Building your whole early game around finding a key you might never see is how you end up under-looted and out of position.
The best drop spots
Taego's drops follow the big-map logic — hot for fights and top loot, quieter to gear up and rotate — but with the Comeback safety net softening the cost of a contested landing.
Hosan Prison is a premium contest: a walled prison complex with strong loot and genuinely defensible layout, which draws teams who want both gear and a fortress. Win it and you're kitted and dug in; the walls cut both ways, so don't get boxed in. Palace is the marquee landmark drop — a large ornate compound with big loot and a correspondingly big crowd. Both are confident-squad drops with the usual hot-drop discipline: gun first, clear methodically, don't sprint into the open center.
The city districts are the vertical CQC option — packed mid-rise blocks with high loot density and lots of tight angles. If you trust your close-range gunfighting, the city kits you fast, and it's a place where the Comeback net makes an aggressive landing more palatable. School is the same idea in a tighter package — a dense campus that's a quick full kit or a quick death.
For gearing up with less heat, the smaller towns and compounds scattered across the map carry it: solid loot, fewer bodies, room to rotate. The trade is the same as every big map — quieter loot costs you a longer, more exposed crossing of the open farmland to reach the center.
Gliders, vehicles and rotations
Taego has a rotation tool the other maps don't lean on the same way: motor gliders. They spawn reliably around the map and give you genuine air mobility — a way to cover the big 8x8 distances fast and reposition over terrain that would be a slog on foot or a death drive across open farmland. Used well, a glider beats the blue, scouts the next circle, and drops you into a strong position; used badly, it's a loud, visible target in the sky that everyone can shoot at.
The rotation principles for Taego:
- Use gliders to beat the distance, not to show off. An 8x8 is a lot of ground. A glider turns a long, exposed farmland rotation into a fast aerial one — but fly it with a plan, land near cover, and don't loiter in the open sky where you're a clay pigeon.
- Respect the farmland sightlines. The open rice fields and farm tracts have long sightlines that turn every crossing into a sniper's buffet. Cross with cover, use the terrain folds, and don't straight-line across open ground that three teams can watch.
- Read the birds. Taego's wildlife reacts to movement and gunfire — a flock scattering off a field is a free tell that someone's moving over there. It's subtle, but it's real free information on a map that otherwise has long, quiet rotations.
- Standard vehicles still matter. Cars cover the road network and get you between POIs fast. Park in cover near the circle and kill the engine before the fight, same as any map.
Reading the Taego endgame
Taego endgames play like a big-map endgame with the comeback layer mostly behind you — by the final phases, the Comeback Arena returns are in, and you're fighting the survivors plus whoever bought their way back. Note that Taego runs clear weather and (at launch) no Red Zone, so you're reading terrain and players, not dodging artillery.
What to look for as the circle closes:
- Hold covered high ground. Taego's mountains and elevated compounds give strong final positions — a covered ridge or building where the circle can only pull teams toward you across the open farmland is the winning hand. Watch the open approaches while others get funneled across exposed ground.
- Account for the returns. If the Comeback heli has dropped players back in, the final circles can be more crowded than the kill feed suggested. Don't assume a quiet kill feed means an empty zone.
- Bank a Self-AED for the clutch. Carrying a Self-AED into the final circles is the ultimate insurance — a lost final gunfight you'd normally die on can become a self-revive and a re-engage. It's a top item to hold for exactly this moment.
- Use cover, not buildings, in the last fields. Like every big map, late zones often pull off the towns into open ground, so rocks, terrain folds and the farmland's cover become your friends. The team still hugging a house when the circle leaves it behind gets caught in the open.
If you want the broader zone-reading framework that applies to every map, our PUBG endgame circle strategy goes deeper on circle prediction and final-circle positioning. Taego just adds the wrinkle that the lobby you're fighting in the endgame may be bigger than the kill feed let on.
Quick Action Checklist
- Play Taego as the 8x8 it is — loot up, move with purpose, play the circle, but know the safety net exists
- Take contested drops more freely than other big maps — losing the first-phase fight can route you to the Comeback Arena, not the lobby
- Prioritize the Self-AED in your loot — it self-revives a downed player with no teammate, in Solo and Squad
- Treat the Secret Room as opportunistic: only detour for it if you find a key while looting normally
- Drop Hosan Prison, Palace, or the city for fights and top loot; smaller towns and compounds to gear up quieter
- Use gliders to beat the 8x8 distance, land near cover, and don't loiter in the open sky
- Cross the open farmland with cover and watch the birds — scattering flocks tell you someone's moving
- In the endgame, hold covered high ground, account for Comeback returns, and bank a Self-AED for the clutch — and check the live map rotation in-game
Frequently Asked Questions
Keep Reading
Related Guides
PUBG Haven Map Guide: The Pillar, Caches & CQC Chaos
Haven is the one PUBG map where the AI shoots back. A 1x1 industrial island, 32 players, an armed faction called the Pillar guarding the loot, and a helicopter with a spotlight hunting you. Here's how to survive it.
PUBG Karakin Map Guide: Black Zone, Breaches & Drops
Karakin is PUBG's 2x2 desert pressure cooker — 64 players, no vehicles, and a Black Zone that deletes whole compounds mid-match. Here's where to drop, how to breach, and how to not get blown up by your own map.
PUBG Paramo Map Guide: Volcano, Lava & Heli Drops
Paramo is the PUBG map where the landmarks move between matches, the lava actually kills you, and you ride a helicopter in instead of jumping from a plane. Here's how to read a map that refuses to stay still.

PUBG Deston Map Guide: Drops, Recall & Endgame
Deston is the 8x8 that broke PUBG's rulebook — Ascenders up skyscrapers, gliders off rooftops, a Blue Chip recall system that brings dead teammates back, and swamps that aren't quite land or water. Here's where to drop, how to use the gadgets, and how to read the endgame.

Best Weapons in PUBG: Tier List
Every PUBG tier list is out of date the moment a balance patch drops. So here's the list, ranked by role, plus the durable logic to re-tier any gun yourself when the next patch shakes things up.
Best PUBG Loadouts & Attachments
A naked M416 and a fully kitted M416 are basically two different guns. Here's how to build the strongest two-gun loadouts in PUBG and the attachment priority that turns loot into recoil control.