How to Make a Roblox Game: From Idea to Published
Making a Roblox game is free, and your first one can be live by tonight. Becoming the next DOORS is a different conversation. Here's the honest roadmap — Studio, the build loop, Luau, publishing, and a straight-talk section on whether you'll actually make money.
Making a Roblox game costs nothing, and your first one can be live and joinable by tonight. That's the genuinely great news, and it's why the platform has millions of games. Here's the part the "make a Roblox game and get rich" videos skip: getting a game published is easy, getting one that's actually good is hard, and getting one that makes real money is a different sport entirely. All three are achievable. They just aren't the same task, and pretending they are is how beginners burn out in week two.
This is the realistic roadmap from idea to published — the steps in order, what each one actually involves, and a straight-talk section at the end about money so you go in with your eyes open. If you've already poked at Studio, some of the early steps will be review; we go deeper here on the build loop, Luau, and the publishing-and-money reality that our Roblox Studio basics walkthrough only touches.
What you're actually signing up for
Before you download anything, get the mental model right, because it'll save you a lot of frustration.
A Roblox game — Roblox calls them "experiences" — is built entirely in Roblox Studio, a free desktop app for Windows and Mac. You build the world, write the logic, test it, and publish, and Roblox handles all the infrastructure: servers, accounts, payments, moderation, and matchmaking. You never touch a server config. That's the deal that makes solo development viable, and it's genuinely remarkable — you're getting AAA-grade backend infrastructure for free.
What you're signing up for is three distinct skills that you learn in roughly this order:
- Building — placing and shaping the 3D world out of parts and models. Mostly visual, very beginner-friendly.
- Scripting — writing Luau code to make things do stuff. This is the real learning curve.
- Designing — making the whole thing actually fun. The hardest part, and the one no tutorial can hand you.
The single biggest mistake new developers make is picking a dream project first. "I want to make an open-world RPG with 50 weapons" is a great way to quit. Your first game's only job is to teach you the loop end to end. Make something tiny and finishable, ship it, and then get ambitious.
Step 1: Install Roblox Studio and pick a starting point
Go to the official Roblox Creator site at create.roblox.com and download Roblox Studio. Install it, sign in with your normal Roblox account — same login you play with — and launch it.
You'll land on a template picker. You've got two sane choices for a first project:
- Baseplate — a flat gray ground and a spawn point, and nothing else. Best if you want to understand every piece of your game because you placed it yourself.
- A genre template (Obby, Racing, etc.) — a pre-built starting structure you modify. Best if you'd rather see a working game and take it apart to learn how it fits together.
For a true beginner I lean toward starting with the Baseplate for your very first session just to learn the tools, then using a genre template once you actually want to build something playable. Either way, don't agonize over it — you'll make ten throwaway places before you make one you keep.
Step 2: Learn the build loop
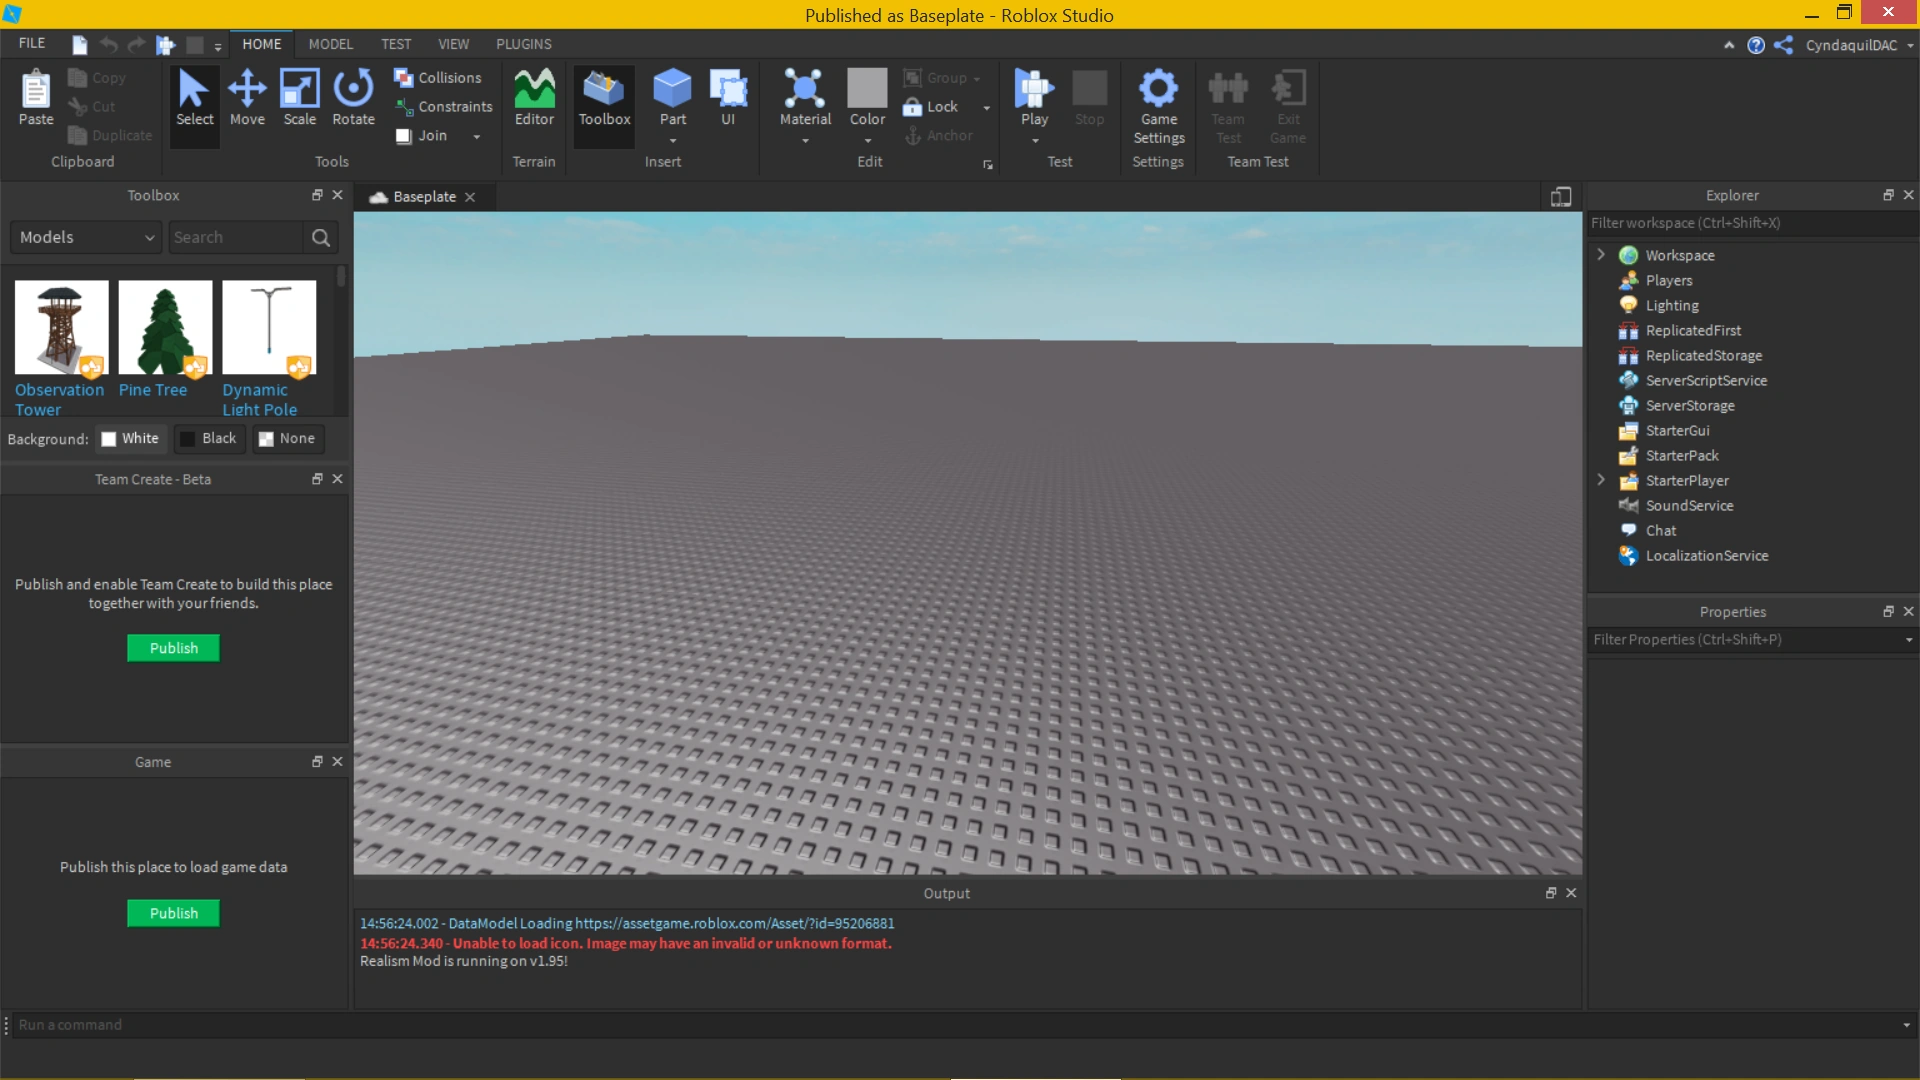
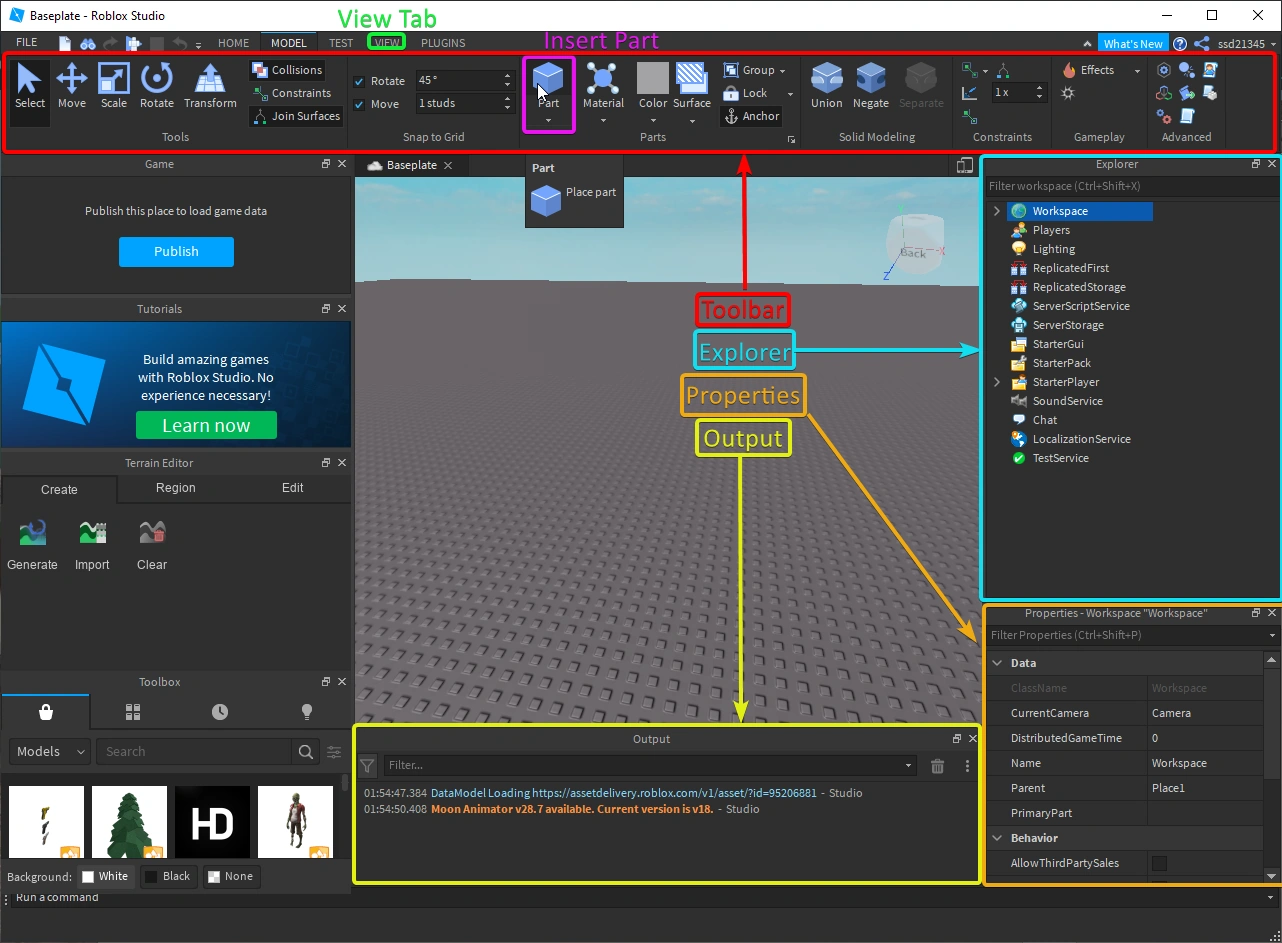
Studio looks busy, but as a beginner you live in four areas:
| Area | What it does |
|---|---|
| Viewport | The 3D view where you build. WASD to fly the camera, right-click-drag to look, scroll to zoom |
| Explorer | A tree of every object in your game. This is where you select and organize everything |
| Properties | Every setting of the selected object — size, color, position, and the all-important Anchored checkbox |
| Toolbar | The ribbon up top with buttons to insert parts and the Move/Scale/Rotate tools |
If the Explorer and Properties panels aren't showing, turn them on from the View tab — you need both. The core loop of building is simple: insert a Part (a block) from the Home tab, then move it, scale it, recolor it, and anchor it. That last one trips up everyone: an unanchored part obeys physics and falls to the floor the instant you test. If a platform vanishes when you hit Play, you forgot to check Anchored.
Stack a few anchored platforms with gaps and you've built the skeleton of an obby. That's not a joke — an obby is genuinely the best first game precisely because it's mostly building with barely any code, which lets you learn the publish loop before you fight with scripting.
Step 3: Scripting with Luau, the honest version
Here's where most beginners hit the wall, so let's be precise. Roblox games are scripted in Luau — Roblox's own flavor of the Lua programming language, tuned for game development with extras like type checking and clearer error messages. It is not plain Lua, and it is not Python or JavaScript, so search for Luau-specific tutorials, not generic Lua ones.
To add code: in the Explorer, right-click an object (or ServerScriptService), choose Insert Object, then Script. A code editor opens with a default print("Hello world!"). Hit Play and "Hello world!" appears in the Output window. That's you running code in a game. It's a smaller moment than it sounds and a bigger one than you'd think.
Three concepts carry most beginner scripting, and you can build a shocking amount with just these:
- Variables store values — a number, some text, or a reference to a part in your world.
- Functions are reusable blocks of instructions you run on demand.
- Events fire when something happens — a player touches a part, clicks a button, the game starts — and you connect a function to react.
The pattern that unlocks the whole platform is "when X happens, do Y." A classic first real script: make a part kill the player when touched (a "kill brick" — the bread and butter of obbys). You reference the part, connect a function to its Touched event, and inside that function you damage whatever touched it. That exact connect-a-function-to-an-event shape is behind nearly every mechanic in every Roblox game, from a shop button to a boss fight.
One thing worth knowing early so you don't get confused: Roblox runs code on a server and on each player's client, and the difference (a Script versus a LocalScript) matters the moment you build multiplayer. You don't need to master it on day one — but when a tutorial says "this goes in a LocalScript," that's why. Don't try to learn all of Luau before building; learn the one mechanic your current game needs, build it, then learn the next. The official Luau docs on create.roblox.com are the reference to keep open.
Step 4: Test constantly
You never have to publish to test — Studio has a built-in player. Hit the blue Play button on the Home tab and Studio drops your avatar into the game exactly as a real player would experience it. Walk around, jump on platforms, trigger your scripts, then hit Stop to go back to editing.
The Output window (turn it on from the View tab) is your most important debugging tool. Script errors print there in red with a line number telling you exactly where things broke. Reading those errors calmly instead of panicking is the single most valuable habit you can build as a beginner — the error message is almost always pointing at your actual problem.
Test in tiny increments. Place a part, test. Write three lines, test. Catching a bug right after you create it is trivial; finding it after fifty changes is a nightmare. This habit alone separates people who finish games from people who abandon broken ones.
Step 5: Publish it
When you've got something you're willing to show the world — and "willing" is doing a lot of work; ship it ugly — publish it: File > Publish to Roblox. Give it a name and description, and confirm. Roblox uploads it, spins up servers, and your game gets a real URL anyone on Earth can join.
A few publish-time notes that matter:
- New games start private. Flip it to public in the experience settings on create.roblox.com when you want others to join.
- Add an icon and thumbnail. A game with no art gets zero clicks. Even a rough one beats nothing.
- You keep editing after publishing. Republish to push updates; your Studio file and the live game stay in sync through the publish action.
That's the full loop — build, test, publish, iterate. Every Roblox developer alive runs this exact cycle. Yours just starts smaller and uglier, and that's completely fine.
Step 6: Get people to actually play it
Here's the gut-punch nobody warns you about: publishing a game does not get it players. Roblox's discovery algorithm surfaces games that are already retaining players, which is a chicken-and-egg problem for your brand-new experience with zero playtime.
You don't need a marketing budget, but you do need to understand the levers:
- The icon and thumbnails are everything. On Roblox, the thumbnail is your marketing. A clear, readable icon that communicates the game in a half-second beats a beautiful one that's confusing.
- Retention beats traffic. The algorithm cares more about whether players stay than whether they show up. A game people quit in 30 seconds won't get pushed no matter how many you funnel in. The engine's own AnalyticsService is where you read retention from.
- Early players have to come from you. Friends, a Discord, a TikTok clip — your first hundred players are ones you bring, not ones the algorithm sends. The algorithm only kicks in once those early players prove the game is sticky.
If your goal is to understand what "sticky" looks like, study the genre leaders. Our best Roblox games breakdown shows what years of retention-focused iteration produces — that's the far end of the ladder you're stepping onto.
The monetization talk (read this before you dream)
Let's be honest about money, because the get-rich pitch is where new developers get the most misled.
Yes, you can make real money on Roblox. Games earn Robux through Game Passes (one-time purchases like a permanent perk), developer products (repeatable purchases like in-game currency), and premium payouts. Robux you earn this way can be converted to real-world cash through Roblox's Developer Exchange (DevEx) program. As of 2026, the DevEx rate for newly earned Robux is $0.0038 per Robux, and you need a minimum of 30,000 earned Robux before you can cash out — which works out to roughly $114 at the first eligible cash-out. You also need to be 13 or older with a verified account to use DevEx.
Now the reality check. That conversion rate means it takes a lot of earned Robux to make meaningful money, and the earnings distribution on Roblox is brutally top-heavy — a tiny fraction of games earn the vast majority of the revenue, while the long tail earns close to nothing. The developers pulling real income are running polished, retention-tuned games that they iterated on for months or years, often as teams. That's an achievable goal. It is not a first-month outcome, and anyone telling you otherwise is selling something.
The healthy way to start: treat money as a later problem. Build something you'd actually want to play, learn the craft, build an audience, and add monetization once you have players who'd happily pay for a Game Pass. Money on Roblox follows good games — it does not lead them. And if you're a player trying to understand the Robux side of the economy, our how to get Robux safely guide covers it from the other direction.
A realistic first-month roadmap
Here's a sane month-one plan that actually builds skills instead of crushing your motivation:
- Week 1 — Tools. Install Studio, build a baseplate obby with anchored parts, write a kill-brick and a checkpoint script. Publish it even though it's bad. You now know the whole loop.
- Week 2 — One real mechanic. Pick a single mechanic your next game needs and build it properly. A working shop, a leaderboard, a collectible. Learn the Luau behind it.
- Week 3 — A small finished game. Combine what you've learned into one complete, small experience. Finished beats ambitious. A tight 5-minute obby with a theme is a real game.
- Week 4 — Polish and ship. Add an icon, decent thumbnails, fix the obvious bugs, get five friends to play it, and watch where they quit. That feedback is worth more than any tutorial.
Do that and you'll have shipped a finished game and learned the core of every skill the platform requires. That's a genuinely strong month, and it's the foundation everything bigger is built on.
Quick Action Checklist
Your idea-to-published path, in order:
- Download Roblox Studio from create.roblox.com and sign in with your normal account
- Start with the Baseplate to learn the tools, then a genre template to build
- Master the build loop: insert a Part, move/scale/recolor it, and ANCHOR it
- Search for Luau tutorials specifically — not generic Lua, Python, or JavaScript
- Learn the "when X happens, do Y" event pattern (start with a kill brick)
- Test in tiny increments and read the red errors in the Output window
- Publish via File > Publish to Roblox, then set it public and add an icon
- Nail the icon and thumbnail — on Roblox the thumbnail is your marketing
- Bring your own first players; the algorithm rewards retention, not new uploads
- Treat money as a later problem — DevEx needs 30,000 earned Robux to cash out
- Ship one small, finished game before you attempt your dream project
Frequently Asked Questions
How do I make a Roblox game for free?
Do I need to know how to code to make a Roblox game?
What language does Roblox use?
How long does it take to make a Roblox game?
How much money can you make from a Roblox game?
Why does no one play my published Roblox game?
Keep Reading
Related Guides
Roblox Early Testers and the New Publish Flow: What Changed
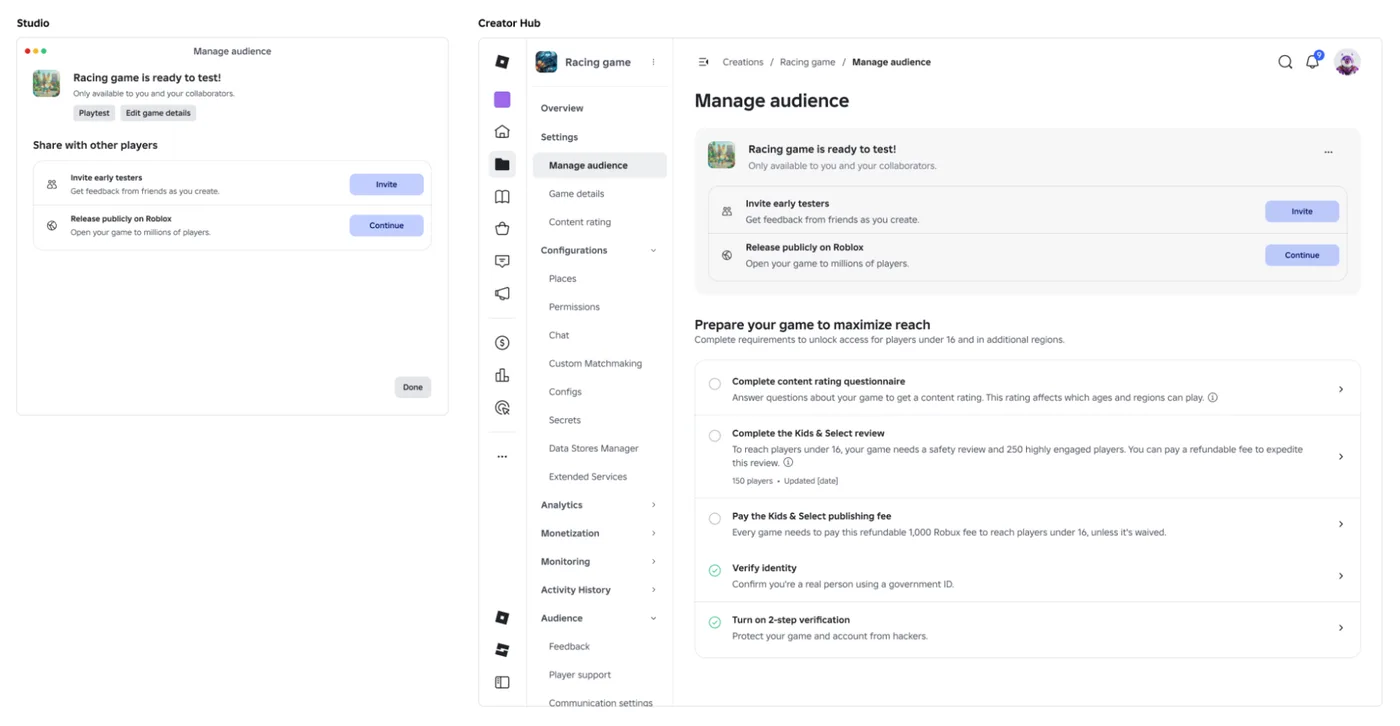
Since October 12, 2026, you can let up to 10 friends play your unreleased, unrated Roblox game, and Roblox is rolling out a path that lets a game with no age-restricted content reach age-checked players 16 and older by answering one question instead of the full questionnaire. Here is who can be an early tester, what replaced the Private and Limited audience settings, what the one question actually covers, and what still takes the long road to players under 16.
Roblox Animation Graph Editor: Blends and State Machines
Animation graphs left beta on July 15, 2026, and on October 8 Roblox added State Machine nodes and Expressions as a Studio beta. Here is how a graph loads like any animation, what each of the 15 node types does, how SetParameter drives it, what the beta features can't do in a live game yet, and who runs the graph under each authority mode.
Roblox Collision Summaries: Impact Speed, Point and Normal
Touched tells you what your part hit. BindToCollisionSummaries, live since October 6, 2026, tells you where, from which direction and how hard. Here are the seven fields, why one bump arrives as several summaries, the Normal field Roblox's own pages describe two ways, and the network-ownership rule that decides which machine sees a summary at all.
Roblox Localization: How to Translate Your Game
Since June 2026, any player can switch on Automatic Translations and read your game through Roblox's machine translator, whether or not you ever opened the Localization page. Here is what gets translated, how to stop it on text that should stay put, the five kinds of text automatic capture never sees, and the Translator and real-time APIs that cover the rest.
Best Roblox Games to Play in 2026
Roblox's front page is engagement bait. This is the filtered version: the games with real, sustained player counts and actual staying power, sorted by what you're in the mood for.
How to Get Robux Safely (Legit Ways + Scams to Avoid)
There is no free Robux generator. There never was. Here are the actual legit ways to get Robux without overpaying, the earning methods that really work, and the scams that exist purely to steal your account.