Roblox Studio Basics: Make Your First Game
You can have a playable Roblox game live in a single afternoon — for free. This is the no-fluff path through Roblox Studio: open the baseplate, place some parts, write one script, test it, publish it.
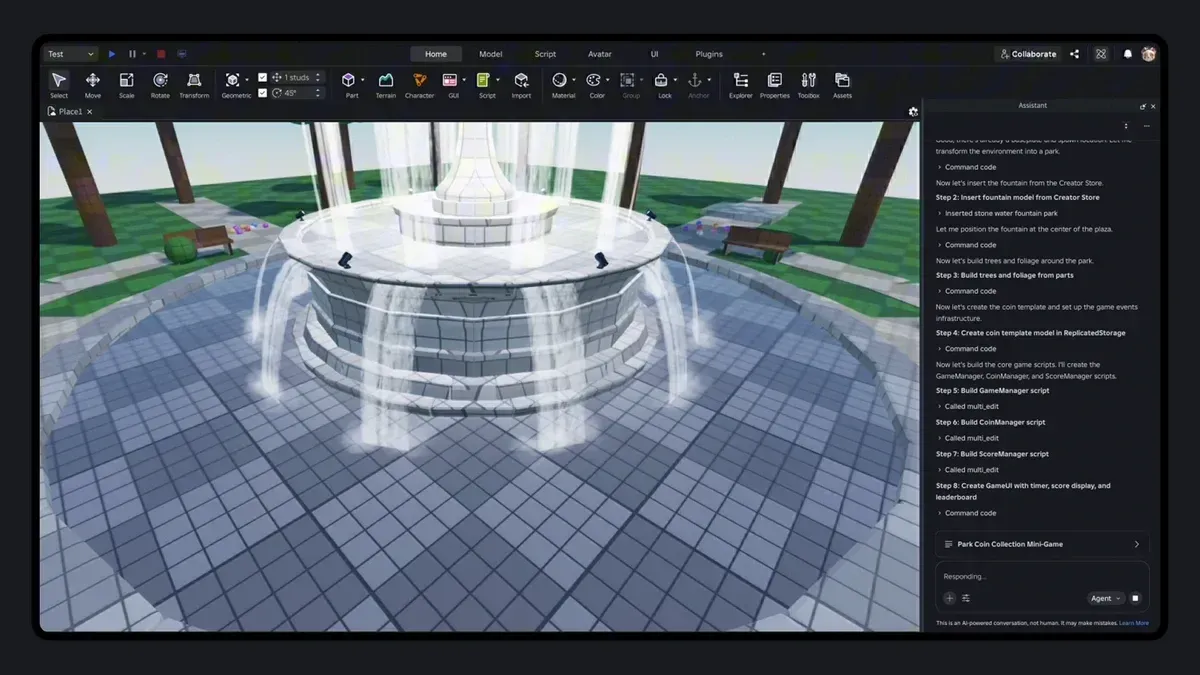
Here's the part nobody tells beginners up front: making a Roblox game is free, and you can have a playable one live in an afternoon. Not a polished one. Not a hit. But a real, published game that anyone in the world can join — that's an afternoon of work, not a computer-science degree. The barrier to entry is almost nothing, which is exactly why the platform has millions of games and also why most of them are bad. The tooling is easy; making something good is the hard part, and that comes later.
This guide gets you from zero to published. We'll open Roblox Studio, build a tiny thing out of parts, write a single working script, test it, and put it online. Once you've done that loop once, every tutorial after this makes sense, because you'll understand the shape of the work.
What Roblox Studio is and is not
Roblox Studio is the free, official tool you build every Roblox game in. It's a full 3D editor plus a code editor plus a testing environment, all in one app. It runs on Windows and Mac. It is not the Roblox player — you don't make games inside the regular Roblox app. Studio is a separate download for creators.
The mental model: Studio is to Roblox what a level editor is to any modded game, except it also handles the servers, accounts, payments, and moderation for you the instant you publish. You build; Roblox runs it. That's the deal that makes solo and small-team development viable — you never touch infrastructure.
The thing that trips up beginners isn't the tools — it's expecting their first build to be good. It won't be. Your first game's job is to teach you the publish loop. Ship something tiny and ugly, then iterate. Everyone who makes good Roblox games made a pile of bad ones first.
If you're brand new to the platform as a player too, our beginner's guide to Roblox covers the account-and-safety side that's worth having sorted before you start creating.
Install it and open the baseplate
Go to the official Roblox Creator site (create.roblox.com) and download Roblox Studio. Install it, sign in with your normal Roblox account — same login you play with — and launch it.
You'll land on a template picker. For your first game, choose Baseplate. It's the simplest possible starting point: a flat gray ground and a spawn location where players appear. Other templates give you pre-built environments (a village, a racing track, an obby), and they're great later, but the baseplate teaches you the fundamentals without hiding anything behind pre-made stuff.
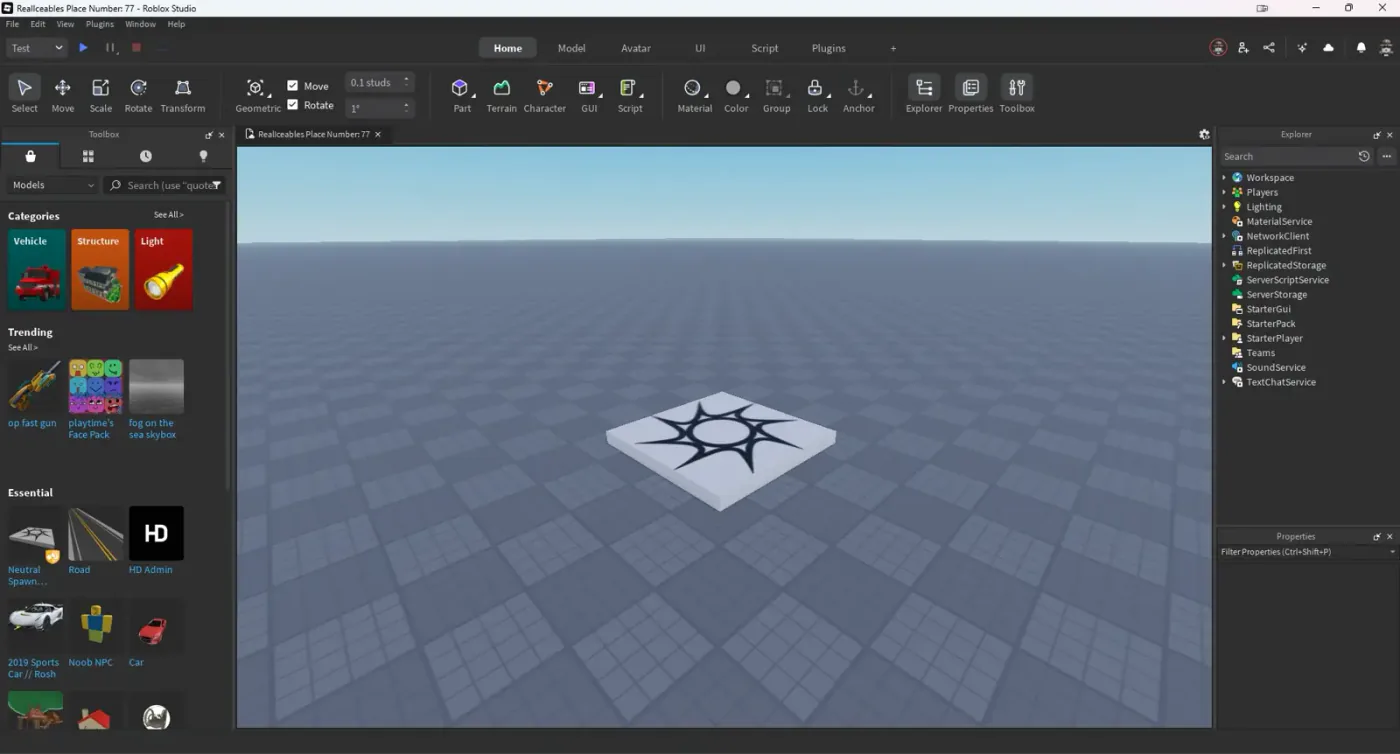
When the baseplate loads, you're looking at your game world from a free-floating camera. Right-click and drag to look around; WASD to fly the camera; scroll to zoom. Spend thirty seconds just moving the camera around — getting comfortable navigating the 3D space is step zero.
The four panels you actually use
Studio's interface is busy, but as a beginner you only need four things. Ignore the rest until you need it.
| Panel | What it does | When you use it |
|---|---|---|
| Viewport | The 3D view of your game where you build | Constantly — it's the main window |
| Explorer | A tree of every object in your game | To select, organize, and add objects |
| Properties | Every setting of the selected object | To resize, recolor, rename, and configure |
| Toolbar (Home/Model tabs) | Buttons to insert parts and move/scale tools | To place and manipulate objects |
If the Explorer or Properties panels aren't visible, turn them on from the View tab. These two together are the heart of Studio: the Explorer shows you what exists, and Properties lets you change it. Click any object in the viewport and watch both panels update to reflect it. That click-and-inspect loop is 80% of how you work in Studio.
Placing and shaping parts
Everything physical in a Roblox game is built from parts — blocks, spheres, cylinders, and wedges you place and reshape. To add one, go to the Home or Model tab and click Part. A block drops into your world.
Now manipulate it:
- Move it with the Move tool — drag the colored arrows to slide it along an axis.
- Scale it with the Scale tool — drag the handles to stretch it. Or select it and type exact dimensions into the Size property (for example, set a spawn platform to 20 x 1 x 20 for a roomy starting area).
- Recolor it via the BrickColor or Color property — a bright color like lime green makes a platform read clearly.
- Anchor it by checking the Anchored property, so it doesn't fall when the game runs. Unanchored parts obey physics and drop to the ground the moment you test. This one catches every beginner: if your platform vanishes when you test, it wasn't anchored.
That's genuinely it for basic building: insert parts, move/scale them, color them, anchor the ones that should stay put. Stack a few platforms with gaps between them and you've built the skeleton of an obby. Roblox's terrain tools and meshes go further, but parts alone can build a complete game.
Your first Luau script
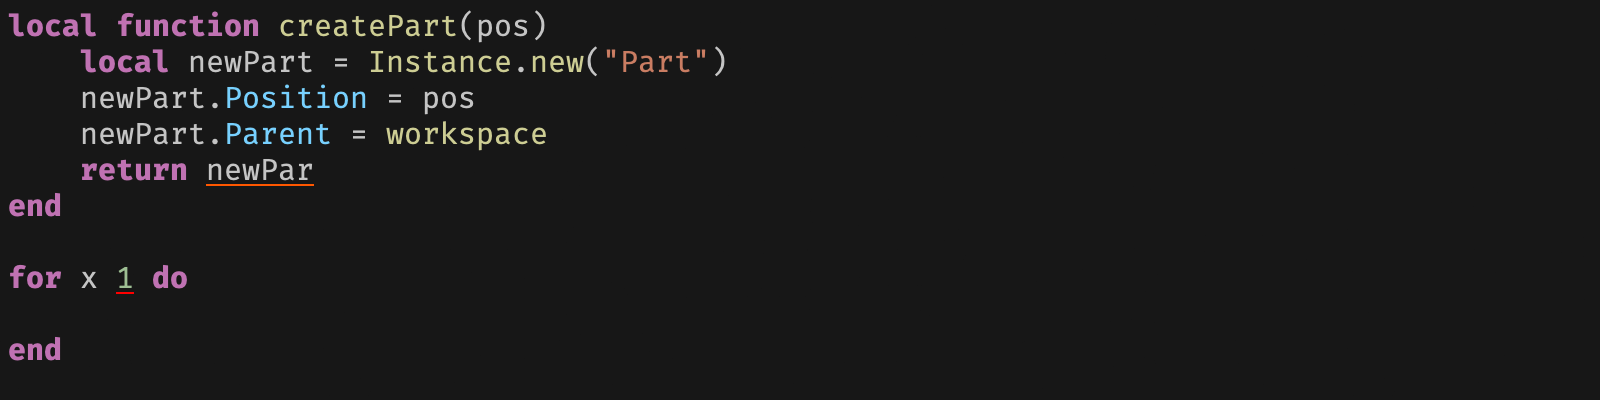
Roblox games come alive through Luau — Roblox's flavor of the Lua programming language, tuned for performance and game development with extras like type checking and clearer error messages. If you've never coded, Luau is one of the gentler places to start.
To add a script: in the Explorer, right-click an object (or the Workspace), choose Insert Object, then Script. A code editor opens with a default print("Hello world!") line. Press the test button and you'll see "Hello world!" appear in the Output window. Congratulations — you just ran code in a game.
Three concepts carry most beginner scripting:
- Variables store values — a number, a piece of text, a reference to a part.
- Functions are reusable blocks of instructions you can run on demand.
- Events fire when something happens — a player touches a part, a button is clicked, the game starts — and you connect functions to them.
A classic first real script: make a part change color when a player touches it. You reference the part, connect a function to its Touched event, and inside that function change the part's Color. That single pattern — when X happens, do Y — is the backbone of nearly every game mechanic, from a kill-brick in an obby to a shop button in a tycoon. Learn it once and you can reason about most of what other games are doing.
Don't try to learn all of Luau before building. Learn the one mechanic your game needs, build it, then learn the next one. When you're ready to go deeper, our Roblox Lua scripting basics guide walks through variables, events, and your first real scripts, and Roblox's official documentation on create.roblox.com has the full Luau reference and beginner tutorials.
Testing without leaving Studio
You never have to publish to test — Studio has a built-in player. Hit Play (the blue play button on the Home tab) and Studio drops your avatar into the game exactly as a real player would experience it. Walk around, jump on your platforms, trigger your scripts. Hit Stop to return to editing.
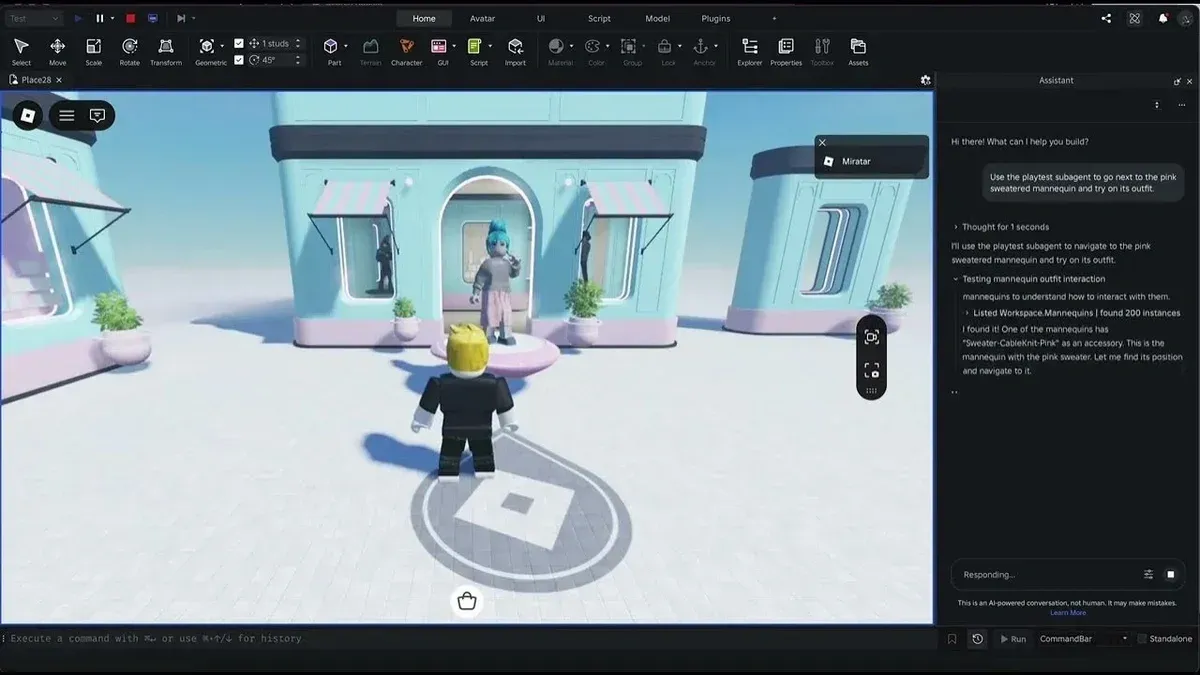
The Output window (turn it on from the View tab if it's hidden) is your best friend here. Script errors print there in red, with a line number. When something doesn't work — and it won't, the first few times — the Output window usually tells you exactly where and why. Reading error messages instead of panicking at them is the single most useful debugging habit you can build.
Test constantly. Place a part, test. Write three lines of script, test. Tiny changes followed by immediate testing is how you find bugs while they're still small and obvious, instead of staring at a broken game wondering which of fifty changes broke it.
Publishing your game to Roblox
Once you've got something you're willing to show the world, publish it: File > Publish to Roblox. Give it a name and a description, set the genre, and confirm. Roblox uploads it, spins up servers, and your game gets a real URL anyone can join. That's the magic moment — your thing is now live on the same platform as every game you've ever played.
A few publish-time notes:
- Set it to public when you want others to join; new games can start private while you build.
- Add a thumbnail and icon — even a quick one. A game with no art gets zero clicks.
- You can keep editing after publishing. Republish to push updates. Your live game and your Studio file stay in sync through the publish action.
That's the full loop: build, test, publish, iterate. Every Roblox developer, from solo teens to studios, runs this exact cycle. Yours just starts smaller.
Pick a beginner-friendly genre
Not all first games are equally smart to attempt. Two genres are forgiving by design:
- Obbys (obstacle courses). The classic first project. They're mostly level design — placing and arranging parts — with minimal scripting required. You can build a complete, fun obby with parts and one or two simple scripts (a kill-brick, a checkpoint). Maximum learning, minimum code.
- Tycoons. Slightly more advanced but heavily templated — buy a dropper, it generates cash, buy the next upgrade. The mechanics are well-documented and the loop is satisfying. A good second project once obbys feel easy.
Avoid starting with anything that needs complex multiplayer systems, an economy, or heavy custom scripting. Those are great goals; they're terrible first projects. Build an obby, ship it, learn the loop, then climb. The players you're building for are out there — our best Roblox games rundown shows what the genre leaders look like once they've had years of iteration. Yours starts at the bottom of that same ladder.
Quick Action Checklist
Your first-game path, start to finish.
- Download Roblox Studio from create.roblox.com and sign in with your normal account
- Open a new place using the Baseplate template
- Turn on the Explorer and Properties panels from the View tab
- Insert parts, then move, scale, recolor, and anchor them
- Build a tiny obby — a few anchored platforms with gaps
- Insert a Script and run a "Hello world" print to confirm code works
- Learn one mechanic (the touch-to-change-color pattern) and use it
- Test with the Play button constantly; read the Output window for errors
- Publish via File > Publish to Roblox, add an icon, set it public
- Iterate — republish updates and build your next, slightly bigger thing
Frequently Asked Questions
Is Roblox Studio free?
How long does it take to make a Roblox game?
Do I need to know how to code to make a Roblox game?
What is Luau in Roblox?
Why does my part fall through the world when I test?
How do I publish my Roblox game?
What kind of game should I make first?
Keep Reading
Related Guides
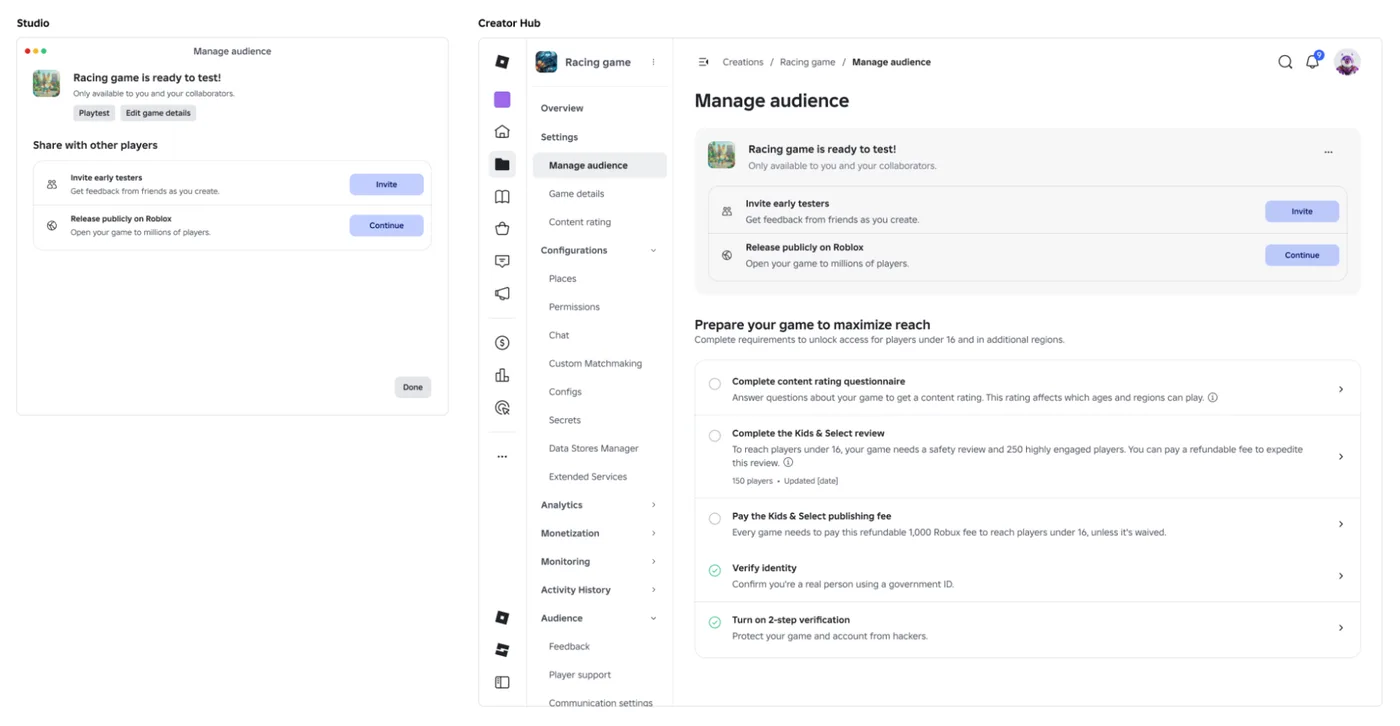
Roblox Early Testers and the New Publish Flow: What Changed
Since October 12, 2026, you can let up to 10 friends play your unreleased, unrated Roblox game, and Roblox is rolling out a path that lets a game with no age-restricted content reach age-checked players 16 and older by answering one question instead of the full questionnaire. Here is who can be an early tester, what replaced the Private and Limited audience settings, what the one question actually covers, and what still takes the long road to players under 16.
Roblox BadgeService Guide: Award, Check, Debug
Call AwardBadgeAsync on a player who isn't currently in your server and it fails one of five documented requirements — silently, the same way it fails for a disabled badge or a place outside the badge's own experience. Here is every BadgeService method, which four are dead, the rate limit two of them share despite a 10x difference in batch size, and the deprecated check that Roblox says will now always return true.
Roblox Luau Type Checking: nocheck, nonstrict, strict
Roblox says every script used to default to no typechecking. That is no longer how it works: a Workspace property now sets the default mode, projects using only nocheck and nonstrict were moved to the New Type Solver automatically, and strict mode projects were not. Here is what each mode reports, what the new solver changed, and the annotation syntax that covers most code.
Roblox Text Filtering: FilterStringAsync Done Right
Chat is filtered for you. Pet names, sign text, shop names and anything you pull off an external API are not — and Roblox documents that it takes games down until filtering is added. Here is the actual API, the getter that is now dead, and the pattern that ships.
Best Roblox Games to Play in 2026
Roblox's front page is engagement bait. This is the filtered version: the games with real, sustained player counts and actual staying power, sorted by what you're in the mood for.
How to Get Robux Safely (Legit Ways + Scams to Avoid)
There is no free Robux generator. There never was. Here are the actual legit ways to get Robux without overpaying, the earning methods that really work, and the scams that exist purely to steal your account.