Roblox Collision Groups and Physics: The Developer Guide
Players clipping through walls, parts bouncing like moon rubber, a door that fights the player who opened it — almost every Roblox physics headache traces back to four systems most tutorials never explain together. Here they are, with working Luau.
Almost every "why is my Roblox game janky" post is really one of four problems wearing a trench coat: parts that collide when they shouldn't, physics materials that make everything feel like it's made of soap, moving parts glued together the wrong way, or the server and a client arguing over who simulates what. None of these are hard. They're just rarely explained in the same place, so beginners cargo-cult fixes off old forum threads and end up with a door that punches players in the face.
This is the developer-side guide to Roblox collision and physics. We'll go switch by switch — what actually controls whether two parts collide, how to make bullets pass through your own team, how to stop crates from feeling like beach balls, and why your smoothly scripted door goes berserk the moment a player stands on it. All the Luau here uses current APIs, and I'll flag the deprecated ones you'll still see floating around so you can recognize and skip them.
How Roblox physics actually works
Roblox runs a real-time rigid-body physics engine. Every unanchored BasePart has mass, obeys gravity (workspace.Gravity, default 196.2 studs/s²), and resolves collisions against everything else that can collide. You don't tick the simulation yourself — the engine does it every frame. Your job is to configure parts so the engine produces the behavior you want.
Two ideas do most of the heavy lifting. First, assemblies: a set of parts rigidly joined together (by welds or rigid constraints) moves as a single body with one combined mass and one velocity. A car chassis, wheels, and seat are one assembly, not five loose parts. Second, anchoring: an anchored part is immovable and ignored by the simulation — it becomes part of the static world, like the ground. Almost all your map geometry should be anchored; only things that actually need to move should not be.
The single most common beginner bug is an unanchored part that "falls through the world" or drifts on its own. If a part isn't supposed to move, anchor it. If it is supposed to move, the rest of this guide is about controlling how.
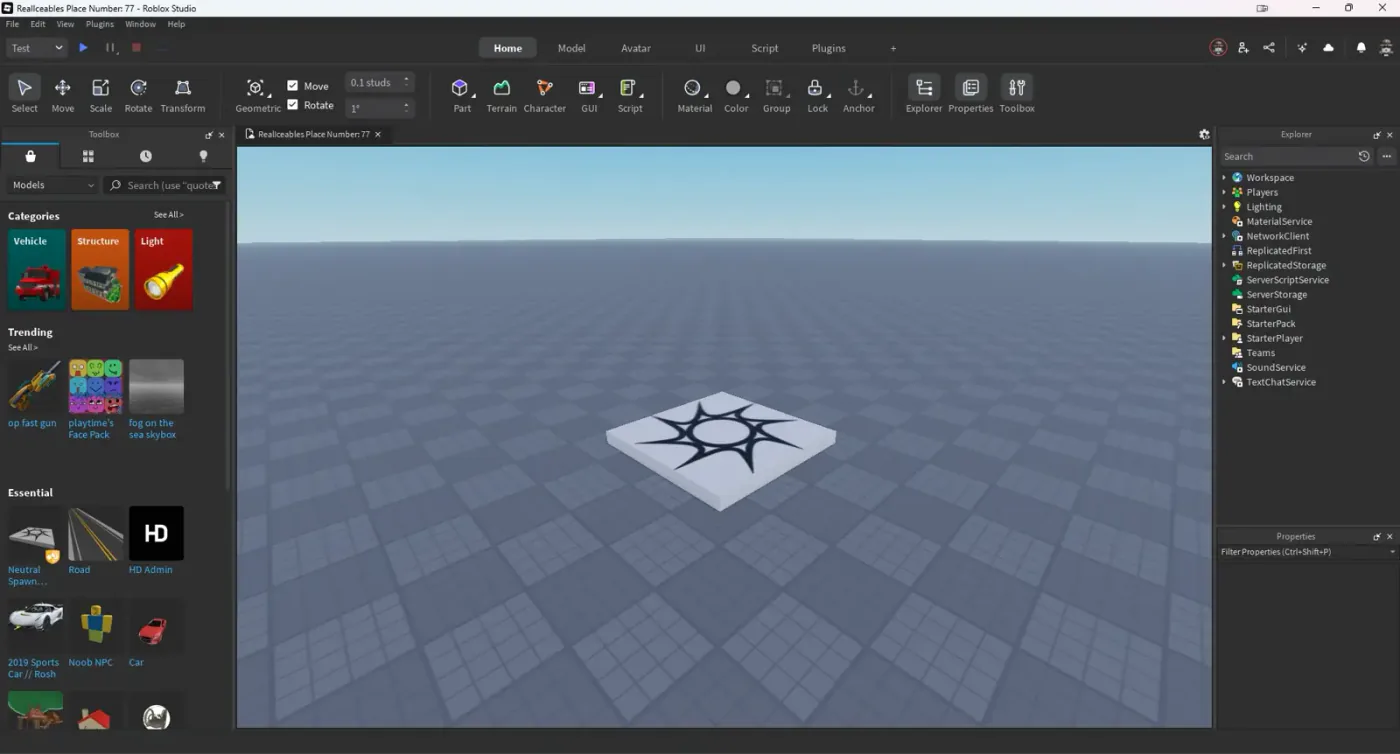
If you're brand new to Studio itself, start with Roblox Studio basics and the Lua scripting fundamentals — this guide assumes you can already insert a Script and read the Output window.
CanCollide, CanTouch, CanQuery: three switches people confuse
Every BasePart has three boolean properties that sound similar and do completely different things. Mixing them up is where hours disappear.
| Property | Controls | Default |
|---|---|---|
CanCollide | Whether the part physically blocks other parts | true |
CanTouch | Whether the part fires Touched / TouchEnded events | true |
CanQuery | Whether raycasts and spatial queries can hit the part | true |
Here's the trap: CanCollide = false does not disable Touched events. A part you walk straight through can still fire Touched every frame you're inside it — which is exactly how kill-bricks, checkpoints, and pickup zones work. If you want a trigger volume that players pass through but that still detects them, you set CanCollide = false and leave CanTouch = true:
local zone = workspace.CheckpointZone
zone.CanCollide = false   -- players walk through it
zone.CanTouch = true      -- but Touched still fires

zone.Touched:Connect(function(otherPart)
	local character = otherPart.Parent
	local humanoid = character and character:FindFirstChildOfClass("Humanoid")
	if humanoid then
		print(character.Name .. " reached the checkpoint")
	end
end)
CanQuery is the one people forget entirely. If you fire a raycast for a gun or a laser sight and it keeps hitting an invisible force-field part or a decorative bit of foliage, set that part's CanQuery = false and the ray sails through it without you having to build a filter list. It's cleaner than maintaining a RaycastParams blocklist for props that should never be hit — though for dynamic filtering you'll still want raycasting params. Turning off CanTouch and CanQuery on decorative parts is also a small performance win, since the engine stops bookkeeping them for events and queries.
Collision groups: letting parts ignore each other
CanCollide is all-or-nothing — a part either blocks everything or blocks nothing. But you usually want something more surgical: players should pass through their own teammates but not through walls. Enemies should collide with the floor but not with each other so they don't pile up. That's what collision groups are for.
A collision group is a named category you assign to parts. You then define, group-by-group, which groups collide and which pass through each other. Assign your players to a "Players" group and tell that group not to collide with itself, and suddenly players can walk through one another while still standing on the ground and bumping into walls.
Setting up a collision group in code
The modern API lives on PhysicsService. You register named groups, set which pairs collide, and then tag parts by setting their CollisionGroup property to the group name. Here's a complete, current example that lets players phase through each other:
local PhysicsService = game:GetService("PhysicsService")
local Players = game:GetService("Players")

-- Register the group once, on the server.
PhysicsService:RegisterCollisionGroup("Players")

-- Players collide with the default world, but NOT with each other.
PhysicsService:CollisionGroupSetCollidable("Players", "Players", false)

local function setCollisionGroup(model, groupName)
	for _, descendant in ipairs(model:GetDescendants()) do
		if descendant:IsA("BasePart") then
			descendant.CollisionGroup = groupName
		end
	end
end

Players.PlayerAdded:Connect(function(player)
	player.CharacterAdded:Connect(function(character)
		setCollisionGroup(character, "Players")
	end)
end)
Three things worth internalizing. RegisterCollisionGroup should run once — wrap it in a check or a pcall if a script might run twice. Every part starts in the built-in "Default" group, so you only override the ones you care about. And CollisionGroup is a plain string property now — you assign the name directly to the part, no ID lookups.
The deprecated API you'll see in old tutorials
Half the collision-group tutorials on the internet predate the current API and will lead you into deprecated methods. If you see any of these, mentally translate them:
PhysicsService:CreateCollisionGroup(name)→ useRegisterCollisionGroup(name).PhysicsService:SetPartCollisionGroup(part, name)→ just setpart.CollisionGroup = name.PhysicsService:CollisionGroupsAreCollidable()/GetCollisionGroupId()→ the whole ID-based system is gone; groups are referenced by name.
The old flow revolved around numeric group IDs you had to look up and assign. The current flow is all string names and is far less error-prone. If a snippet is juggling collision group IDs, it's outdated — don't copy it.
PhysicalProperties: density, friction, and bounce
Ever built a crate that skates across the floor like it's on ice, or a ball that bounces to the ceiling? That's PhysicalProperties. Every part has physical characteristics — density, friction, and elasticity (bounciness) — that come from its Material by default. Wood floats-ish, metal is heavy, ice is slick. You can override all of it per part.
Set CustomPhysicalProperties with a PhysicalProperties.new() value. The constructor takes up to five numbers, in this order:
-- PhysicalProperties.new(Density, Friction, Elasticity, FrictionWeight, ElasticityWeight)
local crate = workspace.Crate

-- Heavy, grippy, dead (no bounce): a crate that stays put when bumped.
crate.CustomPhysicalProperties = PhysicalProperties.new(3.5, 0.9, 0)

local bouncyBall = workspace.BouncyBall
-- Light and very elastic: a ball that actually bounces.
bouncyBall.CustomPhysicalProperties = PhysicalProperties.new(0.7, 0.3, 0.8)
Quick mental model for the three main values:
- Density — how heavy the part is for its size. Higher density means more mass, which means it shoves lighter parts around and resists being shoved. A featherweight box gets flung on contact; a dense one holds its ground.
- Friction — grip. Low friction (think 0.1) is ice; high friction (0.9+) is rubber on concrete. This is your fix for parts that slide when they shouldn't.
- Elasticity — bounciness, 0 to 1. Zero is a sandbag; near 1 is a superball. Most gameplay objects want this low; leave the fun bouncing for things that should bounce.
The two weight values are advanced tie-breakers that decide whose friction/elasticity dominates when two surfaces touch — you can ignore them until you have a specific reason not to. For most parts, the three-argument form is all you'll ever reach for.
Constraints beat welds for moving parts
If a part needs to move relative to another part — a door swinging, a wheel spinning, a platform sliding — do not weld it and animate it with a script that fights the physics engine. Use a constraint. Constraints are physics-native connectors that tell the engine how two parts are allowed to move relative to each other, and the engine handles the motion for you.
The distinction that matters:
WeldConstraintrigidly locks two parts together — they become one assembly and move as a unit. This is what you want for parts that should never move relative to each other (a sword's blade and hilt, a sign and its post). It replaces the legacyWeldandManualWeldobjects for most cases.HingeConstraintlets a part rotate around an axis — the go-to for doors, levers, and wheels. Give it aMotoractuator type and a target angular velocity and it drives itself, no per-frame scripting.PrismaticConstraintallows sliding along one axis — elevators, pistons, drawers.SpringConstraintandRopeConstraintadd springy or fixed-length links — vehicle suspension, swinging bridges, grappling hooks.
Constraints attach to Attachment objects inside the parts, which define the exact connection points and orientation. The reason this beats "weld it and CFrame it every frame" is that a scripted CFrame sets position directly and ignores physics, so the moment a player (a physics object) leans on your door, the two systems disagree and you get jitter, clipping, or the door flinging the player. A HingeConstraint door is part of the simulation, so collisions resolve naturally. When you do need scripted smooth motion on anchored, non-colliding parts (a sliding UI-like panel, a cosmetic lift), that's where tween-based animation is the right tool instead.
Network ownership: why the server and client fight over physics
This one is invisible until it bites you, and then it's baffling. Roblox distributes physics simulation between the server and clients for responsiveness. Every unanchored assembly has a network owner — the machine responsible for simulating it. By default, an unowned part near a player is automatically handed to that player's client so it feels lag-free for them; parts near nobody are simulated by the server.
The problem shows up with things like a shared pushable boulder, an enemy NPC, or a physics-driven vehicle. If two players are near the same object, or if you want the server to stay authoritative (anti-exploit, or NPCs that shouldn't be client-controlled), you set network ownership explicitly. It's a server-only call:
local boulder = workspace.Boulder

-- Force the server to simulate this part (authoritative, exploit-resistant).
boulder:SetNetworkOwner(nil)

-- Or hand a specific vehicle's physics to its driver for responsiveness:
-- vehicleSeat.AssemblyRootPart:SetNetworkOwner(driverPlayer)

-- Or let Roblox decide automatically (the default behavior):
-- boulder:SetNetworkOwnershipAuto()
Passing nil to SetNetworkOwner pins simulation to the server. Passing a Player hands it to that client — great for the vehicle you're driving, since it removes the round-trip lag from steering. Two gotchas: you can only call this on the server, and you cannot set network ownership on an anchored part (it'll error), because anchored parts aren't simulated at all. If your multiplayer physics object behaves great for one player and laggy for everyone else, mismatched network ownership is almost always the culprit.
Anchoring, assemblies, and performance
Physics isn't free. Every unanchored assembly is something the engine simulates every frame, and thousands of loose parts will tank your frame rate. A few habits keep games smooth:

- Anchor everything static. Map geometry, decorations, structures — if it never moves, anchor it. Anchored parts cost effectively nothing to simulate.
- Weld sub-parts into single assemblies. A detailed prop made of 30 parts should be one welded assembly, not 30 independent physics bodies. Fewer assemblies means fewer things to simulate and fewer collisions to resolve.
- Turn off
CanTouchandCanQueryon parts that don't need them. Decorative geometry that never triggers events or gets raycast against shouldn't be paying for that machinery. - Streamline collision geometry. Complex meshes can use a simpler
CollisionFidelity(like Box or Hull) so the engine checks collisions against a cheap shape instead of every triangle. Players won't notice; your frame rate will.
Physics performance is one thread in the bigger optimization story — if your game is stuttering under load, the parts count and simulation cost sit right next to the scripting-side issues covered in the memory leaks and optimization guide. Profile before you guess: the Studio MicroProfiler tells you whether physics or scripts are eating your frame.
Get these four systems straight — the three collision switches, collision groups, physical properties, and constraints plus network ownership — and the overwhelming majority of "janky Roblox physics" simply stops happening. It's not that physics is hard. It's that nobody hands you the map.
Quick Action Checklist
Fast reference for taming Roblox physics.
- Anchor every part that isn't supposed to move
- Use
CanCollide = false+CanTouch = truefor walk-through trigger zones - Set
CanQuery = falseon props your raycasts should ignore - Register collision groups with
PhysicsService:RegisterCollisionGroupand set collidability withCollisionGroupSetCollidable - Assign groups via
part.CollisionGroup = "Name"(skip any tutorial using group IDs — it's deprecated) - Fix sliding/bouncing with
CustomPhysicalProperties = PhysicalProperties.new(density, friction, elasticity) - Use
HingeConstraint/PrismaticConstraintfor moving parts instead of welding and CFraming every frame - Weld sub-parts into one assembly for rigid props
- Set
SetNetworkOwner(nil)when the server must stay authoritative over a physics object - Never call
SetNetworkOwneron an anchored part — it errors
Frequently Asked Questions
What is the difference between CanCollide, CanTouch, and CanQuery in Roblox?
How do I make players not collide with each other in Roblox?
What is the current Roblox collision group API?
How do I stop a Roblox part from sliding or bouncing?
Should I use welds or constraints for moving parts in Roblox?
What is network ownership in Roblox physics?
Why does my Roblox part fall through the floor or the world?
How do I improve physics performance in a Roblox game?
Keep Reading
Related Guides
Roblox Early Testers and the New Publish Flow: What Changed
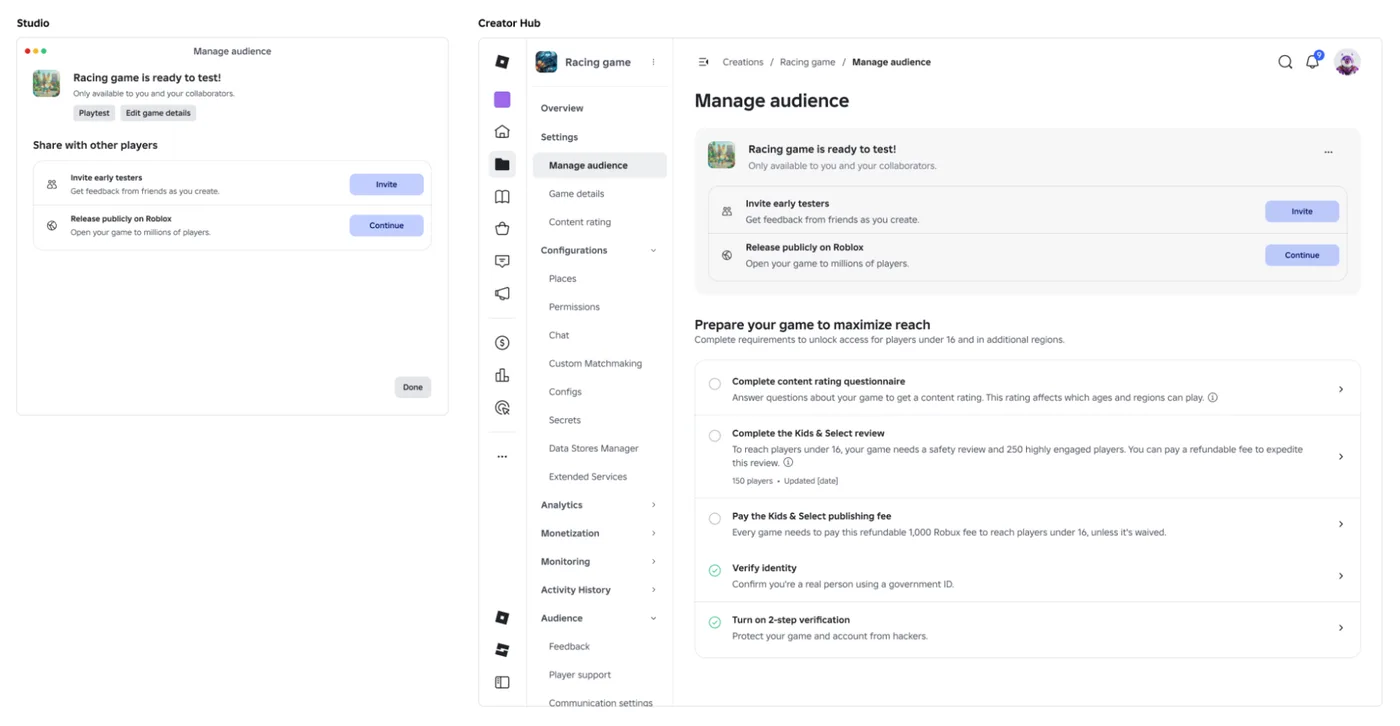
Since October 12, 2026, you can let up to 10 friends play your unreleased, unrated Roblox game, and Roblox is rolling out a path that lets a game with no age-restricted content reach age-checked players 16 and older by answering one question instead of the full questionnaire. Here is who can be an early tester, what replaced the Private and Limited audience settings, what the one question actually covers, and what still takes the long road to players under 16.

Roblox BadgeService Guide: Award, Check, Debug
Call AwardBadgeAsync on a player who isn't currently in your server and it fails one of five documented requirements — silently, the same way it fails for a disabled badge or a place outside the badge's own experience. Here is every BadgeService method, which four are dead, the rate limit two of them share despite a 10x difference in batch size, and the deprecated check that Roblox says will now always return true.
Roblox Luau Type Checking: nocheck, nonstrict, strict
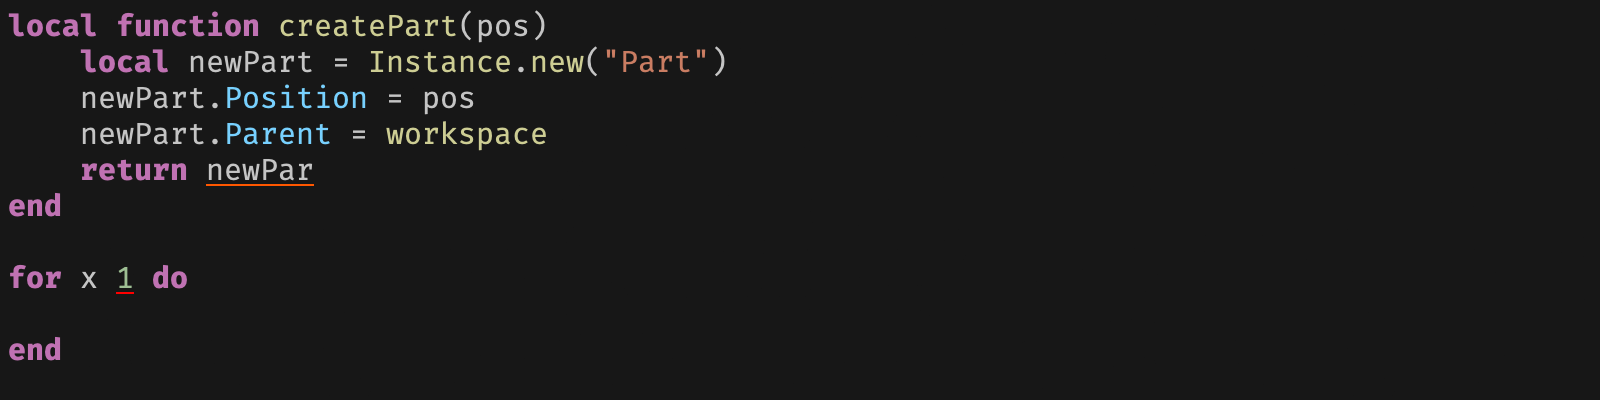
Roblox says every script used to default to no typechecking. That is no longer how it works: a Workspace property now sets the default mode, projects using only nocheck and nonstrict were moved to the New Type Solver automatically, and strict mode projects were not. Here is what each mode reports, what the new solver changed, and the annotation syntax that covers most code.
Roblox Text Filtering: FilterStringAsync Done Right
Chat is filtered for you. Pet names, sign text, shop names and anything you pull off an external API are not — and Roblox documents that it takes games down until filtering is added. Here is the actual API, the getter that is now dead, and the pattern that ships.
Best Roblox Games to Play in 2026
Roblox's front page is engagement bait. This is the filtered version: the games with real, sustained player counts and actual staying power, sorted by what you're in the mood for.
How to Get Robux Safely (Legit Ways + Scams to Avoid)
There is no free Robux generator. There never was. Here are the actual legit ways to get Robux without overpaying, the earning methods that really work, and the scams that exist purely to steal your account.