Roblox Animation Guide: Make and Play Custom Character Animations
Custom animations are the difference between a Roblox game that feels made and one that feels like a baseplate with scripts. Here's the whole pipeline: rig, keyframes, easing, publishing, and the Animator code that plays it — plus the priority rule that silently eats your attack animation.
You can tell within about four seconds whether a Roblox game shipped custom animations. Default walk, default idle, default jump, sword swings that look like the character is politely gesturing — that's a game built entirely out of scripts and free models. The moment you replace even the walk cycle, the whole thing reads as intentional. Animation is the highest visual return per hour of work on the platform, and it's shockingly under-used because most devs stop at "I couldn't get LoadAnimation to work."
So let's do the entire pipeline: build a rig, key some poses, publish the asset, and wire it up in Luau properly. Along the way we'll hit the two things that waste the most time — the ownership error that kills group games, and the priority setting that makes your attack animation play and do absolutely nothing visible.
Swap the Animate script before you build anything
Before you open an editor, know that every default character ships with a LocalScript named Animate inside it, and that script holds the asset IDs for every default state: idle, walk, run, jump, fall, climb, sit, and tool poses. You can overwrite those IDs at runtime and instantly re-skin how every player in your game moves. No custom rig, no new system.
The official pattern lives in a server Script in ServerScriptService, hooked to character spawn:
local animateScript = character:WaitForChild("Animate")
animateScript.walk.WalkAnim.AnimationId = "rbxassetid://122652394532816"
Same shape for animateScript.run.RunAnim, animateScript.idle.Animation1, and the rest. Do this on CharacterAdded for every player and your game has its own movement identity in about fifteen lines.
One genuinely useful detail buried in the docs: when a state has multiple animations, the Animate script picks one at random, and you bias that roll with each animation's Weight value. The formula is the animation's weight divided by the total weight of all animations in that state. So if idle.Animation1 has weight 1 and idle.Animation2 has weight 2, the first plays a third of the time and the second plays two thirds. That's how you get an idle that occasionally does something interesting instead of the same shoulder-roll on a loop forever.
Build a rig and open the Clip Editor
For anything beyond swapping defaults you need a rig to pose. Studio ships one: from the toolbar's Home or Avatar tab, click Character to open the Rig Builder. It offers R15 rigs in block, skinned, and Rthro flavors with masculine and feminine proportions. Pick the rig type that matches what your game actually uses — animating on a block rig and playing it back on a skinned Rthro character will look off in ways that are annoying to diagnose later.
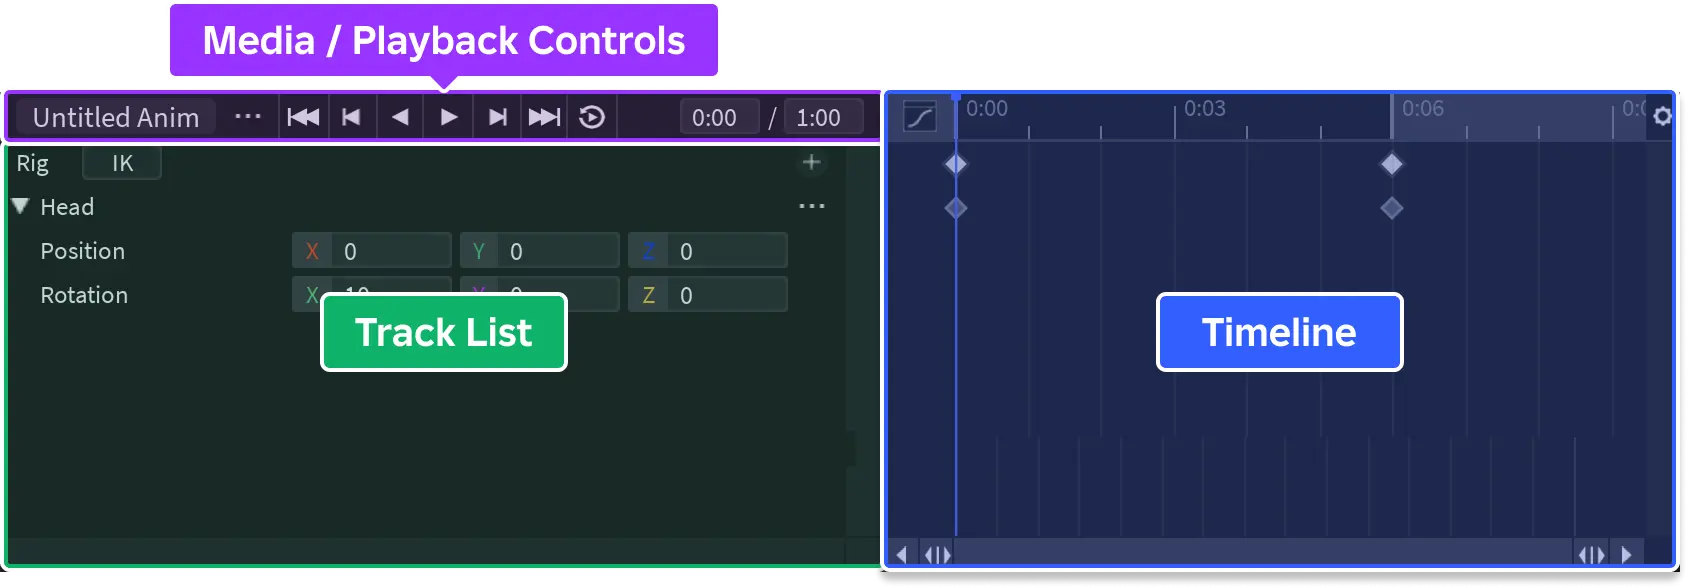
With the rig in the workspace, go to the Avatar tab and click Clip Editor (this is the Animation Editor; the label changed, the tool didn't). Select your rig, name the animation, hit Create. Then use the + button and choose Add All Body so every limb is available as a track instead of adding joints one at a time as you discover you need them.
Keyframes are just poses on a timeline
A keyframe is a pose stamped at a point in time; the engine interpolates everything between two of them. The fastest way to work is to right-click beneath the timeline and choose Add Keyframe, which drops a keyframe for every body part at once — then move the scrubber, pose the rig, and repeat. Posing itself is the standard Studio move/rotate handles, and pressing R toggles between Move and Rotate mode without hunting for the toolbar.

Keyframes can be inserted, moved, duplicated, and deleted from the right-click menu. Duplicating is how you work quickly: build one solid pose, copy it down the timeline, and adjust rather than rebuilding from a T-pose every four frames.
The easing styles you actually get
Per-keyframe easing is where a stiff animation becomes a good one. The Animation Editor gives you five styles — Linear (constant speed), Constant (snaps between keyframes with no interpolation), CubicV2 (cubic interpolation for natural motion), Elastic (rubber-band overshoot), and Bounce — plus three directions: In (slow start, fast end), Out (fast start, slow finish), and InOut (both).
Worth flagging because it trips people up: this is not the same list as Enum.EasingStyle used by TweenService. If you've read our TweenService animation guide and are expecting Quad, Quart, Back and friends here, they're not in the keyframe editor. Different system, different menu. Constant is the sleeper pick — it's how you get snappy, stop-motion-feeling hit frames instead of mushy blends.
Looping without the hitch
The Looping button lives in the media playback controls. Turning it on makes the editor preview loop, and the animation itself loop when it plays back in-game.

The trick for a loop that doesn't visibly pop: duplicate your first keyframes and use them as the final keyframes. The end pose then matches the start pose exactly, and the wrap-around is invisible. Skip that and your walk cycle gets a tiny stutter every cycle that you'll notice forever once someone points it out.
Publish it and grab the asset ID
An animation is useless to a script until it's a published asset. In the Animation Editor, click the ellipsis button in the upper-left corner and choose Publish to Roblox. Fill in the Asset Configuration window, click Save, and then click the copy icon to grab the animation's asset ID — that's the string you'll paste into AnimationId.
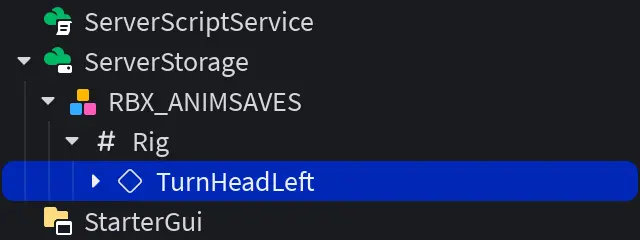
Lost the ID later? Everything you publish shows up on the Creator Dashboard under Development Items → Animations, so you can reuse animations across every experience you own without re-exporting.
The ownership trap that eats group games
Here's the error that fills the Developer Forum every single week: your animation plays perfectly in Studio, then fails in the live game, or refuses to import at all, with "You do not have ownership of animation with the selected ID" or "Failed to load animation - sanitized ID."
The cause is almost always ownership mismatch. An animation uploaded to your personal account and used in a group-owned experience is a different owner than the place, and it gets rejected. If your game belongs to a group, publish the animation to that group in the Asset Configuration window, not to yourself. Same story in reverse if you transfer a personal place to a group later — every animation asset you uploaded personally has to be re-published under the group, and if you're on a Team Create with someone else's animations, expect them to fail for you in Studio. Sort this out before you have four hundred animation IDs referenced across your codebase.
Play it from a script: Animator, not Humanoid
The single most common outdated tutorial on the internet tells you to call Humanoid:LoadAnimation(). That method is deprecated. The current path is the Animator, which lives as a child of the Humanoid and is the object responsible for playback and replication:
local humanoid = character:WaitForChild("Humanoid")
local animator = humanoid:WaitForChild("Animator")

local kickAnimation = Instance.new("Animation")
kickAnimation.AnimationId = "rbxassetid://2515090838"

local kickTrack = animator:LoadAnimation(kickAnimation)
kickTrack:Play()
Note the WaitForChild on the Animator specifically — it isn't guaranteed to exist the instant the Humanoid does, and indexing it directly is a classic intermittent-nil bug that only shows up on slow connections. Load each animation once and keep the resulting AnimationTrack around; re-calling LoadAnimation every time the player swings a sword is wasted work. If you're keeping shared tracks in one place, this is a natural fit for the pattern in our ModuleScripts guide.
Non-humanoid rigs need an AnimationController
Doors, turrets, animated chests, custom creatures with no Humanoid — none of them have an Animator by default. Create the pair yourself:
local animationController = Instance.new("AnimationController")
animationController.Parent = rig

local animator = Instance.new("Animator")
animator.Parent = animationController
From there it's identical: build an Animation, LoadAnimation on the Animator, Play the track. The rig still needs proper Motor6D joints, which is the actual reason most "my custom rig won't animate" posts exist.
Priority is why your attack animation does nothing
You published the animation, the script runs, no errors, and the character just keeps walking. This is almost always priority. Every AnimationTrack has a Priority from Enum.AnimationPriority, and when two animations touch the same joints, the higher priority wins. There are seven levels, and Roblox's Animation Editor documentation orders them from Action4 (highest) down through Action3, Action2, Action, Movement, Idle, to Core (lowest).
Do not try to infer that order from the enum's numbers. Enum.AnimationPriority lists Idle as 0 and Core as 1000, which reads exactly backwards from how they actually rank. It's a legacy artifact; trust the documented ordering, not the integers.
The practical rule: the default walk and idle animations run at Movement and Idle priority. So a sword swing left at the default priority gets steamrolled by the walk cycle the moment the player moves. Set combat and interaction animations to Action or higher. You can set it in the editor via the three-dot button in the playback controls, or in code:
kickTrack.Priority = Enum.AnimationPriority.Action
Setting it on the track is the safer habit, because it doesn't depend on whoever exported the asset remembering to set it.
Speed, weight, markers, and knowing when it ended
AnimationTrack gives you real playback control, and the defaults are worth memorizing. Play(fadeTime, weight, speed) blends in over a default fadeTime of 0.1 seconds, and Stop(fadeTime) blends out over the same 0.1 by default. Pass Play(0) when you want an instant, snappy start with no blend — that alone fixes a lot of "my animation feels floaty" complaints.
The rest of the useful surface:
AdjustSpeed(speed)changes playback rate live. Scaling a run animation's speed to match actual WalkSpeed is the cheapest way to kill foot-sliding.AdjustWeight(weight, fadeTime)blends how strongly the track contributes, which is how you layer an aim pose on top of a run.TimePositionis read/write, so you can scrub to an exact moment.Length,Speed,IsPlaying,WeightCurrent, andWeightTargetare read-only.- Events:
Stoppedfires when playback halts,Endedfires after the fade-out finishes, andDidLoopfires on each repeat of a looped track.
For syncing effects to a specific frame — the exact instant a sword connects, the frame a foot lands — use GetMarkerReachedSignal(name) with markers you set in the editor. The older KeyframeReached event is deprecated, so don't build new systems on it. Markers are also far more robust: rename a keyframe and old code breaks, but a marker travels with the animation. Pair the marker signal with the particle effects guide and the sound and music guide and you've got proper impact frames.
Animation Capture when you cannot animate by hand
If keyframing isn't your thing, Studio's Animation Capture turns video into keyframes directly in the Animation Editor. Both parts are beta features you enable in File settings.
Face capture uses your webcam to puppeteer a character with an animation-compatible head, and supports recordings of up to 60 seconds. Body capture takes an uploaded video and generates a full-body animation for an R15 rig — and it's strict about the input: .mp4 or .mov, under 15 seconds, one person only, well-lit and visible the whole time, filmed as a continuous single shot from a stable camera.
It is not going to beat a competent animator, and the output usually wants cleanup passes on the keyframes it generates. But for a fifteen-second emote or a rough blocking pass you'd otherwise never make, it's a legitimately faster starting point than an empty timeline.
Client or server: where to actually play it
The Animator handles replication, so an animation played through it shows up for everyone — but where you trigger it changes how the game feels.
Roblox's own tutorials split it cleanly. Swapping the default Animate script's IDs happens in a server Script in ServerScriptService, because it's a one-time setup on character spawn and nobody's waiting on it. Animations triggered by player action — a touch, a keypress, a click — go in a LocalScript in StarterCharacterScripts, specifically so the player gets immediate feedback without waiting on a round trip to the server.
That's the tension worth understanding: the client fires the animation instantly for responsiveness, while the server stays the authority on what the animation means. Play the swing on the client so it feels sharp; let the server decide whether it dealt damage. Our RemoteEvents guide covers exactly that handshake, and the rule there applies here unchanged — a visual playing on the client is fine, but never let the client's animation state be the thing that grants a kill.
Quick Action Checklist
Ship custom animations that actually show up in-game:
- Quick win first: overwrite
Animatescript IDs (walk.WalkAnim,idle.Animation1, etc.) from a server Script on character spawn - Build a rig via Home/Avatar → Character, matching the rig type your game actually uses
- Open Avatar → Clip Editor, select the rig, and use + → Add All Body before keyframing
- Right-click under the timeline → Add Keyframe to key every part at once; R toggles Move/Rotate
- Set per-keyframe easing (Linear, Constant, CubicV2, Elastic, Bounce × In/Out/InOut) — not the TweenService list
- For loops, duplicate the first keyframes as the final keyframes so the wrap is seamless
- Ellipsis → Publish to Roblox, then copy the asset ID; publish to the group if the game is group-owned
- Play it with
Animator:LoadAnimation()—Humanoid:LoadAnimation()is deprecated — andWaitForChild("Animator") - Set
Priority = Enum.AnimationPriority.Actionor higher for combat/interaction, or the walk cycle wins - Use
Play(0)to skip the default 0.1s blend; useGetMarkerReachedSignal(not deprecatedKeyframeReached) for effect timing - Trigger player-action animations from a LocalScript in StarterCharacterScripts; keep the server authoritative over the consequences
Frequently Asked Questions
How do I play a custom animation in Roblox with a script?
Why does my Roblox animation load but not visibly play?
Why do I get "You do not have ownership of animation with the selected ID"?
How do I change the default walk and idle animations in Roblox?
Should I play Roblox animations on the client or the server?
Keep Reading
Related Guides
Roblox Early Testers and the New Publish Flow: What Changed
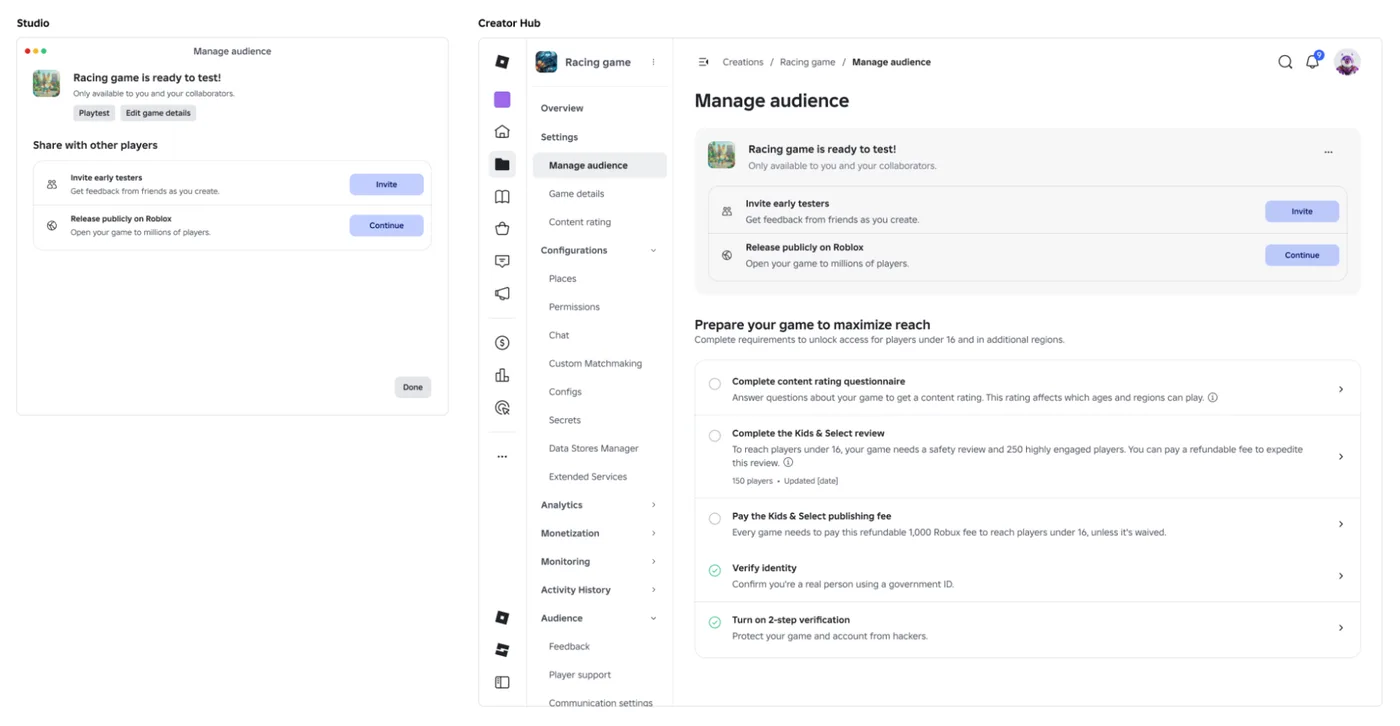
Since October 12, 2026, you can let up to 10 friends play your unreleased, unrated Roblox game, and Roblox is rolling out a path that lets a game with no age-restricted content reach age-checked players 16 and older by answering one question instead of the full questionnaire. Here is who can be an early tester, what replaced the Private and Limited audience settings, what the one question actually covers, and what still takes the long road to players under 16.
Roblox BadgeService Guide: Award, Check, Debug
Call AwardBadgeAsync on a player who isn't currently in your server and it fails one of five documented requirements — silently, the same way it fails for a disabled badge or a place outside the badge's own experience. Here is every BadgeService method, which four are dead, the rate limit two of them share despite a 10x difference in batch size, and the deprecated check that Roblox says will now always return true.
Roblox Luau Type Checking: nocheck, nonstrict, strict
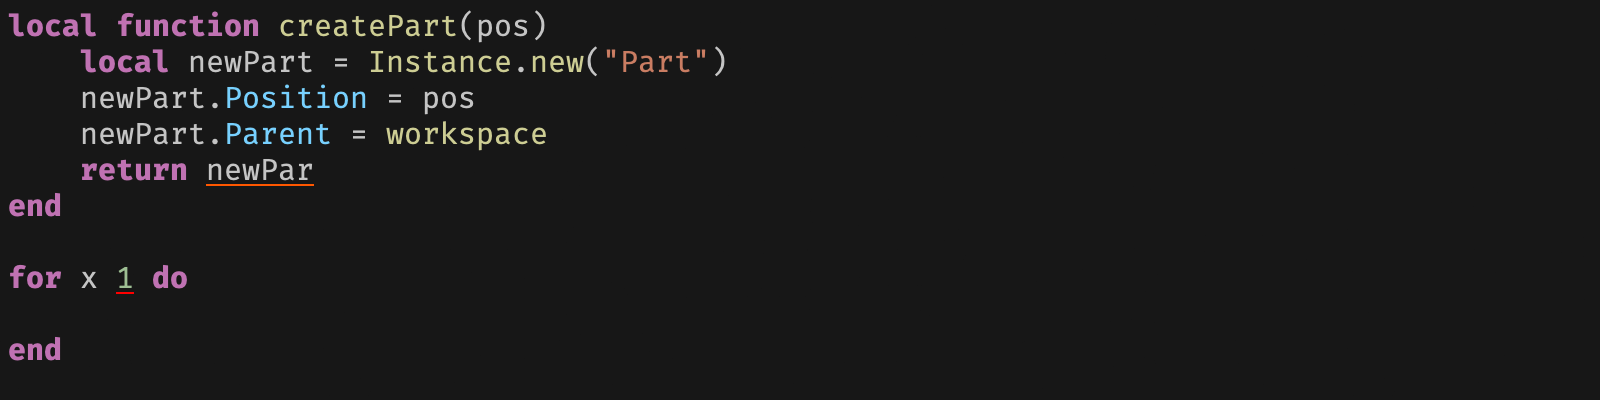
Roblox says every script used to default to no typechecking. That is no longer how it works: a Workspace property now sets the default mode, projects using only nocheck and nonstrict were moved to the New Type Solver automatically, and strict mode projects were not. Here is what each mode reports, what the new solver changed, and the annotation syntax that covers most code.
Roblox Text Filtering: FilterStringAsync Done Right
Chat is filtered for you. Pet names, sign text, shop names and anything you pull off an external API are not — and Roblox documents that it takes games down until filtering is added. Here is the actual API, the getter that is now dead, and the pattern that ships.
Best Roblox Games to Play in 2026
Roblox's front page is engagement bait. This is the filtered version: the games with real, sustained player counts and actual staying power, sorted by what you're in the mood for.
How to Get Robux Safely (Legit Ways + Scams to Avoid)
There is no free Robux generator. There never was. Here are the actual legit ways to get Robux without overpaying, the earning methods that really work, and the scams that exist purely to steal your account.