The Tetris T-Spin Guide: Detection, Setups, and Damage
A T-spin double sends the same 4 garbage rows as a Tetris while using half the rows. That is the whole argument. Here is how the game decides what counts, and the setups that let you do it on purpose.

A T-spin double clears two rows and sends 4 garbage rows. A Tetris clears four rows and sends 4 garbage rows. Same damage, half the board consumed, and the setup is reusable. Once that clicks, T-spins stop being a flashy trick and start being the reason you win exchanges.
Everything here describes modern Guideline Tetris running the Super Rotation System — Tetris Effect, Puyo Puyo Tetris, TETR.IO, Jstris, tetris.com. T-spins do not exist in classic NES Tetris at all: no SRS, no wall kicks, no spin detection, and no hold slot to set them up with. If you are on NES, this guide is not for you.
What the game actually checks
There is no "spin animation" the game recognises. Under the 3-corner rule used by essentially every SRS Guideline title, a T-spin is awarded when the T piece locks down and both of these are true:
- The last maneuver of the T was a rotation. Not a move, not a drop. If you rotate the T and then nudge it sideways before it locks, you get nothing.
- At least three of the four cells diagonally adjacent to the T centre are occupied.
That is it. Those four diagonal cells — the corners of the 3x3 box the T sits in — are the entire detection system.
Two consequences follow immediately, and both are worth memorising:
- Walls and the floor count as occupied. A T rotated against the left wall or into the floor already has corners filled for free.
- The rule does not check whether you actually "spun" anything. You can rotate a T one way and immediately rotate it back, and if three corners are filled, the game awards a T-spin. It is a geometry check, not an intent check.
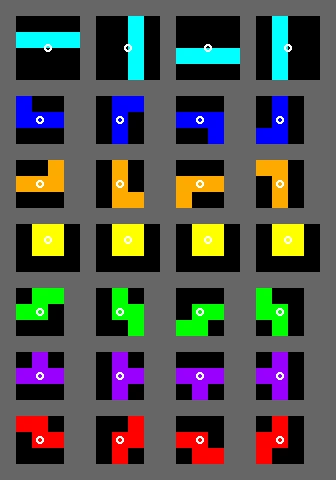
The reason the T can reach these positions at all is SRS wall kicks. When a rotation is blocked, the game tests five candidate positions in order — the first is the plain rotation, and the remaining four are offsets. If all five fail, the rotation simply does not happen. The J, L, S, T and Z pieces share one kick table, the I piece has its own, and the O piece never kicks. Those later kick tests, the ones that shove the piece a full two rows, are what let a T drop into a slot it could never have been moved into.
Proper T-spin versus mini, and why it costs you
Not every T-spin is a full T-spin. The game splits them into proper and mini, and the difference is large enough to plan around.
Think of the T as having a front — the side the pointed mino sticks out toward — and a back, the flat side. Of the four diagonal corners:
- Proper T-spin: both front corners are filled, plus at least one back corner.
- Mini T-spin: only one front corner is filled, and both back corners are filled.
There is one important exception, and it is the one that makes real setups work: if the last rotation kicked the T centre by a 1-by-2 offset — the final test in the SRS kick table — it counts as a proper T-spin regardless. That deep kick is precisely how a T drops into a tucked slot, so the games treat it as the real thing.
The cost of getting this wrong is steep. A mini T-spin single scores 200 times level. A proper T-spin single scores 800 times level — four times as much for clearing the same single row. In versus, a proper T-spin single sends 2 garbage rows; a mini sends effectively nothing worth planning around.
The TSD overhang, your bread and butter
The T-spin double is the setup you should learn first, learn properly, and then keep using forever. It is the best damage-per-row trade in the game outside of a perfect clear.
The shape is simple: build a notch two rows deep with a ceiling over one side, so that the only way to fill it is to rotate a T into the gap from above. Look back at the hero image — that black T-shaped void under the overhang is exactly the target. You slide the T over, rotate, and SRS kicks it down and under the lip.
Building one deliberately:
- Leave a single-column gap two rows deep in your stack.
- Cover one side of it with an overhang — an L or J piece laid flat across the top does this naturally.
- Keep the row beneath complete except for the T slot, so the rotation clears two rows rather than one.
- Hold a T piece, or check the queue. 7-bag guarantees exactly one T per bag, so you always know roughly when the next one arrives.
The L and J pieces are the workhorses here. Their overhang shape is what creates the ceiling. If you find yourself unable to build TSD setups, the usual cause is spending L and J pieces flattening ground that an O piece could have covered.
The TST tower and the out-of-well kick
The T-spin triple is the most spectacular legal move in stock Tetris: three rows cleared with one T, 1600 times level, and 6 garbage rows sent.

That structure is the classic TST tower. The T cannot be moved into that slot — there is no path. It gets there entirely through a wall kick, specifically the deep out-of-well kick that SRS provides. The Guideline explicitly defines out-of-well kicks in both directions, and because every SRS rotation is reversible, a piece that can kick out of a well can also kick into one. That reversibility is the reason T-spin triples exist at all.
Practical notes:
- The tower needs a three-row-deep channel one column wide, with the notch cut into the side at the bottom.
- Rotation direction matters. You are relying on a specific kick test firing, so a clockwise rotation and a counter-clockwise rotation from the same position are not interchangeable. Practise the one that works and commit it to muscle memory.
- TSTs are fragile. A tall narrow tower is one bad piece away from becoming a hole factory. Do not build one unless you can see the T in the queue.
Learn the TSD to a reflex first. The TST is worth real points, but a player who lands consistent TSDs beats a player who occasionally lands a TST and topples their tower the rest of the time.
The DT cannon: two spins from one shape
The DT cannon is a well-known structure that yields a T-spin double followed by a T-spin triple from a single built shape — hence the name.

It is genuinely strong: back-to-back T-spins chained out of one construction, which in versus terms is a large burst of pressure delivered over just a few pieces. It is also a real commitment — you are shaping most of your board around it, and if the pieces do not cooperate you have built a monument to a plan that will not happen.
The honest recommendation: treat the DT cannon as something to learn after your TSD is automatic and your downstacking is solid. Setups like this reward players who can already recover from a bad board, because that is what happens when the setup fails.
What T-spins are actually worth
Here are the real Guideline numbers. Score values are multiplied by your level, using the level before the clear.
| Action | Score | Garbage sent |
|---|---|---|
| Single | 100 x level | 0 |
| Double | 300 x level | 1 |
| Triple | 500 x level | 2 |
| Tetris | 800 x level | 4 |
| Mini T-spin, no lines | 100 x level | 0 |
| T-spin, no lines | 400 x level | 0 |
| Mini T-spin single | 200 x level | — |
| T-spin single | 800 x level | 2 |
| Mini T-spin double | 400 x level | — |
| T-spin double | 1200 x level | 4 |
| T-spin triple | 1600 x level | 6 |
| All clear | — | +7 |
Combos add 50 x combo count x level to your score. On the garbage side, the general Guideline pattern is that your first combo sends nothing extra, two or three combos add +1, four or five add +2, and each additional two combos adds another +1. Soft drop pays 1 point per cell and hard drop pays 2 points per cell.
Read the middle of that table again. A T-spin double outscores a Tetris by 50 percent and matches its garbage output using two rows instead of four. That is the entire strategic case for building your game around T-spins rather than around the well.
Exact garbage values shift between titles — TETR.IO, Puyo Puyo Tetris and Jstris each tune their tables and add multipliers. The relationships hold everywhere even when the absolute numbers move.
Back-to-back, the multiplier people forget
Any clear the Guideline calls difficult triggers the back-to-back bonus: a 1.5x multiplier on the action score, and +1 garbage row in versus. Difficult clears are Tetrises and every line-clearing T-spin, mini included.
The chain rules are specific and worth knowing exactly:
- Only a Single, Double, or Triple breaks the chain. Those are the "easy" clears.
- A T-spin that clears no lines does not break the chain. You can rotate a T into a slot, clear nothing, and your back-to-back survives.
- Placing pieces without clearing anything does not break it either.
That second rule is a real tool. If your board demands a placement but you are sitting on a long back-to-back chain, a zero-line T-spin lets you keep the multiplier alive while you sort the board out — and it still pays 400 times level for a proper one.
A sustained back-to-back T-spin double chain sends 5 garbage rows every two rows cleared. That is the pressure that ends games.
The mistakes that cost you spins
- Moving after rotating. The last maneuver must be the rotation. A tiny correction nudge after the rotation cancels the whole thing.
- Wrong rotation direction. Setups depend on a specific kick test firing. Clockwise and counter-clockwise are not interchangeable into a tight slot.
- Spending T pieces on flat ground. One T per bag. If you place them as ordinary filler, you cannot spin.
- Building the slot but not completing the rows. A perfect TSD notch above an incomplete row clears one line instead of two.
- Chasing TSTs at low stack height. A three-row tower needs a stable base. Built on a messy board, it is just a hole waiting to happen.
- Ignoring the mini distinction. Two front corners plus one back corner, or the deep 1-by-2 kick. Otherwise you are collecting 200s while thinking you earned 800s.
For the stack discipline these setups depend on, see our Tetris stacking fundamentals guide, and for placing the pieces faster while you build them, Tetris finesse. More on the Tetris coverage hub.
Quick Action Checklist
- Make the rotation the last thing you do before the T locks — no correction nudges.
- Check three of the four diagonal corners around the T centre are filled before committing.
- Aim for two front corners plus one back corner to guarantee a proper spin, not a mini.
- Learn one TSD overhang shape and build it every single game until it is automatic.
- Save L and J pieces for building overhangs instead of flattening ground.
- Track the T in the queue — 7-bag gives you exactly one per bag.
- Complete the row beneath your slot before you spin, or you turn a double into a single.
- Use zero-line T-spins to preserve a back-to-back chain when the board forces your hand.
- Only build a TST tower when you can already see the T coming.
- Learn the DT cannon after your TSD and your downstacking are both reliable.
Frequently Asked Questions
What exactly counts as a T-spin in modern Tetris?
What is the difference between a T-spin and a T-spin mini?
Is a T-spin double better than a Tetris?
Why does my T-spin sometimes not register?
Do T-spins break a back-to-back chain?
Keep Reading
Related Guides
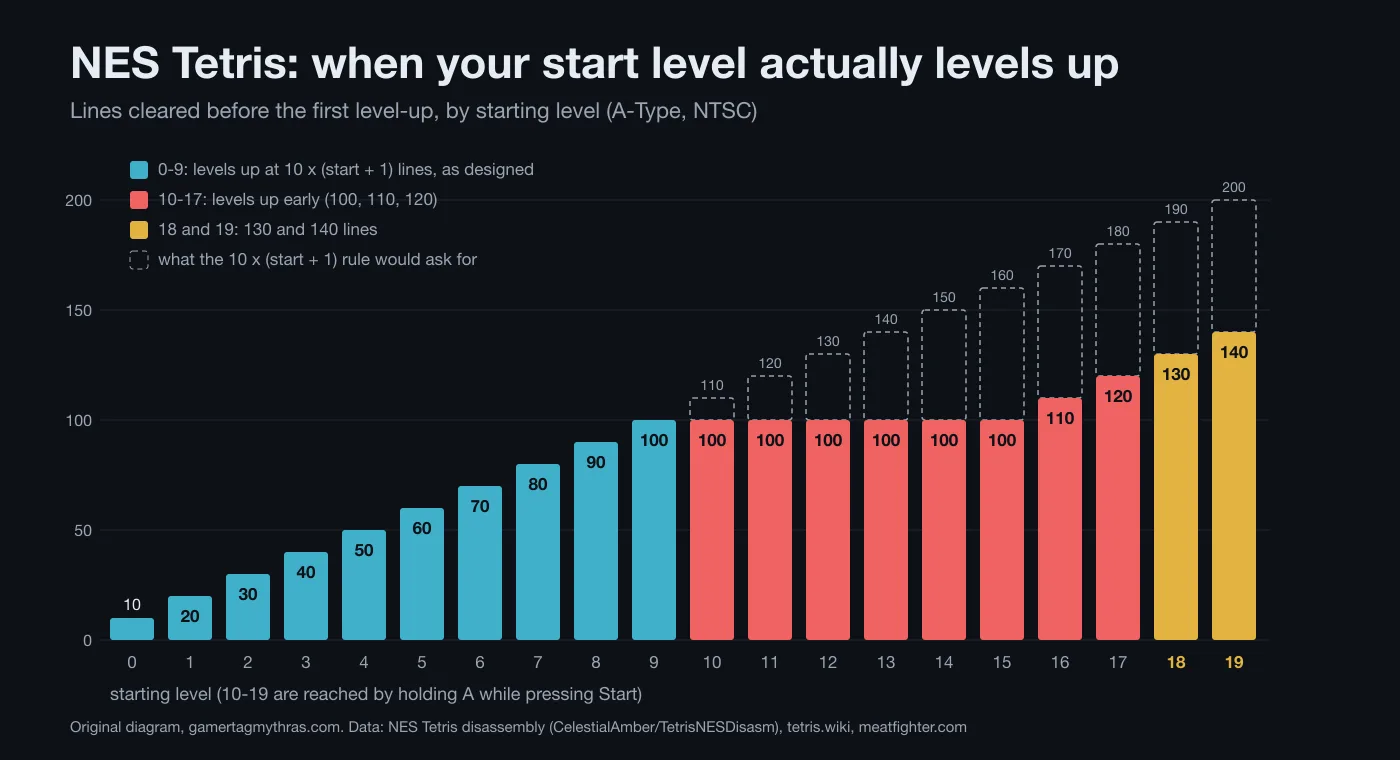
NES Tetris Level Transition and Scoring Explained
Start NES Tetris on 18 and you stay there for 130 lines. Start on 19 and it is 140. Start on 12 and it is 100. One missing conversion in the cartridge explains all three, and it also decides which clear gets paid at the higher rate.
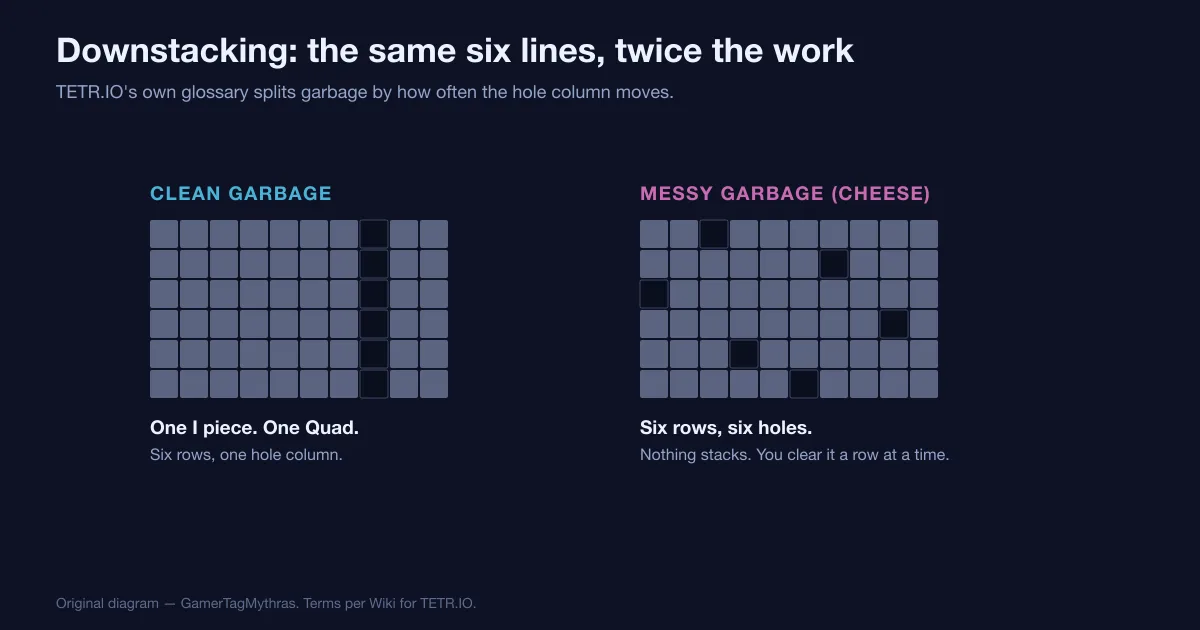
Tetris Downstacking: How to Dig Out of Garbage
Garbage is not one obstacle, it is two. Where the hole column sits from row to row decides whether six lines cost you one piece or six, and TETR.IO scores the lines you dig out at exactly the same rate as the lines you send.
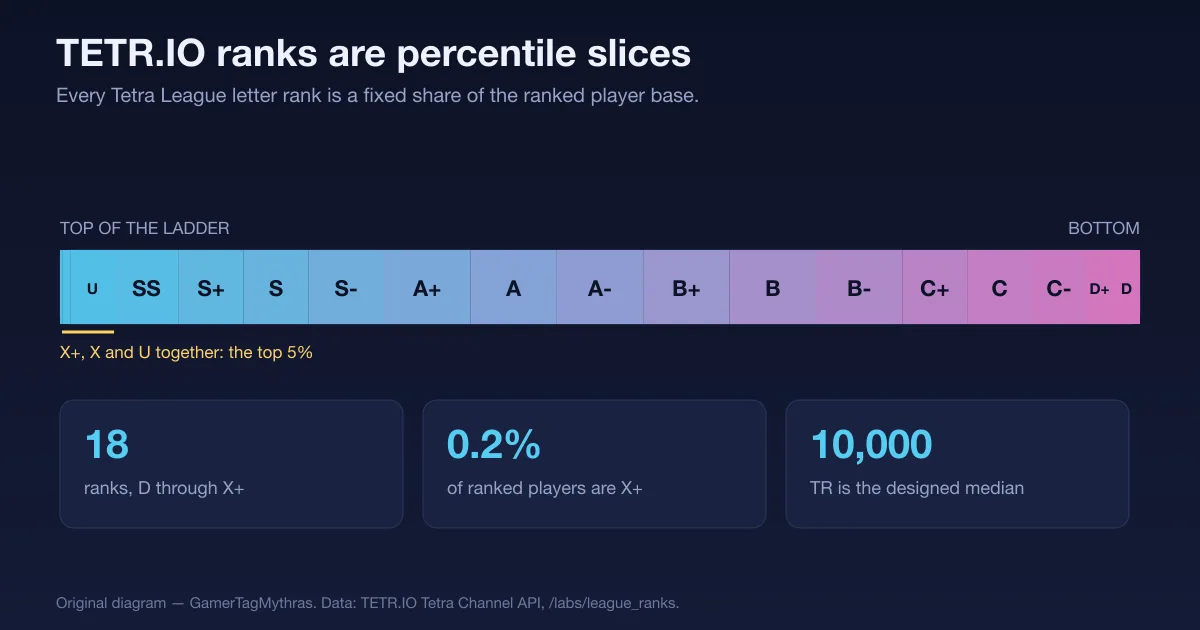
TETR.IO Ranks Explained: TR, Percentiles and Cutoffs
A Tetra League letter is not a skill score, it is a slice of the leaderboard — and TETR.IO publishes exactly how big each slice is, what TR it currently costs, and how fast the people inside it play.
Tetris All-Spin Explained: S, Z, L, J and I Spins
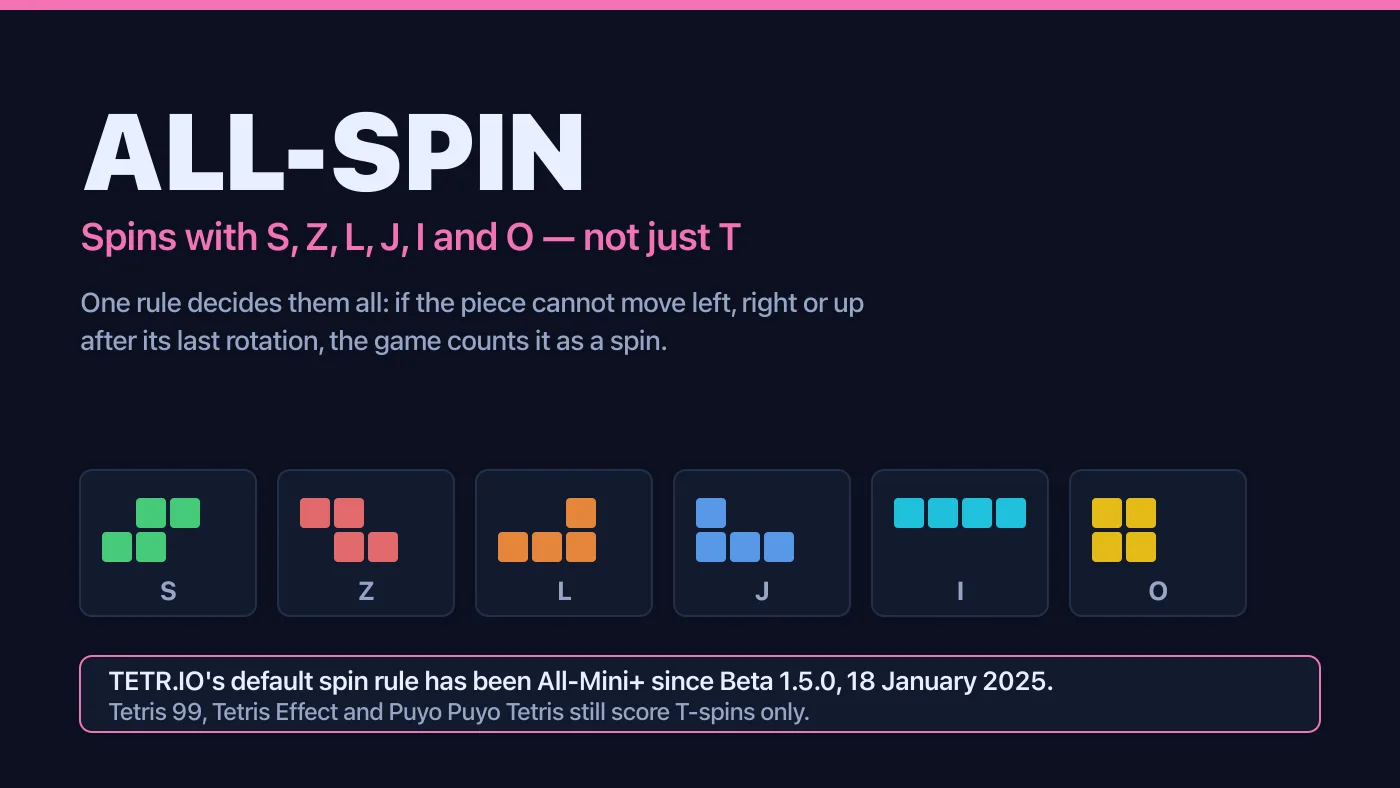
A Z piece rotated into a slot nothing else reaches is either a scored spin or an ordinary Double, and which one it is has nothing to do with you. It is a setting, and most Tetris games have it switched off.
Tetris Stacking Fundamentals: Build a Board That Wins
Most players do not lose to speed. They lose to a board they built themselves three minutes earlier. Here is how stacking actually works in modern Guideline Tetris, and the habits that stop you from burying your own well.
TETR.IO Quick Play Explained: The Zenith Tower, Climb Speed, and HYPERSPEED
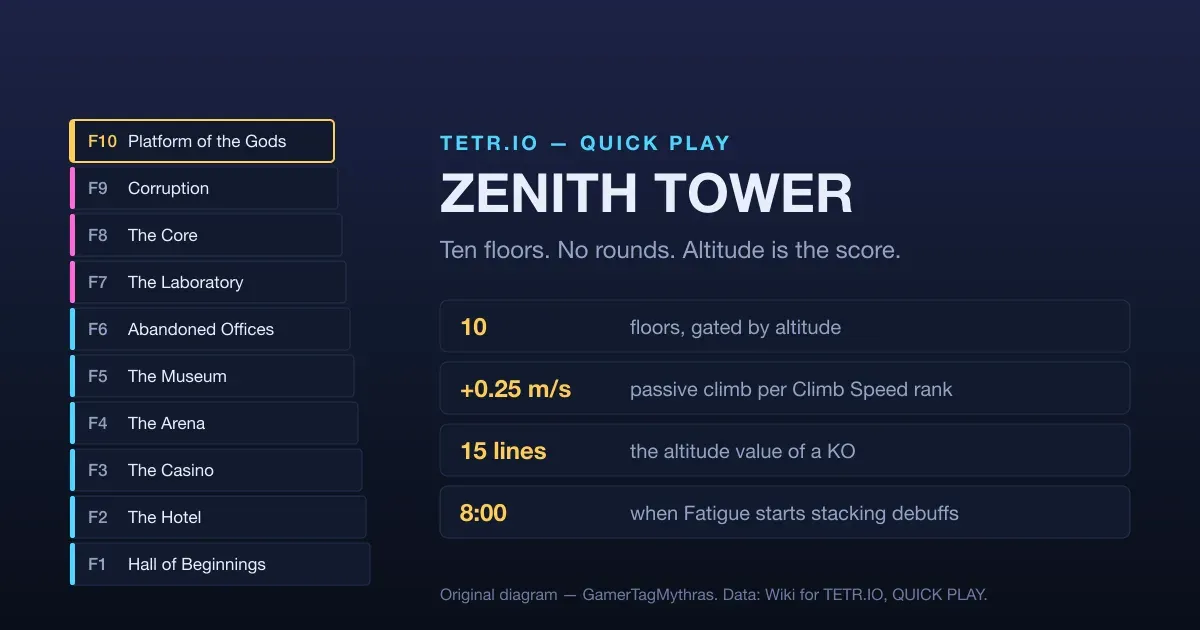
Quick Play looks like a battle royale and scores like a speedrun. There is no round to win and nobody to outlast — only altitude, and altitude is bought mostly with the lines you send at other people.