The Witcher 3 Signs Guide: Best Sign Build and How Each Works
Geralt has five signs and most players spam Quen, panic-cast Igni, and ignore the other three. That is a mistake, because two of the signs everyone skips are the ones that actually win the hardest fights in the game.
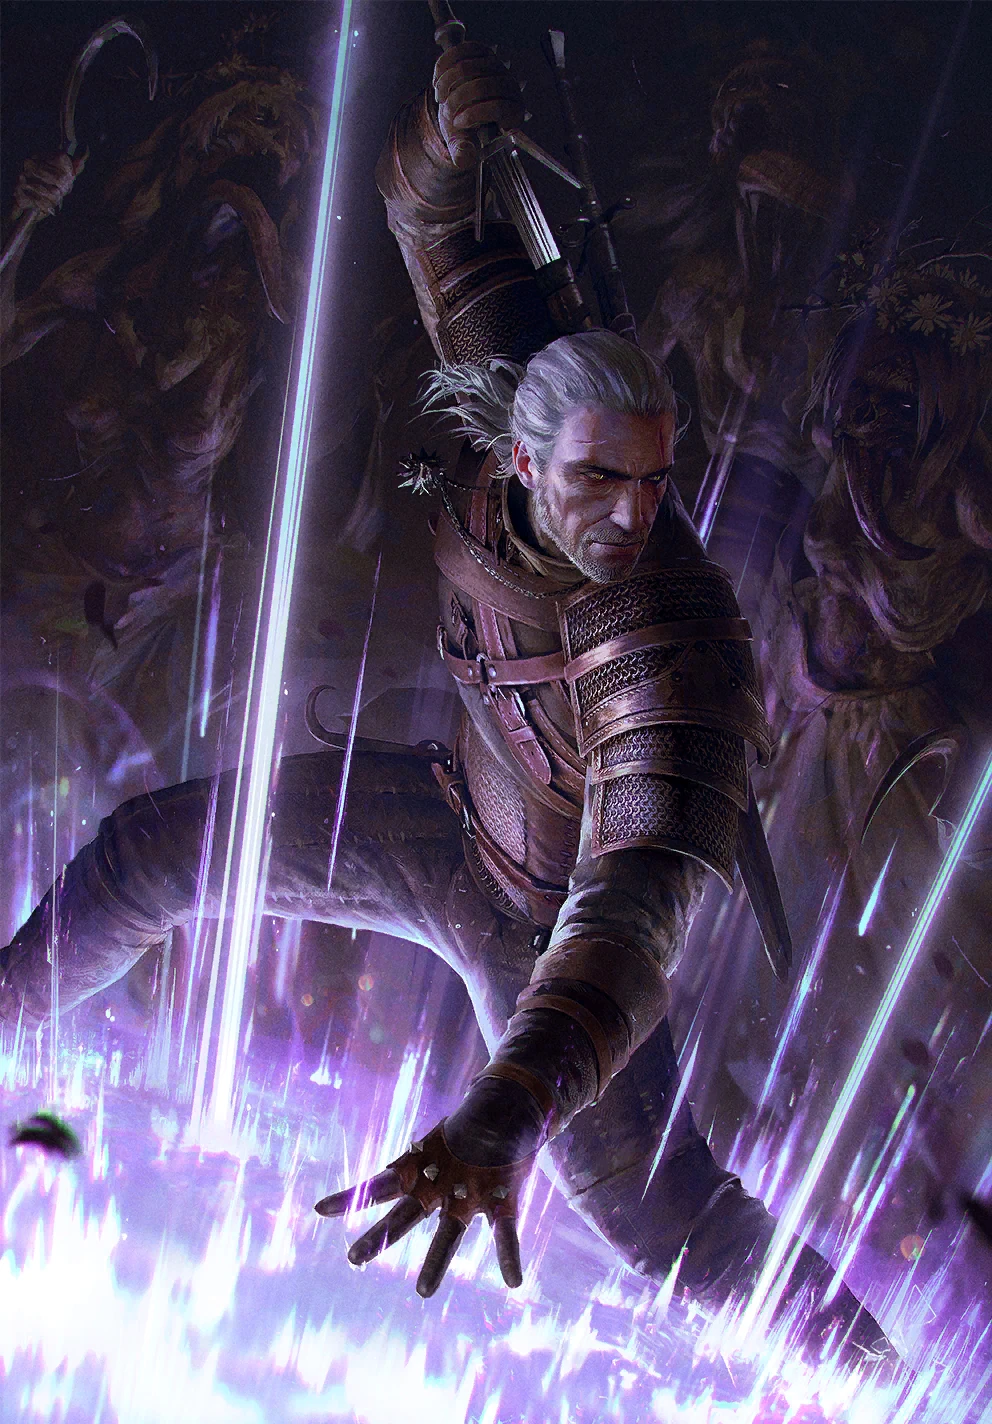
Cast Yrden on a wraith and it stops phasing. That single interaction is the difference between a five-minute slog against a noonwraith and a fight you win in three swings, and most players never learn it because they spend the whole early game hammering Quen and treating the other four signs as decoration. Signs are not a side system in The Witcher 3. On the harder difficulties they are the system, and knowing which one to throw and when is worth more than any sword you will loot before Skellige.
There are five signs, each with a basic mode and an unlockable alternate mode. Here is what every one of them actually does, the numbers behind them, and the build that turns Geralt into a walking artillery piece.
The five signs and why order matters
Geralt cycles through Aard, Igni, Yrden, Quen and Axii with the sign-select wheel, and every cast drains Stamina, the green bar that regenerates over time and faster if you invest in it. That Stamina economy is the whole game with signs: you cannot spam them freely, so each cast has to earn its cost.
The number that scales all five is Sign Intensity. It boosts damage, duration, and the various proc chances, and it comes from three places: the Signs skill tree, blue mutagens socketed next to matching abilities, and gear like Griffin School armour, whose full six-piece set grants +100% Sign intensity while you stand inside your own Yrden circle. If you are building around signs, intensity is the stat you stack above all others. Our Witcher 3 build guide covers the mutagen colour-matching math that doubles those bonuses.
Igni: the damage sign
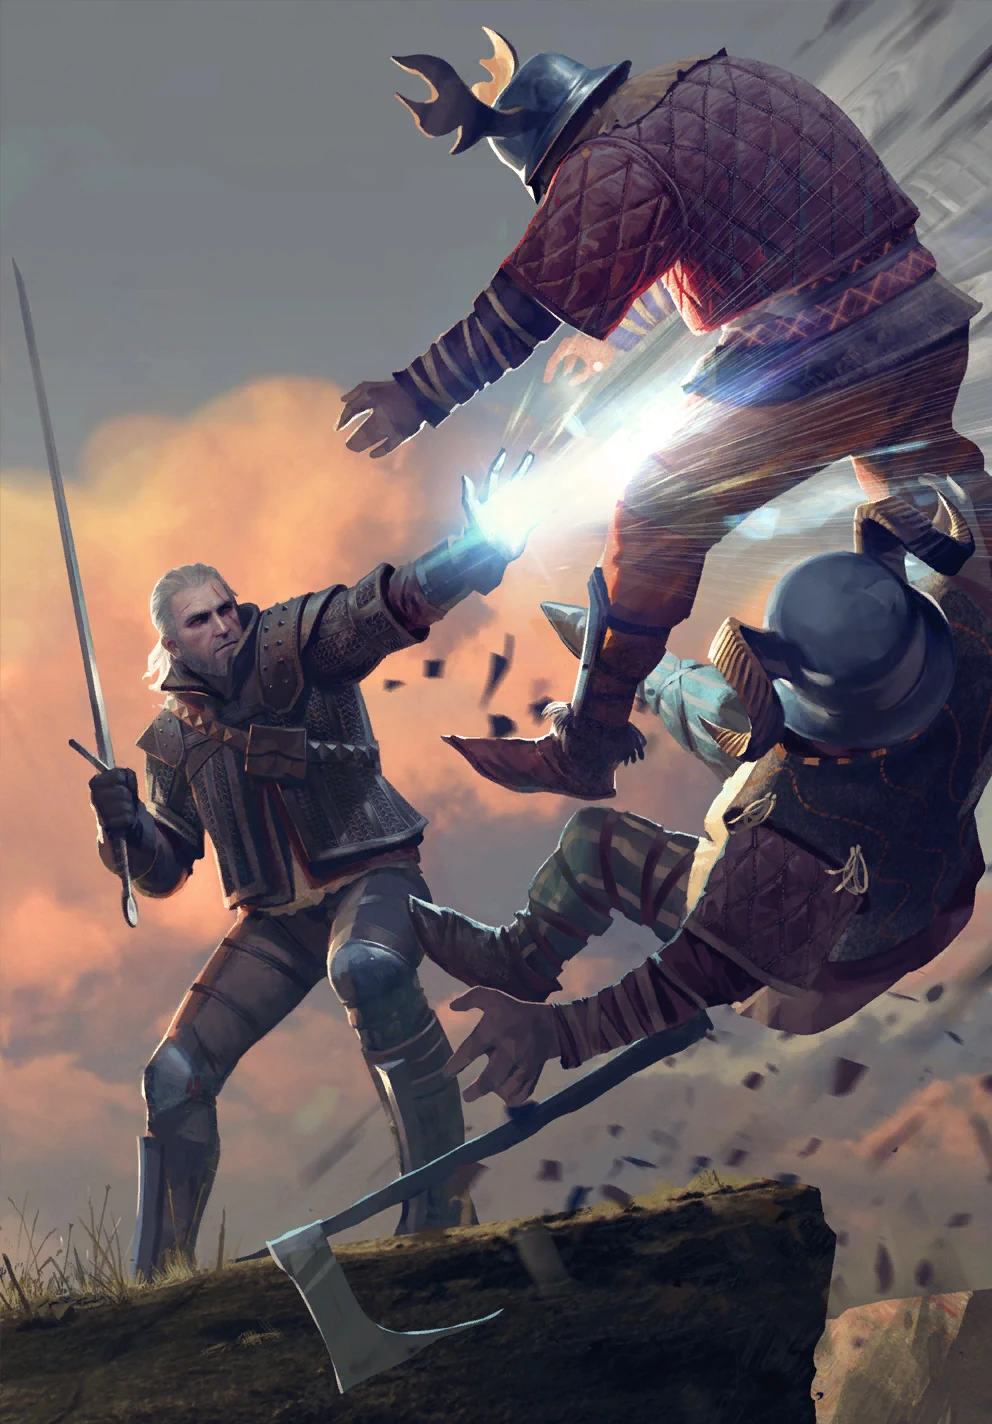
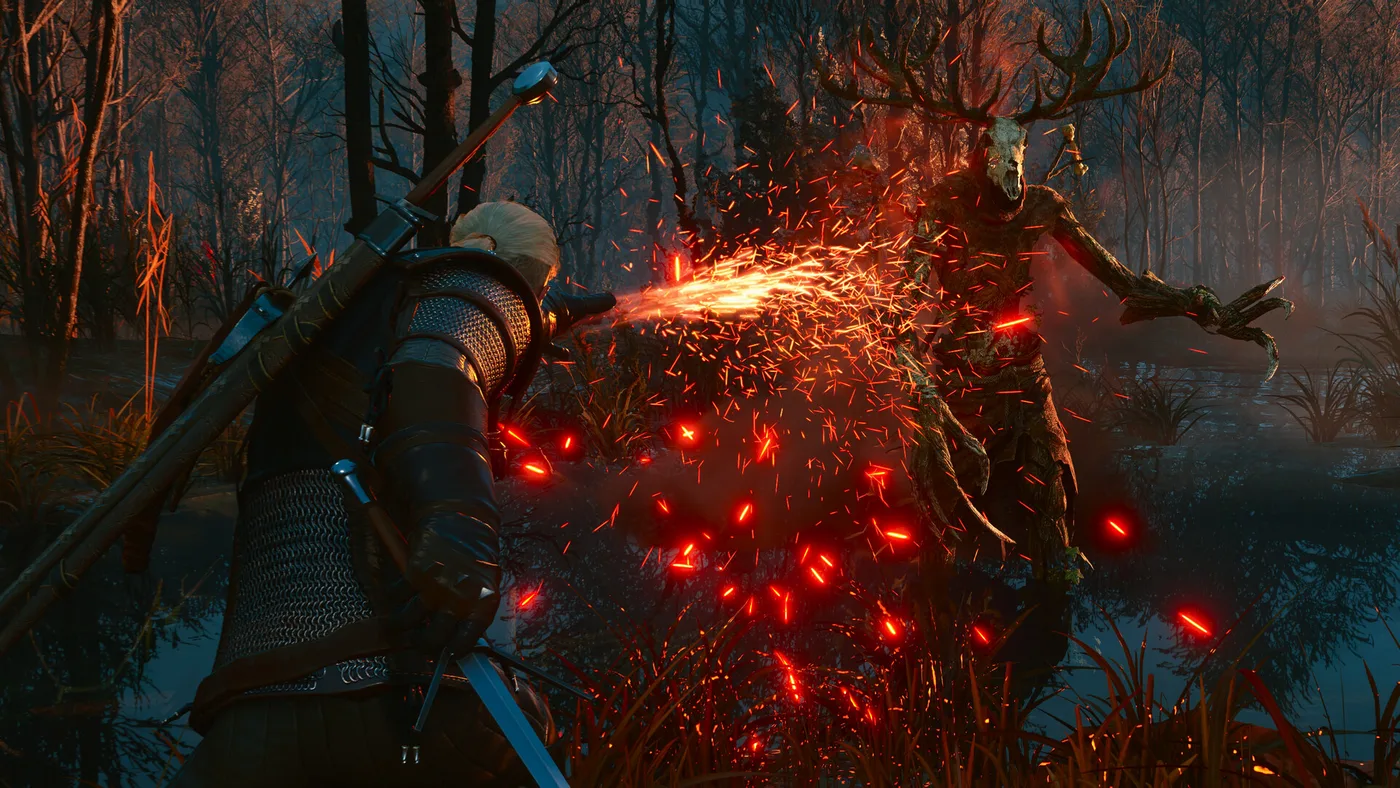
Igni is the one everyone reaches for, and for good reason: it is the only sign that does meaningful direct damage. The basic mode is a short cone of flame that can set enemies on fire, and Burning is the key word, because it is a damage-over-time effect that ignores armour entirely.
The two skills that matter are Melt Armor and Pyromaniac. Melt Armor costs zero points to unlock and permanently strips enemy armour when your Igni damage lands, scaling to 15% at level 1, 30% at level 2 and 45% at level 3 after Patch 4.0. Pyromaniac raises Burning chance by up to 60% across three levels. Stack them and even armoured knights melt, since you are stripping their defence and applying an armour-ignoring burn at the same time.
The alternate mode, Firestream, swaps the cone burst for a continuous flamethrower you hold down. It costs more Stamina but its per-second output and reliable ignite make it the better pick once you have the points to feed it. See the full breakdown in our dedicated Igni coverage inside the build guide.
Yrden: the sign that wins boss fights
Yrden lays a magic trap on the ground that slows anything walking through it. On paper that sounds mild. In practice it is the single most important sign in the game against a specific and very common enemy type: wraiths, specters, and other ethereal foes.
Those enemies phase in and out, becoming immune to your sword between attacks. Standing in a Yrden circle forces them corporeal and vulnerable for as long as they are inside it. Against a noonwraith, a nightwraith, or the Caretaker in Blood and Wine, dropping Yrden and fighting inside it turns an infuriating fight into a normal one.
The skills stack the value higher. Sustained Glyphs is a free unlock that adds up to 10 seconds of duration and lets you place 2 traps at once. Supercharged Glyphs drains 10, 20 or 30 Vitality per second from anything standing in the circle, turning your defensive trap into a damage field. The alternate mode, Magic Trap, replaces the static circle with a pulsing area that damages and slows everything within a 10-to-14-yard radius and destroys incoming projectiles crossing it, which is the answer to archers and casters.
Quen: the one you already spam
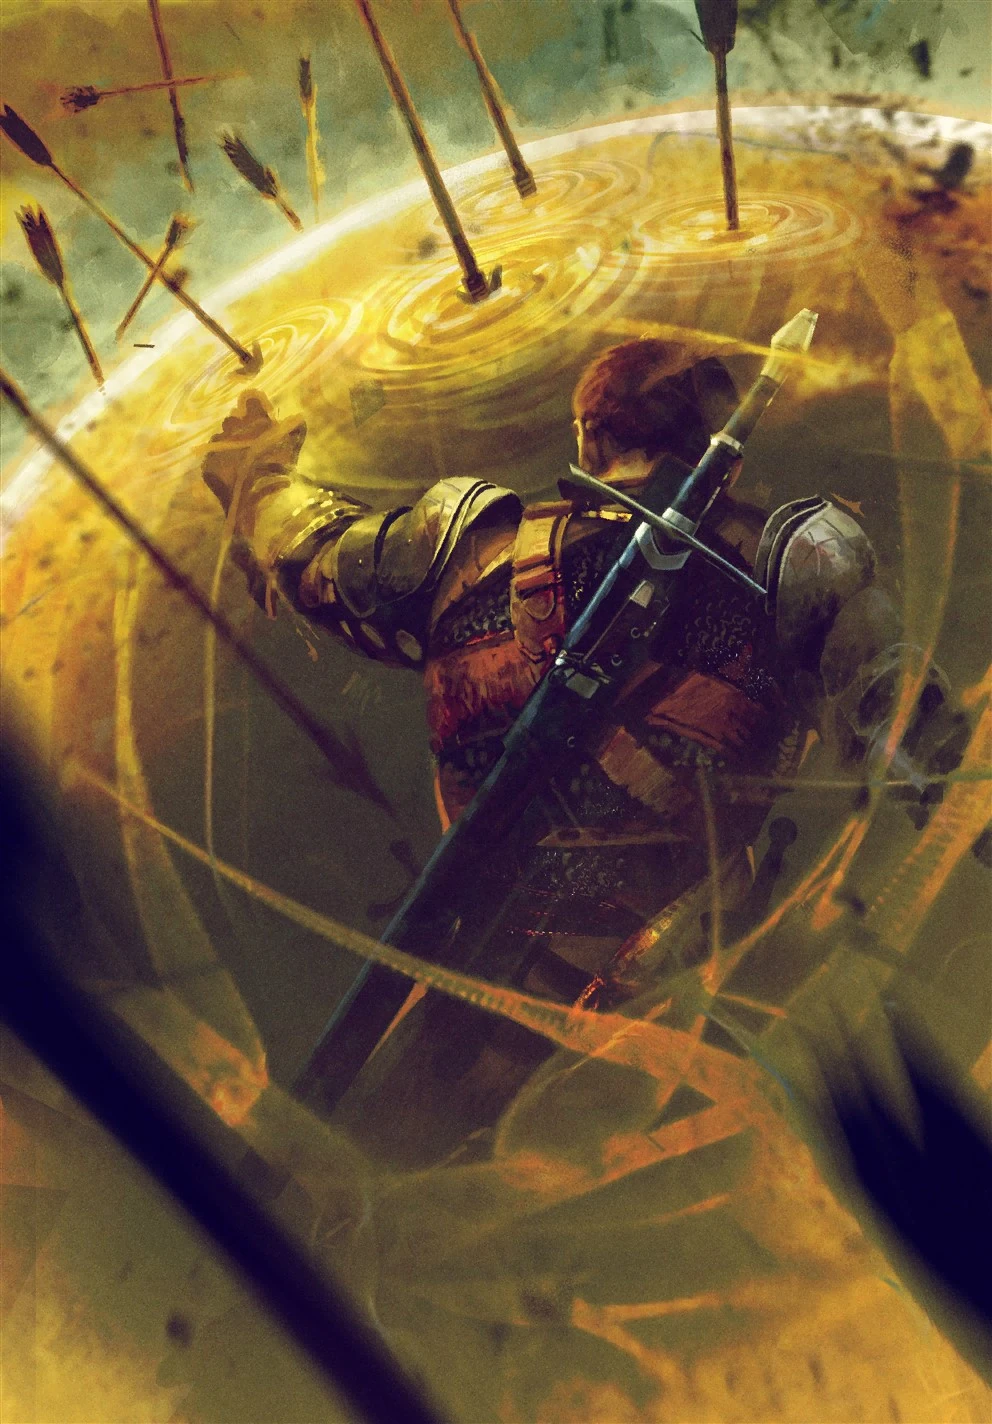
Quen throws up a shield that absorbs the next chunk of incoming damage, and it is the reason new players survive at all. There is no shame in leaning on it, but there is a ceiling to how much you should.
The upgrade worth taking is Quen Discharge, which reflects 5%, 10% or 15% of absorbed damage back at whatever broke your shield. Exploding Shield is a free unlock that detonates the shield when it shatters, knocking back nearby enemies. The alternate mode, Active Shield, is a held bubble that continuously drains Stamina but heals Geralt for a portion of the damage it absorbs, which turns Quen from a panic button into a sustain tool during long fights.
The honest note: on higher difficulties the basic Quen shield gets one-shot through, so leaning on it as a crutch stops working around Death March. That is when Yrden, positioning, and killing things faster start mattering more than the bubble.
Aard: crowd control and free hits
Aard is a telekinetic blast that staggers or knocks down enemies. It does almost no damage, and that is fine, because a knocked-down enemy eats a free finisher and a staggered one eats a free combo.
The base stagger chance is 44%, and it scales with Sign Intensity at a rate of roughly 0.5% added chance per 1% intensity, so a sign-heavy build knocks down almost everything. The Aard Sweep alternate mode widens the blast into a cone that hits a whole group in front of you, which is how you open a fight against a pack of drowners or ghouls. The Shock Wave skill even gives Aard real damage, raised in the next-gen update to 100/200/300 across its three levels, up from 40/80/120 before. Aard also has out-of-combat uses: it blasts open cracked walls, barricades, and douses fires.
Axii: the most underrated sign
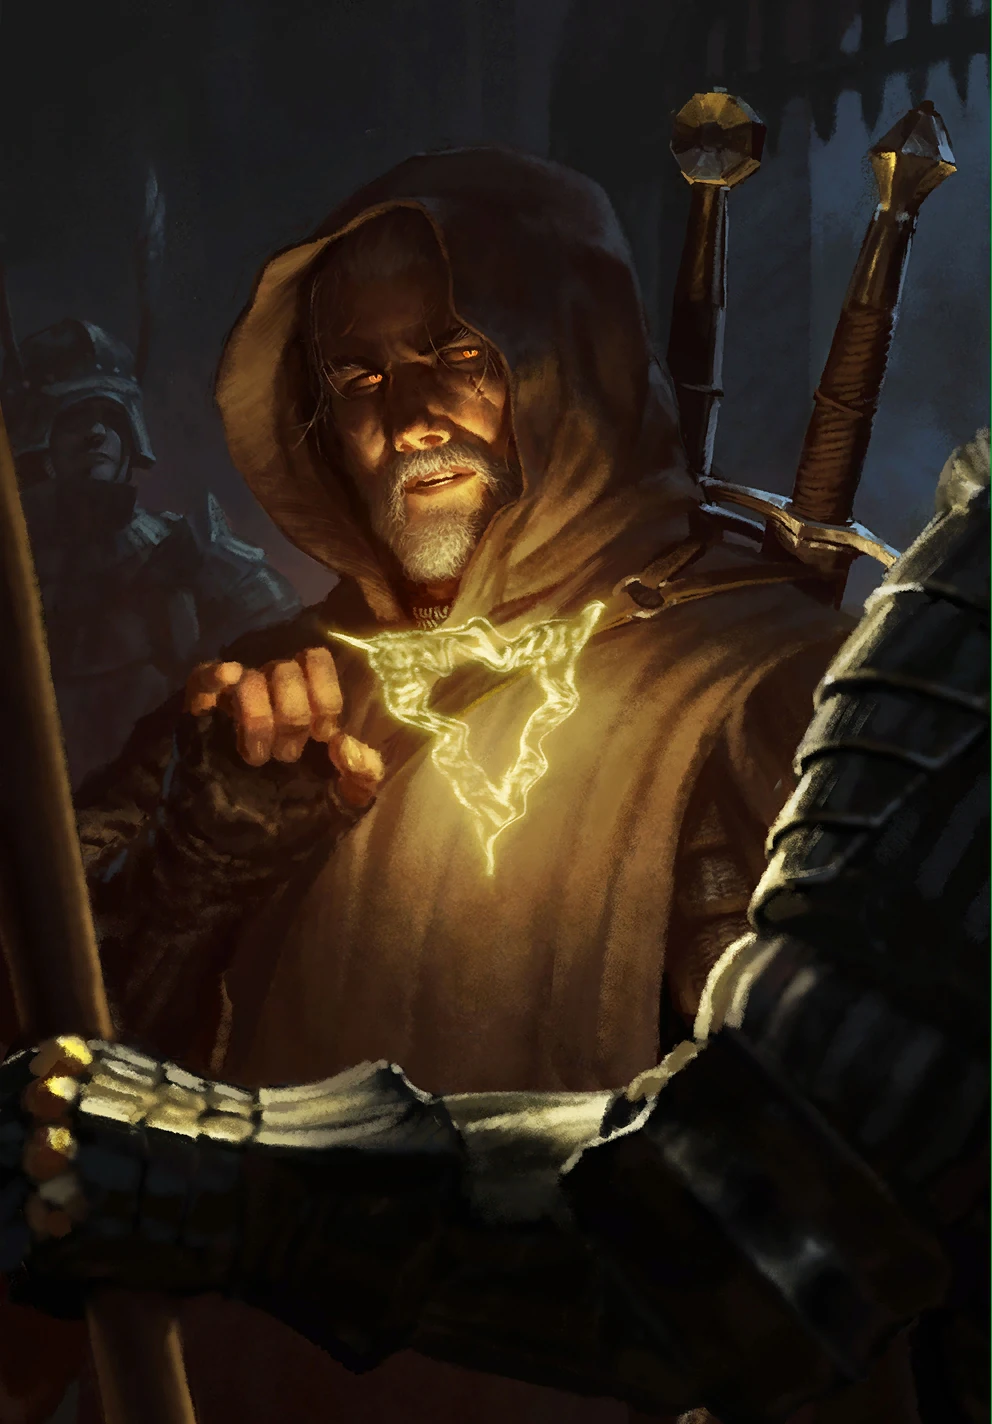
Axii is the sign nobody talks about, and it is quietly one of the strongest. The basic mode hexes an enemy, stunning them in combat so you get a free opening, and outside combat it unlocks extra dialogue options. Delusion is the skill that makes those dialogue checks a near-guarantee at rank three, letting you talk your way past fights, bribes and quest obstacles across the whole game.
The alternate mode, Puppet, is the showstopper. It flips an enemy to fight on your side, and that puppet deals 20% more damage at level 1, scaling to 60% at level 3. Turn the biggest bandit in a camp against his friends and you effectively remove two enemies from the fight, one because he is now yours and one because he is busy dying to your new ally. Far-Reaching Axii extends the cast range so you can pull this off before the group even closes on you.
Alternate modes explained
Every sign has an alternate mode you toggle in the character menu once its skill is unlocked and slotted. They are not strictly upgrades; they are trade-offs:
- Firestream (Igni): sustained flame vs the burst cone. Higher damage, higher Stamina cost.
- Magic Trap (Yrden): mobile pulsing field vs the static circle. Projectile destruction is the reason to run it.
- Active Shield (Quen): held healing bubble vs the one-shot shield. Sustain over burst protection.
- Aard Sweep (Aard): group cone vs the single-target blast. Crowd control over focus.
- Puppet (Axii): mind-control an ally vs the combat stun. Removes an enemy entirely.
You can only run one mode per sign at a time, and you can swap freely at any meditation point, so tune them to the content in front of you.
The best sign build
The strongest all-purpose sign build leans on Igni for damage, Yrden for control, and Quen for insurance, and skips deep investment in Aard and Axii until you have those three online.
Take Melt Armor and Sustained Glyphs first, since both cost zero points. Push Igni Intensity and Pyromaniac next, then Supercharged Glyphs so your Yrden circle does damage as well as control. Slot blue abilities into three of your four ability groups, drop Greater blue mutagens into those sockets, and keep one group green for Vitality so you are not made of paper. Pair it with Griffin School Gear for the +100% intensity-inside-Yrden bonus, and the loop becomes: drop Yrden, stand in it, Igni everything, and reflect anything that breaks through with Quen.
On Death March this build does what a pure combat build cannot, because Melt Armor plus Burning ignores the inflated enemy armour and Yrden neutralises the wraith and archer fights that punish melee. If you want the absolute ceiling, the alchemy-driven Euphoria mutation buffs Sign intensity too, so a sign build folds into it cleanly. New to the skill tree entirely? Start with our Witcher 3 beginner guide and come back once you are past level 15.
Quick Action Checklist
- Cast Yrden and fight inside it against every wraith and specter; it forces them corporeal.
- Unlock Melt Armor and Sustained Glyphs first since both cost zero skill points.
- Run Magic Trap on Yrden when facing archers or casters; it destroys their projectiles.
- Use Axii Puppet to flip the biggest enemy in a group before the fight starts.
- Stack Sign Intensity from the tree, blue mutagens, and Griffin School Gear.
- Swap alternate modes at any meditation point to match the enemies ahead.
- Do not lean on basic Quen past Death March, where it gets one-shot through.
Frequently Asked Questions
What is the best sign in The Witcher 3?
What is the best sign build in The Witcher 3?
How does Yrden help against wraiths in The Witcher 3?
What are alternate sign modes in The Witcher 3?
What does Axii Puppet do in The Witcher 3?
Keep Reading
Related Guides

The Witcher 3 Build Guide: Signs, Combat and Alchemy
There are three real builds in The Witcher 3 and one of them is so much stronger than the others that CD Projekt Red nerfed it and it is still the best. Here is how each one works, what it needs, and when to commit.
The Witcher 3 Remastered Skill Tree: What Unlocks What
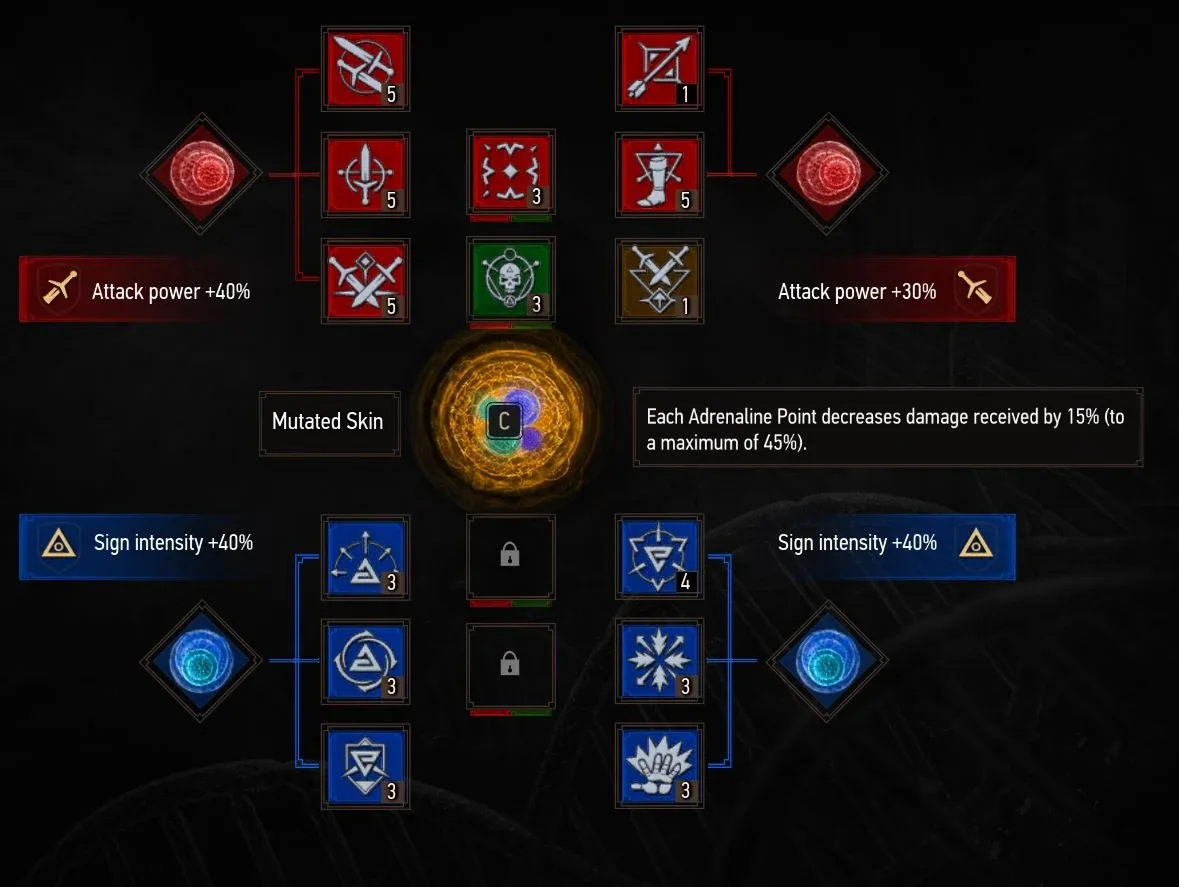
CD PROJEKT RED described the Remastered skill overhaul in three bullet points and has published no skill list. The Witcher wiki has since filled in all four trees. Here is how unlocking works now, what every skill needs and does at rank 1 and rank 3, and which old skills are gone.
The Witcher 3 Boss Fights: Imlerith, Eredin and Dettlaff
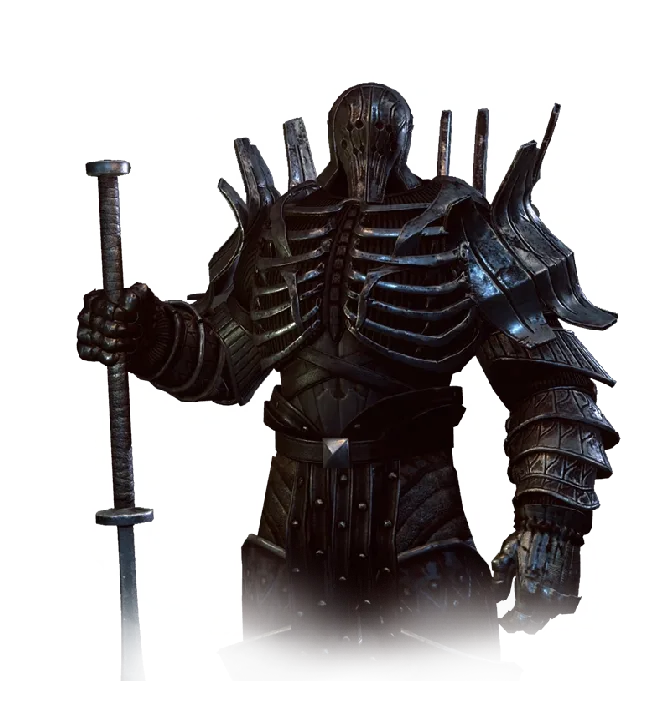
The bestiary tells you which oil to use on a drowner. It has nothing to say about Imlerith dropping his shield at 33% health, or Dettlaff shrugging off every oil in your bag. Named bosses run on phase triggers, and those are the fight.

The Witcher 3 Monster Weaknesses: Oil, Sign and Bomb
The bestiary sorts every monster in the game into eleven classes, and each class has an oil, a sign and a bomb that gut it. Learn the eleven and you stop losing fights you should win.

The Witcher 3 Beginner's Guide: Your First 20 Hours
Most people who bounce off The Witcher 3 do it in White Orchard, and it is almost always the same three reasons: they never learned Quen, they never applied an oil, and they treated the skill tree like a shopping list. Here is the fix.
The Witcher 3 Console Commands: How to Enable Them
Type additem('Aerondight',1) into a hidden text box and Geralt is holding one of the best swords in the game before he has left White Orchard. CD Projekt Red has never put that box in a menu, never written a support article about it, and never published a full list of what it accepts. Here is how to open it, what to type, and what nobody can quite agree it costs you.