The Witcher 3 Boss Fights: Imlerith, Eredin and Dettlaff
The bestiary tells you which oil to use on a drowner. It has nothing to say about Imlerith dropping his shield at 33% health, or Dettlaff shrugging off every oil in your bag. Named bosses run on phase triggers, and those are the fight.
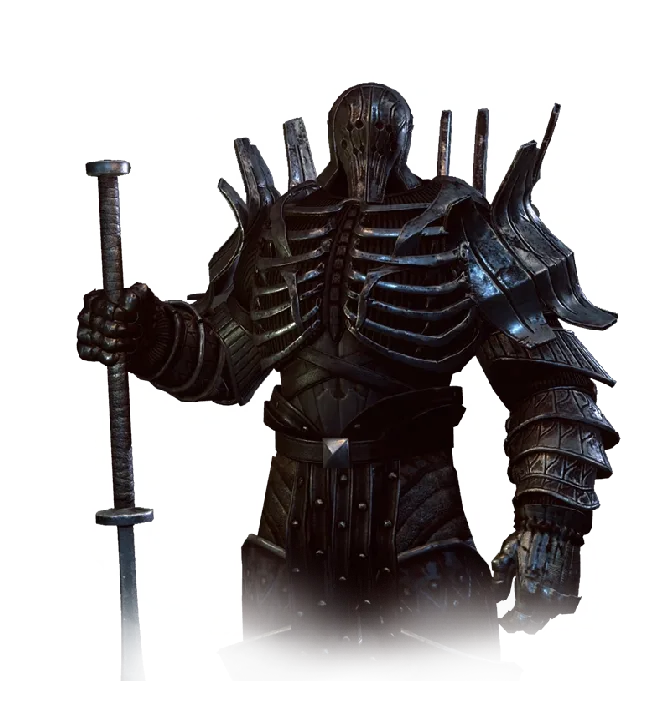
Imlerith is an elf. He talks, he bleeds, he wears plate a Nilfgaardian armourer would recognise — and if you draw steel on him you are going to spend a very long time wondering why a level 26 boss has so much health. The Bald Mountain walkthrough puts it plainly: like all Wild Hunt warriors, he takes the silver sword even though he is an elf.
That is the shape of the whole problem with named bosses. Nithral, Imlerith, Caranthir and Eredin have no bestiary entry, no class line, no susceptibility box — so the habit you built scanning drowners with Witcher Senses gives you nothing at the exact moment the game stops handing out free wins. Dettlaff is the trap in the other direction: he does have an entry, filed as the Beast of Beauclair under beasts, and its susceptibility line names vampire oil — which does nothing whatsoever in the fight. What these fights run on instead are phase triggers: a health percentage at which the enemy changes weapon, starts teleporting, summons adds, or opens a portal. Learn the trigger and the opening that follows it and these stop being wars of attrition.
The Wild Hunt takes a silver sword
Silver first, because the instinct pulls the other way. The generals are Aen Elle, which reads as "nonhuman", which reads as steel — and that is wrong. Every rider of the Hunt, generals included, is a silver-sword target.
The Wild Hunt generals also have no oil class to read, because they have no bestiary page to read it from. The giants are the exception that works: the Undvik ice giant and Golyat are both filed as ogroids, so ogroid oil and Quen apply to them the same way they apply to a rock troll. If you want the class-by-class version of that logic, it lives in our Witcher 3 monster weaknesses guide — this page is about what the class line cannot tell you.
One boss ignores coatings entirely. Vampire oil, and by extension any oil, has no effect on Dettlaff, which also means the Alchemy skill Protective Coating does nothing in that fight. The Tesham Mutna quest page records it as either a bug or a deliberate exception.
The bosses, their quest levels and their openings
Quest level is the number the game suggests, not a wall. It is still the most honest difficulty gauge you have, because these fights do not scale down for an underlevelled Geralt.
| Boss | Quest | Quest level | Phase trigger | The opening |
|---|---|---|---|---|
| Nithral | Wandering in the Dark | 6 | Summons hounds and a healing bubble at roughly 3/4 and 1/2 health | Kill the summons; he stops healing when they are gone |
| Ice giant (Myrhyff) | The Lord of Undvik | 17 | Knocks Geralt down and picks up a ship anchor at about 33% damage dealt | Strike after the anchor swing buries itself in the ground |
| Imlerith | Bald Mountain | 26 | Drops the shield at 33% health, then teleports | After a teleport combo he slams the mace down and is winded |
| Caranthir | On Thin Ice | 30 | Summons ice elementals, teleports on a timer | Stand so the elementals block his line of fire |
| Eredin | On Thin Ice | 30 | Portals the fight to an icy plateau, then back to the Naglfar | He is static while casting at range |
| Golyat | The Beast of Toussaint | 35 | None worth waiting for | A crossbow bolt to the eye kills him outright |
| Dettlaff | Tesham Mutna | 49 | Three fixed stages: humanoid, flying, body illusion | He is vulnerable for a few seconds after each dive |
Nithral: kill the hounds, not the elf
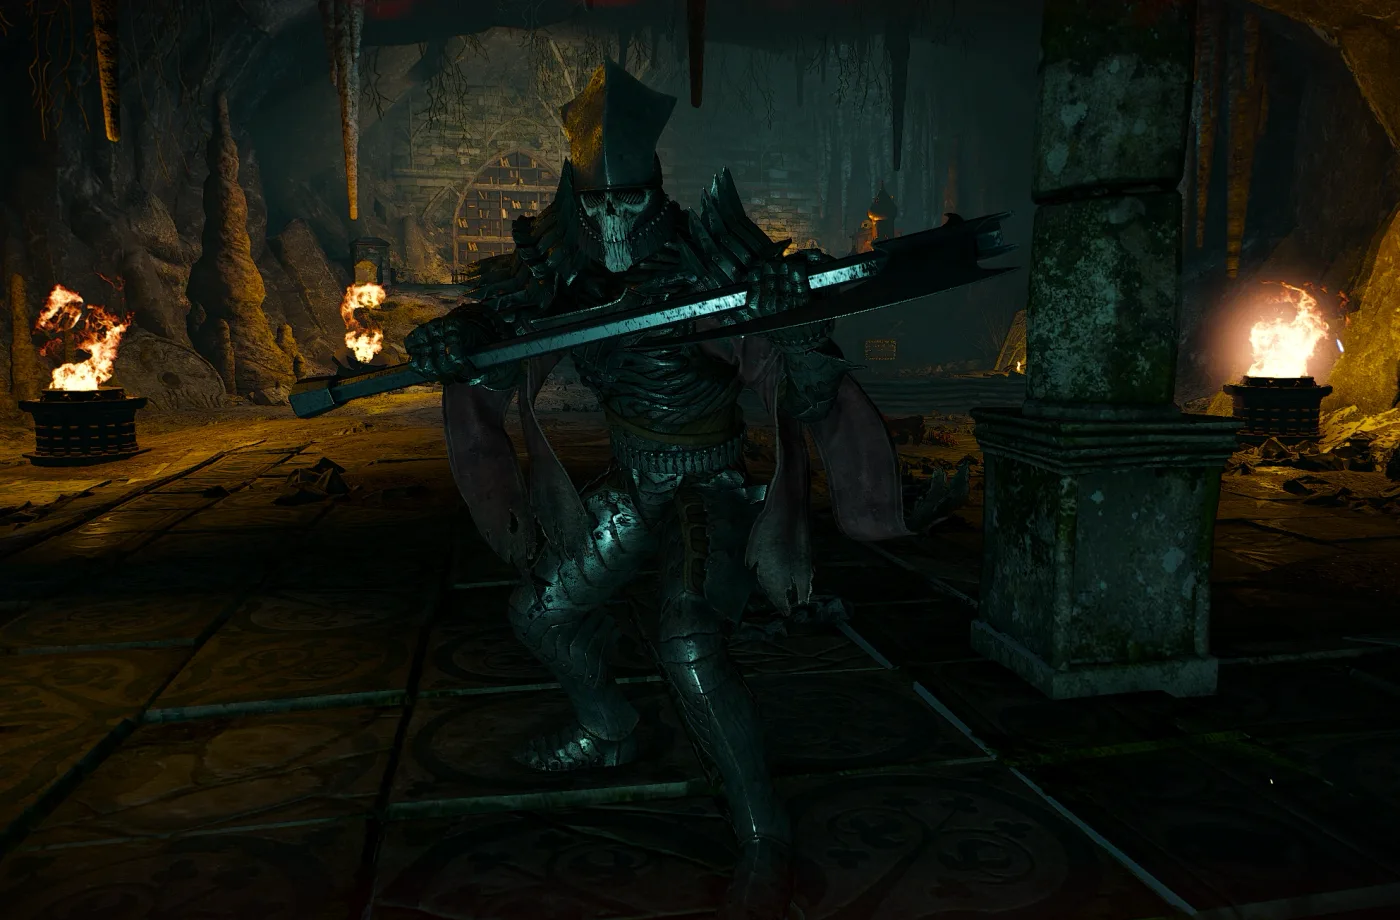
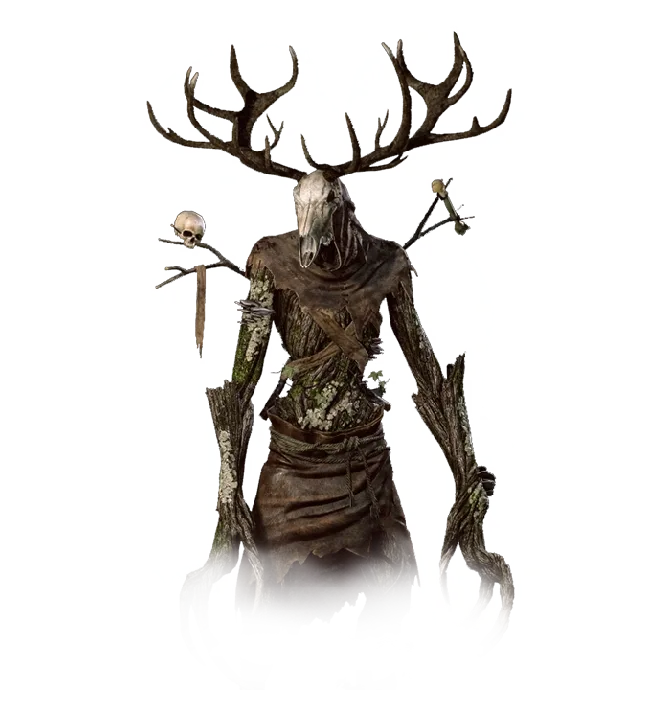
Nithral turns up at the end of Wandering in the Dark, a level 6 main quest, and he is an early fight that punishes a pure sword build. He is a slow two-handed attacker, he parries constantly, he resists staggering, and he is listed as highly resistant to Axii, Aard and Yrden. Quen is the sign that works.
The mechanic that decides the fight is the bubble. At roughly three-quarters and again at half health, Nithral opens a rift, pulls in hounds of the Wild Hunt, and retreats inside a magic bubble to heal at about 3% of his health every two seconds. Hitting him through it is worse than useless — Geralt takes a large chunk of damage for the attempt. Kill the summons instead. He stops regenerating the moment the last one dies.
Two smaller things that make the run smoother:
- You cannot leave once the fight starts. Meditate and brew before you drop down onto his platform. Thunderbolt is +30% attack power, which is a large slice of a level 6 Geralt's output.
- The hounds are elementa, so elementa oil and dimeritium bombs apply to them, and Igni hurts them because they are made of ice.
That second point pays off earlier in the same quest. Keira has to close three portals to the White Frost while hounds pour out of them — up to 15 from each portal depending on difficulty, in groups of two to five. Throwing a dimeritium bomb at a portal, or casting Yrden close enough to it, stops the hounds spawning at all and the portal closes straight after Keira's spell. That is an entire scripted defence sequence you can skip.
Nithral pays 250 XP, a Wild Hunt warrior's sword, a Diagram: Angrenian cuirass and crafting components.
Imlerith: two fights separated by a shield
Bald Mountain is a level 26 quest and Imlerith is two enemies wearing one model.
In the first stage he carries a mace and a tower shield, and he is described as virtually immune to signs. Head-on attacks bounce. The reliable line is to dodge — not roll — straight past him as he begins a combo, because a roll carries you too far to punish, and put two hits into his back. Two, not three: the third gets parried by a spinning shield swipe that stuns you. Dodge past the swipe and you can often repeat the two-hit loop several times in a row.
Signs being useless is not quite absolute. Imlerith is not immune to blinding, so Samum works on him.
The Bald Mountain walkthrough puts the shield drop at 33% health. After that he swings the mace two-handed, teleports behind you, and wears a frost coating that reduces the damage he takes. Igni burns the coating off — but it is reapplied on every teleport in the late stage, so treat it as maintenance rather than a one-time fix. The opening is the same shape as Nithral's: after a run of teleporting attacks he drives the mace into the ground and has to gather himself to lift it. That is your window.
Two things worth doing around the fight rather than in it:
- There is a Quen Place of Power on the path up the mountain. It is on the way, and Quen with Active Shield is the defence this fight actually rewards.
- After the kill, go back and loot Imlerith's body for the magic acorn before you end the quest. It sits in Food and Drink and grants 2 skill points. Hand it to the peasants at the bottom instead and those points are gone.
The fight itself takes place at night, which is why Superior Tawny Owl earns its slot here more than it does in daylight.
Caranthir: let his own elementals eat the projectiles
On Thin Ice is level 30 and contains two boss fights back to back. Caranthir comes first, and you meet him twice inside one quest.
The opening encounter is played as Ciri, and it is not a real fight — take him down by about a third of his health and a cutscene fires in which Ciri breaks the orb on his staff. The explosion drops her out of the sequence and thaws Geralt back in.
As Geralt, Caranthir teleports on a regular interval, throws magic projectiles, and calls in ice elementals. The trick is not to treat the elementals as a second problem. His projectiles damage his own summons, so position yourself with an elemental between you and him and let it soak the barrage. Beyond that it is Quen for the chip damage and Yrden with the Magic Trap upgrade for the moments he lands near you.
At around 5% health the fight ends in a cutscene where Geralt runs him through and he teleports you both deep underwater. You then have to reach the surface before you drown. It is not tight, but the Killer Whale skill helps make sure you have the air for it.
The most useful thing to know about this fight is what happens after it: you can meditate immediately, with no time lapse, before Eredin. There is no reason to ration potions or bombs against Caranthir. Spend everything.
Eredin: uncharged Rend and the casting windows
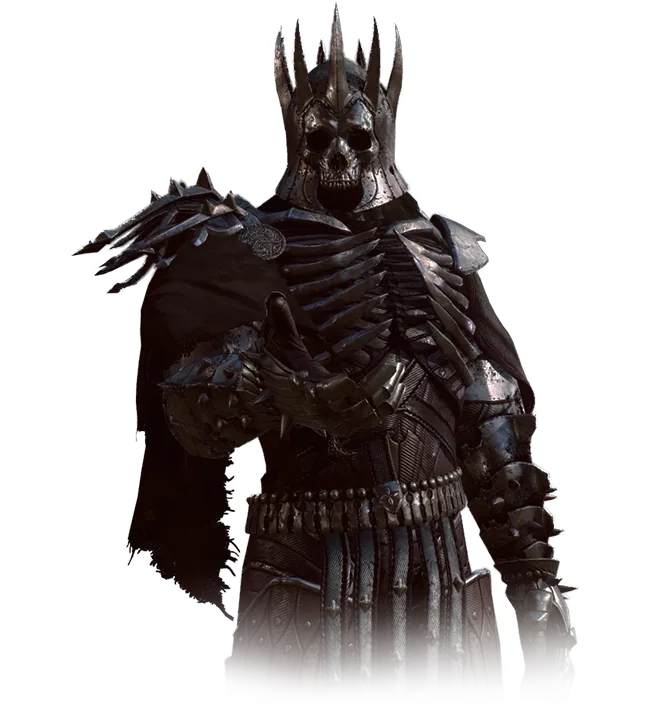
Eredin fights like Caranthir with a sword: teleports between positions, magic at range, blade in melee. Unlike Imlerith he is relatively easy to stagger, which makes Quen's Exploding Shield genuinely offensive here rather than a fallback.
The specific answer is Rend, used wrong on purpose. Spamming uncharged Rend produces strikes Eredin cannot counter — only parry, which is the difference between a long attrition fight and a short one. Whirl is the trap: he parries well, and a Whirl started at the wrong moment gets blocked from the first frame to the last. If Rend is not in your build, the fallback is patience — he is static and vulnerable while he casts at range, so bait the ranged attack and close on it.
The fight moves twice. After a few solid exchanges he throws Geralt through a portal onto an icy plateau, and near the end he opens a portal back to the Naglfar while magic projectiles rain from the sky. Do not fight the sky. Get through the portal and finish him there.
On Thin Ice pays 500 XP, the Hav'caaren sword and a Lesser Glyph of Aard.
The two giants: an anchor and a crossbow bolt
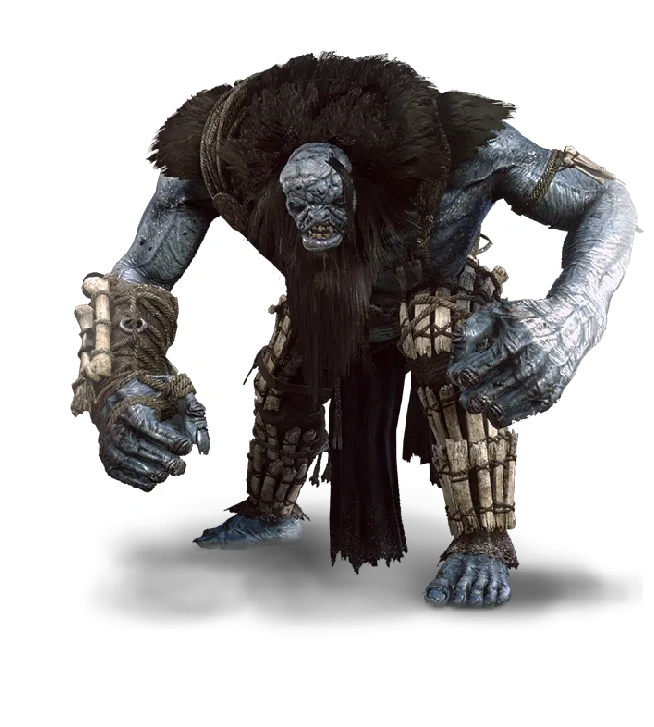
Both giants are ogroids, so both take ogroid oil and Quen. What separates them is that one is a pattern fight and the other has a shortcut.
Myrhyff, the ice giant of Undvik, closes The Lord of Undvik at quest level 17. When you have taken off roughly a third of his health he knocks Geralt away and picks up a ship anchor as a club. The anchor is slower than it is scary: it buries itself in the ground on a miss, and that is when you attack. Keep Quen up between swings — the giant's hits are the single-blow kind that Quen exists for.
Three things about that quest that are easy to lose:
- Vigi the Loon can be freed before the fight, but only if you avoid walking on snow on the approach and do not pre-cast Quen — either wakes the giant, and he kills Vigi. Freeing him is worth 200 XP and he can turn up again at the Battle of Kaer Morhen.
- The Lord of Undvik fails outright if you have not finished it before starting Battle Preparations. It is a secondary quest with a hard cutoff.
- Take the credit for the kill when Hjalmar offers it and you get a 10% discount with Skellige merchants for the rest of the game. None of the optional objectives affect this; only that one dialogue choice does.
One quirk worth knowing on older saves: before Patch 4.0, Geralt drew his steel sword at the start of this fight and again when the giant picks up the anchor, even with manual sword drawing enabled.
Golyat opens Blood and Wine in The Beast of Toussaint, a level 35 quest, and he has a one-shot answer. A crossbow bolt in the eye kills him instantly regardless of how much health he has left, and it unlocks the achievement David and Golyat. The aim is fiddly, so stack the odds: Lightning Reflexes slows time by up to 45% while aiming, Trick Shot gives you an extra bolt before reloading, and Northern Wind freezes him in place. If you would rather not aim at all, firing with the auto-shoot button immediately after his overhead club slam can land it.
Dettlaff: three stages, no autosave
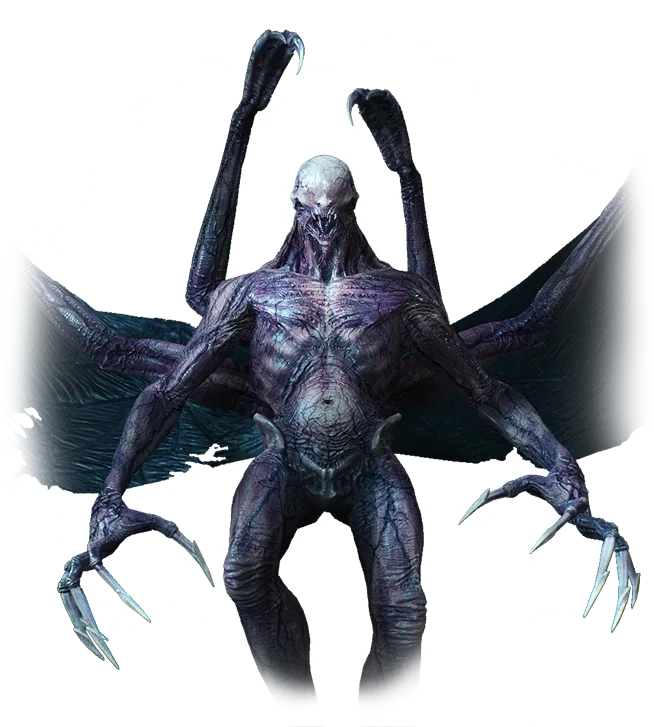
Tesham Mutna is a level 49 quest and the Dettlaff fight is three stages long. The most important fact about it has nothing to do with combat: the game creates no automatic progress saves between the stages. Die in stage three and you replay all three. Regis holds Dettlaff off at the start, which is your window to save manually, repair, oil up and swap skills.
Your alchemy items are refilled when the fight begins, but any decoctions and toxicity you were already carrying persist. White Honey clears them if you want a clean slate.
| Tool | Against Dettlaff |
|---|---|
| Any oil, including vampire oil | No effect at all — Protective Coating is dead weight here |
| Axii | No effect |
| Yrden | Marginal, except Magic Trap in stage 2 |
| Northern Wind and other pure status bombs | He is immune |
| Grapeshot, Dancing Star | Work normally |
| Quen | Essential — but the bat wave in stage 2 goes through the shield |
| Aard, Igni, crossbow bolt | Crash him out of the air in stage 2 |
| Griffin or Arachas decoction | The damage reduction you would otherwise get from oils |
Stage 1 — humanoid. The same form you fought in the warehouse. He dashes in at range and dodges away after taking a single hit, so the pattern is short dodge behind him, one fast strike, reset. If you run Quen's Active Shield with Exploding Shield, you can force a loop: shield up, let him charge, release to knock him back, land a hit, dodge out, repeat.
Stage 2 — flying. Airborne he is immune to everything that would normally knock him down, and the bat wave he winds up ignores Quen entirely. When he starts gathering bats, run — distance buys you the time to read the attack and roll clear. The window is the dive. When he comes down and stays down for a beat, you get a few seconds for three or four fast attacks, two strong ones, or a Dancing Star. A well-timed Aard, Igni or crossbow bolt as he dives will also crash him.
Stage 3 — body illusion. You end up inside a fictional version of Dettlaff's chest with pulsing hearts on the walls and blood clones spawning at you. The clones hit hard and killing them does nothing to his real health, but each one you drop buys seconds on a heart. Three hearts ends the fight. Blizzard is close to made for this stage, since the slowed time is exactly what you need to reach a heart between spawns.
Beating him counts as a Proof of Valor for the knight-errant questline There Can Be Only One, so the fight pays into Blood and Wine's side content as well as its ending. Which ending you get is a separate set of choices — those are in our Blood and Wine guide.
The bosses this guide leaves to other pages
Three of the game's best fights live inside expansions that already have their own coverage here, and repeating them would make this page worse rather than longer.
- Olgierd von Everec, the Caretaker and the Toad Prince are Hearts of Stone fights, and the Caretaker in particular is a susceptibility puzzle rather than a phase puzzle. They are covered in our Hearts of Stone guide.
- Gaunter O'Dimm is not a combat encounter in the conventional sense at all, which is why he sits in that same guide rather than this one.
- Contract monsters — leshens, fiends, shaelmaars, the ones with a notice board behind them — are class fights, and the oil, sign and bomb answers are in the monster weaknesses guide and the contracts guide.
Quick Action Checklist
- Draw the silver sword on every Wild Hunt rider, generals included, regardless of the fact that they are elves.
- Against Nithral, ignore the bubble and kill the hounds; he heals about 3% every two seconds while it is up.
- Against Imlerith, dodge past rather than rolling, cap your back-hits at two, and expect the shield to come off at 33% health.
- Carry Samum to Bald Mountain. Imlerith resists signs but not blinding.
- Loot the magic acorn off Imlerith's corpse for 2 skill points before you leave Bald Mountain.
- Against Caranthir, put an ice elemental between you and him and let his own projectiles hit it.
- Against Eredin, spam uncharged Rend — those strikes cannot be countered — or bait his ranged casts, when he stands still.
- Meditate between Caranthir and Eredin. The game allows it with no time lapse.
- Finish The Lord of Undvik before you start Battle Preparations or it fails, and take the credit for the giant for a 10% Skellige discount.
- Shoot Golyat in the eye with the crossbow for an instant kill and the David and Golyat achievement.
- Save manually before Dettlaff. Three stages, no checkpoints, and no oil in your bag does anything to him.
Frequently Asked Questions
Do you use a steel or silver sword against the Wild Hunt in The Witcher 3?
How do you stop Nithral from healing in The Witcher 3?
When does Imlerith drop his shield in The Witcher 3?
What is the magic acorn on Bald Mountain in The Witcher 3?
What is the best way to beat Eredin in The Witcher 3?
How do you kill Golyat instantly in The Witcher 3: Blood and Wine?
Does the game save between the Dettlaff fight stages in The Witcher 3?
What level should you be for the final boss of The Witcher 3?
Keep Reading
- Witcher Wiki — Imlerith tactics, the shield phase and the frost coating
- Witcher Wiki — Bald Mountain walkthrough, the silver-sword note and the magic acorn
- Witcher Wiki — Wandering in the Dark, the Nithral fight and the portal-closing shortcut
- Witcher Wiki — On Thin Ice, the Caranthir and Eredin fights and their rewards
- Witcher Wiki — The Lord of Undvik, the anchor phase, Vigi and the quest cutoff
- Witcher Wiki — Golyat combat tactics and the crossbow-to-the-eye kill
- Witcher Wiki — Tesham Mutna, the three Dettlaff stages and the missing autosaves
- Witcher Wiki — hounds of the Wild Hunt, their elementa class and Igni weakness
- Witcher Wiki — ice giant bestiary entry, ogroid class and Quen susceptibility
- Witcher Wiki — the Beast of Beauclair bestiary entry, Dettlaff's class and listed susceptibilities
Related Guides

The Witcher 3 Achievements: All 78, Ranked by Rarity
Steam's own numbers say fewer Witcher 3 players have finished the story on any difficulty than have hit character level 35. The rarest achievement in the game is not a boss kill, and the expansions are, on average, more than twice as hard to fully clear as the base game. Here are all 78, sorted by how many players actually have each one.
The Witcher 3 Monster Weaknesses: Oil, Sign and Bomb
The bestiary sorts every monster in the game into eleven classes, and each class has an oil, a sign and a bomb that gut it. Learn the eleven and you stop losing fights you should win.
The Witcher 3 Remastered Rewards: Fire Horse, Scarlet Crest
Ninety minutes of Twitch buys Roach a 90-Stamina saddle that only one saddle in the game beats, and you can loot it before the prologue ends. Here is every Remastered reward in the Vizima chest, how to claim each one before the Twitch drops close on 27 October, and what the Fire Horse and Scarlet Crest sets are actually worth.
The Witcher 3 Remastered Skill Tree: What Unlocks What
CD PROJEKT RED described the Remastered skill overhaul in three bullet points and has published no skill list. The Witcher wiki has since filled in all four trees. Here is how unlocking works now, what every skill needs and does at rank 1 and rank 3, and which old skills are gone.
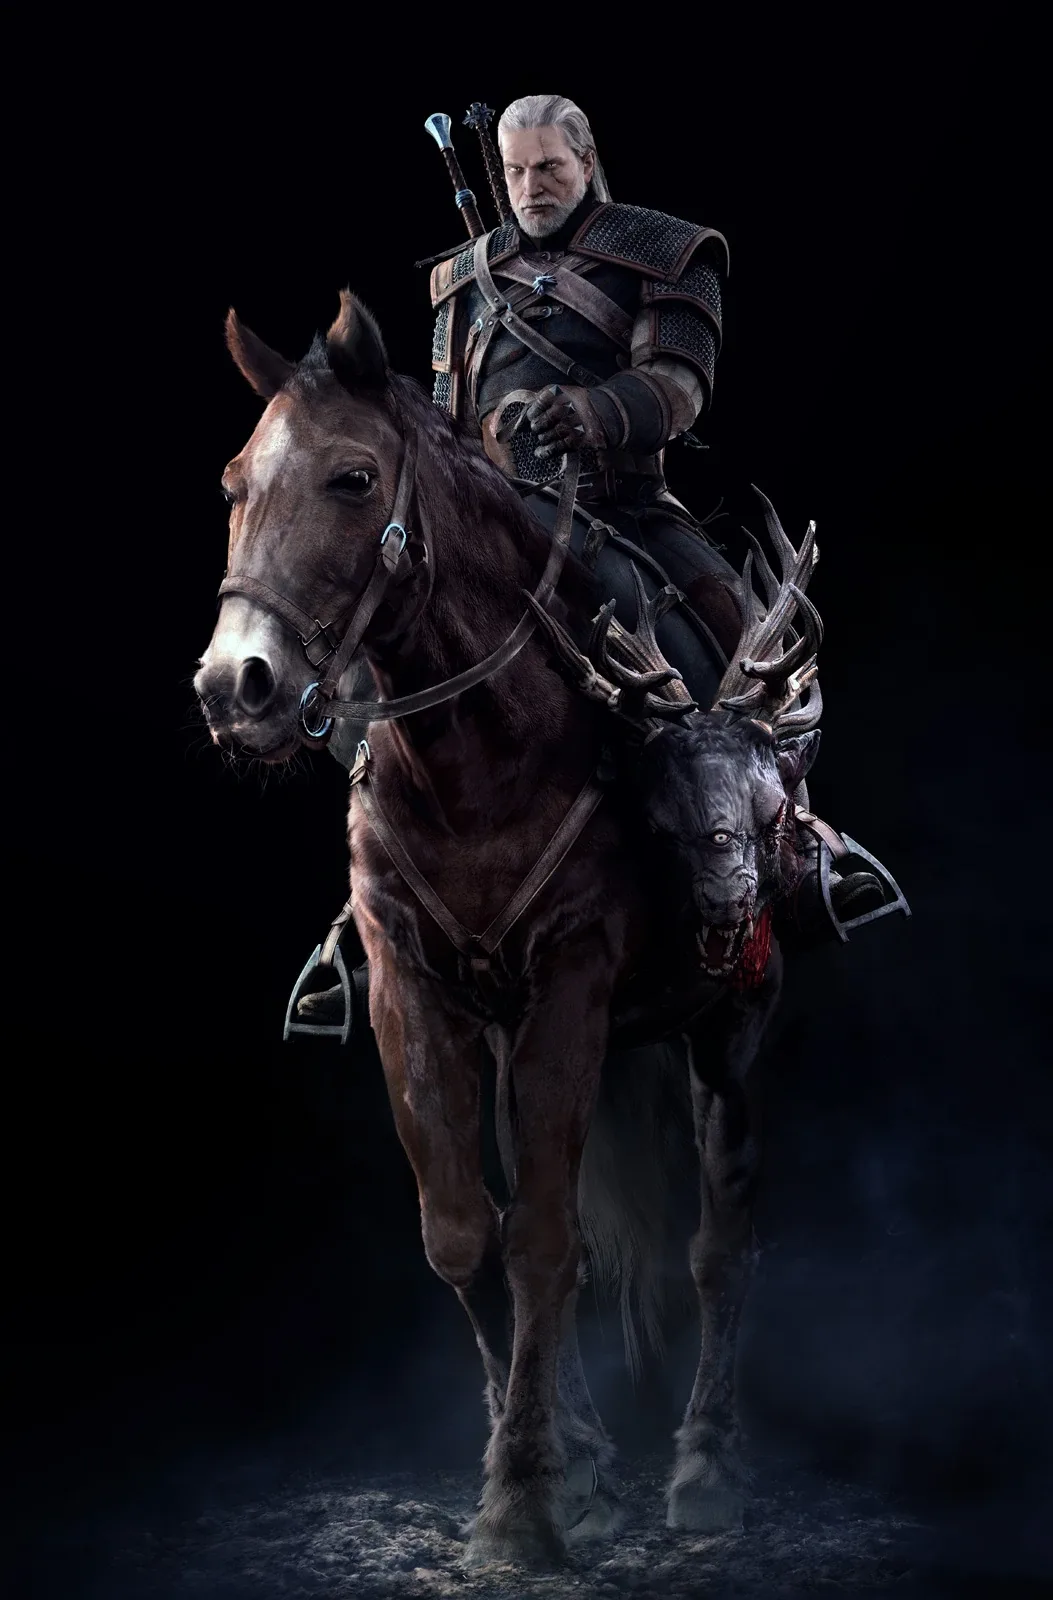
The Witcher 3 Beginner's Guide: Your First 20 Hours
Most people who bounce off The Witcher 3 do it in White Orchard, and it is almost always the same three reasons: they never learned Quen, they never applied an oil, and they treated the skill tree like a shopping list. Here is the fix.
The Witcher 3 Remastered PC Requirements: All Six Tiers
CD PROJEKT RED's Remastered patch notes carry a six-column PC spec table, from a GTX 1660 at 1080p on Low up to an RTX 5080 for path tracing at 4K. Here is every tier, which upscaler your graphics card actually gets, why CDPR's own storage figures disagree, and the PC settings its patches and support pages have touched since launch.