The Witcher 3 Build Guide: Signs, Combat and Alchemy
There are three real builds in The Witcher 3 and one of them is so much stronger than the others that CD Projekt Red nerfed it and it is still the best. Here is how each one works, what it needs, and when to commit.

Euphoria is a Blood and Wine mutation that converts every point of Toxicity in your body into 0.75% more sword damage and 0.75% more Sign intensity. CD Projekt Red nerfed its ceiling in the next-gen update and it is still, comfortably, the strongest thing you can build in The Witcher 3. Everything else in this guide is either a route to Euphoria or a genuinely fun alternative to it.
That is the honest framing. The Witcher 3's character system is generous rather than balanced, and once you stop treating the skill tree like a menu of small percentages and start treating it as three distinct engines, the game opens up. Here are the three engines, what each one actually needs, and where the numbers come from.
How builds actually work in The Witcher 3
Four branches: Combat (red), Signs (blue), Alchemy (green) and General (brown). The first row of Combat, Signs and Alchemy is unlocked from the start. Every row after that requires a minimum number of points already spent in that branch before it opens, though you do not need the skill directly above a given skill to take it.
Three structural rules govern everything:
- Points spent are not points active. You have twelve activation slots on the character panel, one available at the start and all twelve open by level 30. An ability sitting unslotted in the tree does absolutely nothing.
- Slots are grouped in fours, each with a mutagen socket. Those sockets unlock at levels 4, 9, 16 and 28.
- Colour matching is where the damage is. More on that next, because it is the part most builds get wrong.
Skill points come from levelling, one per level, and from Places of Power, which award one permanently on first activation. If you have wandered into a build you regret, a Potion of Clearance from most merchants refunds all ability points, and a Potion of Restoration refunds points spent on mutations, though it will not return the mutagens you consumed.
Mutagens are half your damage
Each of the four mutagen sockets sits beside three ability slots. Every ability you place in a slot next to a mutagen of the same colour raises that mutagen's bonus by 100%. Three matching abilities means +300%.
| Mutagen | Base bonus | With three matching abilities |
|---|---|---|
| Lesser blue | +5% Sign intensity | +20% |
| Blue | +7% Sign intensity | +28% |
| Greater blue | +10% Sign intensity | +40% |
| Lesser red | +5% Attack power | +20% |
| Red | +7% Attack power | +28% |
| Greater red | +10% Attack power | +40% |
| Lesser green | +50 Vitality | +200 |
| Green | +100 Vitality | +400 |
| Greater green | +150 Vitality | +600 |
Four Greater blue mutagens with fully matched blue abilities is +160% Sign intensity from mutagens alone, before a single point of Igni Intensity. Mismatched colours are not punished, they simply contribute nothing. The Synergy ability in the Alchemy tree pushes these bonuses higher still.
This is why "a bit of everything" builds feel weak. The cost of a stray red ability in a blue group is not the ability, it is the 100% mutagen bonus you did not get. Commit to a colour per group.
The sign build: Igni, Yrden and Quen
The most beginner-friendly power build, and the one that scales cleanly from level 1 to the endgame.
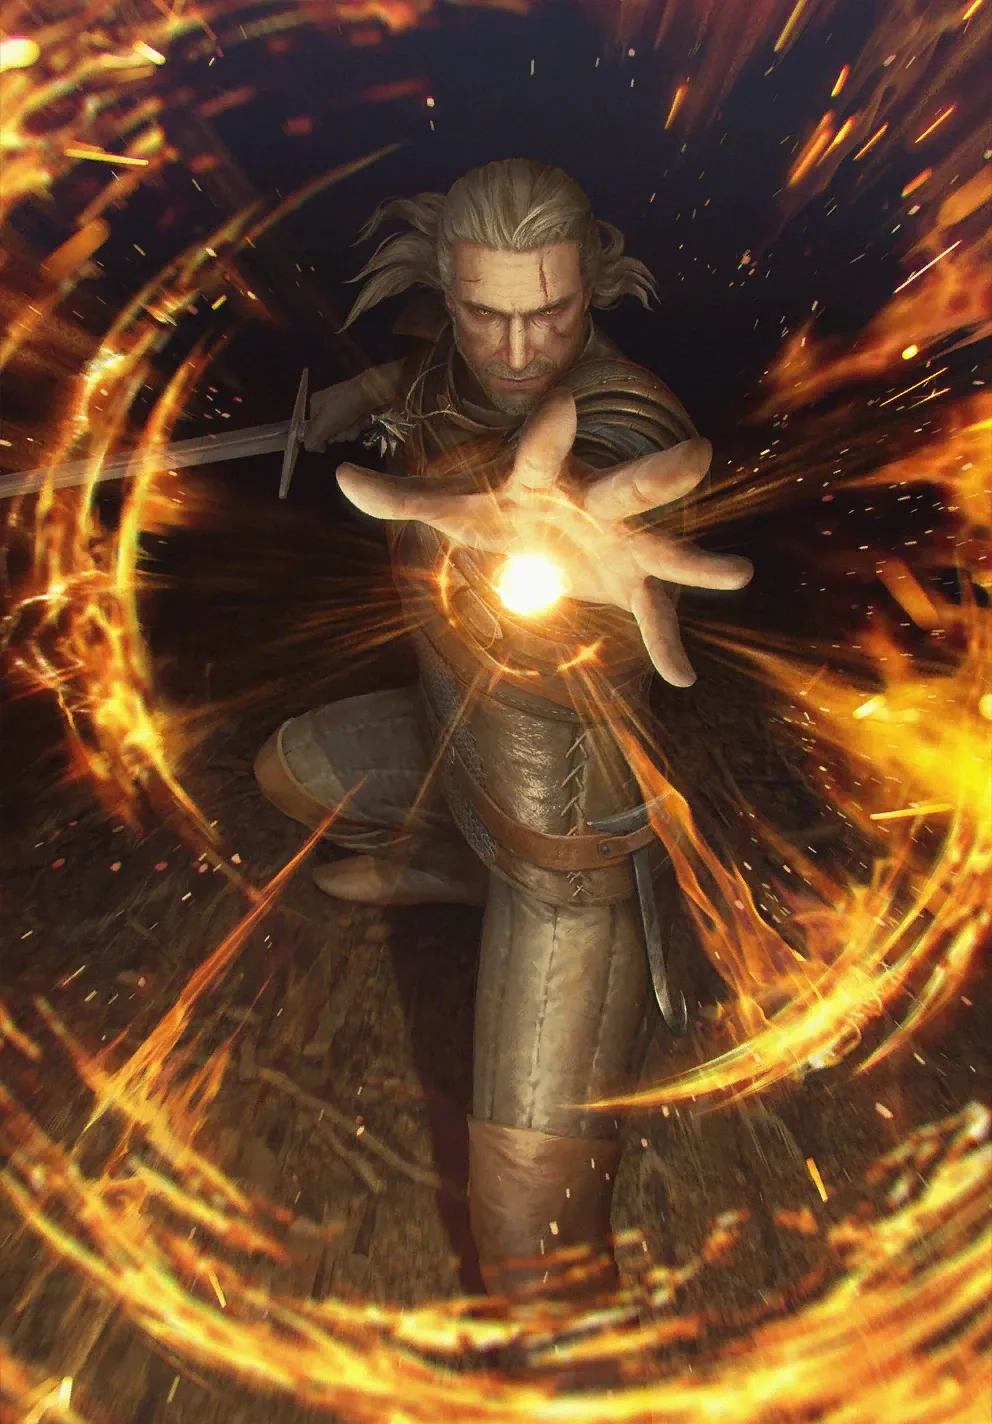
Core abilities, in priority order:
- Melt Armor (Igni). Costs zero points to unlock. Igni damage permanently weakens enemy armour, scaling with Sign intensity to a maximum of 15% at level 1, 30% at level 2 and 45% at level 3. Before Patch 4.0 it went to 75% across five levels, but the next-gen update removed levels 4 and 5 from most sign skills.
- Firestream. Igni's alternate mode, a continuous flamethrower instead of a cone burst. Needs 6 points in the Signs branch. Level 3 cuts its Stamina cost by 50%.
- Igni Intensity. +5%, +10%, +15% Igni intensity across three levels. Requires 12 points in the branch post-4.0, down from 18 before.
- Pyromaniac. Burning chance +20%, +40%, +60%. Requires 18 points in the branch, down from 28. Burning is a damage-over-time effect that ignores armour, which is why this pairs so well with Melt Armor.
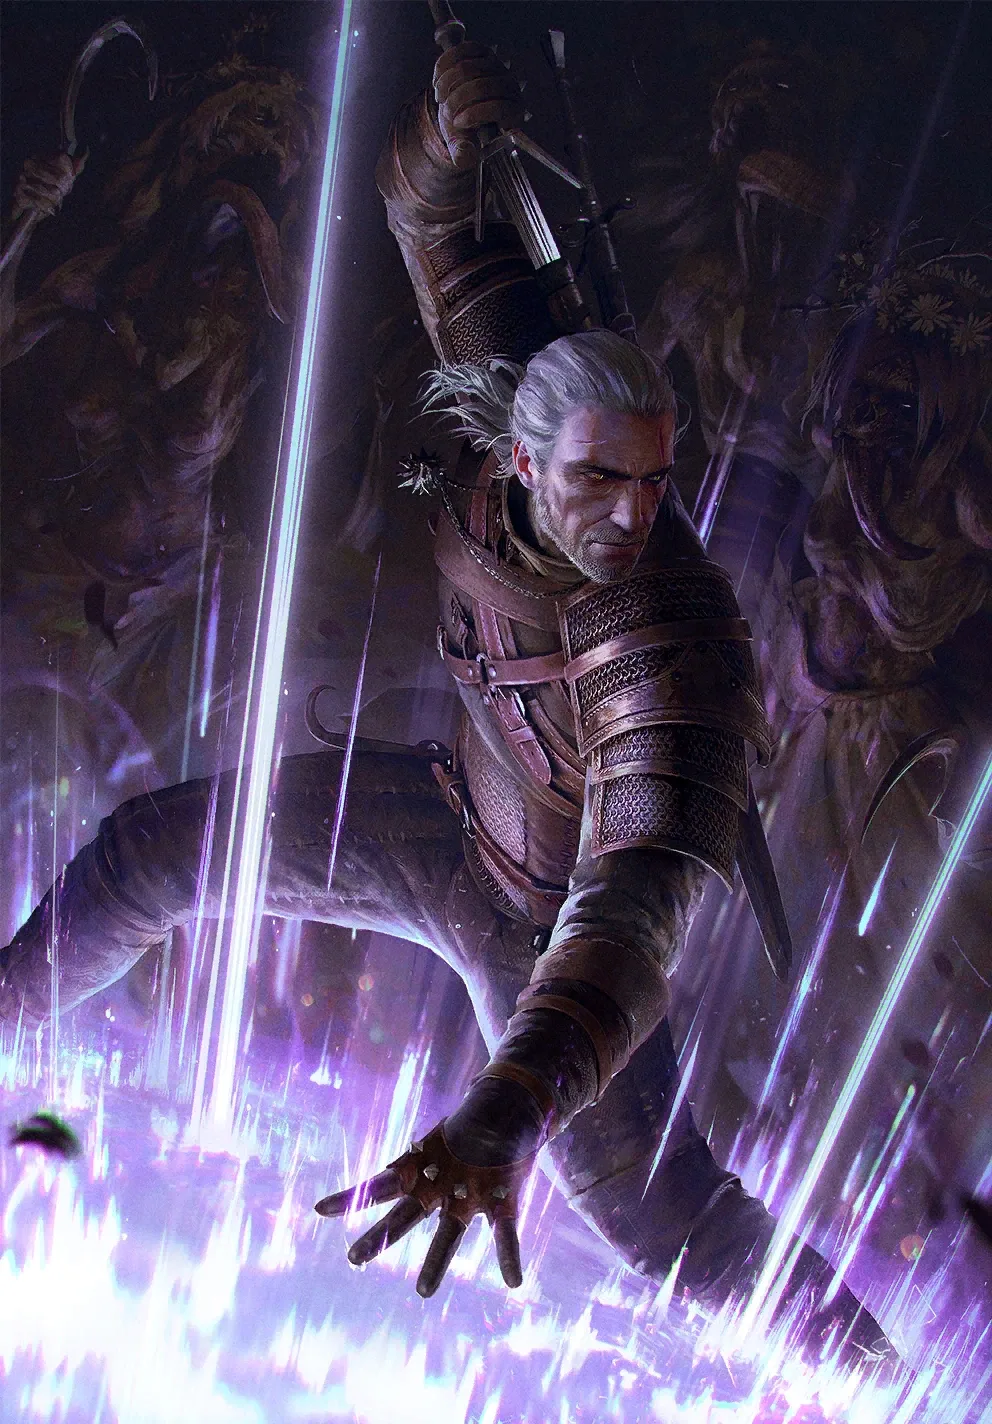
Yrden is the sleeper. Sustained Glyphs, another zero-cost unlock, adds up to 10 seconds of Sign duration and lets you place 2 standard traps instead of 1. Supercharged Glyphs drains 10, 20 or 30 Vitality per second from anything standing in the circle. Magic Trap, the alternate mode, damages and slows everything within a 10 to 14 yard radius depending on level, and destroys projectiles crossing that area. Against archers and wraiths that last clause is the fight.
Quen rounds it out. Quen Discharge reflects 5%, 10% or 15% of absorbed damage back at the attacker, and Exploding Shield costs nothing to unlock. Slot blue abilities in three of your four groups, put Greater blue mutagens in those sockets, and keep one group green for Vitality.
The combat build: adrenaline and fast attacks
Red is the branch that rewards aggression, and it is the most mechanically demanding of the three because it asks you to stay in melee range rather than kite with signs.
The build revolves around Adrenaline Points, the three-segment bar that fills as you land hits and empties when you take them. Combat abilities scale off adrenaline, and so do two of the best mutations.
Prioritise fast-attack damage and critical hit chance, then Whirl or Rend depending on whether you prefer clearing groups or deleting single targets. Light armour is the natural pairing, since it boosts Stamina regeneration and rewards dodge-and-strike rhythms. Cat School Gear is the archetypal armour here, and its six-piece bonus makes rear attacks deal 50% more damage while stunning the target for one Adrenaline Point.
The honest caveat: a pure red build is the weakest of the three at high difficulty, because it has no answer to being burst down and no scaling comparable to Euphoria. It is, however, the most fun to play, and against human opponents in Hearts of Stone content it is genuinely competitive.
The alchemy build and the Euphoria problem
Green is the branch that turns Geralt into what the books actually describe: a man who poisons himself on purpose before a fight.
The keystone is Acquired Tolerance, which raises your maximum Toxicity by a small amount for every alchemy formula you have learned. Post-4.0 it can push the Toxicity pool to 184; before the update it reached 267. Stack Metabolic Control and Manticore School Gear on top and the pool caps at 234 post-4.0, versus 327 previously.

Then Euphoria converts that pool into damage. Each point of Toxicity adds 0.75% to sword damage and 0.75% to Sign intensity. The tooltip says the cap is 75%, and that is true only of the base Toxicity pool. Expand the pool and the cap expands with it. A fully built post-4.0 Euphoria setup reaches roughly 175.5% increased damage and Sign intensity. Pre-4.0 that number was around 245%.
Two supporting picks matter enormously. Heightened Tolerance removes the health drain that high Toxicity normally inflicts, which is what makes running at maximum Toxicity survivable at all. Delayed Recovery and decoctions keep the pool full between fights.
Euphoria's requirements are three ability points and three Greater green mutagens, and it needs Toxic Blood unlocked first, which itself costs two points and two Greater green mutagens. Toxic Blood is not filler: it reflects 1.5% of incoming melee damage per point of Toxicity, to a maximum of 150%.
Because Euphoria buffs swords and signs, it slots into any build. Even a dedicated sign player should take Acquired Tolerance purely as a Euphoria enabler, since it is an alchemy skill that can live in the mutation slots described below.
Mutations and the four extra slots
Mutations arrive with the Blood and Wine expansion, and you unlock the panel by completing the secondary quest Turn and Face the Strange. There are twelve, arranged in tiers, and only one can be active at a time.
The mechanic that changes builds most is Strengthened Synapses. It grants additional ability slots on the character panel as you research mutations: one extra slot at 2 mutations unlocked, a second at 4, a third at 8, and a fourth at 12. These four bonus slots are not connected to any mutagen, so they give no colour bonus, but they let you carry abilities from outside your primary colour for free.
The mutations worth knowing:
- Euphoria (alchemy). Covered above. The ceiling.
- Toxic Blood (alchemy). Reflects up to 150% of melee damage based on Toxicity. Euphoria's prerequisite.
- Mutated Skin (alchemy + combat). Each Adrenaline Point reduces damage taken by 15%, up to 45%. The best defensive mutation in the game.
- Bloodbath (combat). Each melee blow adds 5% Attack power, stacking to 250%, but the entire stack drops if you take damage. Absurd on a build that never gets hit.
- Deadly Counter (combat). +25% sword damage against monsters and counterattack-immune humans.
- Metamorphosis (all three). Applying critical effects activates a random decoction for 120 seconds at no Toxicity cost, up to three at once. The Toxicity-free clause is what makes it interesting alongside Euphoria.
- Cat Eyes (alchemy + combat). Raises crossbow damage from 107 to 992 depending on the crossbow, adds 50% crossbow crit chance, and makes bolts pierce.
Note the colour tags. A mutation's colour determines which abilities you may place in the four bonus slots. Mutated Skin and Cat Eyes accept combat and alchemy, Conductors of Magic and Adrenaline Rush accept combat and signs, and Second Life and Metamorphosis accept all three.
Which build for which difficulty
On Story and Sword, build whatever you find fun. The system is loose enough that a scattered build clears the game.
On Blood and Broken Bones, take signs. Igni with Melt Armor and Yrden with Magic Trap solve most of the problems the difficulty introduces, and Quen covers the rest. Pair it with Griffin School Gear, whose six-piece bonus grants +100% Sign intensity while you stand inside your own Yrden circle. Our witcher gear guide covers how those set bonuses interact.
On Death March, and especially in New Game Plus, the answer is Euphoria. Enemy damage is +230% over baseline, which means the only viable approach is killing things before they finish their animations. Nothing else in the game scales like Toxicity-driven damage.
If you are still finding your footing with signs, oils and the activation slot system, start with our Witcher 3 beginner guide and come back once you are past level 15.
Quick Action Checklist
- Group your ability slots by colour and match each group to a same-colour mutagen. Three matching abilities gives +300% to that mutagen's bonus.
- Prioritise Greater mutagens: blue gives +10% Sign intensity base, up to +40% matched.
- For signs, take Melt Armor and Sustained Glyphs first since both cost zero points to unlock.
- Unlock Magic Trap for Yrden. Destroying incoming projectiles solves archers and wraiths outright.
- Complete Turn and Face the Strange to open the mutations panel in Blood and Wine.
- Research mutations to 2, 4, 8 and 12 to unlock all four Strengthened Synapses bonus slots.
- Take Toxic Blood, then Euphoria, then stack Acquired Tolerance and Heightened Tolerance.
- Use a Potion of Clearance to refund ability points and a Potion of Restoration for mutation points. Neither returns spent mutagens.
Frequently Asked Questions
What is the best build in The Witcher 3?
How do mutagens work in The Witcher 3?
How do I unlock mutations in The Witcher 3?
What does Strengthened Synapses do?
Did Patch 4.0 nerf sign builds in The Witcher 3?
Keep Reading
Related Guides
The Witcher 3 Signs Guide: Best Sign Build and How Each Works
Geralt has five signs and most players spam Quen, panic-cast Igni, and ignore the other three. That is a mistake, because two of the signs everyone skips are the ones that actually win the hardest fights in the game.
The Witcher 3 Alchemy Guide: Oils, Potions, Decoctions and Toxicity
Alchemy is the single most under-used system in The Witcher 3, and it is also the one that turns Death March from a wall into a routine. Here is what every oil, potion, decoction and bomb actually does, with the numbers.
The Witcher 3 Boss Fights: Imlerith, Eredin and Dettlaff
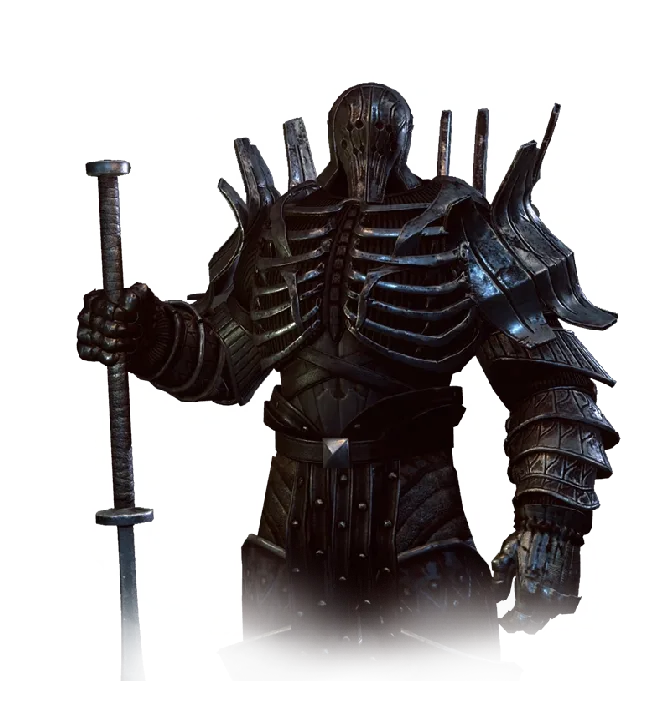
The bestiary tells you which oil to use on a drowner. It has nothing to say about Imlerith dropping his shield at 33% health, or Dettlaff shrugging off every oil in your bag. Named bosses run on phase triggers, and those are the fight.

The Witcher 3 Monster Weaknesses: Oil, Sign and Bomb
The bestiary sorts every monster in the game into eleven classes, and each class has an oil, a sign and a bomb that gut it. Learn the eleven and you stop losing fights you should win.

The Witcher 3 Beginner's Guide: Your First 20 Hours
Most people who bounce off The Witcher 3 do it in White Orchard, and it is almost always the same three reasons: they never learned Quen, they never applied an oil, and they treated the skill tree like a shopping list. Here is the fix.

The Witcher 3 Blood and Wine Guide: When to Start, Mutations, and the Good Ending
Blood and Wine is the rare expansion that outclasses the game it is attached to. It also quietly reworks your character sheet, hands you a house, and hides its best ending behind five requirements nobody tells you about.