Breath of the Wild Champions' Ballad: Every Trial in Order
The Champions' Ballad is the only quest in Breath of the Wild that takes your hearts away. Sixteen new shrines, a real dungeon, a 4,000 HP monk, and a motorcycle at the end of it — here is the whole run, in order, with the numbers.
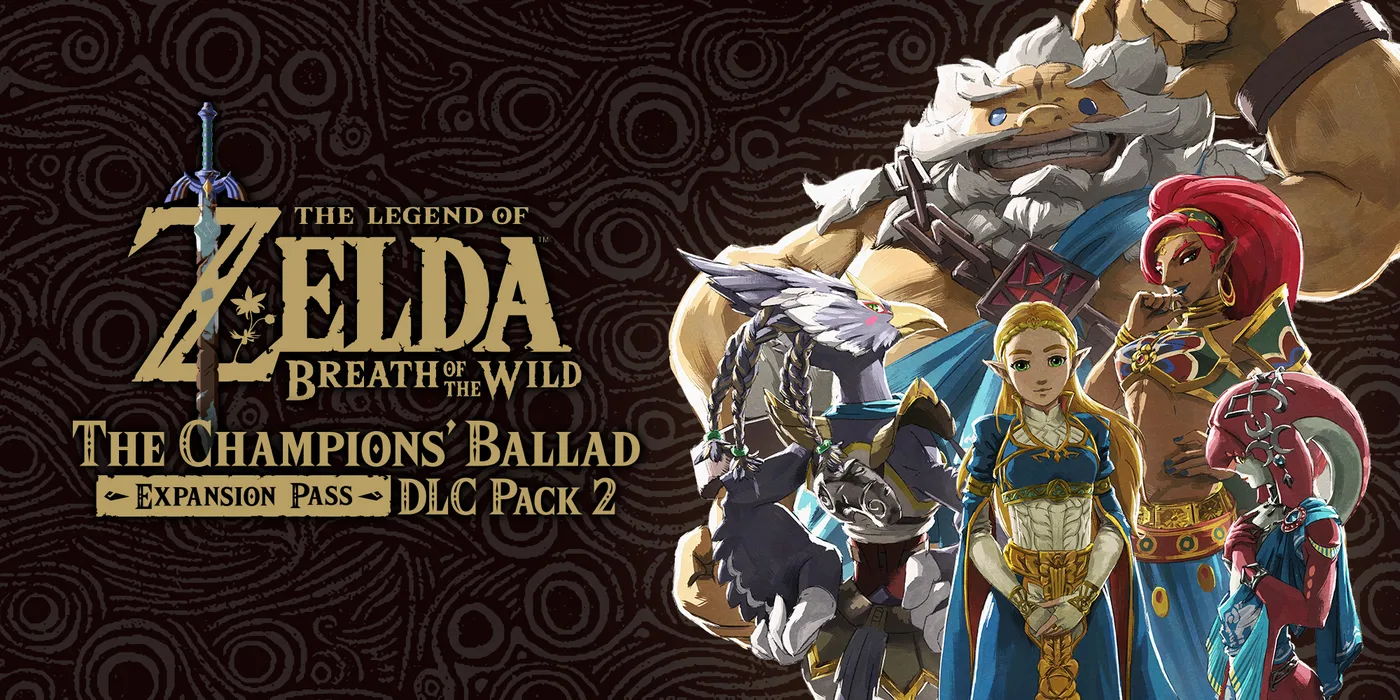
The Champions' Ballad is the only quest in Breath of the Wild that takes your hearts away. Not chips at them — takes them. Pick up the One-Hit Obliterator off its pedestal in the Shrine of Resurrection and your life gauge collapses to a quarter of a single heart, and it stays there — through the camps and through the shrines they raise — until all four Great Plateau shrines are done, with a weapon that kills anything in one swing and gets you killed in one swing.
That is the opening move of DLC Pack 2, released December 7, 2017. What follows is 16 new shrines, a genuine dungeon, a 4,000 HP Sheikah monk, and a motorcycle. It is also, functionally, the real ending of Breath of the Wild: Zelda's last line to you afterward is that you are now strong enough to beat Calamity Ganon.
Here is the whole run, in the order the game gives it to you, with the numbers that actually change how you play it.
What The Champions' Ballad actually adds
The quest will not trigger until all four Divine Beasts are calmed. Once they are, Zelda's voice reaches you the next time the overworld reloads — warp somewhere, load a save, exit a shrine, or die. If you install the DLC after freeing all four, you hear her the moment you boot the game.
| Content | Amount |
|---|---|
| New Ancient Shrines | 16 |
| Dungeon (Final Trial) | 1 |
| Main Quests | 5 |
| EX Side Quests | 6 |
| Spirit Orbs | 4 |
| New Runes | 1 (Master Cycle Zero) |
| Upgraded Champion abilities | 4 |
Only the four Great Plateau shrines pay out Spirit Orbs. The other twelve hand you Emblems instead, so the entire pack is worth exactly one extra Heart Container or Stamina Vessel — not four. Plan your last upgrade accordingly, and see the shrine guide for where the base game's 120 sit.
Both DLC packs come bundled in the Expansion Pass, $19.99 in the US, released alongside the game on March 3, 2017. It is not included with the Nintendo Switch 2 Edition — that is still a separate purchase.
Do not confuse this pack with The Master Trials, which is DLC Pack 1. That one gave you Master Mode, Hero's Path, the Travel Medallion, the Korok Mask, Majora's Mask, and the Trial of the Sword covered in the Master Sword guide. Champions' Ballad is the story pack.
The One-Hit Obliterator turns you into glass
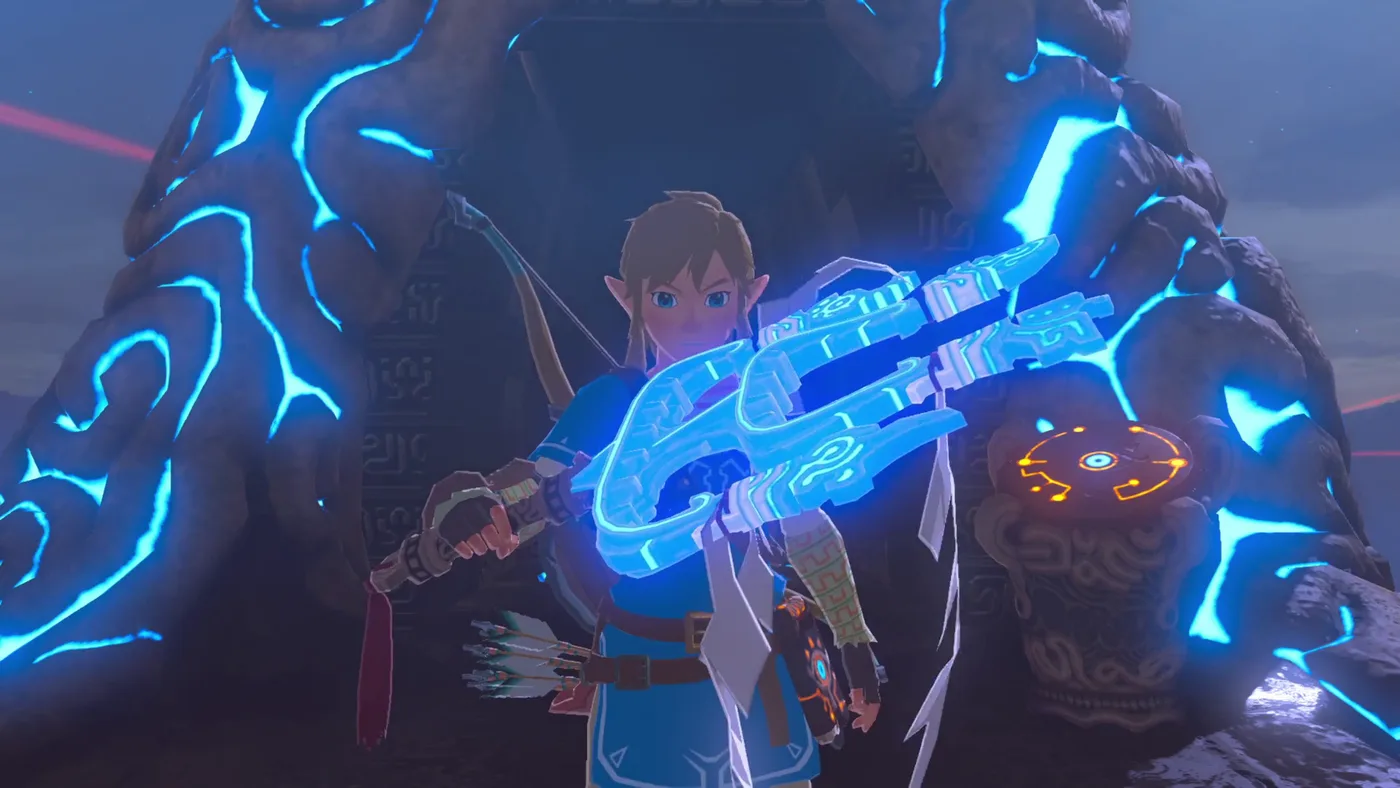
Return the Sheikah Slate to its pedestal in the Restoration Room and Monk Maz Koshia introduces himself, hands you an unbreakable club, and marks four spots on the Great Plateau. The rules are strict and most of them are not explained twice:
- It only kills in one hit while it is glowing. You get two swings, then the sheen drops and its attack power falls to 1 while it recharges. It will not recharge while you are swinging it, so stop flailing and wait.
- You die to a single hit. Any enemy, any hazard, any fall you would normally shrug off.
- You cannot heal. Food and materials appear to restore hearts on the inventory screen, then the hearts vanish the moment you close the menu.
- You cannot switch to another melee weapon. Bows and runes still work, and they are the real answer — a Bomb Arrow does not need the Obliterator to be charged.
- Hitting an enemy's shield does not burn a charge. Useful against the Bokoblins who block.
- Leaving the Great Plateau ends the trial. The Obliterator returns to its pedestal and you start the whole thing again.
Play it like a stealth mission, not a brawl. Sneakstrikes and Bomb Arrows matter far more here than parry timing, because there is no parrying your way out of a Silver Lizalfos at a quarter heart.
The four Plateau shrines and what is in them
Clear a camp and the shrine rises out of the ground where it stood.
| Shrine | Where the camp is | Trial name | Chest |
|---|---|---|---|
| Etsu Korima | Atop Mount Hylia | Path of Light | Gold Rupee |
| Rohta Chigah | Between Great Plateau Tower and the Eastern Abbey | Stop to Start | Forest Dweller's Shield |
| Ruvo Korbah | South of the Temple of Time | A Major Test of Strength+ | 10 Bomb Arrows, Giant Ancient Core |
| Yowaka Ita | Forest of Spirits | Collected Soul | 5 Bomb Arrows, Phrenic Bow |
Ruvo Korbah is A Major Test of Strength+, so a Guardian Scout IV — the top tier, swinging ++-grade Guardian gear — drops into a flooded arena with you. The quarter-heart penalty comes into the shrine with you. One laser, one axe swing, one anything is still a Game Over, and your hearts do not come back until all four Plateau shrines are cleared and the Obliterator splits. What makes the fight survivable is the weapon, not your health bar: one charged swing deletes the Scout IV outright. Dodge first, swing once. The shrine keeps going after that — a floor switch drops you into basement tunnels, and the final room has four more Guardian Scouts shooting lasers at you from range, all of it still at a quarter heart. That Giant Ancient Core is worth the detour on its own.
Finish all four and the Obliterator splits into four glowing orbs and scatters across Hyrule, raising four Monuments. The weapon returns to its pedestal for good.
Four monuments, twelve shrines, one set per Champion
Each Monument plays you a Kass verse and marks three trials. Each set of three trials unlocks three shrines, and three shrine Emblems open the Illusory Realm rematch for that Divine Beast.
| Champion | Monument location | The three trials |
|---|---|---|
| Daruk | Eldin Mountains | Beat the Igneo Talus Titan at Lake Darman, follow the rings of light down Death Mountain, stand on the lava at Darb Pond |
| Mipha | Ja'Abu Ridge | Swim the light path at dawn in the Lanayru Sea, kill the Guardians in Upland Zorana, chase the rings at Lulu Lake and Mikau Lake |
| Revali | Strock Lake | Shoot Dinraal's horn, race the rings down from Hebra Peak, hit four targets at the Flight Range |
| Urbosa | East Gerudo Mesa | Beat the Molduking, chase the rings across the West Barrens, throw the orb into the Yiga Clan Hideout chasm |
Two of those need prep rather than skill. Darb Pond wants Flamebreaker gear or a Fireproof Elixir before you step onto lava — the armor guide covers which set to bring. Dinraal's horn means catching a dragon on its schedule, so know the flight window before you commit an evening to it.
The twelve Champion shrines sit in one region each, which makes the pack far easier to route than it looks:
| Region | Shrines | Champion |
|---|---|---|
| Hebra | Kiah Toza, Noe Rajee, Shira Gomar | Revali |
| Lanayru | Kee Dafunia, Mah Eliya, Sato Koda | Mipha |
| Eldin | Kamia Omuna, Rinu Honika, Sharo Lun | Daruk |
| Gerudo | Keive Tala, Kihiro Moh, Takama Shiri | Urbosa |
Pick the region you already have towers and stables in and do that Champion first. There is no required order.
The Illusory Realm hands you the loadout
Bring three Emblems back to the Divine Beast and Maz Koshia drops you into the Illusory Realm — a replica interior where you fight that Beast's Phantom Ganon again. Ruta means Waterblight, Medoh means Windblight, Rudania means Fireblight, Naboris means Thunderblight.
The twist: your inventory is confiscated. You fight with a fixed kit the game chooses, which means a maxed-out save gets no advantage and an underequipped one gets no punishment.
| Realm | Weapons you are given | Armor |
|---|---|---|
| Vah Ruta | Lightscale Trident, 2 Ceremonial Tridents, Silver Bow, 10 Arrows | Zora set at 2 stars |
| Vah Medoh | Feathered Edge, Falcon Bow, Duplex Bow, Phrenic Bow, 100 Arrows, 5 Bomb Arrows | Snowquill set at 2 stars |
| Vah Rudania | Boulder Breaker, Knight's Bow, 5 Ice Arrows | Flamebreaker set |
| Vah Naboris | Scimitar of the Seven, Edge of Duality, Daybreaker, Shield of the Mind's Eye | Desert Voe set at 2 stars |
Note the arrow counts. Medoh gives you 100 and Ruta gives you 10 — Waterblight is a melee problem whether you like it or not, and the Ceremonial Tridents are there because the Lightscale Trident will break.
The game quietly helps you lose. After three attempts it adds a Fairy to your kit, and after six it adds meals and elixirs. If a Blight keeps wiping you, the honest move is to keep throwing yourself at it.
You can replay any Illusory Realm fight after finishing its quest, and the Champion spirit has unique dialogue if you win the rematch. Those repeats do not raise your World Level, so this is one of the few ways to farm boss practice without making the overworld harder. If you want the base-game versions of these fights refreshed first, the Divine Beasts guide has the moveset breakdowns.
The EX abilities are a cooldown cut, not a damage buff
This is the part everyone gets wrong. Revali's Gale + does not launch you higher. Urbosa's Fury + does not hit harder. Every upgrade is purely a recharge time cut to one third, and it stacks with the discount Hyrule Castle already applies.
| Ability | Uses | Base cooldown | Upgraded | In Hyrule Castle | Upgraded, in Castle |
|---|---|---|---|---|---|
| Revali's Gale | 3 | 6 min | 2 min | 2 min | 40 sec |
| Urbosa's Fury | 3 | 12 min | 4 min | 4 min | 1 min 20 sec |
| Daruk's Protection | 3 | 18 min | 6 min | 6 min | 2 min |
| Mipha's Grace | 1 | 24 min | 8 min | 8 min | 2 min 40 sec |
Mipha's Grace is the headline. A free full heal plus five temporary hearts every 24 minutes is a nice safety net; the same thing every 8 minutes is a completely different resource, and inside Hyrule Castle it comes back every 2 minutes and 40 seconds. That single change is why finishing Champions' Ballad before the Calamity Ganon run is worth more than any weapon you could farm in the same time.
Daruk's Protection + at six minutes is the other one that matters, because Guardian beams bounce off it. And a Perfect Guard performed while the barrier is up does not consume a charge at all.
The Final Trial is a real dungeon with Champion weapon parts in it
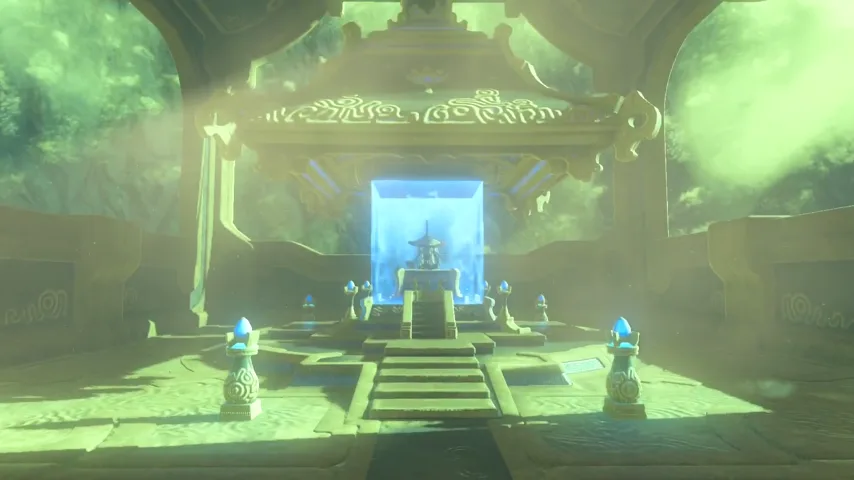
Finish all four Champion songs and the Shrine of Resurrection seals behind you and descends. What is down there looks like the inside of an engine, which is a deliberate hint about what you get for clearing it.
The layout is a central gear chamber with four wings themed on wind, water, fire, and electricity. Grab the map from the Guidance Stone first, then rotate the central gears clockwise or counter-clockwise — the side chambers only move if you have physically connected them to the central mechanism with metal or stone. Each wing holds a terminal, and each terminal you authenticate drops one of four locks on the back door.
The dungeon fights back as you progress:
| After activating | What spawns in the central chamber |
|---|---|
| Nothing yet | 1 Guardian Scout I |
| Terminal 1 | 3 more Guardian Scout I, plus a Guardian Scout II |
| Terminal 2 | A Guardian Turret in the centre |
| Terminal 3 | Two Guardian Skywatchers on patrol |
Loot the chests before you touch the back door, because they are not random. The thunder wing holds a Gerudo Scimitar, the fire wing a Cobble Crusher, the wind wing a Swallow Bow, and the water wing a Zora Spear. There is also a Gerudo Shield and a Diamond, plus five Bomb Arrows. Those are exactly the base items you need to commission the Champions' weapons — the Scimitar of the Seven, the Boulder Breaker, the Great Eagle Bow, the Lightscale Trident, and Urbosa's Daybreaker shield. The dungeon is a restock run for every replacement you will ever need.
The Final Trial is the only dungeon in Breath of the Wild you can re-enter after clearing it. Every Divine Beast locks behind you; this one stays open, which makes it a permanent, repeatable source of Champion weapon components.
Monk Maz Koshia has 4,000 HP and four phases
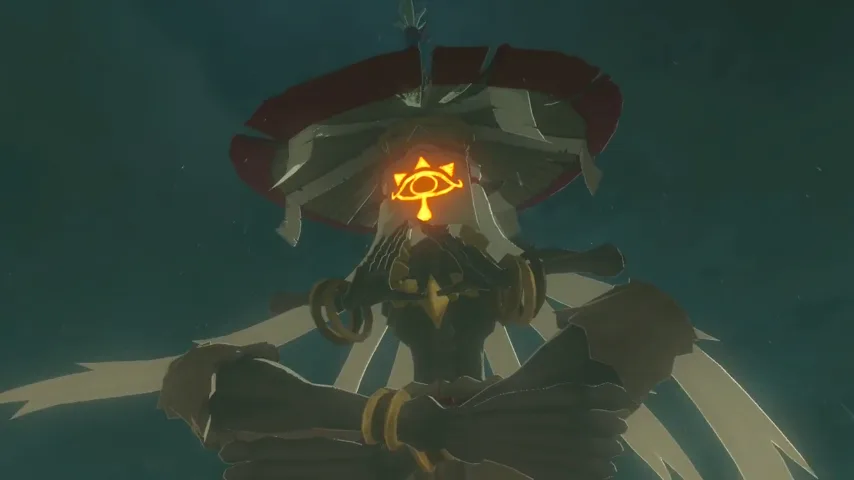
He fights like a greatest-hits compilation of everything that has killed you. He teleports and dives at you like a Yiga Footsoldier, shoots fire, ice, and shock arrows from the air with a unique Phrenic Bow, and dashes at you the way Thunderblight Ganon does. His Earthwake Technique throws geysers that chase you — they hurt on a direct hit, but they also generate updrafts, so paraglide them and shoot down at him.
| Phase | Trigger | What he does | Your answer |
|---|---|---|---|
| 1 | Start | Sword dives, elemental arrows, geysers | Perfect Dodge into Flurry Rush, ride the geyser updrafts |
| 2 | 25% damage dealt | Splits into nine copies; the eight fakes die in one hit | Pull out the Camera rune — it only identifies the real one |
| 3 | Half health | Grows huge, flies, fires Guardian lasers, drops eight Spiked Iron Balls then calls lightning | Deflect a laser to stun him, or Magnesis a ball next to him and let his own lightning land |
| 4 | 25% health left | Lands, stomps anyone near his feet, summons two miniature copies | Stay off his feet, clear the minis, finish him |
Three specifics worth memorising. Lightning is his listed weakness, so Urbosa's Fury and shock arrows both land. Mighty Bananas distract him and leave him open — during the copy phase only the genuine article takes the bait — but this works exactly once per fight, so save it for a phase you are struggling with. And in Master Mode he does not regenerate health during the copy phase, which is the one mercy that mode offers.
Master Cycle Zero and the six EX side quests
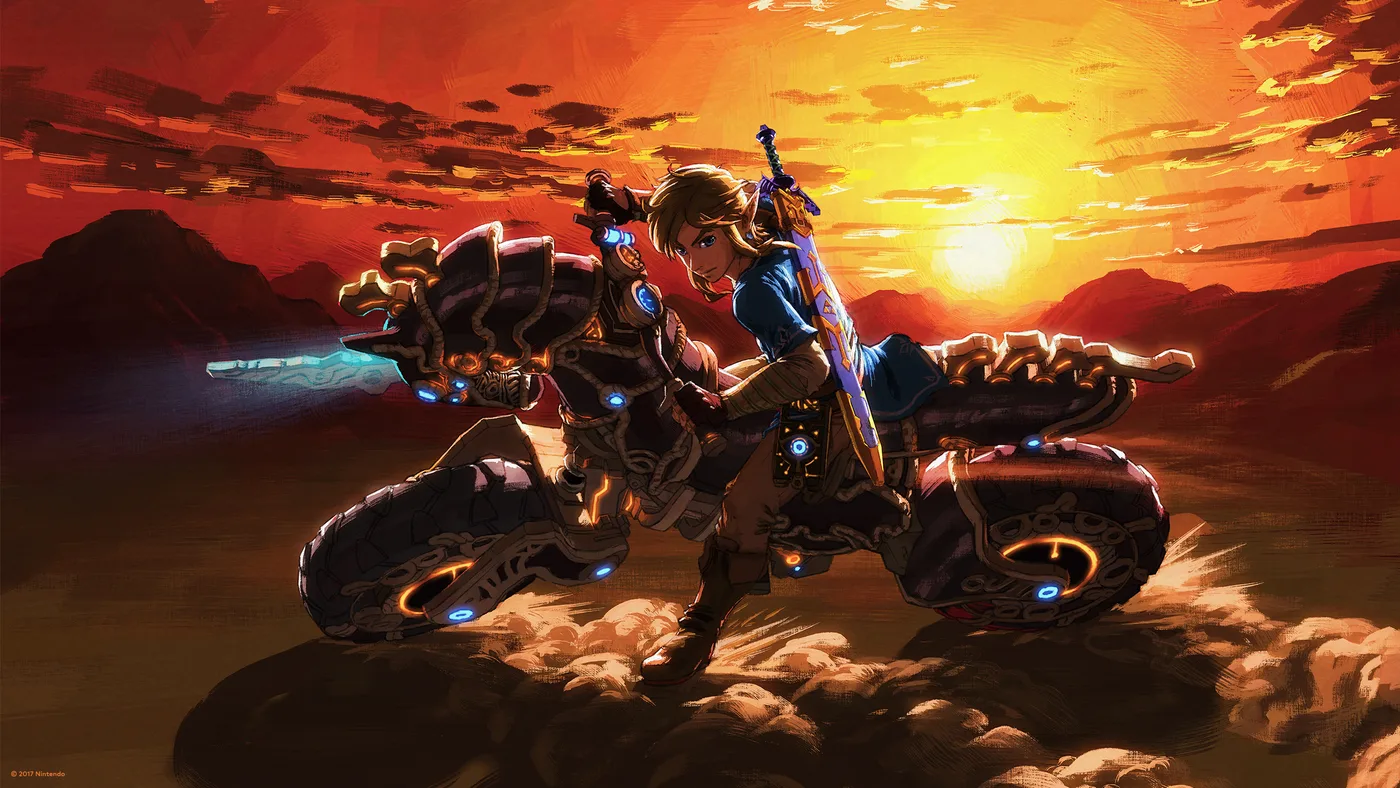
Beat Maz Koshia and he hands over a Rune, not a mount. The Master Cycle Zero is summonable almost anywhere, runs on materials as fuel poured into its tank, has a working headlight for night riding, and lets you swing weapons from the saddle exactly like horseback combat. Ramming enemies damages them, it performs jumps, and you take no fall damage while riding it.
The limitations are real and unlisted in-game:
- Water despawns it. Drop it in a lake and you resummon from scratch.
- Solid obstacles despawn it and hurt you, scaled to your armor.
- It cannot be registered at a stable — it vanishes the second you talk to a stable owner. Your registered horses are still the mounts you actually keep.
- No Octo Balloons, no music, and it will not spawn in most of the Gerudo Desert or in the burning areas of Eldin.
- Try to enter a foot race on it and you are disqualified for riding a "horse."
Kass finds you afterward, plays the finished ballad, and gives you the Picture of the Champions, which you can hang on the wall of Link's House in Hateno Village.
Before you start any of this, sweep the six EX side quests. Their diaries are planted at the Deya Village Ruins and Riverside Stable, and they are pure loot with no boss attached:
| Quest | Reward |
|---|---|
| EX Ancient Horse Rumors | Ancient Bridle and Ancient Saddle |
| EX Royal Guard Rumors | Royal Guard Set |
| EX Treasure: Merchant Hood | Ravio's Hood |
| EX Treasure: Garb of Winds | Island Lobster Shirt |
| EX Treasure: Usurper King | Zant's Helmet |
| EX Treasure: Dark Armor | Phantom Ganon Set |
More Hyrule breakdowns live on the Breath of the Wild coverage hub, and when you are genuinely finished with this Hyrule, the Tears of the Kingdom beginner guide is the next stop.
Quick Action Checklist
- Calm all four Divine Beasts, then warp or exit a shrine to trigger Zelda's voice and start the quest.
- Read the diaries at Deya Village Ruins and Riverside Stable first and clear the six EX side quests for free armor.
- Treat the One-Hit Obliterator run as stealth. You cannot heal, you cannot swap melee weapons, and one hit kills you — use Bomb Arrows and sneakstrikes.
- Do not relax inside the four Plateau shrines. The quarter-heart penalty follows you in and your hearts only return once all four are cleared — Ruvo Korbah's Guardian Scout IV dies to one charged swing, but so do you.
- Never leave the Great Plateau mid-trial. The Obliterator returns to its pedestal and you restart the whole sequence.
- Pick one region for your first Champion. All three of that Champion's shrines sit inside it.
- Pack Flamebreaker gear or a Fireproof Elixir before attempting Daruk's Darb Pond lava trial.
- Do not gear up for the Illusory Realm fights. Your inventory is replaced with a fixed kit, and a Fairy appears after three failed attempts.
- Finish Champions' Ballad before assaulting Hyrule Castle. Mipha's Grace + recharges every 2 minutes 40 seconds inside the castle instead of every 8.
- Loot all four Final Trial wings before opening the back door — the Gerudo Scimitar, Cobble Crusher, Swallow Bow, Zora Spear, Gerudo Shield, and Diamond are Champion weapon components.
- Bring the Camera rune to Maz Koshia. During his nine-copy phase it flags the real one instantly.
- Save your one Mighty Bananas distraction for whichever phase is beating you. It only works once.
Frequently Asked Questions
How do you start The Champions' Ballad in Breath of the Wild?
How does the One-Hit Obliterator work?
How many shrines does The Champions’ Ballad add?
What do the upgraded Champion abilities actually do?
How do you beat Monk Maz Koshia?
Is the Master Cycle Zero better than a horse?
Do you need the Expansion Pass, and is it included with the Switch 2 Edition?
Keep Reading
- Zelda Wiki — The Champions' Ballad: December 7, 2017 release, full content list, 16 shrines by region
- Zelda Wiki — One-Hit Obliterator: two-charge rule, quarter-heart penalty, healing and weapon-swap restrictions
- Zelda Wiki — Monk Maz Koshia: 4,000 HP, four-phase moveset, Camera rune and Mighty Bananas counters
- Zelda Wiki — Final Trial: four elemental wings, terminal-triggered Guardian spawns, chest contents
- Zelda Wiki — Illusory Realm: fixed loadouts per Divine Beast, Fairy after three attempts
- Zelda Wiki — Expansion Pass: $19.99 price, both DLC packs, not included with the Switch 2 Edition
Related Guides
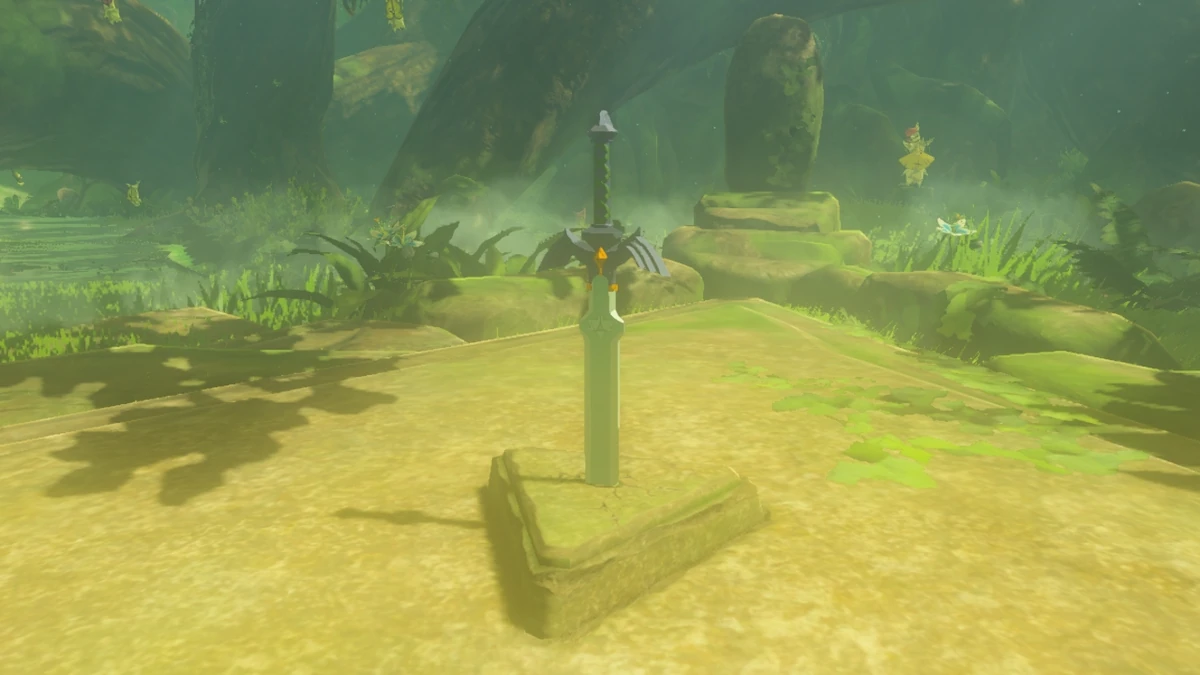
Breath of the Wild Master Sword Guide: 13 Hearts, Durability, and the Trial
The Master Sword has 30 base attack. A Royal Broadsword has 36. The legendary blade of Hyrule is, on paper, a downgrade — until you understand when it glows and what 54 floors of the Trial of the Sword actually buy you.
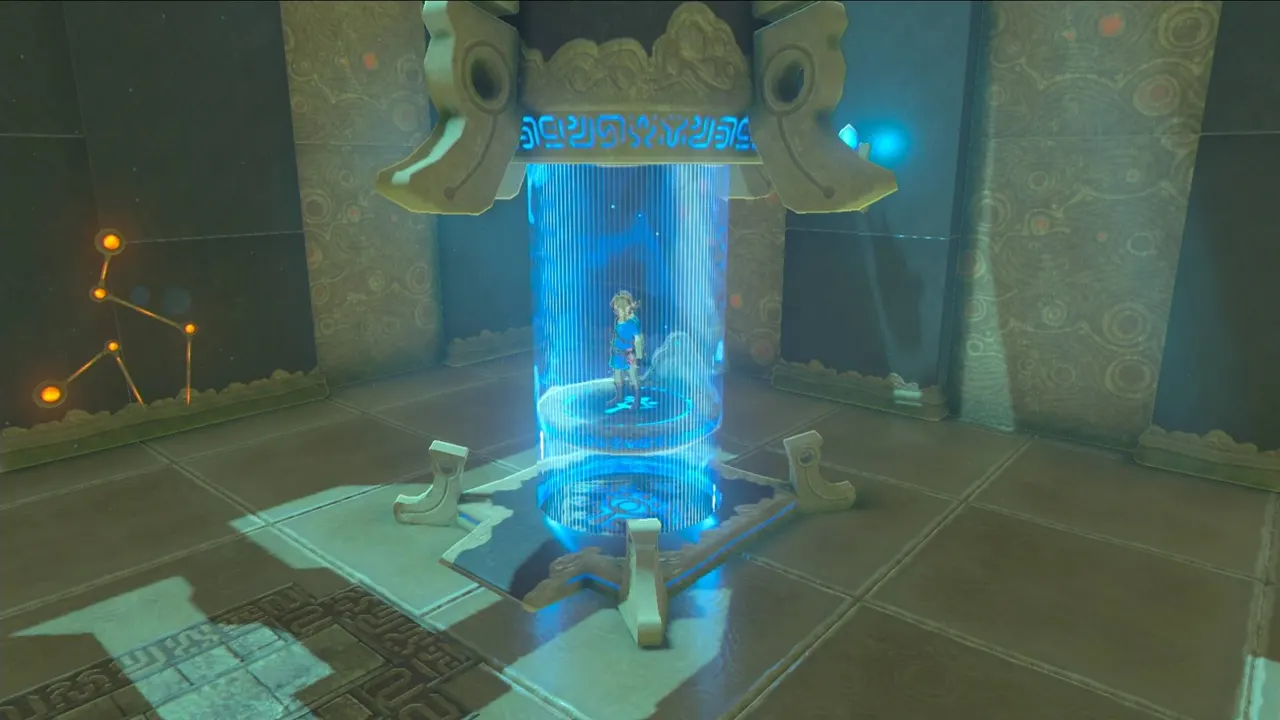
Breath of the Wild Shrine Guide: All 120, Sorted by What They Actually Give You
There are 120 shrines in Breath of the Wild and they are not interchangeable. Some are ten-minute puzzles, some are the best weapon farm in the game, and 42 of them are hidden behind overworld quests you can miss entirely.
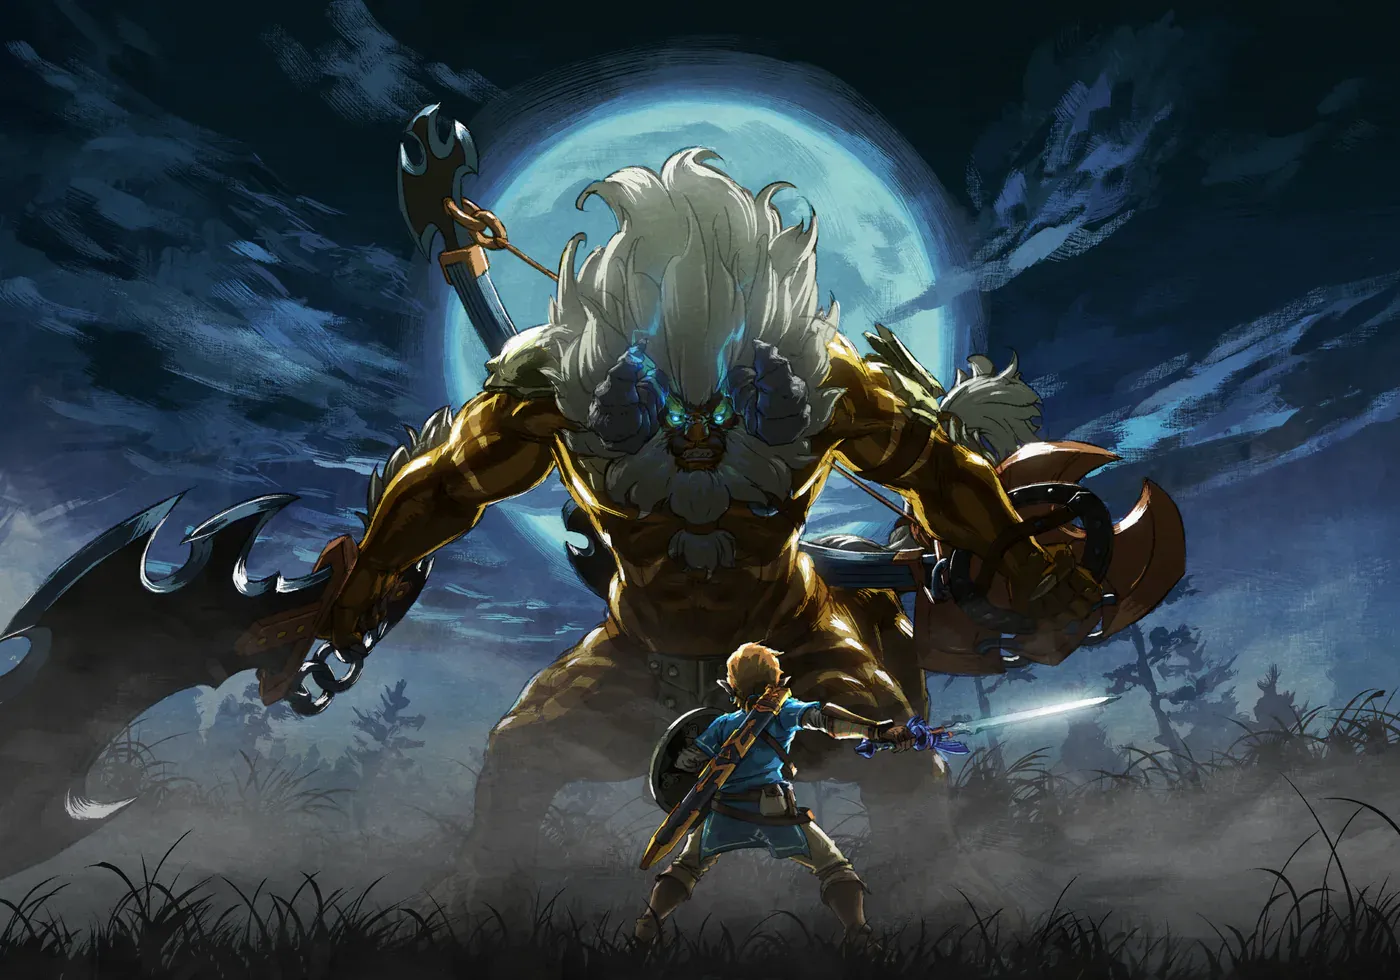
Breath of the Wild Master Mode: The HP Numbers, and the Rule It Takes Away
Master Mode is not the same game with a bigger health bar on the enemies. It moves most of them up a rank, lets them heal mid-fight, takes away the hidden rule that stops you dying in one hit, and cuts your autosaves from five to one. Here is every change, with numbers.
Breath of the Wild Beginner's Guide: Your First 10 Hours
Breath of the Wild does not tell you that armor matters more than hearts, that your weapons are ammunition, or that the Blood Moon is a restock button. Here is the stuff the game leaves you to discover the hard way.
Breath of the Wild Mini-Games: All 16, Costs and Prizes
Breath of the Wild has 16 mini-games, from Snowball Bowling to Gut Check Rock. Four of them stand between you and a shrine, and their prizes run from a refunded fee to a 300-rupee Gold Rupee. Here is every location, fee and prize tier, and which ones repay a second run.
Breath of the Wild Hateno House: Every Upgrade and Cost
Buying Link's house in Hateno Village is only the first half of Hylian Homeowner. Bolson then sells 14 additions at 100 rupees each, and nine of them do something. Here is the full 4,400-rupee bill, the conversation that unlocks the renovation menu, and what is worth hanging on the walls.