Breath of the Wild Shrine Guide: All 120, Sorted by What They Actually Give You
There are 120 shrines in Breath of the Wild and they are not interchangeable. Some are ten-minute puzzles, some are the best weapon farm in the game, and 42 of them are hidden behind overworld quests you can miss entirely.
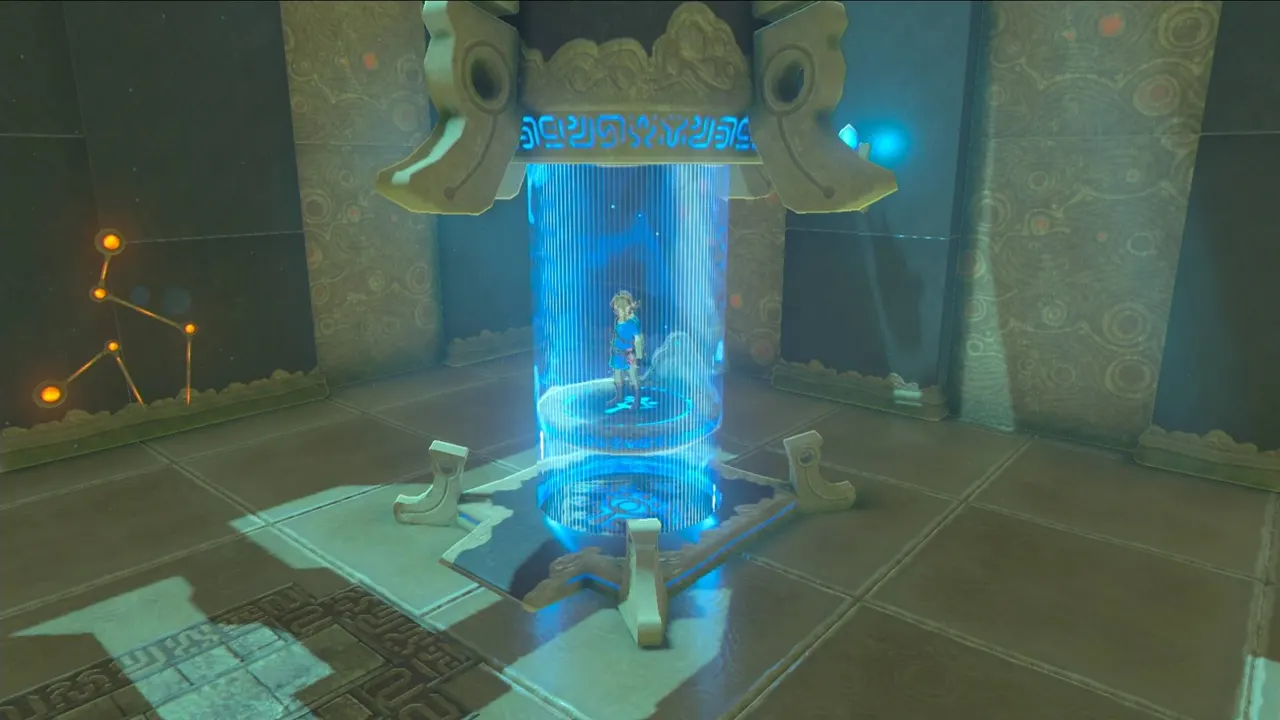
Here is the thing nobody tells you about Breath of the Wild's 120 shrines: roughly a third of them are not puzzles at all. Some hand you a Spirit Orb for simply walking in the door. Some are combat arenas that exist purely to pay you in the strongest early-game weapons in Hyrule. And 42 of the 120 do not appear on your map until you solve something out in the overworld first — a song, a maze, a rock you have to bomb, an island that strips your entire inventory.
Treating all 120 as one undifferentiated checklist is why shrine hunting feels like a grind for some players and like the best part of the game for others. Sort them by what they actually give you and the whole system snaps into focus.
The four kinds of shrine and why it matters
Every Ancient Shrine ends the same way: an elevator platform lowers you in, you cross the trial, and a Monk resting on a pedestal hands you a Spirit Orb. What changes is everything in between.
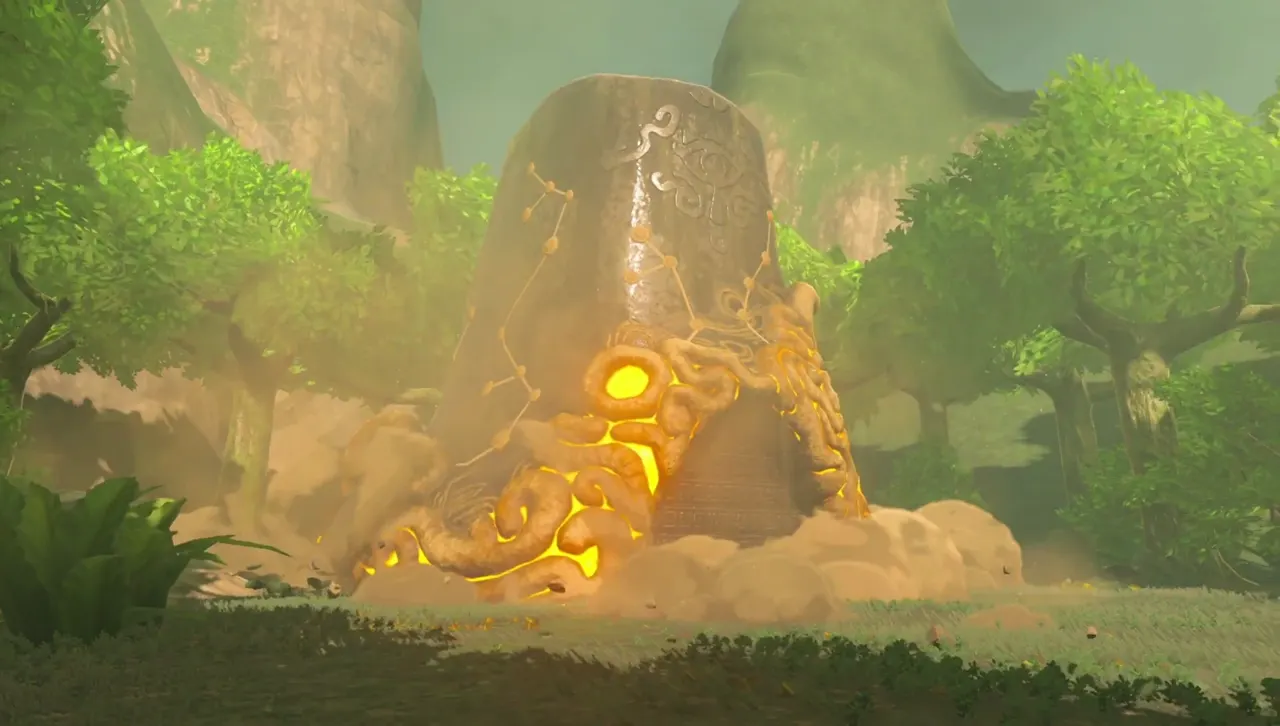
The Sheikah built the shrines as training grounds for the hero, and they only started glowing after you activated the Great Plateau Tower. That glow is a status light and it is worth learning to read: orange means unopened, orange-and-blue means opened but not cleared, blue means done. Once you press the Sheikah Slate to the terminal outside, the shrine's Travel Gate is live — you can warp there forever after, whether or not you ever solve the thing inside.
Puzzle shrines
The default and the majority. A themed physics or rune problem — magnetic cranes, ball mazes on tilting floors, Stasis timing, Cryonis pillar-work, wind and fire and electricity. Each contains one or more treasure chests, and once you have looted every chest inside, a small chest icon appears next to that shrine's name on your map. That icon is your completion tracker; you do not need a spreadsheet.
Tests of Strength
Combat arenas with no puzzle whatsoever. You fight a Guardian Scout, you win, you take its gear. They come in three tiers — A Minor Test of Strength, A Modest Test of Strength, and A Major Test of Strength — and the tier tells you exactly which Scout is waiting and exactly how much loot drops.
Blessing shrines
The free ones. A blessing shrine has no trial at all: the Monk greets you with some version of "merely being able to enter is proof of your worth," and there is a straight path to the pedestal with a single treasure chest along the way. Zuna Kai's Blessing on Skull Lake, Shae Katha's Blessing behind the Spring of Courage, Qaza Tokki's Blessing in the middle of the North Lomei Labyrinth — the trial in these was the journey. The chests are usually worth the walk on their own: Shae Katha's holds a Thunderspear, Qaza Tokki's holds Barbarian Leg Wraps.
Shrine quest shrines
Not a separate room design, but a separate way in. These are shrines you cannot see, cannot scan, and cannot warp to until an overworld condition is satisfied. There are 42 shrine quests in the base game and they are the single largest reason players finish Breath of the Wild sitting at 90-something shrines with no idea what they missed.
Tests of Strength are the best weapon farm in the game
Guardian gear is the most efficient loot in the first half of a playthrough, and Tests of Strength are how you get it without ever facing a Guardian Stalker.
| Trial tier | Enemy | What it carries | Drops on death |
|---|---|---|---|
| A Minor Test of Strength | Guardian Scout II | One basic Guardian weapon | Exactly 2 ancient parts |
| A Modest Test of Strength | Guardian Scout III | Two intermediate pieces, sometimes a Guardian Shield | 1 rare part plus 3-4 ancient parts |
| A Major Test of Strength | Guardian Scout IV | Three advanced pieces, highest health pool | 1 rare part plus 4-5 ancient parts |
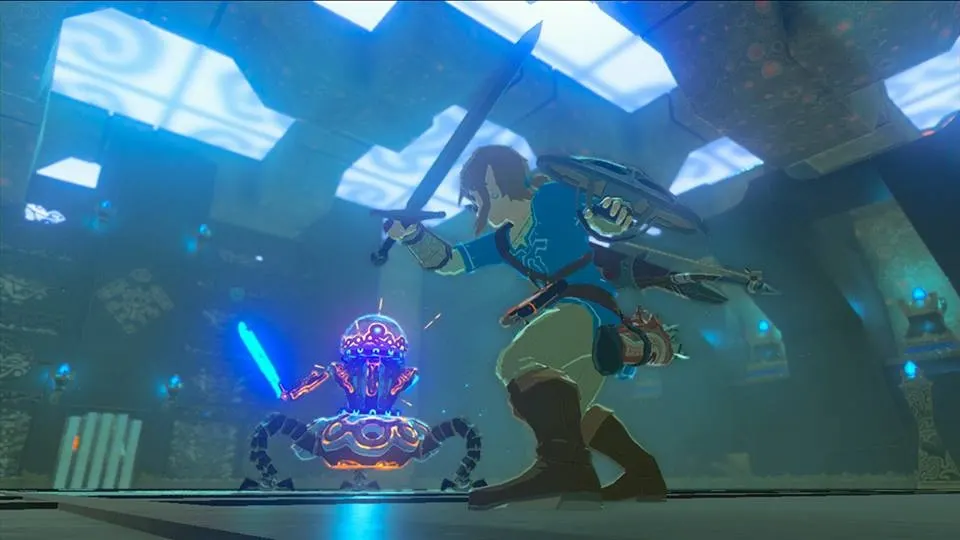
The Guardian Sword++ a Scout IV drops is a genuine endgame-adjacent weapon you can hold before touching a single Divine Beast. Guardian gear also has properties normal weapons do not: it is non-metallic, so it will not attract lightning, will not conduct electricity, will not burn in Death Mountain's heat, and floats in water. It deals bonus damage against Guardians themselves. The tradeoff is that Magnesis cannot pick it up.
How to beat them: Scouts are wide open to elements. Shock stuns them outright, fire sets them alight, ice freezes them solid. When a Scout burns the floor in a circle around itself, the flames create an updraft — pop the paraglider, get above it, take the free bow-time-slow window. When it drops low it charges an uninterruptible mega-laser, so back off and block rather than greeding the kill. If your parry timing is shaky, the Breath of the Wild combat tips breakdown fixes it before you walk into a Major.
There is also a shrine that teaches the fight: Ta'loh Naeg's Teaching, on the hill above Kakariko Village, walks you through side-hop dodges into Flurry Rush, backflip dodges into Flurry Rush, a perfect guard parry, and a charged attack — against a friendly translucent Guardian Scout II that cannot kill you. Two chests by the entrance hand you an Eightfold Blade and a Shield of the Mind's Eye.
The 42 shrine quests are where the real game hides
A shrine quest is Breath of the Wild's answer to a dungeon key. Instead of a locked door, the shrine simply is not there yet.
The three archetypes of shrine quest
Kass songs. Kass the Rito minstrel wanders Hyrule with an accordion and a backlog of ancient songs, and most of them are riddles with a shrine at the end. "Under a Red Moon" is the meanest one in the game: stand on the pedestal below his tree at Washa's Bluff, during a Blood Moon, with no armor and no weapons equipped. Mijah Rokee Shrine rises out of the ground. If you are the type who reflexively keeps a full loadout on, you will fail this a dozen times without understanding why.
Environmental riddles. Someone tells you a half-remembered rumor and you go dig. Clavia in Hateno Village points at three cedar trees on Madorna Mountain; line them up, look toward the sea, bomb a rock wall, and Tahno O'ah Shrine is inside a cave with Climbing Boots in the chest. Jerrin at the Akkala Ancient Tech Lab sends you to the eastern eye of Skull Lake for Zuna Kai. In the pitch-black Thyphlo Ruins you follow torchlights to a sleeping Blue Hinox with an Ancient Orb hanging from its neck, and either fight it or steal the orb and run.
Trials and challenges. The Korok Forest hosts three of these under "The Korok Trials," including The Test of Wood, where Damia hands you a Forest Dweller's Sword, Shield, and Bow and disqualifies you if any break or get unequipped before Maag Halan Shrine. In Eldin, Bayge charges 20 Rupees a run to climb Gut Check Rock and collect 100 Rupees inside a time limit before he will step off the Gorae Torr Shrine platform.
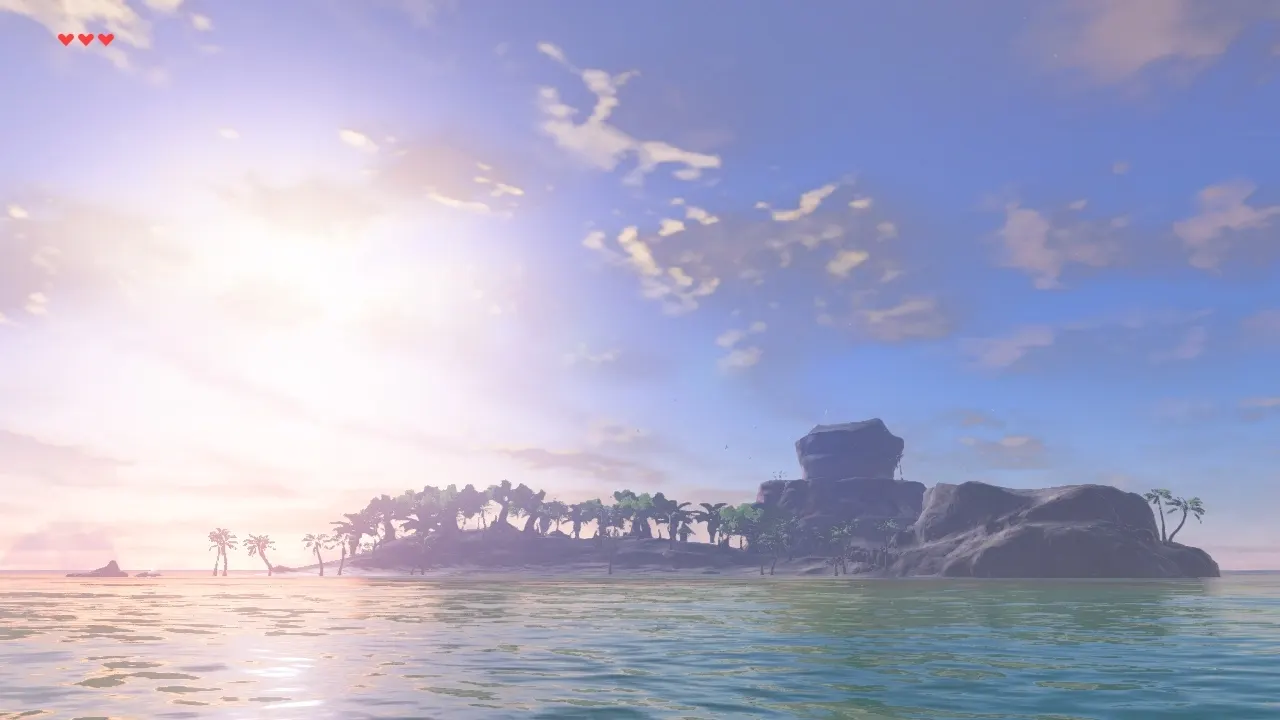
And then there is Stranded on Eventide, the best hour in Breath of the Wild. Set foot on Eventide Island and the Monk Korgu Chideh confiscates everything except your Sheikah Slate and key items. You have to find three Ancient Orbs — one on top of a monster stronghold, one dangling from a Blue Hinox's neck, one out on Koholit Rock under a slab you need Stasis to move — and slot them into three pedestals using only what you scavenge on the island. You cannot warp out. Swimming away ends the trial and returns your gear, but coming back means starting over from zero.
Two details make Eventide forgiving once you know them: its treasure chests respawn after being looted, which is true almost nowhere else in Hyrule, and its monsters regenerate whenever you leave regardless of the Blood Moon. It is a self-contained survival sandbox, and our Breath of the Wild cooking guide covers the one skill that carries it: turning whatever grows on the ground into hearts.
How to find shrines without opening a checklist
The intended tool is the Sheikah Sensor, which unlocks either by activating any Sheikah Tower after you leave the Great Plateau or by having the Slate repaired at the Hateno Ancient Tech Lab. It beeps faster and louder as you close on an unfound shrine, which turns "somewhere on this mountain" into "twenty paces that way." Upgrade it to the Sensor + and it will track any object you have logged in the Hyrule Compendium, which is a materials-farming tool as much as a shrine one.
The workflow that beats everything else:
- Climb the region's tower first and download the map.
- From the top, scope the horizon and drop a pin on every orange light you can see. Orange lights are shrines you have not opened.
- Glide toward the pins, opening doors as you pass. Opening the door banks the fast travel point even if you leave immediately.
- Turn the Sensor on and let it catch the ones no line of sight reaches — cave mouths, canyon floors, the inside of labyrinths.
- Talk to every stable NPC and every Kass sighting. That is where the 42 hidden ones come from.
If you are still early enough that towers feel dangerous, our Breath of the Wild beginner's guide covers the traversal and survival order of operations first.
The orb economy and what 120 shrines actually buy
Each Monk gives one Spirit Orb. Four Spirit Orbs traded at a Goddess Statue buys one Heart Container or one Stamina Vessel. 120 shrines therefore equals 30 total upgrades across an entire base-game playthrough — that is the whole budget, and there is no other source in the base game.
The Champions' Ballad DLC pushes the shrine count to 136, but read the fine print: only the four new Great Plateau shrines pay in Spirit Orbs. The other twelve, three in each Champion's region, pay in Divine Beast emblems instead. So the DLC gives you one extra upgrade, not four.
Spend accordingly. Hearts gate the Master Sword at 13, but raw survivability comes from defense, not heart count, which is the argument the Breath of the Wild armor guide makes in numbers. Stamina, meanwhile, is what lets you reach the shrines in the first place, which makes it the upgrade that compounds.
Shrines worth a detour early
- Ta'loh Naeg (Kakariko Village) — the combat tutorial, plus an Eightfold Blade and a Shield of the Mind's Eye sitting in the entryway.
- Any Minor Test of Strength you stumble across — a Guardian weapon at hour six is a bigger power spike than two extra hearts.
- The blessing shrines — free orbs. Shae Katha behind the Spring of Courage and Tahno O'ah on Mount Lanayru both cost you a hike and nothing else.
- Anything near a Great Fairy Fountain — you are going there anyway, and shrine travel gates make the return trips for armor upgrades painless.
Cheese the puzzles. The game expects it
Breath of the Wild's shrines are physics problems, not scripted sequences, and the developers knew you would break them.
- Metal crates and slabs can be carried across most of a room with Magnesis instead of solved around.
- Stasis plus repeated hits stores kinetic energy and launches objects across gaps that had an intended bridge.
- Cryonis pillars are climbable stairs anywhere there is water, including some shrine floors.
- Octo Balloons stuck to a heavy object float it upward, trivializing a startling number of weight-plate puzzles.
- If a ball has to reach a hole, sometimes you can just pick it up and walk.
None of it locks you out. If a shrine has beaten you three times, look for the ugly solution.
What you get for clearing all 120
Finish every base-game shrine and you are directed to the Goddess Statue inside the Forgotten Temple in the far northwest, where treasure chests hold the Wild Set — a cap, tunic, and trousers styled after the classic hero outfit. It is a cosmetic trophy with real defense values, not a gameplay unlock, and that is fine. The 120 orbs were the reward.
Worth knowing on the way there: the Master Trials DLC hides a Travel Medallion in a chamber under Lomei Labyrinth Island, letting you register one custom fast travel point anywhere. Combined with 120 shrine gates, Hyrule stops having any travel time at all.
More Hyrule systems get taken apart on the Breath of the Wild coverage hub, and the rest of what we cover lives on the Mythras blog.
Mistakes that stall shrine hunting
- Skipping stable conversations. Shrine quests come from NPC dialogue almost exclusively.
- Never listening to Kass. He is not flavor text. He is a quest giver with a bandoneon.
- Leaving chests behind. The map chest icon only appears once a shrine is fully looted, and nobody enjoys warping back for one Opal.
- Treating a Major Test of Strength like a Minor. A Guardian Scout IV has three weapons and the largest health pool of any Scout.
- Ignoring the Sensor. Plenty of shrines sit in caves and canyon floors you will never see from a tower.
Quick Action Checklist
- Read the glow: orange is unopened, orange-and-blue is opened but uncleared, blue is complete.
- Open every shrine door on sight to bank the travel gate, even if you skip the trial.
- Unlock the Sheikah Sensor as soon as you leave the Plateau, then upgrade it to Sensor + at the Hateno lab.
- Farm Minor and Modest Tests of Strength early for Guardian gear that does not burn, conduct, or attract lightning.
- Stun Guardian Scouts with shock, ride the fire-ring updraft, and back off when they charge the final laser.
- Talk to every stable NPC and chase every Kass song — that is where the 42 shrine quests come from.
- Do Eventide Island once, deliberately, with no preparation. It is the best hour in the game.
- Budget your 30 upgrades: stamina early, hearts toward 13 for the Master Sword, defense from armor rather than orbs.
- Clear all 120 and collect the Wild Set from the Forgotten Temple's Goddess Statue.
Frequently Asked Questions
How many shrines are there in Breath of the Wild?
What are the different types of shrines in Breath of the Wild?
How many Spirit Orbs do I need for a Heart Container?
Which Test of Strength has the best rewards?
How do I find hidden shrines in Breath of the Wild?
What happens on Eventide Island?
Do I get anything for completing all 120 shrines?
Does opening a shrine door count if I do not finish the trial?
Keep Reading
Related Guides
Breath of the Wild Towers: All 15, and What Blocks the Climb
Fifteen Sheikah Towers rise the moment you place the Slate in the Great Plateau, and the game never tells you where the other fourteen are. One sits in a Bottomless Bog. One has a Royal Claymore buried in a stone skull. One is stranded inside a ring of Decayed Guardians. Here is every location and exactly what makes each climb different.
Breath of the Wild Champions' Ballad: Every Trial in Order
The Champions' Ballad is the only quest in Breath of the Wild that takes your hearts away. Sixteen new shrines, a real dungeon, a 4,000 HP monk, and a motorcycle at the end of it — here is the whole run, in order, with the numbers.
Breath of the Wild Korok Seed Guide: You Only Need 441 of the 900
Breath of the Wild has 900 Korok seeds and you need 441 of them. The other 459 buy a golden novelty item. Here is the exact cost curve, the smart buy order, and where Hestu keeps wandering off to.
Breath of the Wild Best Armor Guide: Sets That Actually Matter
Defense in Breath of the Wild is not a bar that fills up — it is a subtraction problem, and understanding the math tells you exactly which armor sets are worth farming and which are cosmetic traps.
Breath of the Wild Beginner's Guide: Your First 10 Hours
Breath of the Wild does not tell you that armor matters more than hearts, that your weapons are ammunition, or that the Blood Moon is a restock button. Here is the stuff the game leaves you to discover the hard way.
Breath of the Wild Kilton: Shop Locations, Mon and Masks
Kilton pays 3 Mon for a Bokoblin Horn, exactly what a shop pays in rupees, and 100 Mon for a Lynel Guts a shop buys for 200. Here is where the Fang and Bone opens, the full Mon exchange table, all twelve wares and their Divine Beast unlocks, and what the masks, the Dark set and Monster Extract actually do.