Breath of the Wild Korok Seed Guide: You Only Need 441 of the 900
Breath of the Wild has 900 Korok seeds and you need 441 of them. The other 459 buy a golden novelty item. Here is the exact cost curve, the smart buy order, and where Hestu keeps wandering off to.
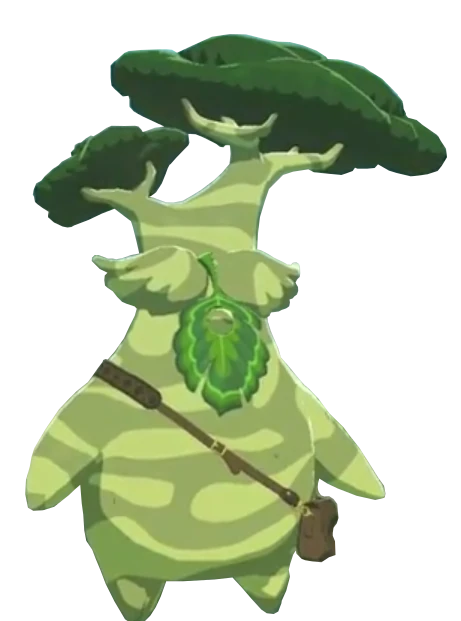
Everyone knows the scary number. Nine hundred Korok seeds, scattered across every cliff, pond, and suspiciously symmetrical rock formation in Hyrule, and a golden pile of nothing waiting at the end for anyone who finds them all.
Almost nobody knows the useful number. It is 441. That is exactly how many seeds it takes to buy every single inventory slot Hestu sells. Once you hit 441, the collection is over as far as your gameplay is concerned. Everything after that is a lap of honor.
So the real question is not "how do I find 900 Koroks." It is "how do I get 441 seeds without turning my playthrough into a spreadsheet." That is a much easier problem, and it has a specific, ordered answer.
The only number that matters is 441
Link starts with 8 weapon slots, 5 bow slots, and 4 shield slots. Hestu can push those to 19 weapons, 13 bows, and 20 shields. On top of that, the Master Sword and the Bow of Light each occupy their own reserved space, which is why a fully upgraded inventory reads as 20 and 14 in most guides.
That is 11 weapon upgrades, 8 bow upgrades, and 16 shield upgrades. Thirty-five purchases, 441 seeds, and then Hestu has nothing left to sell you. He will still take your seeds. He just has nothing to trade for them.
Here is the part people underrate: 441 out of 900 is under half the map's Koroks, and the ones you stumble into naturally while doing shrines, towers, and Divine Beasts are heavily front-loaded. A player who simply lifts every out-of-place rock they walk past on the way to somewhere else will typically clear the useful threshold without ever opening an interactive map.
The exact price of every pouch slot
The costs escalate, but not evenly, and the shape of each curve is what determines your buy order.
Weapon pouch: 208 seeds
Eleven upgrades, priced at 1, 2, 3, 5, 8, 12, 17, 25, 35, 45, and 55 seeds. That last one alone costs more than your entire bow pouch does through its sixth upgrade. The first six weapon slots cost a combined 31 seeds; the last three cost 135.
Bow pouch: 73 seeds
Eight upgrades at 1, 2, 3, 5, 8, 12, 17, and 25. The cheapest full pouch in the game by a mile. Maxing your bows costs less than the single most expensive weapon slot.
Shield pouch: 160 seeds
Sixteen upgrades at 1, 2, 3, 4, 5, then five straight at 10, then five straight at 15, then a final 20. The shield curve is the flattest of the three, which means it never hits that ugly 45-then-55 wall.
Add it up: 208 plus 73 plus 160 equals 441.
Buy shields first. It is not close.
The standard advice is "buy weapons, you run out of weapons." The standard advice is wrong for the first fifty seeds.
Shields are the cheapest slots per unit of practical benefit, because shields in Breath of the Wild are not just defense. They are your surf board, your parry tool, and your arrow-reflector. Shield surfing on the Hylian Shield or a Radiant Shield turns a ten-minute descent into a forty-second one, and every shield you carry is one more thing that can eat a Guardian beam. Sixteen shield upgrades cost 160 seeds, which is less than the last four weapon upgrades combined.
The buy order that actually holds up:
- Every 1-to-5 seed upgrade across all three pouches. Fifteen slots for roughly 45 seeds total. This is the single best value window in the game and most players blow past it.
- Bows to max. Only 73 seeds for the whole pouch. Bow variety matters more than bow quantity in BOTW, and having a Falcon Bow, a Great Eagle Bow, a Savage Lynel Bow, and a bomb-arrow-friendly junk bow at the same time changes how you fight.
- Shields through the 10-seed tier. Cheap, flat, and immediately useful.
- Weapons up to the 25-seed step. Stop there for a while. The 35/45/55 trio is the worst rate in the game.
- Everything else, whenever.
Where Hestu is, and why he keeps moving
Hestu is the only vendor for this, and he relocates as you trade with him. Three stops:
Stop one: the road between Dueling Peaks Stable and Kakariko Village, just past Kakariko Bridge. He is standing next to a tree looking miserable because Bokoblins stole his maracas. Clear the small camp up the path, return the maracas, and the shop opens.
Stop two: central Hyrule near Riverside Stable, off the road running northeast from the stable. Some players find him near Wetland Stable or Woodland Stable instead depending on route and timing.
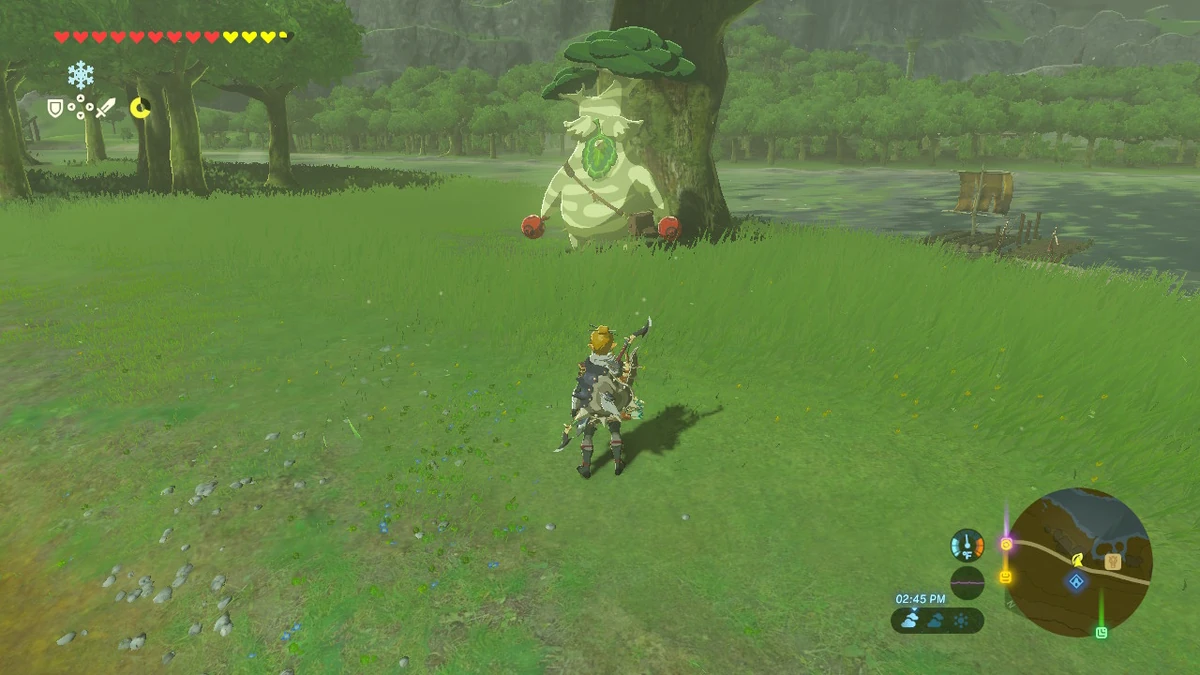
Stop three: Korok Forest, deep inside the Great Hyrule Forest in the north of the map, near the Master Sword pedestal. This is permanent. Once he is home he never moves again, which is the actual reason to push through the Lost Woods torch sequence early even if you are nowhere near ready for the Master Sword.
Practical note: because he moves, do not hoard seeds waiting for a "better" upgrade. Spend as you go. There is no discount for saving, and having Hestu parked at Korok Forest with a fast travel point next to him is worth more than any purchasing strategy.
The puzzle archetypes worth memorizing
Koroks are not randomly placed. They are placed where a level designer thought "a player will look here," and once you internalize the archetypes you start seeing them from a paraglider.
- Rock out of place. A single boulder on a peak, a rock under leaves, a rock jammed in bramble, a rock frozen in ice. Lift it. This is the most common type in the game by a wide margin.
- Complete the pattern. A ring of rocks with one gap, a grid of stone cubes with one missing, a row of trees with one bare. Use Magnesis or a bomb to move the last piece into place.
- Flower trail. A line of yellow flowers that vanishes if you miss one or take too long. Sprint it, do not sightsee.
- Fairy dust chase. Green sparkles either sitting in a spot you have to reach or drifting away from you. The moving ones want a bullet-time arrow or a well-timed paraglider dive.
- Dive through the ring. A circle of leaves, rocks, or a stone arch you glide or dive through from above. If you see a hoop, aim for the middle.
- Pinwheel and balloons. Shoot every balloon before the pinwheel stops spinning. Bring a multishot bow.
- Offerings. An empty pedestal beside a full one, or a stone bowl asking for fruit. Match what is already there.
- Races and traveling duos. A Korok asks you to reach a spot in time, or two Koroks are separated and want to be reunited.

The unifying rule is simpler than the list: if a piece of terrain looks deliberate, it is. Perfectly circular anything, a lone apple tree on a cliff, a stack of blocks at the top of a ruin, a lily pad arrangement in a pond. Hyrule does not do symmetry by accident.
The Korok Mask is the only real tracker
The Sheikah Sensor will not find Koroks. It tracks shrines and, once upgraded, specific items. Koroks are invisible to it.
The Korok Mask, added in the Master Trials DLC pack, is the actual tool. It sits in an EX treasure chest inside the Lost Woods, past the entrance torches, tucked into the mouth of a hollow tree along the ember-following path. Wear it and it rattles and squeaks whenever a hidden Korok is nearby.
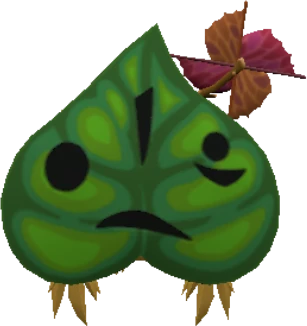
It costs you a head armor slot, so you are trading the Cap of the Wild or your climbing gear bonus for detection. That is a fine trade during a dedicated collection session and a bad one during a Lynel fight. Swap it on and off.
A route that does not feel like homework
The failure mode is deciding to "go get Koroks." That is how a great game becomes a chore.
The version that works: put the Korok Mask on whenever you are traveling on foot between objectives, and let the rattle do the work. Every shrine hunt, every stable run, every trip to a Great Fairy fountain becomes a passive seed farm. Lift the rock, glide the ring, move on.
Two multipliers worth knowing. First, high ground is disproportionately productive. Mountain summits, tower tops, tall ruins, and the tips of rock spires almost always hide something, because the designers rewarded the climb. Second, anything man-made and abandoned, ruined houses, broken bridges, lone chimneys, is dense with Koroks compared to open field.
Skip the completionist mindset entirely and check your seed count against 441. When you hit it, you are done, and the map is still full of secrets you never had to systematically strip-mine.
What the last 459 seeds actually buy
If you do turn in all 900, Hestu gives you Hestu's Gift. It is a golden ornament with no stats, no effect, and no use beyond letting you make Hestu dance on command. Director Hidemaro Fujibayashi has confirmed what it is meant to be, and the joke lands better in Japanese, where the kin no unko is a traditional good-luck charm and a pun.
That is the honest deal. Four hundred fifty-nine extra seeds, hundreds of puzzles, for a gag item and a dance. It is a completely fair reward for a completely optional obsession, and it tells you exactly how seriously Nintendo wanted you to take the number 900.
Mistakes that waste seeds
- Buying the expensive weapon slots early. Paying 55 seeds for a twelfth sword slot while your shield pouch is still at 4 is the most common misallocation in the game.
- Hoarding seeds for later. Prices are fixed. There is no reason to sit on 200 seeds.
- Ignoring bows because "I do not use bows." You use bows. Bomb arrows, ice arrows, and shock arrows are half of BOTW's combat toolkit, and 73 seeds maxes the whole pouch.
- Wearing the Korok Mask into combat. It replaces real armor. Take it off before anything with a health bar shows up.
- Treating shrines and Koroks as the same activity. Shrines pay in Heart Containers and Stamina Vessels. Koroks pay in carrying capacity. Different currencies, different priorities.
Quick Action Checklist
- Free Hestu's maracas on the Kakariko road as soon as you leave the Great Plateau region.
- Buy every 1-to-5 seed upgrade across all three pouches immediately.
- Max the bow pouch next. It is only 73 seeds total.
- Push shields through the 10-seed tier before touching expensive weapon slots.
- Get to Korok Forest early so Hestu is parked next to a fast travel point permanently.
- Grab the Korok Mask from the Lost Woods EX chest if you own the Master Trials DLC.
- Wear the mask while traveling, not while fighting.
- Stop at 441 seeds unless you specifically want the gag reward.
Frequently Asked Questions
How many Korok seeds do you actually need in Breath of the Wild?
What is the maximum inventory size in Breath of the Wild?
Where do I find Hestu?
Which inventory pouch should I upgrade first?
Does the Sheikah Sensor find Korok seeds?
What do you get for all 900 Korok seeds?
Keep Reading
Related Guides
Breath of the Wild Towers: All 15, and What Blocks the Climb
Fifteen Sheikah Towers rise the moment you place the Slate in the Great Plateau, and the game never tells you where the other fourteen are. One sits in a Bottomless Bog. One has a Royal Claymore buried in a stone skull. One is stranded inside a ring of Decayed Guardians. Here is every location and exactly what makes each climb different.
Breath of the Wild Shrine Guide: All 120, Sorted by What They Actually Give You
There are 120 shrines in Breath of the Wild and they are not interchangeable. Some are ten-minute puzzles, some are the best weapon farm in the game, and 42 of them are hidden behind overworld quests you can miss entirely.
Breath of the Wild Best Armor Guide: Sets That Actually Matter
Defense in Breath of the Wild is not a bar that fills up — it is a subtraction problem, and understanding the math tells you exactly which armor sets are worth farming and which are cosmetic traps.
Breath of the Wild Beginner's Guide: Your First 10 Hours
Breath of the Wild does not tell you that armor matters more than hearts, that your weapons are ammunition, or that the Blood Moon is a restock button. Here is the stuff the game leaves you to discover the hard way.
Breath of the Wild Best Shields: All 33, Stats and Locations
The Ancient Shield and the Royal Guard's Shield both block at 70 guard, but surf them down a rocky slope and the Royal Guard's loses durability fifteen times as fast. Here are all 33 shields with guard, durability, material and source, plus the surfing friction, surfing wear and Guardian-beam values from the game's data.
Breath of the Wild Kilton: Shop Locations, Mon and Masks
Kilton pays 3 Mon for a Bokoblin Horn, exactly what a shop pays in rupees, and 100 Mon for a Lynel Guts a shop buys for 200. Here is where the Fang and Bone opens, the full Mon exchange table, all twelve wares and their Divine Beast unlocks, and what the masks, the Dark set and Monster Extract actually do.