Breath of the Wild Best Armor Guide: Sets That Actually Matter
Defense in Breath of the Wild is not a bar that fills up — it is a subtraction problem, and understanding the math tells you exactly which armor sets are worth farming and which are cosmetic traps.
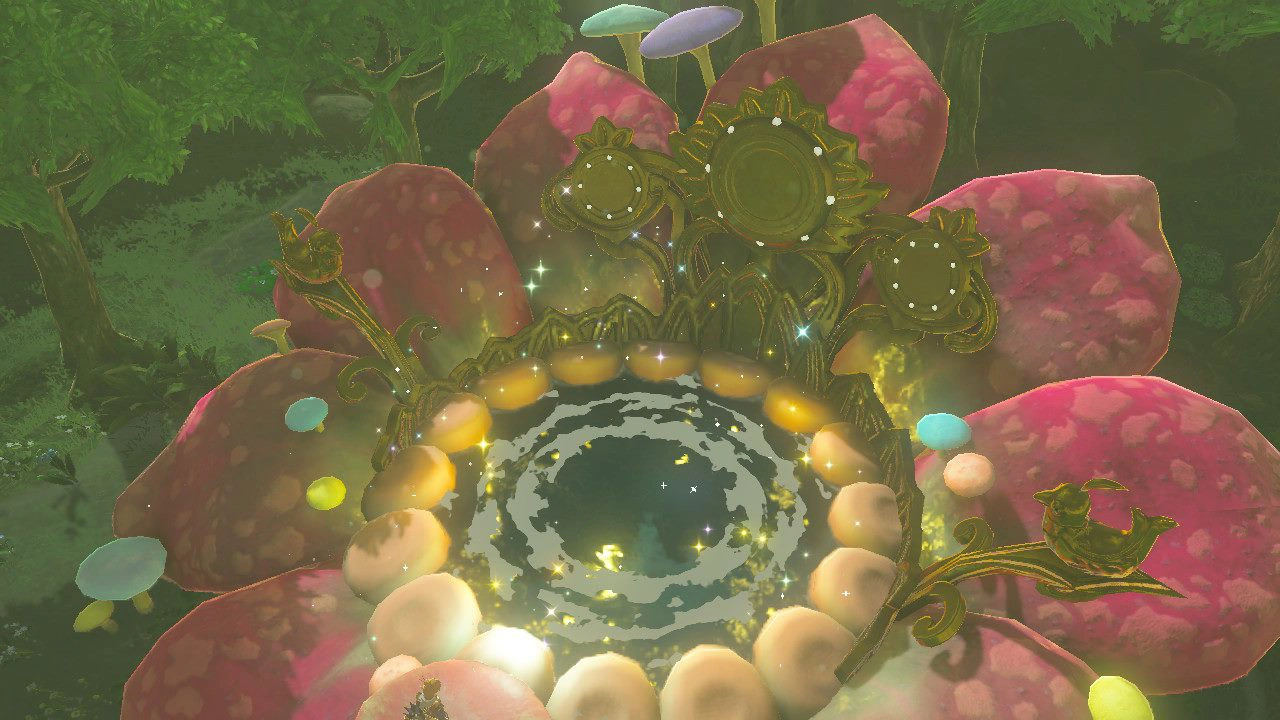
Defense in Breath of the Wild is not a bar that fills up. It is a subtraction problem. Every hit an enemy lands runs the same equation: their attack value minus your total armor defense, and whatever is left is the damage you take — floored at a single point, which is a quarter of one heart. That is the entire survivability economy in one line, and it is why a player in a fully upgraded set can eat a hit from a Silver Lynel and lose a couple of hearts, while a twenty-heart Link in his Sheikah undershirt gets folded by a common Bokoblin.
Hearts are a buffer. Armor is a discount. Buffers get spent; discounts apply to every single hit for the rest of the game. That distinction is the whole reason armor beats raw hearts for staying alive, a point we hammered in the Breath of the Wild beginner's guide, and this guide is the deep version: which sets are actually worth farming, what their numbers really do, and the order to chase them in.
How armor actually works
Your total defense is the sum of your three equipped slots — head, chest, legs. There is no hidden multiplier, no diminishing returns curve on the base value. Twelve defense is twelve defense whether it comes from one great piece or three mediocre ones.
When an enemy hits you, the game does attack minus defense and deals the remainder, with a hard minimum of one damage point. Four damage points equal one heart, so that minimum is a quarter heart. This is why stacking defense is so brutally effective: a Bokoblin club swing that reads as, say, sixteen attack does four hearts to a naked Link, but against forty defense it hits the floor and does a single quarter heart. You did not double your survivability. You cut the damage to a rounding error.
Two things layer on top of that base. Defense Up buffs from cooked meals and elixirs apply as a percentage at the very end of the calculation, on top of your armor — so a Fortified Pumpkin dish stacks with whatever set you are wearing rather than replacing it. And set bonuses, unlocked once all three pieces hit a matching upgrade tier, add effects that have nothing to do with the raw number. Getting the most out of your armor means understanding both, and the meal side of that equation lives in the Breath of the Wild cooking guide.
Three cheap pieces beat one great piece
The single most common new-player mistake is wearing one expensive chestpiece and leaving the head and leg slots empty because nothing there looks impressive. Do not do that. Because defense is a flat sum, three cheap pieces at, say, three defense each give you nine total, while one fancy piece at seven leaves you at seven with two dead slots.
Fill all three slots the moment you can, then upgrade what you already own rather than hunting sidegrades. An upgraded cheap set outperforms an un-upgraded expensive one almost every time, and the materials for upgrades are things you are already picking up. The Soldier's set sold in Hateno Village is the classic budget bridge here — plain-looking, no set bonus worth chasing, but it reaches eighty-four total defense fully upgraded, which ties it with the mighty Ancient set at the top of the raw-number chart.
Ancient set: the defensive ceiling
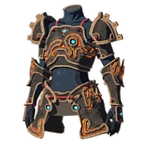
The Ancient set is the endgame answer for most players, and the numbers explain why. Each piece starts at four base defense — the highest base value in the game — and reaches twenty-eight per piece fully upgraded, for eighty-four total. That alone ties it for the best raw defense in the base game.
But you buy it for the set bonuses. Once the full set is enhanced past the two-star tier, Ancient Proficiency kicks in: an eighty percent damage increase with ancient and Guardian weapons. Pair that with a Guardian Sword++ or an Ancient Bow and you are melting things. The one catch worth stating plainly — the bonus does not apply to the Master Sword, so a pure Master Sword build gets nothing from it. Each piece also contributes a third of a Guardian Resist Up effect, cutting the damage from those terrifying Guardian lasers.
The cost is the wall. You buy it from Cherry at the Akkala Ancient Tech Lab, and each of the three pieces runs two thousand rupees plus twenty Ancient Gears, three Ancient Cores, and five Ancient Springs, Screws, or Shafts. Those parts come from dismantling Guardians, which means the set funds itself if you know how to fight them — and beating Guardians without spending durability is exactly what the Guardian-parry section of the Breath of the Wild combat tips is built around. Farm Guardian Stalkers on a Blood Moon cycle and the whole set is achievable in an afternoon.
Barbarian set: trading defense for damage
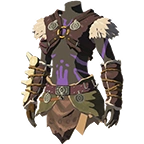
If the Ancient set is about not dying, the Barbarian set is about killing faster. It offers modest defense but grants stacking Attack Up: one piece gives a twenty percent damage boost, two pieces bump it to thirty percent, and the full set lands at fifty percent more damage on every weapon you swing. On a strong two-handed weapon that is a genuine breakpoint difference.
Here is the veteran nuance that makes it better than it looks: Attack Up from clothing and Attack Up from food do not stack. The game takes the higher of the two, not the sum. That sounds like a downside, but it is the opposite — wearing the full Barbarian set means you no longer need to burn a cooking slot on Mighty meals, so you can cook Defense Up or extra-hearts dishes instead and effectively get offense and defense at once. That interaction is one of the sharpest things in the whole cooking guide.
Getting the set is a shrine hunt across the game's three hardest mazes. The Barbarian Helm sits in the Tu Ka'loh Shrine at Lomei Labyrinth Island up in Akkala; the Barbarian Armor is in the Dila Maag Shrine at the South Lomei Labyrinth in the Gerudo Desert; and the Barbarian Leg Wraps wait in the Qaza Tokki Shrine at the North Lomei Labyrinth in Hebra. Enhance the full set to two stars and you unlock the Charge Attack Stamina Up bonus, which makes spin attacks cheaper to hold.
Champion's Tunic: the health-bar cheat
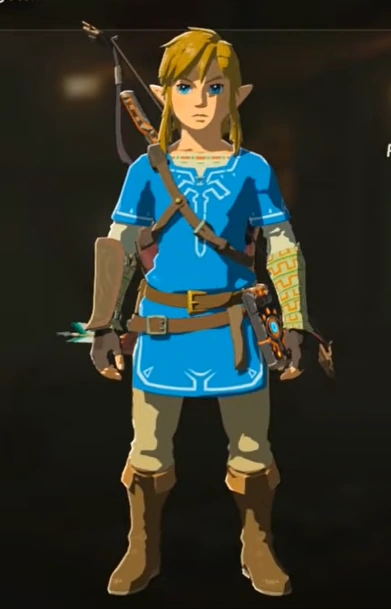
The Champion's Tunic is a single chest piece, not a set, and it does one thing no other armor does: it shows you the exact remaining health of any enemy you target, as a number, instead of a vague gauge. That readout changes how you fight. You stop over-committing durability on an enemy that had forty health left and you stop bailing on a Lynel that was one flurry from dying.
Impa hands it to you in Kakariko Village after you recover your first memory from Zelda's photo locations, so it is available very early if you go looking. It starts at five base defense, which is respectable, and it fully upgrades once you have freed all four Great Fairies. Because it occupies only the chest slot, you can pair the tunic with any head and leg pieces you like — a Barbarian Helm and Leg Wraps plus the Champion's Tunic is a popular hybrid that gets you the health readout and a chunk of Attack Up at the same time, at the cost of the full set bonuses on either side.
Situational sets you can't skip
Some armor is not about optimization — it is about being allowed into a region at all. Skip these and Hyrule's environments simply delete you.
Elemental resistance is non-negotiable
Four environmental hazards each have a dedicated set, and each is cheaper and more reliable than babysitting timed elixirs:
- Snowquill set — cold resistance, bought from the Brazen Beak in Rito Village. Each piece grants one level of cold protection, and the full upgraded set makes you Unfreezable.
- Desert Voe set — heat resistance for the scorching Gerudo Desert, sold in Gerudo Town and at Rhondson's boutique in Tarrey Town. The full enhanced set adds a shock-resistance bonus, which is handy under desert thunderstorms.
- Flamebreaker set — flame guard for Death Mountain, bought in Goron City. Two pieces max out the fireproof effect that stops you spontaneously combusting, but you need the full set bonus to survive standing in open flame.
- Rubber set — shock resistance, scattered in chests. The full set makes you Shockproof, which trivializes electric Lizalfos and Thunder Wizzrobes.
Elixirs and spicy or chilly meals can cover these hazards in a pinch, and knowing which ingredient does what is squarely cooking-guide territory, but permanent armor means never getting caught mid-climb when a buff timer runs out.
The Climbing set changes traversal
The Climbing set is not defensive at all, and it might be the most game-changing gear in Breath of the Wild anyway. Each of its three pieces increases your climbing speed, and since climbing is how you reach every tower, shrine, and Korok in the game, faster climbing compounds across your entire playthrough. The Climber's Bandana is in the Ree Dahee Shrine near Dueling Peaks, the Climbing Gear is in the Chaas Qeta Shrine on Tenoko Island in the Necluda Sea, and the Climbing Boots are in the Tahno O'ah Shrine north of Hateno. Upgrade the set to two stars for the Climbing Jump Stamina Up bonus, which slashes the stamina cost of the jump-climb, and long cliffs stop eating your whole stamina wheel — a direct fix for the stamina-versus-hearts squeeze from the beginner guide.
Upgrading: Great Fairies and the material grind
Every armor upgrade happens at a Great Fairy Fountain, and there are four Great Fairies in the base game — Cotera, Kaysa, Mija, and Tera. Each one is sealed until you pay to revive her, and the cost climbs steeply: one hundred rupees for the first, then five hundred, then a thousand, then ten thousand for Tera, out in the Gerudo Desert. The number of upgrade tiers you can reach is gated by how many fairies you have revived, so freeing all four is what unlocks the four-star maximum on every piece.
Upgrades cost materials, and this is where the earlier collecting pays off. Monster parts, ore gemstones, and region-specific items are the currency, which is why selling amber and topaz early is such a trap — you are selling your upgrade budget. When a set demands a rare material like a Lynel horn, lean on the Blood Moon respawn cycle to farm it, exactly as covered in the beginner's guide. One rule that trips people up: set bonuses require all three pieces at the same upgrade tier. Do not pour three upgrades into your chest and leave the helm at zero, or the bonus never activates.
What to actually prioritize
If you want a clean priority order rather than a menu, here it is:
- Elemental first, for wherever you are going. You cannot explore Death Mountain or the Gerudo Desert without it, full stop.
- Fill all three slots and upgrade early. Any three-piece set enhanced twice beats a shinier set at zero stars.
- Grab the Champion's Tunic. The numeric enemy health readout improves every fight you take for the rest of the game, and it is available in the first few hours.
- Pick a lane for the endgame. Ancient set if you enjoy Guardian and ancient weapons and want the highest defense; Barbarian set if you would rather delete enemies and free your cooking slot.
- Climbing set whenever you can. It is not defense, but the traversal speed pays for itself a hundred times over.
Everything else — Stealth for sneaking, Zora for swimming up waterfalls, the various cute cosmetic sets — is a situational bonus, not a foundation. Build the foundation first.
For the rest of the Hyrule survival toolkit, the Breath of the Wild coverage hub has the combat, cooking, and beginner deep-dives, and the broader Mythras blog covers everything else we play.
Quick Action Checklist
- Remember the math: damage equals enemy attack minus your total defense, floored at a quarter heart.
- Never leave an armor slot empty — three cheap pieces beat one strong piece and two blanks.
- Buy elemental sets before entering their regions: Snowquill for cold, Desert Voe for heat, Flamebreaker for Death Mountain, Rubber for shock.
- Get the Champion's Tunic from Impa after your first memory for the numeric enemy-health readout.
- Chase the Ancient set for raw defense plus the eighty percent ancient-weapon bonus, or the Barbarian set for a fifty percent Attack Up.
- Do not stack Attack Up food on the Barbarian set — the higher value wins, so cook Defense Up instead.
- Revive all four Great Fairies to unlock four-star upgrades, and keep set pieces at matching tiers for the bonus.
- Stop selling gemstones and monster parts — they are your upgrade currency.
- Grab the Climbing set early; faster climbing compounds across the whole game.
Frequently Asked Questions
What is the best armor set in Breath of the Wild?
Does the Ancient armor attack bonus work with the Master Sword?
Do the Barbarian armor Attack Up and Attack Up food stack?
Where do I get the Champion's Tunic in Breath of the Wild?
How do I upgrade armor in Breath of the Wild?
Is the Ancient set or the Soldier's set better?
What armor do I need for the Gerudo Desert and Death Mountain?
Keep Reading
Related Guides
Breath of the Wild Great Fairy Fountain Locations and Costs
In Breath of the Wild the 10,000-rupee Great Fairy is not Tera. It is whichever fountain you open fourth. Here is where Cotera, Kaysa, Mija and Tera are, what each fairy you revive unlocks, and what every upgrade tier costs in materials once the rupees are paid.
Breath of the Wild Dye Guide: All 15 Colors, Mapped
Sayge at the Kochi Dye Shop will turn any five matching-color materials into a dye for 20 rupees flat, and dyes your whole outfit at once whether you like it or not. Here is what makes all 15 colors, and the dozen pieces of armor that never take the dye.

Breath of the Wild Korok Seed Guide: You Only Need 441 of the 900
Breath of the Wild has 900 Korok seeds and you need 441 of them. The other 459 buy a golden novelty item. Here is the exact cost curve, the smart buy order, and where Hestu keeps wandering off to.
Breath of the Wild Shrine Guide: All 120, Sorted by What They Actually Give You
There are 120 shrines in Breath of the Wild and they are not interchangeable. Some are ten-minute puzzles, some are the best weapon farm in the game, and 42 of them are hidden behind overworld quests you can miss entirely.
Breath of the Wild Beginner's Guide: Your First 10 Hours
Breath of the Wild does not tell you that armor matters more than hearts, that your weapons are ammunition, or that the Blood Moon is a restock button. Here is the stuff the game leaves you to discover the hard way.
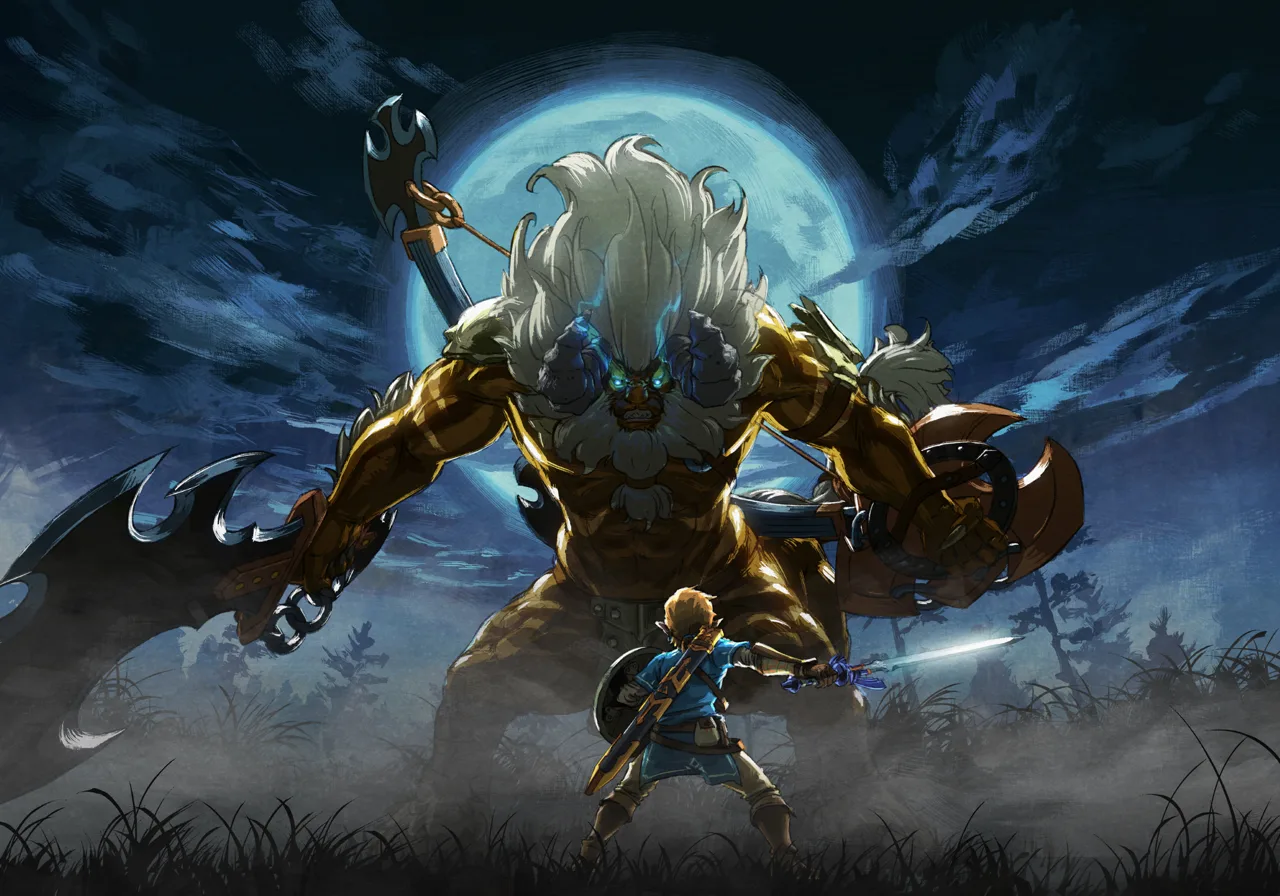
Breath of the Wild Lynel Guide: HP by Tier, Savage Gear, and the Farm Loop
A Silver Lynel has 5,000 HP. Calamity Ganon has 8,000. But a Lynel is not a wall — it is the best vending machine in Hyrule, and the Savage Lynel Crusher it drops has the highest base attack of any weapon in the game.