Ocarina of Time Randomizer: The Beginner's Guide
You already know where the Longshot is. The Ocarina of Time Randomizer empties every one of the game's item locations and refills them from a shuffled pool, and thirty years of memorized checks stop being useful the moment you generate your first seed.
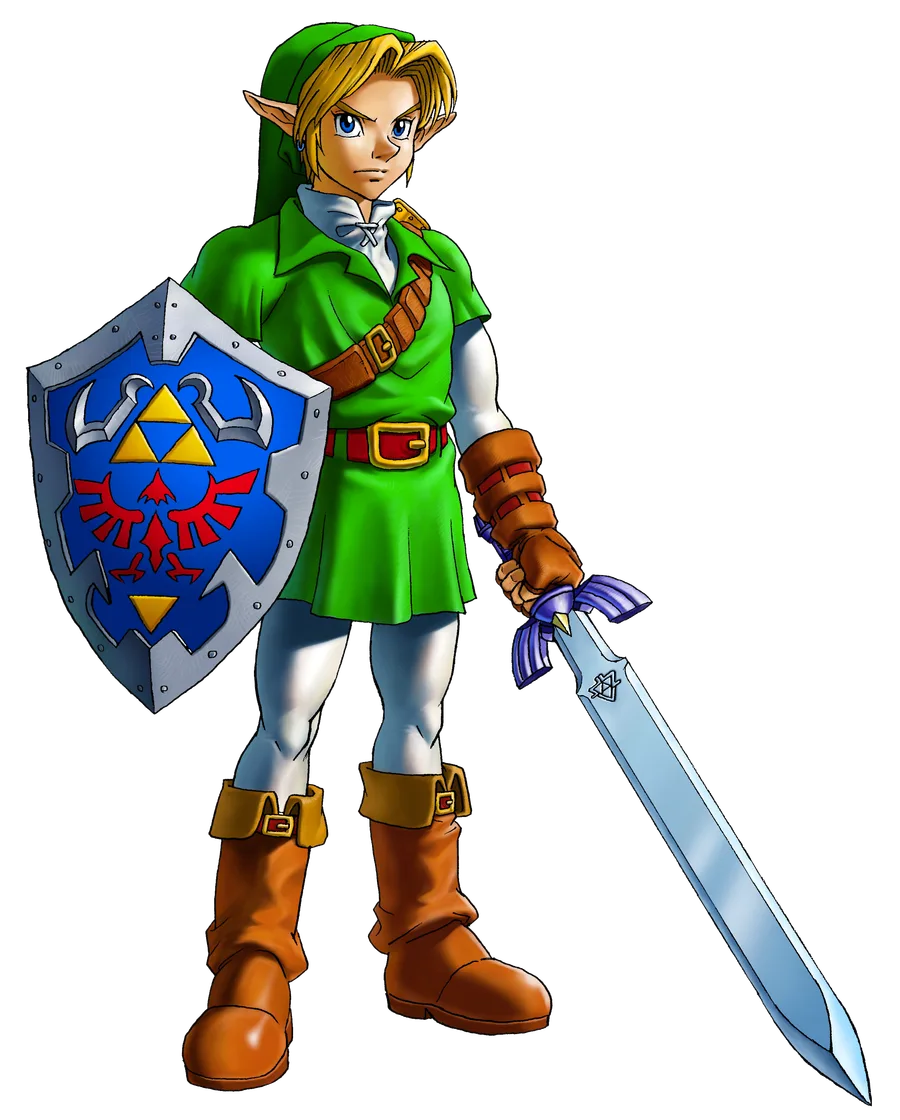
You already know where the Longshot is. You know Din's Fire is stashed near Hyrule Castle, that the Fire Temple boss key sits past Volvagia's arena, that the Lens of Truth is the Bottom of the Well's whole reason for existing. A game that is closing in on three decades old runs out of secrets, and that is the exact itch the Ocarina of Time Randomizer exists to scratch.
The project lives at ootrandomizer.com, and its own description is blunt about what it does: it "takes The Legend of Zelda: Ocarina of Time and randomizes the locations of the items for a new, more dynamic play experience." Every check you have memorized gets emptied and refilled from a shuffled pool, and the twelve dungeons we have walked through room by room on this site stop being a fixed route and start being a set of possibilities you have to prove.
What the randomizer actually changes
The map does not move. The dungeons are not rebuilt. Ganondorf still monologues at the top of his tower. What changes is the contents of item locations across the entire game — chests, NPC handoffs, freestanding items, and (depending on your settings) Gold Skulltula tokens and dungeon keys. The Kokiri Sword could be a chest in the Water Temple. The Megaton Hammer could be sitting in Zelda's Lullaby's usual spot. Your first bottle could be the item that opens the Shadow Temple.
That is the whole shift in one sentence: our dungeon order guide documents the one fixed route the vanilla game hands you. The randomizer is built specifically to break that route. You are no longer clearing the Deku Tree because it comes first — you are clearing whatever is reachable with what you currently own, and the generator has already verified a completable path exists before it ever hands you a seed.
Getting your first seed running
Setup is more paperwork than difficulty.
- Supply your own ROM. The wiki's setup page is specific about the file: an "OoT v1.0 NTSC-U/NTSC-J ROM," and it warns that "Rev A/B and MQ roms will not work" as your base file. The project does not, and will not, provide it — the wiki states plainly that "base files (ROMs, Wii common key, etc.) that are needed to play Ocarina of Time Randomizer are copyrighted and will not be provided by the community nor staff."
- Generate on the web. ootrandomizer.com patches your uploaded ROM in your browser and hands back either a .z64 file for an emulator or real hardware, or a WAD for Wii Virtual Console (which additionally needs an OoT v1.2 NTSC WAD and the Wii Common Key). The wiki notes the patching "uses your device's CPU, so how long this takes is dependent on your hardware."
- Pick where to play it. Documented options span PC emulators (Project64 3.0+, BizHawk, RetroArch, Ares, Dolphin), Wii Virtual Console — which the wiki credits with "fast load times, less lag and improved graphics" — and real Nintendo 64 hardware via a flash cart, with the caveat that "the N64 is very laggy" next to the alternatives.
- Turn spoiler logs on. Every generated seed can output a full spoiler log. Keep it. If you get stuck, the Discord's help channels ask for it before anything else.
- Join the Discord. The landing page's own pitch is "interact with around 50000 OoT manics," and races run separately on racetime.gg. Neither is optional flavor — trackers, settings help, and race sign-ups all live there.
The world state settings decide how locked the game starts
Four settings decide how much of vanilla's gatekeeping survives into your seed, and the wiki spells each option out precisely enough to quote.
| Setting | Options |
|---|---|
| Forest | Open Forest (no Kokiri or Mido blocking you), Closed Deku (Mido still blocks the Deku Tree), Closed Forest (guarantees the Deku Tree is beaten before you can leave the forest at all) |
| Kakariko Gate | Open Gate, Zelda's Letter Open Gate (opens once you obtain the letter), Closed Gate (show the letter to the guard) |
| Open Door of Time | Ranges from Open (always accessible) up to requiring all 3 Spiritual Stones plus the Ocarina of Time and Song of Time |
| Zora's Fountain | Default Behavior — Closed (needs Ruto's Letter), Open For Adult only, or Always Open in both eras |
None of these change what a dungeon guide of ours describes once you are inside it — they only change how many hoops stand between spawning in Kokiri Forest and being allowed to start checking locations at all.
Logic: how hard the generator lets you work for an item
This is the setting that decides whether a seed is guaranteed fair or genuinely reckless, and the generator's own descriptions do not hedge:
- Glitchless — "No glitches are required, but may require some minor tricks." This is the setting every beginner should run. It still expects real technical play (Hover Boots clips over gaps, precise Hookshot targets), just nothing that breaks the game's rules.
- Advanced (Glitched) — "More difficult tricks as well as glitches can be added to logic." Built for players who already know the trick catalogue.
- No Logic — "All locations are considered available." The generator's own warning, in its own capitals, is the whole review: "MAY BE IMPOSSIBLE TO BEAT."
Glitchless is not a training-wheels mode you graduate out of quickly. Its own tricks list keeps growing, and clearing a seed under it is a real technical accomplishment on its own.
Dungeon item shuffle and keysanity
This ladder is the single biggest difficulty lever in the menu, and it runs in seven steps:
- Remove (Keysy) — small and boss keys are deleted from the game entirely; locked doors just open.
- Vanilla Locations — keys stay exactly where they sit in the original game.
- Own Dungeon — keys are shuffled, but only among chests inside their own dungeon.
- Regional — keys can land anywhere in the dungeon's broader overworld area.
- Overworld Only — keys leave dungeons entirely and scatter across the overworld instead; none stay inside any dungeon.
- Any Dungeon — a Forest Temple key can turn up in the Water Temple.
- Anywhere (Keysanity) — every key joins the global item pool. A Fire Temple small key might be a reward for catching Big Poes in Hyrule Field.
Keysanity is the setting that turns a straightforward dungeon clear into several separate visits, as keys trickle in from elsewhere on the map. It is a completely different game to the one our Fire Temple and Water Temple guides walk you through, and it is not where a first seed should start.
Tokensanity and the bridge requirement
Two more shuffles worth knowing before you generate:
Tokensanity decides whether Gold Skulltula tokens hold real items instead of just counting toward the reward thresholds our Gold Skulltulas guide covers. Its four settings are Off, Dungeons Only, Overworld Only, and All Tokens — turning it on adds dozens of extra checks, all of them exactly where the vanilla game already put a Skulltula.
Bridge requirement replaces the vanilla rainbow bridge condition (collect all six Medallions) with whatever you choose: Always Open, Vanilla Requirements, All Medallions, All Dungeons, All Spiritual Stones, a configurable count of Gold Skulltula Tokens, a configurable count of Hearts, or a fully Random pick from that list. Ganon's Trials gets the same treatment separately — either a random number of the six barrier trials from our Ganon's Castle guide are active, or you set the exact count on a slider.
Master Quest dungeons without owning a Master Quest disc
Our 3D vs. N64 differences guide covers how Master Quest originally shipped as a GameCube bonus disc, and later as a purchase built into Ocarina of Time 3D. The randomizer sidesteps owning either: its ROM requirements list exactly one base file — a vanilla v1.0 ROM — and explicitly says Master Quest ROMs "will not work" as that file. The dungeon layouts still ship with the randomizer itself, through the MQ Dungeon Mode setting: choose Count to convert a set number of dungeons at random, Completely Random to let the generator decide dungeon-by-dungeon, or Specific Dungeons to hand-pick them by name through the MQ Dungeons drop-down — no all-or-nothing toggle involved. Generate a seed with three MQ dungeons and you get three redesigned layouts, drawn at random or hand-picked, without a second ROM anywhere in the process.
Gossip stones: how the hint system works
Vanilla Gossip Stones just recite flavor text. In the randomizer they are the game's only in-fiction way of narrowing down 40 stones' worth of possible information, and the access to that information is itself a setting: No Hints keeps vanilla behavior, or you can require the Mask of Truth, the Stone of Agony, or set access to Need Nothing so any stone talks the moment you approach it.
What a stone actually tells you depends on the hint type it was assigned:
- Way of the Hero (WotH) — the wiki's own phrasing is that a hinted area "holds an item that is logically required to beat the seed." It does not name the item, only that finding it is mandatory. Standard distributions cap the whole seed at two WotH hints that point into dungeons at all — even if both land on the same dungeon.
- Foolish (Barren) — the inverse signal: the region holds no Major Items at all, so it is safe to stop searching it once you have swept whatever minor loot is there.
- Location hints — split into Song, Minigame, Overworld, and Dungeon hints, each one either "Always" given (guaranteed to appear somewhere in every seed) or "Sometimes" given depending on the roll.
- Item and Random hints — name a specific item and point at the region holding it; Item hints stick to Major Items, Random hints can name anything.
- Path/Goal hints — the same idea as WotH, but pointed at whatever your seed's win condition actually requires, since a seed with a Triforce Hunt or a partial-Medallion bridge requirement does not need the same items as a standard Defeat Ganon run.
Hint frequency itself is a preset you choose — options include Balanced, Bingo, Chaos!!!, Tournament, Strong, Very Strong, and league or multiworld-season variants that mirror whatever the competitive scene is currently racing.
The Beginner preset, translated
You do not need to touch most of the above by hand on your first run. The wiki's own setup guidance says it plainly: "For a first seed, we recommend using either the Default/Beginner or Easy presets." Loading the Default/Beginner preset from the generator's ROM Options tab gives you glitchless logic with no added tricks, a closed default world state, and a genuinely long playthrough rather than a speedrun-shaped one — the wiki describes it as aimed at players "familiar with vanilla who desire a similar progression."
Everything past that preset — Keysanity, Tokensanity, MQ dungeons, Chaos hint distributions — is worth learning one setting at a time, on your second and third seeds, once you know what "normal" looks like.
Where this leaves the rest of our Ocarina coverage
Every dungeon walkthrough, item guide, and collectible checklist we have published for this game describes the one fixed vanilla layout — the Longshot is always in the Water Temple, the Lens of Truth is always the Bottom of the Well's reward, Din's Fire is always the Great Fairy near Hyrule Castle. None of that knowledge transfers directly to a randomized seed, and it should not: that is the entire point of turning the setting on. What does transfer is the geography and the mechanics underneath it, which is exactly what those guides cover and this one deliberately does not re-explain.
Quick Action Checklist
- Generate at ootrandomizer.com using your own OoT v1.0 NTSC-U or NTSC-J ROM — Rev A/B and Master Quest ROMs will not work as the base file.
- Load the Default/Beginner or Easy preset for your first seed and leave the rest alone.
- Keep Glitchless logic and read the No Logic warning literally: it may be impossible to beat.
- Leave Dungeon Item Shuffle on Vanilla or Own Dungeon until you have a few seeds under your belt — Keysanity can turn a single dungeon into several separate visits as its keys trickle in from elsewhere.
- Turn MQ Dungeons on to get Master Quest layouts without owning a Master Quest disc or ROM.
- Set Gossip Stone access to Need Nothing while you are learning what a hint even looks like.
- Keep your spoiler log. It is the first thing anyone helping you will ask for.
- Join the Discord and check racetime.gg once you want to race instead of solo.
Frequently Asked Questions
What is the Ocarina of Time Randomizer?
What settings should a beginner use in the Ocarina of Time Randomizer?
What ROM does the Ocarina of Time Randomizer require?
What does keysanity mean in the Ocarina of Time Randomizer?
Can you get Master Quest dungeons in the Ocarina of Time Randomizer without owning Master Quest?
How do hints work in the Ocarina of Time Randomizer?
Keep Reading
- Ocarina of Time Randomizer — official generator and landing page
- OoT Randomizer Wiki — Setup (ROM requirements, patching, emulators)
- OoT Randomizer Wiki — Readme (world state, logic, shuffle settings)
- OoT Randomizer Wiki — Presets (Beginner, Easy, Hell Mode, tournament presets)
- OoT Randomizer Wiki — Hints (Gossip Stones, WotH, Barren, distributions)
- OoT Randomizer Wiki — Master Quest Dungeon Requirements
Related Guides
Ocarina of Time Speedrun Guide: Categories and Records
The fastest Ocarina of Time run is 3:47.9 and never leaves Kokiri Forest. The fastest glitchless one is 2:09:05. Here is every full-game category on the main speedrun.com board, its record, what each ruleset bans, and where a new runner should start.
Ocarina of Time Water Temple Guide: Beat It Without Rage
The Water Temple is not hard. It is badly signposted, and on N64 it makes you open a menu roughly two hundred times. Once you understand that the whole dungeon is one vertical shaft with three water heights, it collapses into something you can clear in under an hour.
Ocarina of Time Dungeon Order: The Full Route, Explained
Ocarina of Time looks like an open adventure and plays like a corridor. Eight required dungeons, three side dungeons, and exactly one place where the game genuinely lets you pick. Here is the whole route with the reasons behind each lock.
Ocarina of Time Graveyard: Hookshot, Dampé and Heart Pieces
Kakariko Graveyard holds the Hookshot, four Pieces of Heart, a free Hylian Shield and the Sun's Song, and nearly all of it runs on the clock. Here is what opens when, how Dampé's gravedigging prize is really chosen according to the game's code, and how to win both of his races.
Ocarina of Time Hyrule Castle: Sneak In and Meet Zelda
Young Link's trip to meet Princess Zelda runs on three rules that are easy to miss: Malon is not at the castle on your first visit, her egg only hatches at dawn, and the drain is a daytime-only door. Here is the whole route, how the guards actually spot you according to the game's code, and what the visit unlocks.
Ocarina of Time Lost Woods: Route, Upgrades and Hearts
Take the wrong doorway in the Lost Woods and the game just puts you back in Kokiri Forest. Here is the seven-turn route to the Sacred Forest Meadow, how to find it by ear instead, and everything the route walks past: two Pieces of Heart, five capacity upgrades, four Gold Skulltulas and two shortcuts out.