Ocarina of Time Water Temple Guide: Beat It Without Rage
The Water Temple is not hard. It is badly signposted, and on N64 it makes you open a menu roughly two hundred times. Once you understand that the whole dungeon is one vertical shaft with three water heights, it collapses into something you can clear in under an hour.
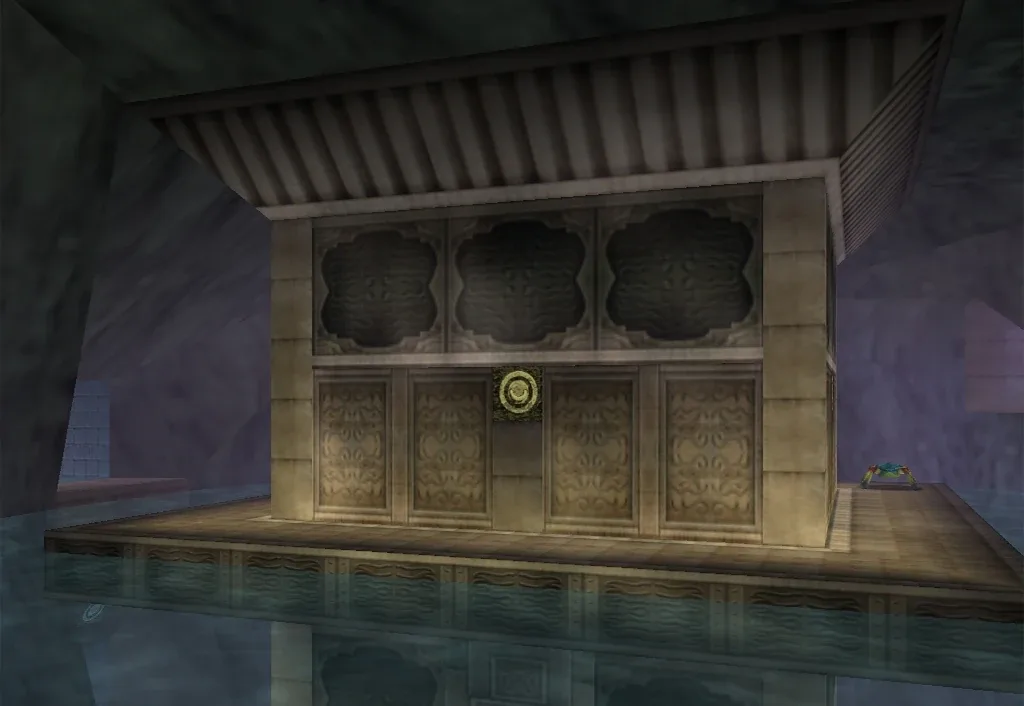
Eiji Aonuma publicly apologized for the Water Temple. Not for a boss, not for a story beat — for a dungeon's user interface. That is how thoroughly this place broke people in 1998, and it is worth being precise about why, because the reasons have almost nothing to do with puzzle difficulty.
The Water Temple has six Small Keys in the original release. It has one boss, one mini-boss, and a layout you could sketch on a napkin: a tall cylindrical shaft with a pillar in the middle and doors arranged around it at three heights. The actual monster is that on N64, changing your footwear requires opening the pause menu, scrolling to the equipment tab, and assigning the Iron Boots — and the dungeon asks you to do that constantly.
Understand the shape, budget for the menu, and this becomes a 45-minute dungeon.
Why this dungeon earned its reputation
Three specific design decisions stacked up badly:
- Iron Boots were equipment, not an item. On N64 they live in the equip screen alongside tunics and swords, not in the three assignable item slots. Every sink-and-rise is a menu round trip.
- The water level control is remote. You raise and lower the water by playing Zelda's Lullaby at Triforce emblems scattered on different floors, so the switch is never where the door you want to open is.
- The dungeon is dark and repetitive. The original's texture work makes three floors of blue stone look nearly identical, and there is no map marker telling you which doors you have already been through.
None of that is a puzzle. It is friction. Ocarina of Time 3D removed most of it, and the dungeon's reputation dropped almost overnight.
Before you go in
Get the Zora Tunic. Non-optional in practice. Adult Link drowns without it, and half this temple is underwater. Two ways to get it: melt the Red Ice around King Zora with Blue Fire from the Ice Cavern and he hands it over free, or buy it from the Zora Shop for 300 Rupees — the most expensive tunic in the game, 100 more than the Goron Tunic.
Get the Iron Boots. They come from the Ice Cavern behind Zora's Fountain, dropped by a White Wolfos — the side dungeon the route funnels you through right before this temple. Sheik teaches you the Serenade of Water on the way out, which warps you to Lake Hylia.
Bring a full bottle of fairies and a decent shield. There is no fairy fountain inside, and the Like Likes in here will eat your Zora Tunic if they swallow you.
The entrance is under Lake Hylia. Equip the Iron Boots, sink to the bottom, and Hookshot the target above the gate. See the dungeon order guide for exactly where this falls in the route.
The three water levels, explained
This is the whole dungeon in one idea. The temple is a vertical shaft. The water inside it sits at one of three heights, and the height determines which ring of doors you can reach — either by swimming on the surface or by walking on the floor in Iron Boots.
There is one Triforce emblem per water level, and each emblem lives on a different floor. Play Zelda's Lullaby at an emblem and the water snaps to that emblem's height.
The trap is that you cannot reach every emblem from every water height. So the correct mental model is not "solve this floor, then the next floor." It is:
Where is the emblem for the level I want, and what water height do I need to be at to stand in front of it?
Once you hold both pieces of state in your head — current water height and floor I need — the backtracking stops feeling random. Write down the emblem locations the first time you find each one. Seriously. Three sticky notes will save you an hour.
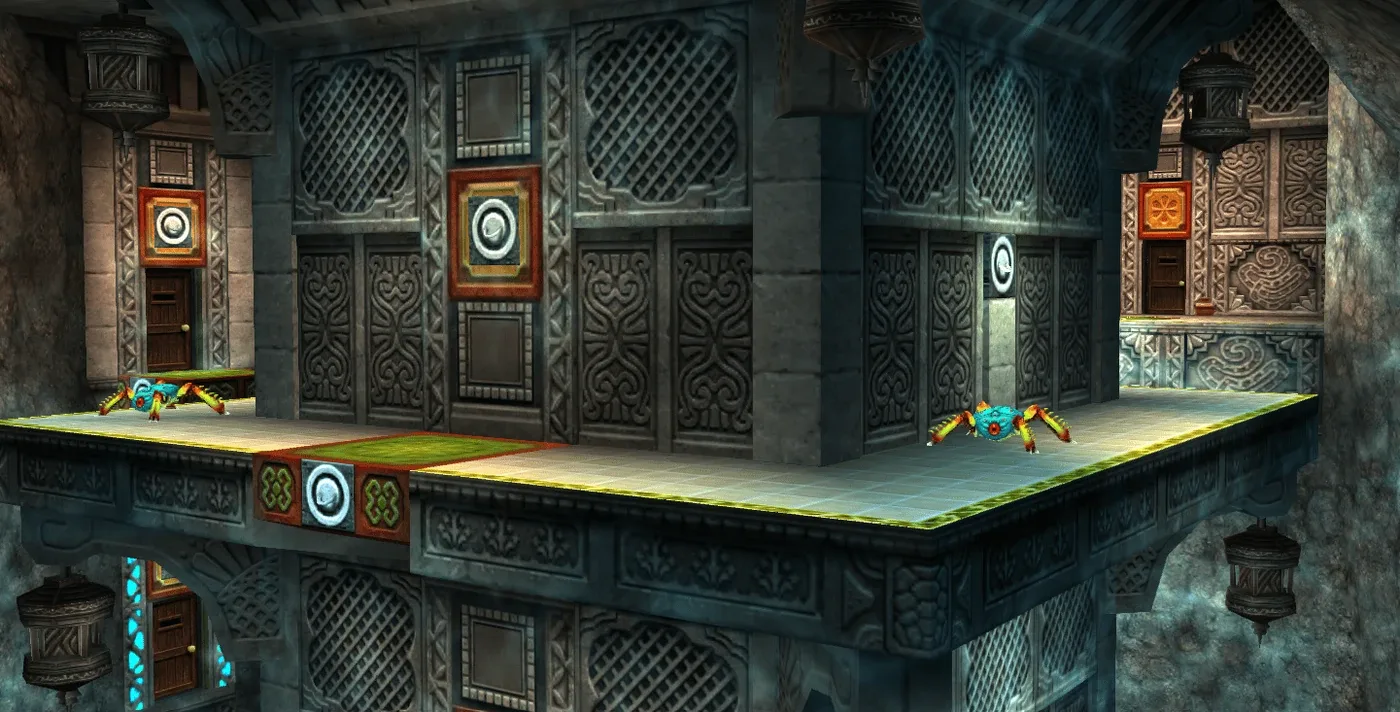
The route, level by level
Water level 3: the entry floor
You start at the top with the water high. Princess Ruto shows up almost immediately, does the floating-elevator bit, and points you toward the central pillar. The high-water floor is where the temple teaches you its verb: swim across, find a Triforce emblem, play the Lullaby, watch the water drop.
Clear the accessible doors on this ring first and pick up the map and compass before you touch a water level. It costs you nothing and it stops you from wondering later whether you skipped a room.
Water level 2: the middle ring
The middle height is the transitional one, and the floor most people get lost on. It exposes doors that were submerged at high water and are stranded above the surface at low water — including the corridor toward the Dark Link chamber and, in the original, the current-swept passages that need the Hookshot to fight the flow.
If you are hunting a missing Small Key, this is the ring to re-sweep. The middle level has the highest number of doors that are only reachable at exactly this height.
Water level 1: the basement
Water at its lowest exposes the temple's floor and the deep tunnels. This is Iron Boots country — you will be sinking, walking a stretch, unequipping, floating up, and re-equipping repeatedly. It is also where the Boss Key path and the Longshot targets you cannot reach with the base Hookshot live.
Practical N64 tip: before you drop the water for the basement run, assign the Hookshot, the Bow, and your bottle to the three item slots, because you will be in the equipment menu constantly and you do not want to be reshuffling items at the same time.
The Small Key everyone misses
There are six Small Keys in the original Water Temple. The one that ends runs is tucked away in the central tower, in a spot the N64 camera does very little to advertise. Nintendo considered it enough of a problem that Ocarina of Time 3D added a dedicated camera pan in the central tower specifically to point the player at it.
If you are locked out with fewer keys than doors, check in this order:
- The central tower interior, at every water height.
- Underwater alcoves you swam past at high water without looking down.
- Rooms behind currents you gave up on — the Hookshot pulls you through flow the swim stroke cannot beat.
- Crates and pots you skipped. Some keys are in containers, not chests.
Dark Link
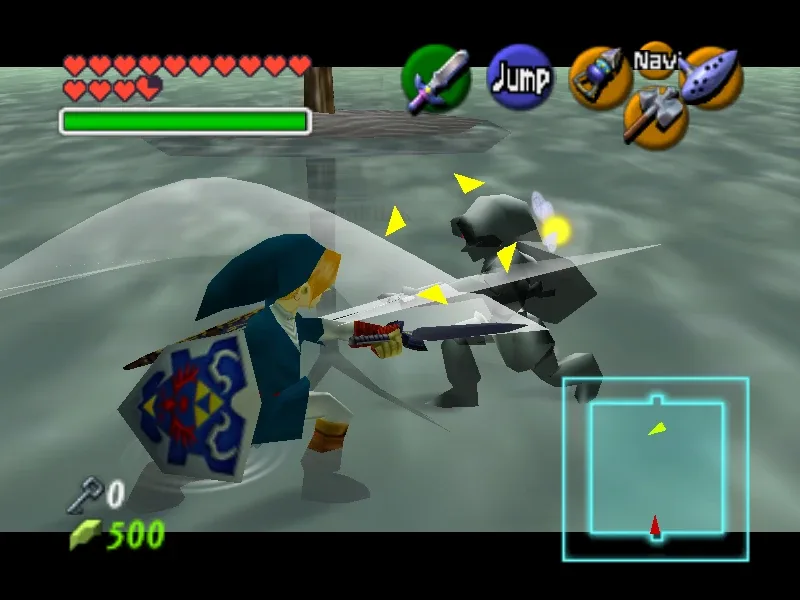
The best mini-boss in the game. A room with no visible walls, an inch of water, and a dead tree. Your reflection walks out of the water and fights you with your own moveset.
The mechanics that matter:
- His health equals yours. Dark Link takes as many Master Sword hits to kill as you have Heart Containers. Fewer hearts means a shorter fight, which is a genuinely funny incentive structure for low-percent runs.
- He starts passive and turns aggressive. For roughly the first 20 seconds he is semi-transparent and only reacts to what you do. Once he becomes fully opaque he starts attacking on his own initiative.
- Never use a forward thrust. If you stab straight ahead, he hops onto the blade, freezes you in place, and punishes. This is the single most common way people lose this fight.
What works:
- Din's Fire. Ignores his guard entirely. If you have magic, this is the fastest clear in the game.
- Megaton Hammer. He cannot parry it. Slow but reliable.
- Deku Nuts. Stun him, then free-hit.
- Biggoron's Sword. If you finished the trading quest, the damage per swing ends the fight quickly — just respect the wind-up.
- Untargeted side slashes. He mirrors your Z-targeted stance. Dropping the lock-on and swinging from an angle off his shield lands far more often than trading targeted blows.
Beat him and the room opens onto the Longshot, which doubles your Hookshot range and is what the rest of the dungeon — and Morpha — is built around.
Morpha
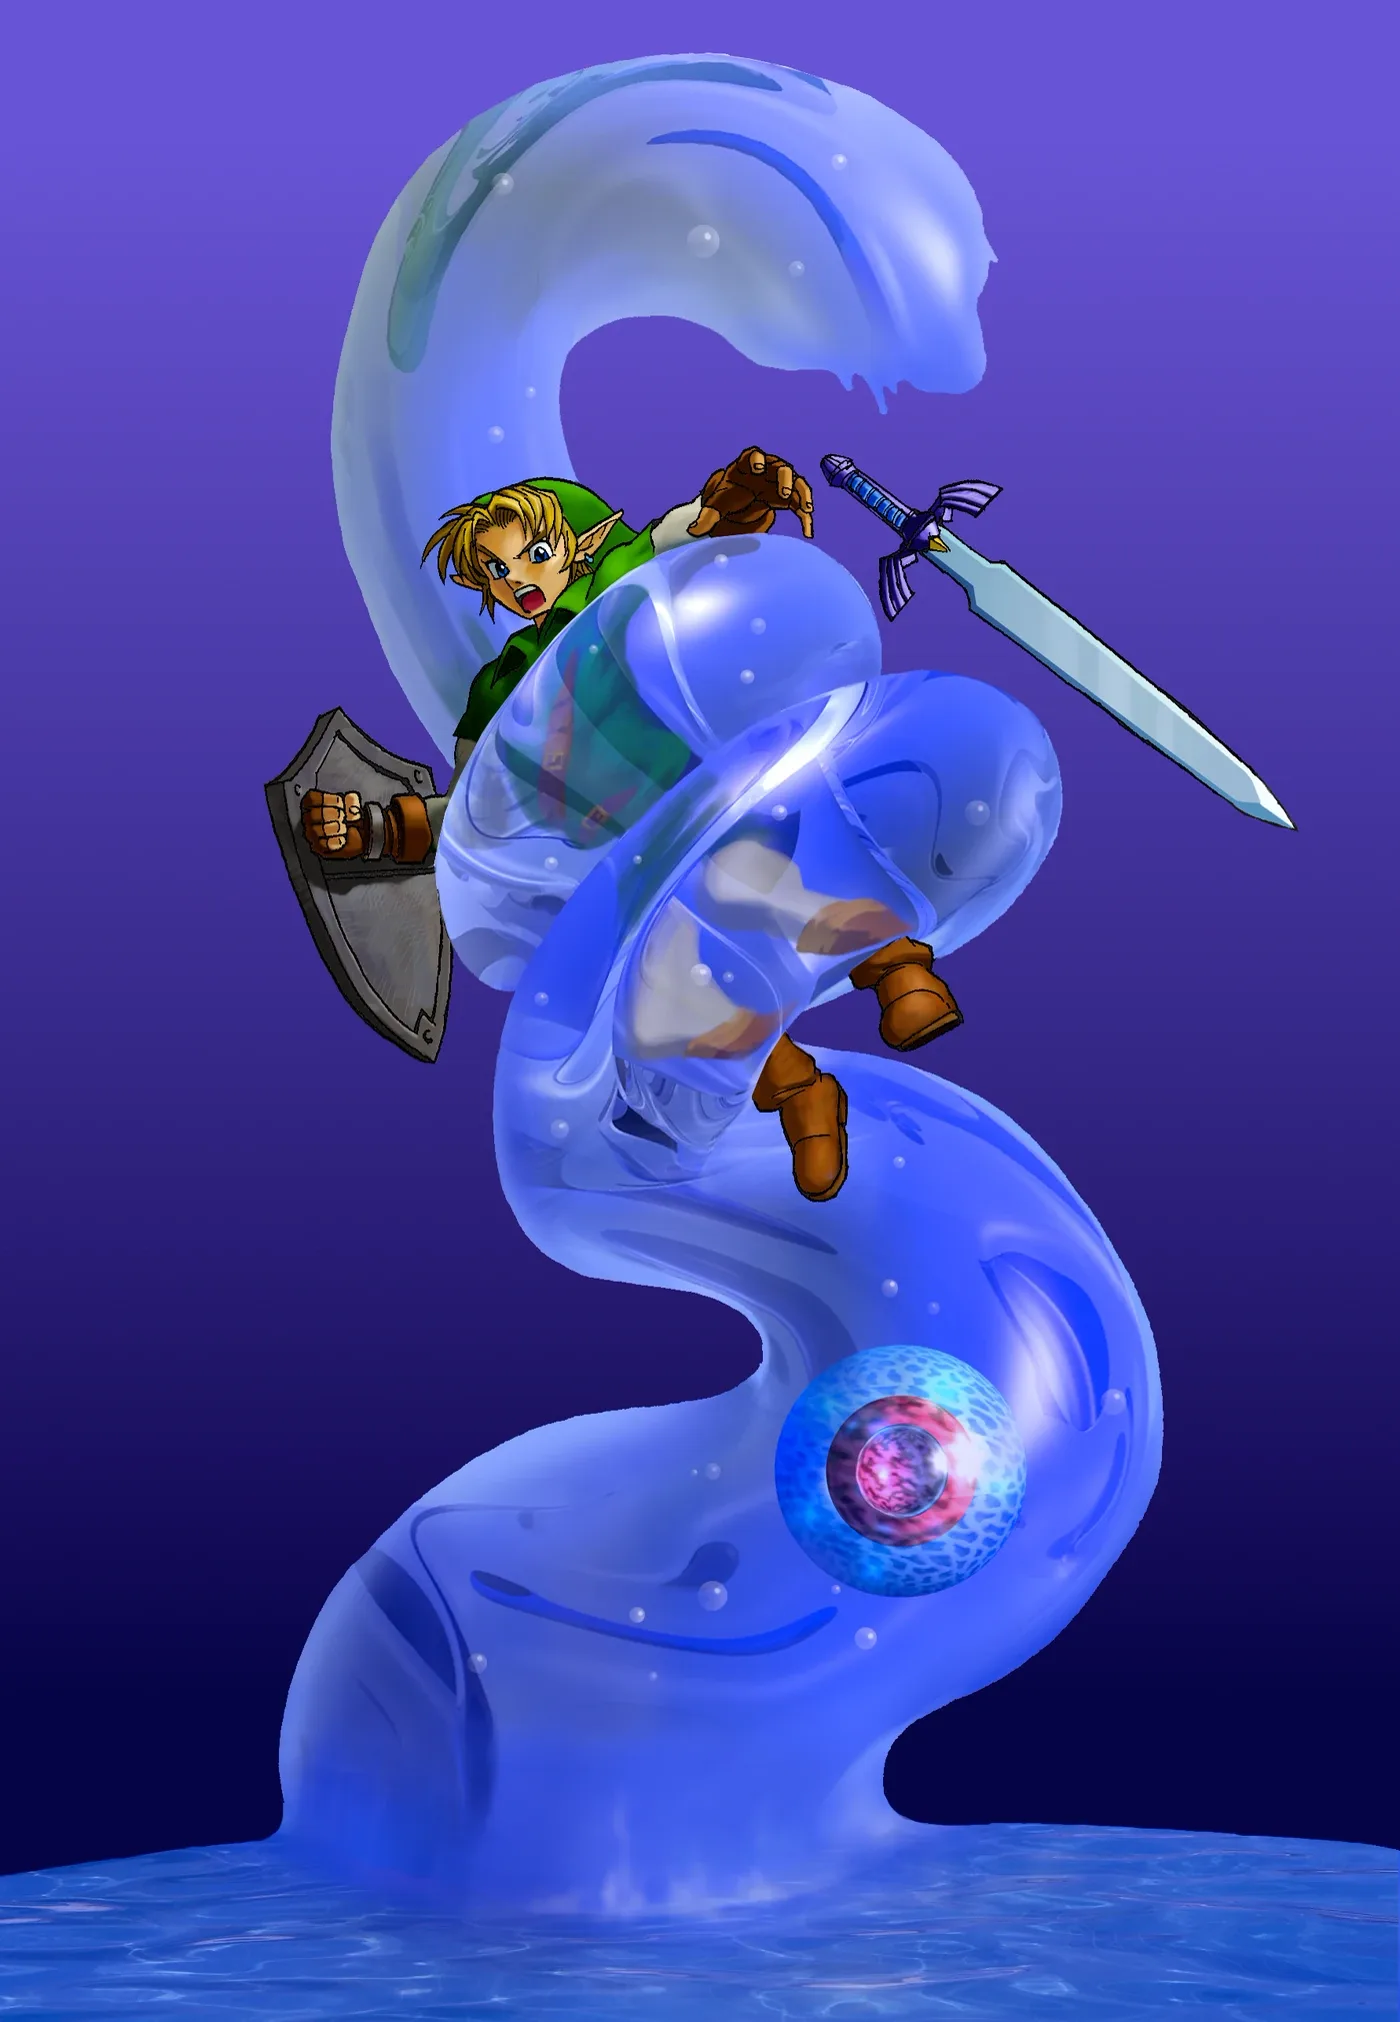
Morpha is a red nucleus that hides inside water. The tentacles are not the boss; they are the boss's puppet. The entire fight is one loop:
- Wait for a tentacle to rise and latch onto the platform. The water thins enough to be pierced only while it is up.
- Longshot the nucleus. It gets ripped out of the water and lands on the floor, fully exposed.
- Slash it. Get as many hits in as you can before it slithers back into the pool.
- Repeat.
Two things to avoid: do not slash the tentacle itself — it will grab you, shake you around, and throw you — and do not swim in Morpha's water, because the nucleus will charge you directly.
The optimization: after you Longshot it out, drag or knock the nucleus toward a corner of the room. Cornered, it has far less room to escape back to open water, and you can chain sword hits almost without interruption. Done cleanly this fight is over in well under a minute.
Kill it and you get a Heart Container and the Water Medallion, and Lake Hylia refills.
What Ocarina of Time 3D changed
The 3DS remake is the version to play if you have any history of hating this place:
- Iron Boots became a normal assignable item. No more equipment menu. This alone removes most of the pain.
- Glowing markings were added to walls and corridors pointing toward each Zelda's Lullaby emblem.
- The whole temple was brightened, which makes the three floors visually distinguishable.
- A camera cue was added in the central tower for the commonly missed Small Key.
- Gyro aiming makes Longshotting Morpha's nucleus dramatically faster than analog-stick aiming.
Nothing about the layout, key count, or boss changed. It is the same dungeon with the friction sanded off.
Master Quest is a different dungeon
If you are playing Master Quest — bundled on the GameCube Collector's Edition and included, mirrored, in the 3DS release — throw this route out. The Water Temple was rebuilt:
- Two Small Keys instead of six.
- The map, compass, and Longshot are all obtained very early, which flips the difficulty curve: you have the reach tool for almost the whole dungeon.
- Most rooms are gated behind puzzles, and Din's Fire is used heavily.
- The infamous serpent-shaped vortex room got Hookshot targets over the wall, so you can simply hop across the whirlpools.
- Nine new Stalfos and two Spikes replace most of the original enemy set, and the boulders are gone.
There is also a known GameCube-era quirk: one door that is meant to consume a Small Key unlocks itself when you defeat the Stalfos before Dark Link, so players can finish Master Quest's Water Temple with a spare key. Ocarina of Time 3D fixed it.
For the songs you will be leaning on here — Zelda's Lullaby above all — see the full Ocarina of Time songs guide.
Quick Action Checklist
- Get the Zora Tunic before entering — free from King Zora via Blue Fire, or 300 Rupees at the Zora Shop.
- Bring the Iron Boots from the Ice Cavern and a bottled fairy or two.
- Enter by sinking to the lake floor and Hookshotting the target above the gate.
- Track two things at all times: current water height, and which floor you need.
- Note down each Triforce emblem's location the first time you find it.
- Grab the map and compass on the entry floor before changing any water level.
- Six Small Keys total in the original; if you are short, sweep the central tower at all three heights first.
- Against Dark Link: never forward-thrust. Use Din's Fire, the Megaton Hammer, Deku Nuts, or untargeted side slashes.
- Against Morpha: Longshot the nucleus out of the tentacle, then corner it and chain sword hits.
- Playing 3D? Assign Iron Boots to an item slot immediately and follow the glowing wall markings.
- Playing Master Quest? Expect two keys, an early Longshot, and a completely different room order.
Frequently Asked Questions
How many Small Keys are in the Ocarina of Time Water Temple?
Do you need the Zora Tunic for the Water Temple?
What is the best way to beat Dark Link?
How do you beat Morpha?
Is the Water Temple easier in Ocarina of Time 3D?
Keep Reading
Related Guides
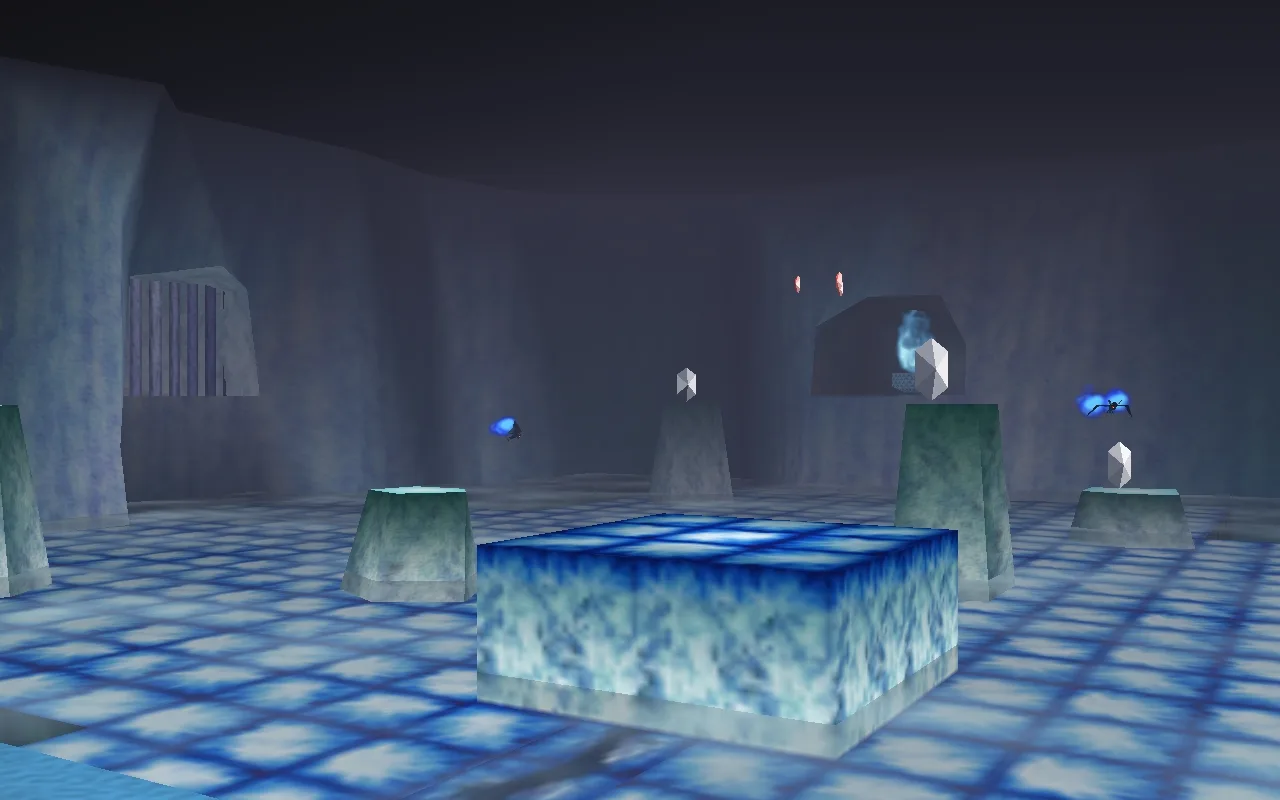
Ocarina of Time Ice Cavern Walkthrough: Every Room
Skip the Ice Cavern and the Water Temple becomes uncrossable — the Iron Boots live nowhere else in the game. It's also a genuinely strange dungeon: per Zelda Wiki, it's tied with the Gerudo Training Ground as the smallest in Ocarina of Time, and every room but the mini-boss chamber connects by open hallway instead of a door. Here's the room-by-room route: the Ice Scythe hub and its five Silver Rupees, all three Gold Skulltulas, the White Wolfos fight, and the underwater shortcut on the way out.
Ocarina of Time Jabu-Jabu's Belly Walkthrough: Every Room
Inside Jabu-Jabu's Belly is the third dungeon in Ocarina of Time and the odd one out: no map-and-compass hunt for its own sake, and an escort mission where the person you're escorting can drown. Here is how to actually get in (it takes a diving contest and a message in a bottle), the full route through the Fork in the Guts, the Big Octo fight, and every phase of the Barinade boss fight, including the scripted invulnerability window partway through.
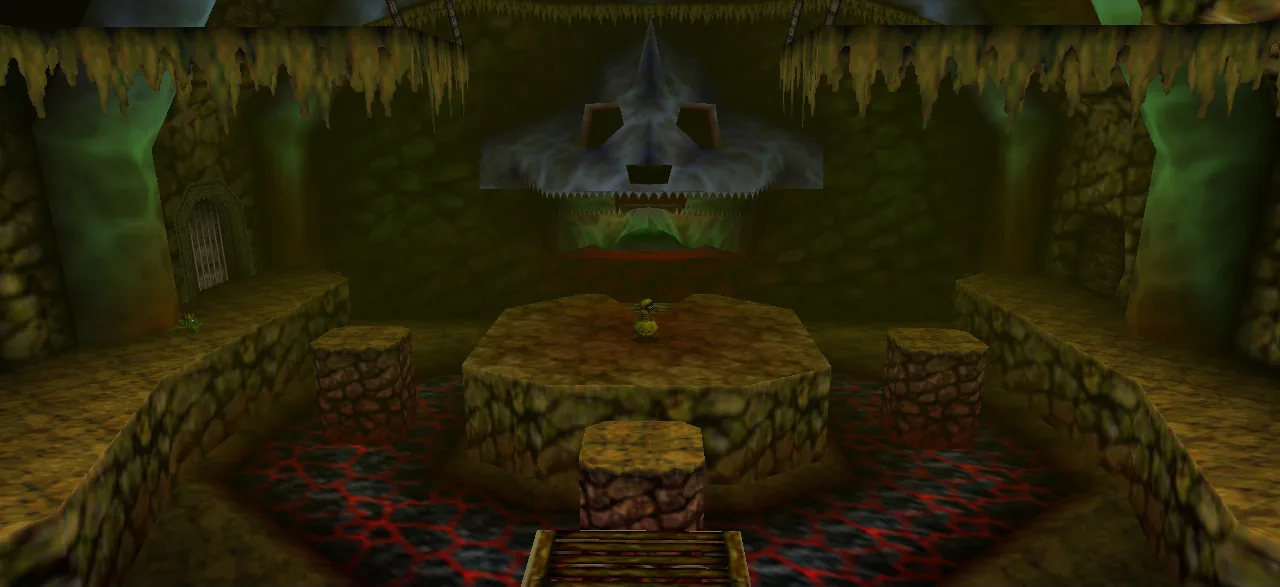
Ocarina of Time Dodongo's Cavern Walkthrough: Every Room
Dodongo's Cavern is one enormous lock with a giant dead Dodongo for a keyhole, and the entire dungeon is you gathering the means to open its mouth. Here is the route through the Entrance, Eastern, Western and Northern Rooms, every chest, the Bomb Bag, all five Gold Skulltulas — two of which child Link cannot reach on the way through — and the King Dodongo fight.
Ocarina of Time Deku Tree Walkthrough: Every Room
Inside the Deku Tree is the first dungeon in Ocarina of Time and the game's own tutorial, teaching doors, vines and switches in about twenty minutes. It is also easy to half-explore, because several of its rewards sit behind puzzle steps the game never spells out. Here is every chest, all four Gold Skulltulas (one of which needs an item you don't have yet), and the fastest way through Gohma.
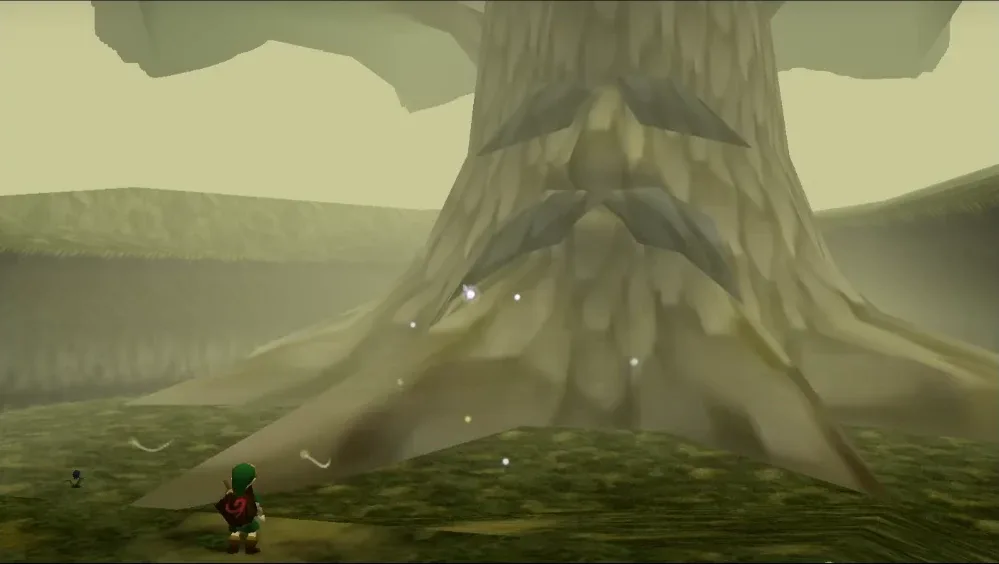
Ocarina of Time Dungeon Order: The Full Route, Explained
Ocarina of Time looks like an open adventure and plays like a corridor. Eight required dungeons, three side dungeons, and exactly one place where the game genuinely lets you pick. Here is the whole route with the reasons behind each lock.
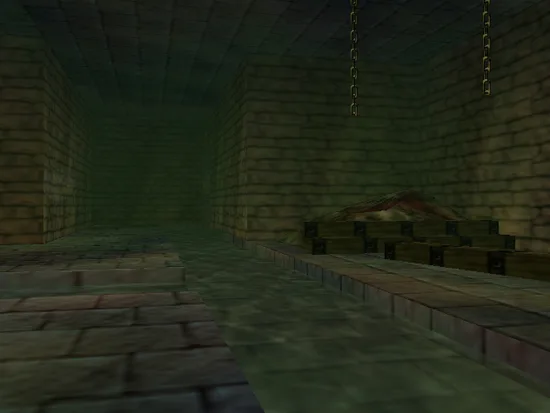
Ocarina of Time Bottom of the Well: Lens of Truth Guide
The Lens of Truth sits at the bottom of a Kakariko well that is full of water for the entire first act. Here is how you empty it: the time loop that unlocks the well, the six-step run to the Lens chest, and the ten other things buried down there.