Ocarina of Time Fire Temple: 9 Gorons and 8 Small Keys
The Fire Temple is a jailbreak with a dungeon built around it. Nine Gorons sit behind nine cell doors, and the keys, the Boss Key and the route out all come from opening them. Here is the whole rescue in order, plus the tunic and the song you want sorted before you walk in.
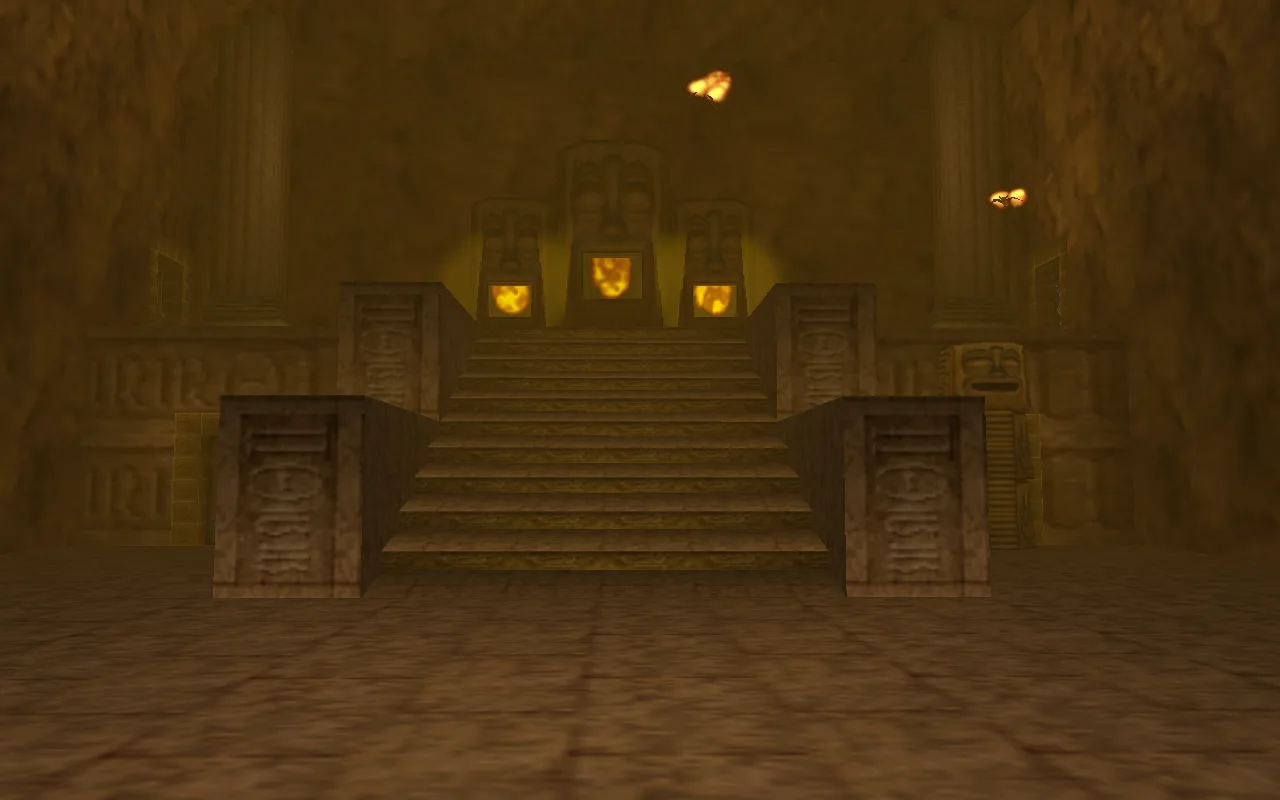
The Fire Temple states its objective more plainly than most of Ocarina of Time's dungeons: Ganondorf's followers rounded up the Gorons and locked them inside a volcano to be fed to a dragon, and Darunia went in alone to get them back. So the dungeon is a jailbreak. Nine Gorons sit behind nine cell doors, and almost every key you need — eight Small Keys and the Boss Key — comes out of a chest in one of those cells.
That structure is the thing worth knowing before you go in, because it turns "where do I go next" into "which cell haven't I opened yet." Here is the whole rescue in order, along with the two pieces of prep that are easy to skip and annoying to fix from inside a volcano.
Fire Temple at a glance
| Detail | What it is |
|---|---|
| Location | Death Mountain Crater |
| Entry requirement | Goron Tunic (adult Link only) |
| Warp song | Bolero of Fire, to Death Mountain Crater |
| Dungeon item | Megaton Hammer |
| Mini-boss | Flare Dancer, twice |
| Boss | Volvagia |
| Small Keys | Eight in the original, five in Master Quest |
| Gorons to free | Nine |
| Reward | Fire Medallion and a Heart Container |
The dungeon is also nearly symmetrical. From the third floor upward the interior splits into two halves, and Zelda Wiki notes that only the western half has to be visited to finish — the eastern portion is reached from the third floor with the Scarecrow's Song.
Two things to sort before you walk in
The Goron Tunic
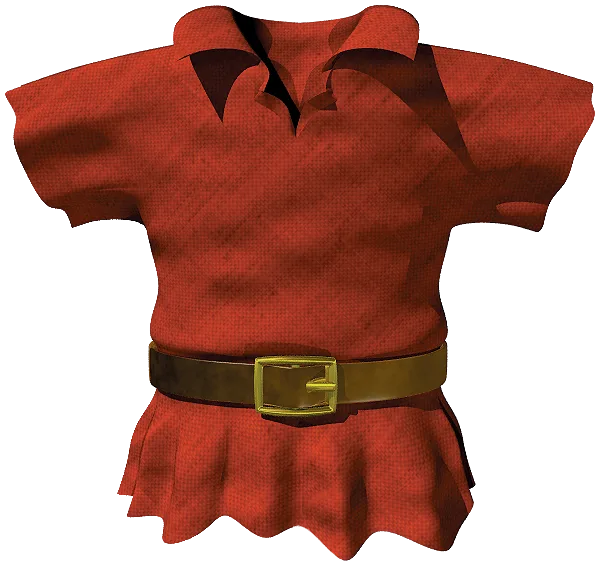
Death Mountain Crater burns adult Link on a timer without the Goron Tunic, and the Fire Temple sits at the bottom of it. There are two ways to get one: the Goron in Goron City named after you — Darunia's son — hands one over for free once you stop him rolling around the city, or the Goron Shop sells them for 200 Rupees.
Two details about it that go beyond "don't burn":
- It is adult-sized. Child Link cannot wear it, so a child in the crater is always racing the heat timer — and Zelda Wiki notes the bridge to the Fire Temple is blocked by three grey rocks he cannot clear with bombs anyway.
- Beyond fire, Zelda Wiki lists it as granting resistance to floor spikes and poison water, and it lets Link stand on lava tiles long enough to take certain shortcuts. The walkthrough route uses exactly that: one stretch of the third key's path crosses a lava tile briefly.
The catch is that a Like Like can eat it. Like Likes swallow Link and spit him back out minus his shield or tunic, and if you do not kill the Like Like fast enough to recover the item you are buying a replacement in Goron City. The walkthrough route below passes Like Likes in two rooms. Kill them with arrows from range and this never comes up.
The Scarecrow's Song
The other prep item is Pierre. Thonky's walkthrough routes to the upper level of the rolling boulder room by playing the Scarecrow's Song, hookshotting the scarecrow that appears, and then hookshotting a target to raise an elevator. Two Goron cells sit up there, so if you want the full nine you need Pierre. Zelda Wiki's own note that only the western half of the temple has to be visited cuts the other way here: the Scarecrow-reached half is optional to finish the dungeon, not to empty it.
The Scarecrow's Song is the eight-note melody you improvise to Bonooru at Lake Hylia as a child, and it has to be reactivated for adult Link before it works. Write your eight notes down — the game never reminds you what you played. All twelve melodies, with note inputs for both the N64 and 3DS control schemes, are in our songs guide.
The nine Gorons, key by key
Most cells work the same way: hit a floor switch or a rusty switch outside it, the bars go up, the Goron thanks you and gives a hint, and a chest inside holds the key. A couple are gated by something else — one sits behind a bombable wall, another under a cracked floor. Here is the full set in walkthrough order.
| # | Where the cell is | What you get |
|---|---|---|
| 1 | First large room — platforms to the left, up to a ledge switch | Small Key |
| 2 | Bridge room, left along the wall, door under the ledge | Small Key |
| 3 | Same large room, around the left edge, behind a bombable wall | Small Key |
| 4 | Rolling boulder room, door in the niche to the right | Small Key |
| 5 | Rolling boulder room, opposite side, niche on the left | Small Key |
| 6 | Boulder room upper level, under a cracked floor you bomb | Small Key |
| 7 | Boulder room upper level, across two narrow platforms | Small Key |
| 8 | Below the Megaton Hammer floor, behind a rusty switch | Small Key |
| 9 | Past the second Flare Dancer, behind a rusty switch | Boss Key |
That is eight Small Keys and one Boss Key from nine cells — which is the whole dungeon's progression accounted for.
The hints are worth listening to, because two of them are load-bearing. One Goron warns that some doors in the temple fall on you when you try to open them, and that a bomb will break one that has started to drop. Another warns that the dancing enemies ahead cannot be hurt by arrows and that you will need bombs. A third points at the statue by the entrance: a door is hidden inside it, bombs will not open it, and you need "something stronger" — which is the game telling you to come back with the Megaton Hammer.
Keys 1 and 2: the entrance and the bridge room
Kill the Fire Keese in the entrance room and take the door up the stairs on the left. After the cutscene, hop the platforms on the left to a ledge with a switch on it. Step on it, free the Goron, open the chest.
Worth a detour while you are here: hookshot the pillar in the corner across from that cell and you will find fairies in jars you can scoop into empty bottles. If you are short on bottles, the four of them are covered in our bottle locations guide.
Back in the very first room, take the locked door straight ahead. There is a bridge in this room — ignore it. Go left along the wall instead and through the door under the ledge. Switch, Goron, key.
Key 3: the lava lap and the bombable wall
From the big room, go left and follow the edge all the way around. Part of that path crosses lava; the Goron Tunic buys you the couple of seconds you need. You will walk past a locked door — note it, do not open it yet — and keep going to a ledge with a bombable wall. Bomb it, free the Goron, take the key.
On the way back, that locked door is next. Behind it is a slide, a fence to climb, Keese to shoot off with the Hookshot, and a block you push into a jet of fire so it rises and carries you to the upper floor.
Keys 4 and 5: the rolling boulder room
The boulder room is the temple's signature space: a wide floor with rocks rolling in fixed lanes. Two cells sit off it at ground level. One is through a door in a niche on the right once you have rounded the wall; the other is in a niche on the left on the far side of the room, opened by a floor switch.
To get here you first climb past two Torch Slugs, push a block off a ledge and pull it into place, and blow up a crystal switch with a thrown bomb to kill a wall of fire — then sprint for the fence in the window between the bomb landing and the flames coming back.
Keys 6 and 7: the upper level
Getting up is the Scarecrow's Song sequence described above. Once you are on the upper level, key 6 is under a cracked patch of floor on the big platform straight ahead — bomb it, climb down the fence, hit the switch. Key 7 is a jumping route: small ledge with a switch, big platform, two narrow platforms, big ledge, then across to the cell.
Do not fall. Dropping off the upper level puts you back among the rolling boulders and means running the whole climb again.
The flame wall maze and the fake door
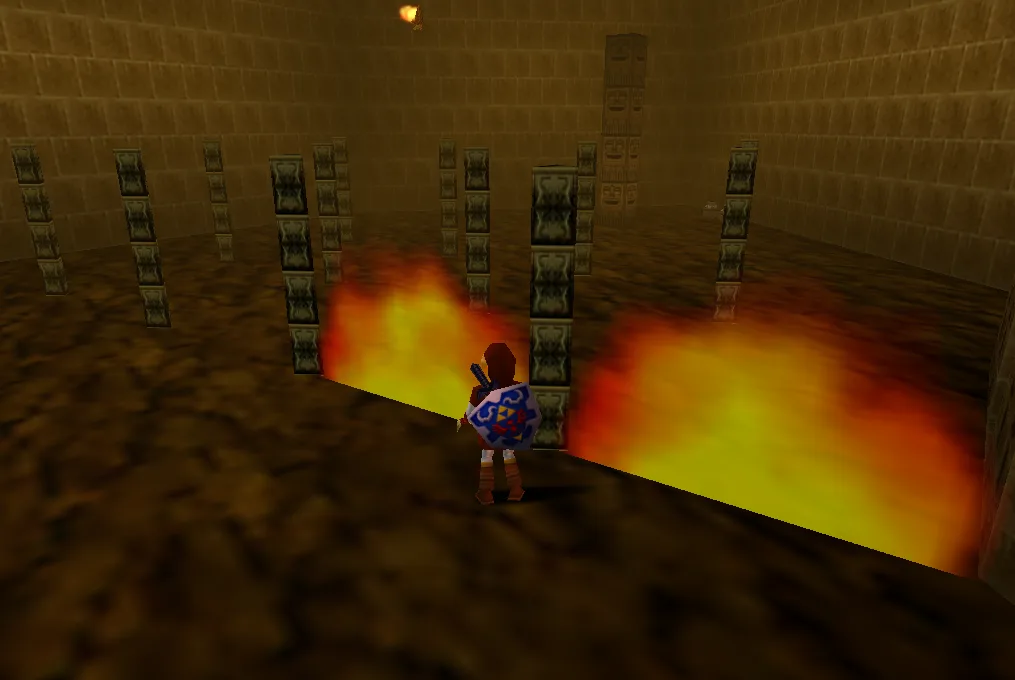
The third floor's other landmark is a maze of Flame Walls — walls of fire that ignite between poles as you approach. Move slowly and they stay predictable.
The exit is a trick. A floor switch kills the flame wall temporarily, and past it is a door that is not a door: bomb the fake door to reveal the real one behind it. Between the fake doors and the trap doors the Gorons warned about, bombs are the answer to more of this temple's doorways than your sword is.
Flare Dancers, both of them
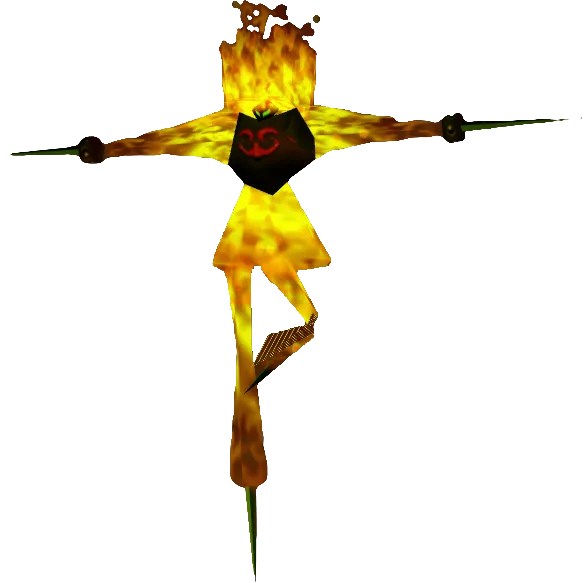
The Flare Dancer is a pillar of fire wrapped around a small black core, and it is fought twice. Zelda Wiki puts it at 12 hit points, and the fight has exactly one shape:
- Strip the fire. The Hookshot yanks the body off the core; the Megaton Hammer and thrown bombs do the same job. Arrows do nothing while it is burning — that is the hint the Goron gave you.
- Chase the core. Exposed, it sprints around the room. Cut it off and it skids, reverses, and runs the other way. Sword it whenever you can reach it.
- Repeat. It jumps back into the flames to rebuild itself, changing colour each time from yellow-orange to blue-purple to two shades of green.
Two things to respect. Its fire trail damages you if you stand in it, and when the core finally dies it expands and explodes, dropping bombs — that blast will hurt you if you are standing on top of it. Its scatter-flames attack costs half a heart; the self-destruct costs one and a quarter.
The two fights lead different places. The first raises a volcanic lift to the floor where the Megaton Hammer is kept. The second opens the way to the ninth Goron and the Boss Key.
The Megaton Hammer and Key 8
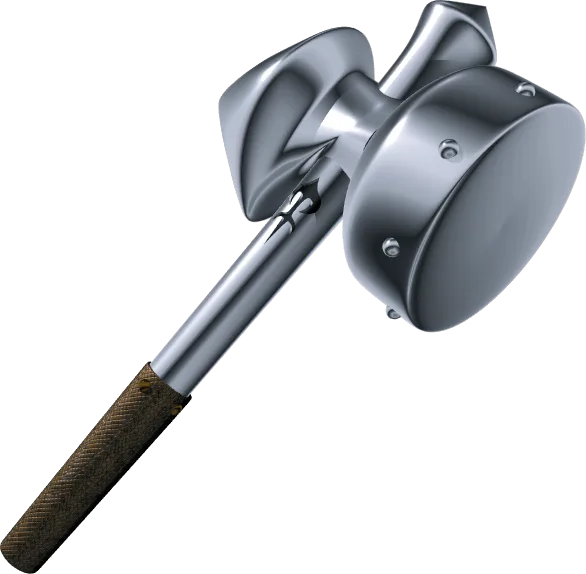
Past the first Flare Dancer, ride the platform up, bomb another crystal switch from a fence, then clear a room full of Fire Keese with arrows before running the narrow staircase to the chest. That is the Megaton Hammer.
It is worth understanding what you just picked up, because it changes the back half of the game and not only this dungeon:
| Property | Detail |
|---|---|
| Damage | The same as the Master Sword |
| Speed | Slower than any of Link's swords |
| Hands | Two — no shield while it is equipped |
| Breaks | Boulders, face blocks, totem poles |
| Activates | Rusty switches |
| Also opens | Certain Secret Grottoes out in Hyrule |
Key 8 is a Hammer-only chain. Smash the face block in the floor near where you came in to open a hole, drop through, knock a totem pole aside, and go through the door it was hiding. In the next room, pound another face block to raise a staircase, then carry one of the small crates down to the blue switch at the bottom — stand on the switch holding the crate, set the crate down on it, and the weight holds the door open. Ride a face block down a floor, hammer a rusty switch, then use the Song of Time to drop a blue block you can jump across on. One more rusty switch frees the eighth Goron.
Do not smash the small crates on the way through. You need one of them.
The Boss Key and the way to Volvagia
Hammer the large face block to get back down and return to the first room of the dungeon. On the lower level there is a totem pole: knock it out of the way with the Hammer and go through the locked door behind it. That is the entrance statue the Goron was hinting about.
Clear the room, then brace for the second Like Like — shield up until the flying tiles stop, kill it, and grab the Gold Skulltula on the wall. The second Flare Dancer is next; its chest holds bombs. Go south, hammer the rusty switch to free the ninth Goron, and the chest in his cell is the Boss Key.
From there: south, back to the first room, up the stairs, through the door on the left. Cross the platform in the centre of the room to the Boss Door at the back. Darunia is in the room off to the left of that stretch, if you want the reunion before the fight.
Volvagia: nine holes, one hammer
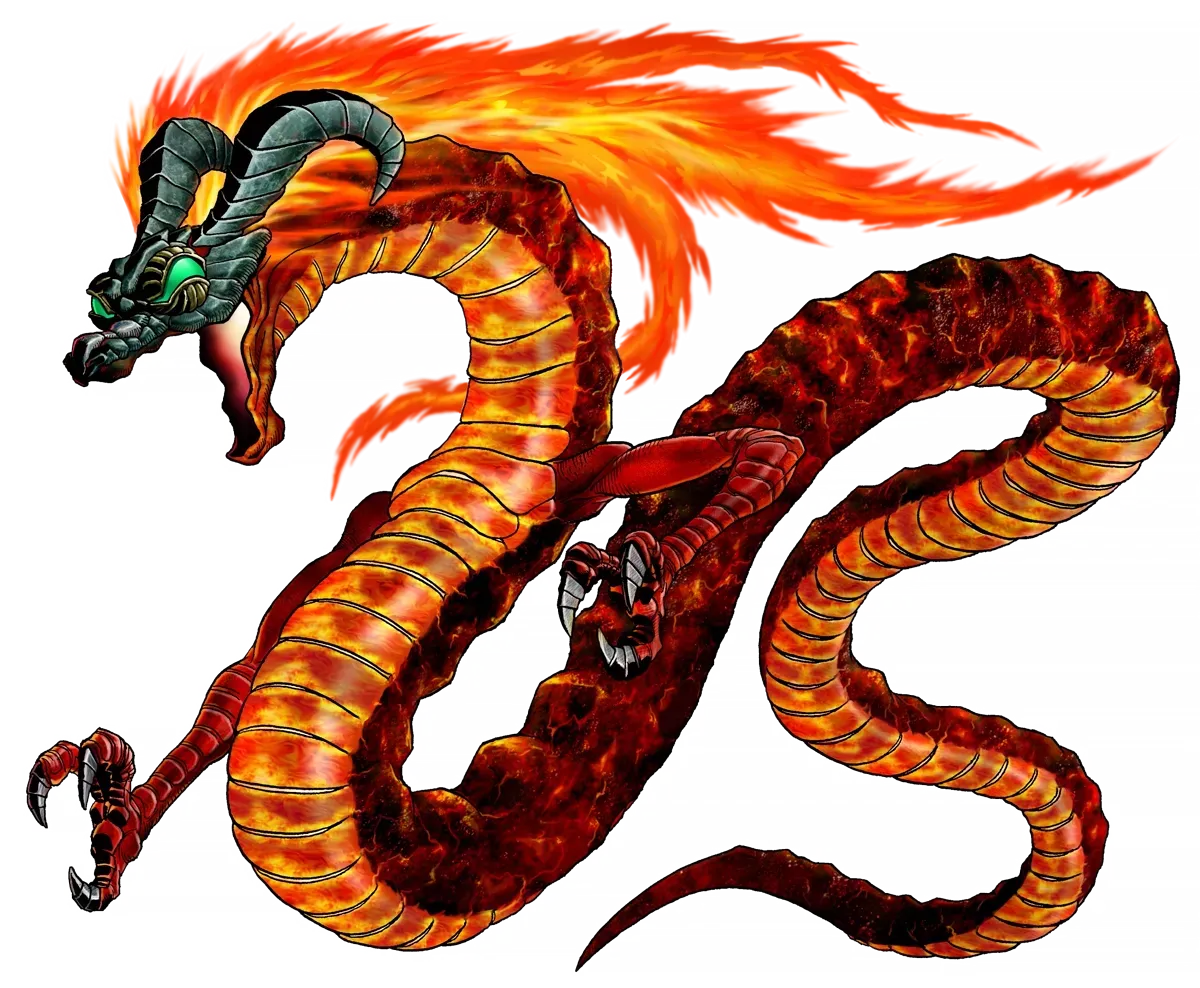
Volvagia is a dragon the Gorons already killed once. Their legend has a hero — an ancestor of Darunia — putting it down with the Megaton Hammer and sealing it in Death Mountain. Ganondorf brought it back, which is why the Gorons are in cages.
The arena is a rock platform in a lava pit with nine holes in it. Jump across and walk toward the centre to start.
- Read the fire, not the dragon. Fire spouts from some of the holes, and Volvagia's head surfaces from the last hole the fire came out of. That is the tell.
- Stand near a corner of the grid. From a corner you can see all nine holes at once instead of pivoting.
- Hammer the head the moment it appears, then follow up with the sword or another Hammer swing. Wait too long and it attacks instead.
- When it flies straight up, watch the floor. Boulders drop where the shadows are. Run away from the shadows, not from the ceiling.
- It also flies around the room breathing fire. Thonky notes an arrow can connect during this, but calls it tricky.
Beat it and you get the Fire Medallion and a Heart Container, and Death Mountain Crater opens up for exploration — including the Great Fairy fountain whose entrance is buried under boulders only the Hammer can shift, which doubles your Magic Meter. That one is covered in our Great Fairy guide.
Map, Compass, rupees and the Gold Skulltulas
Neither the Map nor the Compass is on the critical path, and both are easy to walk past.
| Item | Where |
|---|---|
| Dungeon Map | In the bridges room — shoot the eye switch, take the door that opens |
| Compass | Off the Flame Wall maze room, through the door in the wall on the right |
| 200 Rupees | Upper level: hit the switch, run the shallow side of the angled floor, hookshot the target post |
There are five Gold Skulltulas inside the temple, and the room-by-room walkthrough only routes past four of them — the fifth sits in the 200-Rupee room on 5F, which is a detour off the main line:
| # | Where |
|---|---|
| 1 | Like Like room above the Song of Time blue block, on the wall (1F) |
| 2 | Rolling boulder room — bomb the left side of an empty-looking niche (3F) |
| 3 | The room reached by playing the Scarecrow's Song in the boulder room (4F) — follow the path, then turn around and look at the inner wall |
| 4 | The large circular room that holds the 200 Rupees (5F) |
| 5 | The second Like Like room, past the entrance totem and before the second Flare Dancer (1F) |
They count toward the 100 tokens tracked in our Gold Skulltula guide, and grabbing them on the way through is far cheaper than a return trip.
Master Quest changes
Master Quest rebuilt the Fire Temple around puzzles rather than enemies, and it moves the two things you most want:
| Change | Original | Master Quest |
|---|---|---|
| Small Keys | Eight | Five |
| Megaton Hammer | Deep, past the first Flare Dancer | Very early |
| Boss Key | Ninth Goron's cell | Very early |
| Gorons | Nine | Fewer |
| Doors | Locked | Mostly barred with iron bars |
| New enemies | — | Stalfos, Lizalfos in the boulder room, an Iron Knuckle |
The other differences are about the toolkit it expects. The opening rooms want Din's Fire to light torches. Most of the redesigned puzzles use the Hookshot. There are invisible walls and Song of Time blocks, and several switches need a Spin Attack — including one hidden inside a crate, where you cannot see what you are hitting.
The music Nintendo replaced
The Fire Temple shipped with one soundtrack and then quietly got another, and the change is documented rather than fan legend.
In the first two N64 revisions — NTSC versions 1.0 and 1.1 — Koji Kondo's Fire Temple theme used samples from track 76 of a commercial royalty-free sample CD, Voice Spectral: Volume 1 by Best Service. Zelda Wiki identifies three excerpts of Islamic religious speech in that track — the Basmala, the Ikhlas and the Takbir.
Greg Hamilton of Nintendo of America stated that the samples were chosen from a commercial library and that the developers did not know they carried Islamic references. Once Nintendo was informed, Kondo rewrote the theme with synthesised choirs in place of the vocal samples, in line with Nintendo's policy at the time against references to real-world religions. Nintendo Power #148 (September 2001) confirmed the change in print. Zelda Wiki records the revised version as shipping from PAL 1.0 onward and being carried into the ports and remakes, so a Switch Online or 3DS playthrough is hearing the synthesised-choir cut.
Quick Action Checklist
- Get the Goron Tunic before you go: free from Darunia's son after stopping his roll, or 200 Rupees at the Goron Shop.
- Set up the Scarecrow's Song with Bonooru as a child and reactivate it as an adult — the walkthrough route to two of the nine Gorons goes through it.
- Treat the dungeon as a jailbreak: nine cells, eight Small Keys, one Boss Key.
- Kill Like Likes with arrows so they never get close enough to eat your tunic.
- Against Flare Dancers: Hookshot or bomb the fire off, sword the core, stay out of the death explosion. Arrows do nothing while they burn.
- After the Megaton Hammer: face blocks, totem poles and rusty switches all become doors.
- Against Volvagia: stand at a corner of the nine-hole grid, hammer the head where the last fire spout was, and run from the floor shadows.
Frequently Asked Questions
How many Small Keys are in the Fire Temple in Ocarina of Time?
How many Gorons do you have to free in the Fire Temple?
Do you need the Goron Tunic for the Fire Temple?
Where is the Megaton Hammer in Ocarina of Time?
How do you beat a Flare Dancer in Ocarina of Time?
How do you beat Volvagia in the Fire Temple?
Why does the Fire Temple music sound different on N64?
Keep Reading
- Zelda Wiki — Fire Temple, the Goron jailbreak structure, the symmetrical layout and Master Quest changes
- Zelda Wiki (Fandom) — Fire Temple Small Key counts (eight original, five Master Quest) and the Darunia reunion room
- Zelda Wiki — per-dungeon Small Key counts for Ocarina of Time and Master Quest
- Zelda Wiki — Megaton Hammer damage, two-handed drawback and what it breaks
- Zelda Wiki — Flare Dancer health, weaknesses, colour cycle and death explosion
- Zelda Wiki — Goron Tunic sources, 200-Rupee price, adult-only fit and Like Like theft
- Zelda Wiki — the Fire Temple theme, the removed 1.0/1.1 vocal samples and Nintendo's statement
- Thonky — room-by-room Fire Temple walkthrough, key order and the Volvagia fight
- Thonky — Gold Skulltula guide, the five Fire Temple tokens and their floors
- Game Rant — the nine trapped Gorons and which one carries the Boss Key
Related Guides
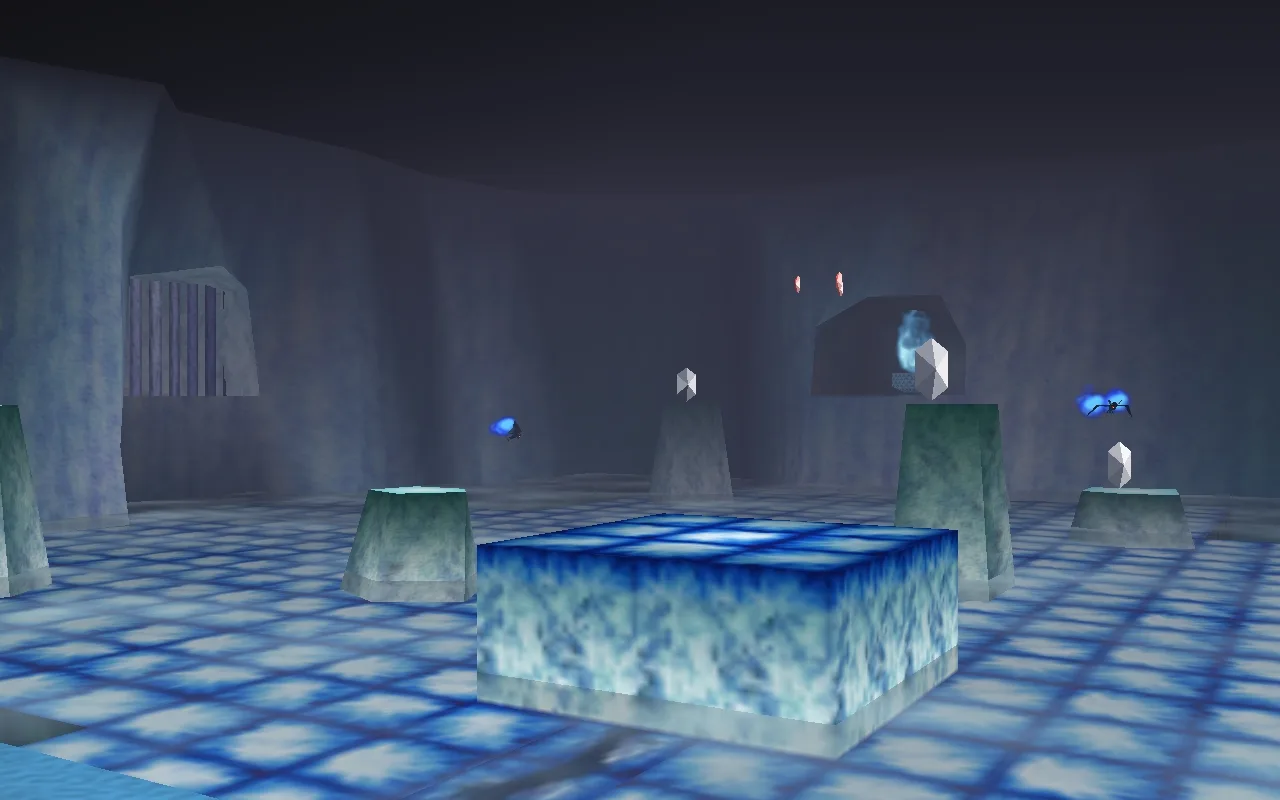
Ocarina of Time Ice Cavern Walkthrough: Every Room
Skip the Ice Cavern and the Water Temple becomes uncrossable — the Iron Boots live nowhere else in the game. It's also a genuinely strange dungeon: per Zelda Wiki, it's tied with the Gerudo Training Ground as the smallest in Ocarina of Time, and every room but the mini-boss chamber connects by open hallway instead of a door. Here's the room-by-room route: the Ice Scythe hub and its five Silver Rupees, all three Gold Skulltulas, the White Wolfos fight, and the underwater shortcut on the way out.
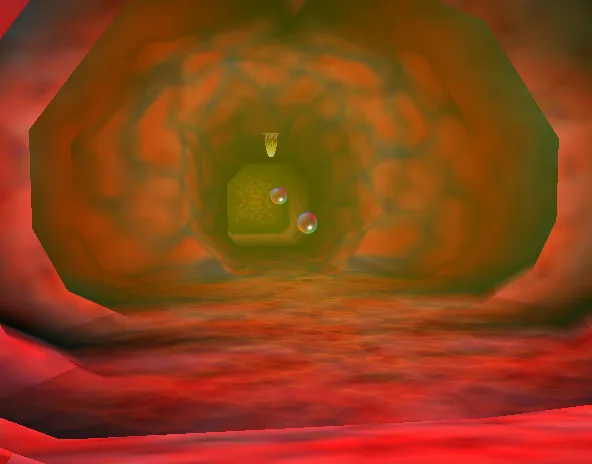
Ocarina of Time Jabu-Jabu's Belly Walkthrough: Every Room
Inside Jabu-Jabu's Belly is the third dungeon in Ocarina of Time and the odd one out: no map-and-compass hunt for its own sake, and an escort mission where the person you're escorting can drown. Here is how to actually get in (it takes a diving contest and a message in a bottle), the full route through the Fork in the Guts, the Big Octo fight, and every phase of the Barinade boss fight, including the scripted invulnerability window partway through.
Ocarina of Time Dodongo's Cavern Walkthrough: Every Room
Dodongo's Cavern is one enormous lock with a giant dead Dodongo for a keyhole, and the entire dungeon is you gathering the means to open its mouth. Here is the route through the Entrance, Eastern, Western and Northern Rooms, every chest, the Bomb Bag, all five Gold Skulltulas — two of which child Link cannot reach on the way through — and the King Dodongo fight.
Ocarina of Time Deku Tree Walkthrough: Every Room
Inside the Deku Tree is the first dungeon in Ocarina of Time and the game's own tutorial, teaching doors, vines and switches in about twenty minutes. It is also easy to half-explore, because several of its rewards sit behind puzzle steps the game never spells out. Here is every chest, all four Gold Skulltulas (one of which needs an item you don't have yet), and the fastest way through Gohma.
Ocarina of Time Dungeon Order: The Full Route, Explained
Ocarina of Time looks like an open adventure and plays like a corridor. Eight required dungeons, three side dungeons, and exactly one place where the game genuinely lets you pick. Here is the whole route with the reasons behind each lock.
Ocarina of Time Bottom of the Well: Lens of Truth Guide
The Lens of Truth sits at the bottom of a Kakariko well that is full of water for the entire first act. Here is how you empty it: the time loop that unlocks the well, the six-step run to the Lens chest, and the ten other things buried down there.