Ocarina of Time Deku Tree Walkthrough: Every Room
Inside the Deku Tree is the first dungeon in Ocarina of Time and the game's own tutorial, teaching doors, vines and switches in about twenty minutes. It is also easy to half-explore, because several of its rewards sit behind puzzle steps the game never spells out. Here is every chest, all four Gold Skulltulas (one of which needs an item you don't have yet), and the fastest way through Gohma.
Inside the Deku Tree is doing two jobs at once. Story-wise it is Link's first errand: the Great Deku Tree is cursed and asks a ten-year-old with a stick to go fix it. Mechanically it is the game's tutorial, and Zelda Wiki says as much outright — the dungeon is "designed to teach Link how to navigate in three-dimensional space" and how doors, vines, switches and blocks work, right down to the camera panning to a ladder the moment you walk in.
That tutorial framing is exactly why it is easy to leave early. The critical path to Gohma takes maybe fifteen minutes and walks past most of the dungeon's Gold Skulltulas and recovery-heart chests without a second look. Here is the whole dungeon, room by room, with everything the fast route walks past.
Inside the Deku Tree at a glance
| Location | Great Deku Tree's Meadow, Kokiri Forest |
| Age | Child Link only |
| Entry requirement | Kokiri Sword and Deku Shield equipped |
| Boss | Gohma |
| Dungeon item | Fairy Slingshot |
| Reward | Kokiri's Emerald (Spiritual Stone of the Forest), Heart Container |
| Also inside | Dungeon Map, Compass, 4 Gold Skulltulas (1 needs Bombs from a later dungeon) |
| Boss Key | None — there is no Boss Key in this dungeon |
There is no Heart Piece in here and no Small Keys either. What you are collecting is the Map, the Compass, the Slingshot, and three tokens.
Getting in: Mido wants a sword and a shield
Mido blocks the meadow entrance and will not move until Link is carrying both a Kokiri Sword and a Deku Shield. Zelda Wiki's page for the dungeon confirms the gate is literal — equip both, and "Mido will begrudgingly allow him to visit the Great Deku Tree."
The sword is free, tucked in a crawlspace training ground behind the fence maze near Link's house. The shield costs 40 Rupees at the Kokiri Shop, which is the only rupee grind in the whole prologue. Our dungeon order guide covers the full opening sequence, including Mido and Saria, if you have not started yet.
Talk to the Great Deku Tree in the meadow and agree to help. He opens his mouth and you walk in.
Floor one: the Map and the Slingshot
The entrance room is a tall, three-story shaft wrapped around a central pit, and the pit is covered by a web you cannot break yet — that comes later, from above.
Kill the Deku Baba near the entrance (raise your shield when targeted so its bite doesn't land, then cut it twice) and climb the ladder just past it. Follow the path around to a chest holding the Dungeon Map.
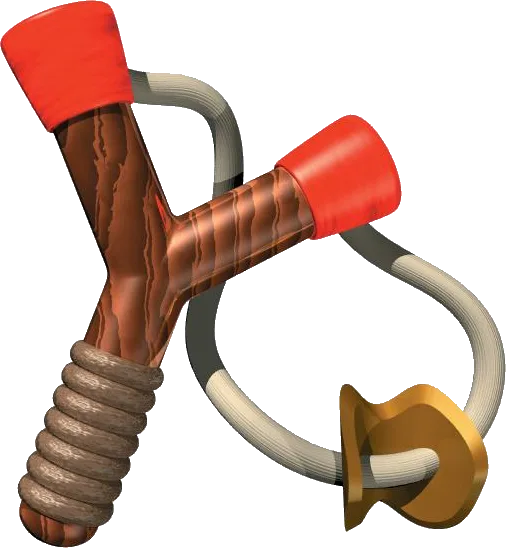
Do not climb the vines yet. Keep going around the circular path to a door instead. Inside is the first of two cowardly Deku Scrubs — target it, raise your shield so its Deku Nut bounces back and stuns it, then talk to it. It teaches you to hold forward when landing from a big fall to avoid damage, and the door opens. Cross the collapsing stone platform (or climb the vines if it's already fallen) to a chest with the Fairy Slingshot.
The Compass and the first Gold Skulltula
Before leaving that room, climb the vines near the Slingshot chest for a small chest holding a recovery heart, then head back down. Turn to face the door you entered from, target the green switch that appears, and fire the Slingshot at it — this knocks down a ladder and drops you to a lower room where you can cut bushes for extra Deku Seeds.
Back outside, use the Slingshot to clear three ordinary Skulltulas clinging to the vines above the Map chest, then climb those vines. Partway up you have to let go and climb sideways to reach a platform, then follow the circular path to a door.
Inside, step on the floor switch to raise three temporary platforms. Skip the near chest and jump to the far wall for the bigger one — that's the Compass.
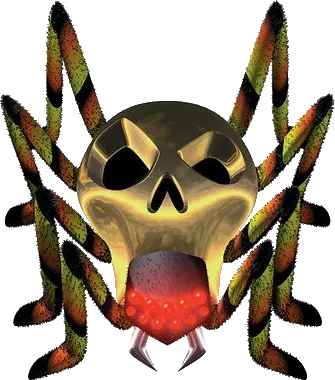
The switch room is also where the first Gold Skulltula is, but on ground level rather than up top. Drop back down, and to the right you'll spot a Skulltula's shadow on the floor. Get close enough to lure it down, wait for it to expose its belly, and hit it twice with the sword — never approach too close or it spins into you. Kill the nearby Deku Baba too (it's a reliable Deku Stick source if you're out), climb back up, and hit the switch again to raise the platforms a second time. This time jump to the alcove on the left instead of the Compass wall — that's where the token is, plus a chest with a recovery heart.
Lighting the way down, and the second Skulltula
Climb back to the entrance level and equip a Deku Stick. Light it on a burning torch, then carry the flame to the unlit torch across the room — put the stick away with the button that stows items the instant the door opens, or the fire eats through it before you can reuse it.
Through that door is an upper ledge with three ordinary Skulltulas, each guarding an edge. Kill one, then run off that ledge and release the control stick mid-jump — done right, this drops you through the web covering the first-floor pit rather than onto solid ground. Missing it means climbing all the way back up to try again.
Landing in the water below, climb onto the platform with a Deku Baba, kill it, and aim the Slingshot up at the vines for the second Gold Skulltula. Climb up to collect the token.
The third Skulltula, and the spiked roller room
Drop back into the water. There's a shallow area behind you leading toward a set of bars — Slingshot the third Gold Skulltula there, then reach its token by hugging the wall next to the bars and making a running jump onto the ledge to the right.
Back on that ledge, step on its switch to light a torch and reveal one more heart-chest, then light a Deku Stick and jump across the shallow water to burn down a web blocking a door.
Past a Deku Scrub who teaches the "2-3-1" line (see below) and a door opened by Slingshotting an eye switch, you reach the dungeon's other signature puzzle: a spiked roller blocking a low corridor. Zelda Wiki's overview describes the intended answer as diving to an underwater floor switch that temporarily lowers the water level, though holding a shield while crouched under the roller works as a shortcut too. Cross via the timed moving platform once the water's down, push the block in the next room onto the raised path, and climb through the door beyond it.
The web corridor, and the 2-3-1 Scrubs
The rooms from here on are mostly torch-and-web chores — light a Deku Stick, carry it around the room's edge to a wall of webs, burn it down, repeat — punctuated by regular Skulltulas and Deku Babas that regenerate, so they're a free stick refill if you're low. One web wall near a Suspicious-Looking Wall cannot be opened yet. That wall hides the dungeon's fourth Gold Skulltula, and it needs Bombs, which don't exist until Dodongo's Cavern — so it's a genuine backtrack, not a Master Quest-only detail. Come back as child Link once you're carrying Bombs (any time before pulling the Master Sword) and the token is still there waiting.
Eventually a rolling attack through a floor-level web drops you to the bottom floor, where the dungeon's real gate is waiting: three Deku Scrub Bros. guarding the boss door. The trick, per Zelda Wiki and confirmed on Thonky's room-by-room walkthrough, is order: target the middle one first and raise your shield to bounce its nut back and stun it, then the rightmost, then the leftmost. Beating all three the wrong order just resets the fight. Walk up to the last one afterward and, out of frustration, it reveals Gohma's actual weak point before vanishing — striking her with the sword only works while her eye is stunned red.
Gohma
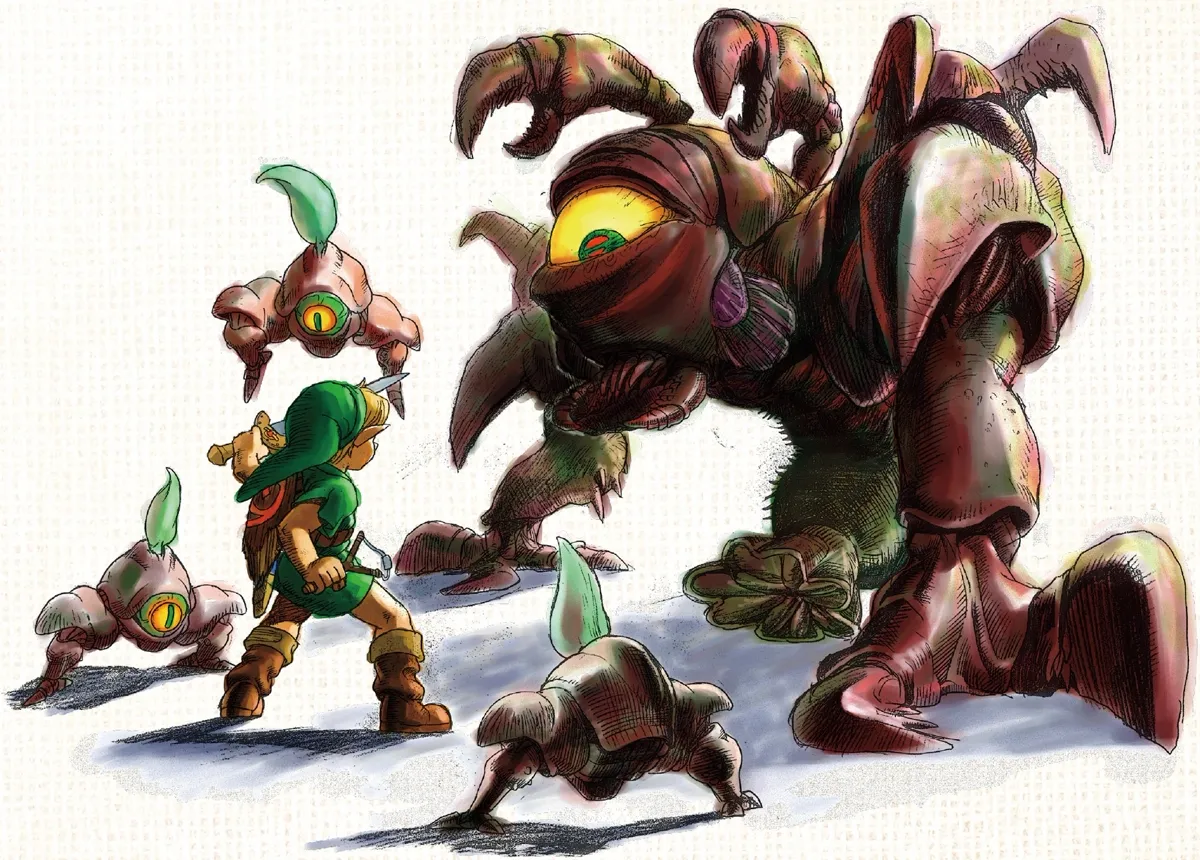
Gohma is on the ceiling when you walk in — look up before crossing into the arena and Navi will point her out, glowing silently. Cross in, and once she's aware of you, target her orange eye to bring her down to the floor.
The whole fight runs on one exchange: wait for her eye to flash red, hit it with a Deku Seed from the Slingshot to stun her, then close in and hit the eye with your sword (or a jump-slashing Deku Stick, which the Ocarina of Time boss guide notes does enough damage to end a stun window outright) as many times as the window allows.
Zelda Wiki's Gohma page is specific about how long each stun actually lasts, and the numbers matter for routing the fight: a Deku Nut stun runs about two seconds, a Deku Seed fired at her red eye on the ground runs about five, and shooting her while she's hanging from the ceiling runs closest to eight — the longest window in the fight. That ceiling shot is also the one the failure state hinges on: leave her up there too long without shooting and she hatches three Gohma Larvae to help her, which is what actually makes this fight go long.
After enough hits she drops a Heart Container. Walk into the blue warp circle that appears and you're back outside in the meadow, where the Great Deku Tree hands you the Kokiri's Emerald — the Spiritual Stone of the Forest — before passing away from the curse's damage, which was already fatal before you even set foot inside.
Every chest and token, in one table
| Item | Where |
|---|---|
| Dungeon Map | Chest along the entrance-floor path, past the first Deku Baba |
| Recovery Heart | Small chest on a ledge above the Fairy Slingshot chest |
| Fairy Slingshot | Chest across the collapsing platform, 2F southwest room |
| Compass | Larger chest reached by jumping across the raised platforms |
| Recovery Heart | Alcove revealed by the platform switch, opposite the Compass |
| Gold Skulltula 1 | Ground level near the switch room, belly-attack kill |
| Gold Skulltula 2 | Vines above the water pool on the first floor |
| Gold Skulltula 3 | Near the bars in the shallow water; token needs a running jump |
| Recovery Heart | Small chest revealed by the switch near the third token |
| Gold Skulltula 4 | Behind the Suspicious-Looking Wall in the lower rooms; needs Bombs from Dodongo's Cavern, so it's not obtainable on this visit |
Ten pickups exist in this dungeon: three chests of recovery hearts, the Map, the Compass, the Slingshot, and four Gold Skulltula tokens. Three of the tokens are reachable right now; the fourth waits behind a Suspicious-Looking Wall until you're carrying Bombs. None of them are on the direct route to Gohma.
Master Quest mirrors it and moves everything
Master Quest does not just reshuffle this dungeon, it changes the vocabulary. Zelda Wiki's Master Quest write-up lists Big Deku Babas and Keese replacing some of the original enemy roster, and the cowardly Deku Scrubs who teach the fall-roll and open doors for you are gone entirely — though the three Scrub Bros. guarding the boss door remain, with their stun order inverted to 1, 3, 2.
The chest and token contents change too: three of the six chests hold rupees instead of hearts — two Blue Rupees and a Purple Rupee — and that Purple Rupee is hidden inside a Time Block that needs the Song of Time to reveal. Fully clearing Master Quest's version of the dungeon needs Bombchus, the Boomerang, and a song adult Link doesn't learn until much later, carried back in on a return trip. None of that is available on a first visit as a child.
Master Quest is only available in Ocarina of Time 3D and on the GameCube Collector's Edition discs, and its 3DS version is mirrored left-to-right from the original layout.
Quick Action Checklist
- Equip the Kokiri Sword and Deku Shield before Mido will let you near the meadow.
- Grab the Dungeon Map chest first, then loop back for the Slingshot rather than climbing the vines early.
- Use the Slingshot's green-switch trick to open a shortcut ladder before farming the vine Skulltulas.
- Three of the four Gold Skulltulas are missable on a fast run: one on the ground near the switch room, one on vines above the water, one near the bars in the shallow water.
- The spiked-roller corridor has two solutions — dive to the underwater switch, or crouch with your shield up.
- The Suspicious-Looking Wall hides the dungeon's fourth Gold Skulltula and needs Bombs from Dodongo's Cavern; it is not solvable on this visit — come back for it once you're carrying Bombs.
- The Scrub Bros. guarding the boss door go down in this order: middle, right, left.
- Gohma's longest stun window comes from shooting her while she's on the ceiling — about eight seconds versus roughly five on the ground.
- Don't let her sit unshot on the ceiling too long, or she hatches three Larvae.
- After the Kokiri's Emerald, head to Dodongo's Cavern next in the fixed child-dungeon chain.
Frequently Asked Questions
How do you get into the Deku Tree in Ocarina of Time?
How many Gold Skulltulas are in the Deku Tree?
What order do you beat the Deku Scrub Bros. in the Deku Tree?
How do you beat Gohma in Ocarina of Time?
Is there a Heart Piece in the Deku Tree?
What changes in the Deku Tree in Master Quest?
Keep Reading
- Zelda Wiki — Inside the Deku Tree: room design, enemy list, treasure chest and Gold Skulltula locations
- Zelda Wiki — Gohma: the Ocarina of Time fight, stun durations by method, and the Larvae failure state
- Thonky — room-by-room Deku Tree walkthrough, the 2-3-1 Scrub order and the Gohma fight steps
- Thonky — getting the Kokiri Sword and Deku Shield before Mido allows entry
- Zelda Wiki — Inside the Deku Tree (Master Quest): changed enemies, inverted Scrub order, Time Block chest
Related Guides
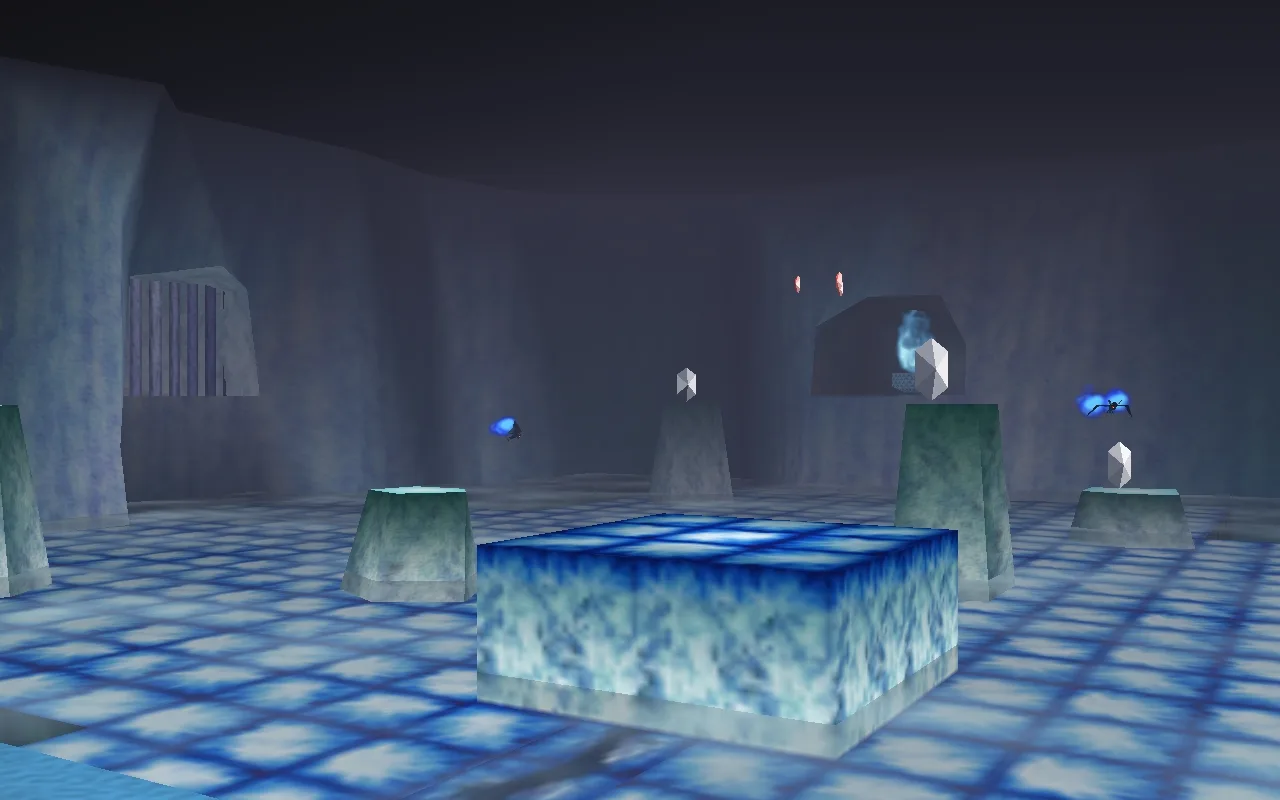
Ocarina of Time Ice Cavern Walkthrough: Every Room
Skip the Ice Cavern and the Water Temple becomes uncrossable — the Iron Boots live nowhere else in the game. It's also a genuinely strange dungeon: per Zelda Wiki, it's tied with the Gerudo Training Ground as the smallest in Ocarina of Time, and every room but the mini-boss chamber connects by open hallway instead of a door. Here's the room-by-room route: the Ice Scythe hub and its five Silver Rupees, all three Gold Skulltulas, the White Wolfos fight, and the underwater shortcut on the way out.
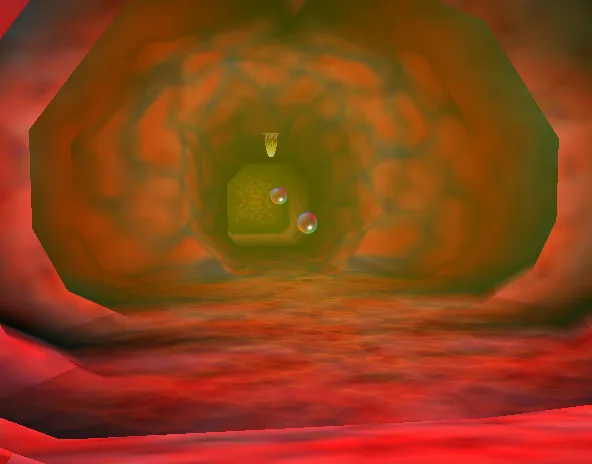
Ocarina of Time Jabu-Jabu's Belly Walkthrough: Every Room
Inside Jabu-Jabu's Belly is the third dungeon in Ocarina of Time and the odd one out: no map-and-compass hunt for its own sake, and an escort mission where the person you're escorting can drown. Here is how to actually get in (it takes a diving contest and a message in a bottle), the full route through the Fork in the Guts, the Big Octo fight, and every phase of the Barinade boss fight, including the scripted invulnerability window partway through.
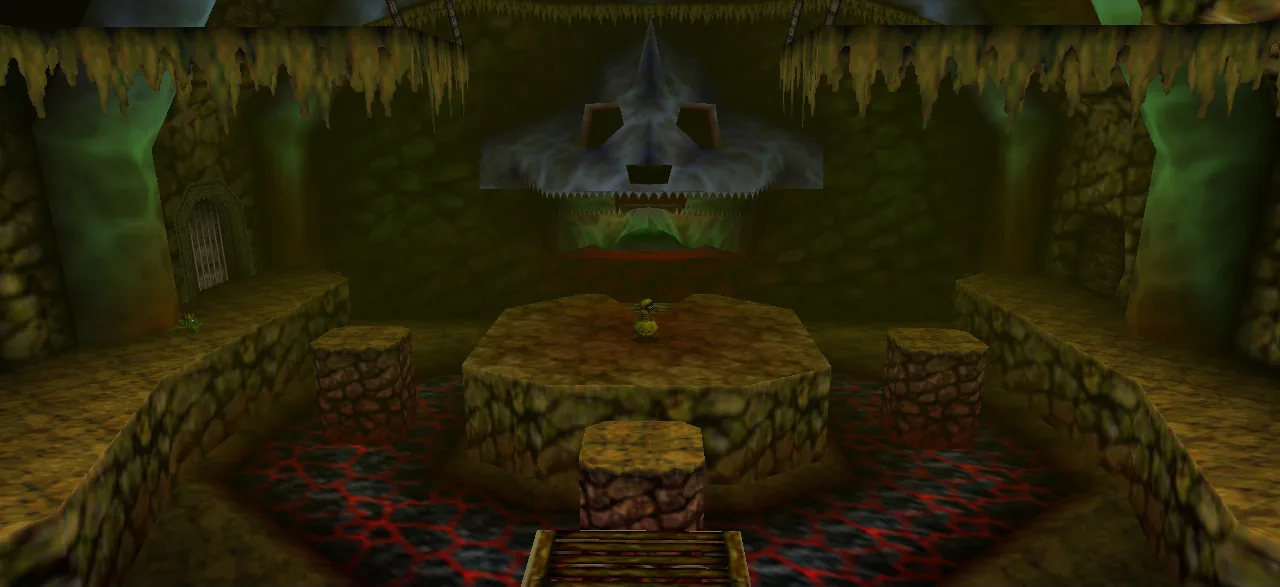
Ocarina of Time Dodongo's Cavern Walkthrough: Every Room
Dodongo's Cavern is one enormous lock with a giant dead Dodongo for a keyhole, and the entire dungeon is you gathering the means to open its mouth. Here is the route through the Entrance, Eastern, Western and Northern Rooms, every chest, the Bomb Bag, all five Gold Skulltulas — two of which child Link cannot reach on the way through — and the King Dodongo fight.
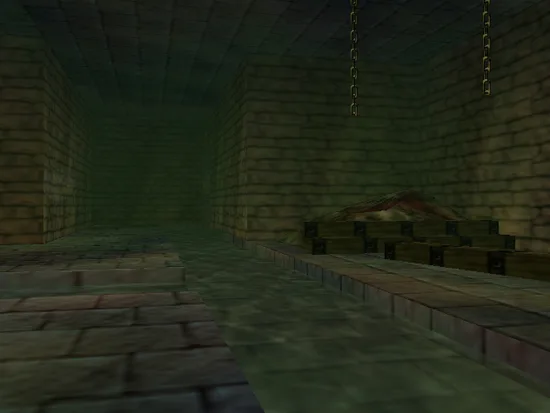
Ocarina of Time Bottom of the Well: Lens of Truth Guide
The Lens of Truth sits at the bottom of a Kakariko well that is full of water for the entire first act. Here is how you empty it: the time loop that unlocks the well, the six-step run to the Lens chest, and the ten other things buried down there.
Ocarina of Time Dungeon Order: The Full Route, Explained
Ocarina of Time looks like an open adventure and plays like a corridor. Eight required dungeons, three side dungeons, and exactly one place where the game genuinely lets you pick. Here is the whole route with the reasons behind each lock.
Ocarina of Time Ganon's Castle: All 6 Barrier Trials
Ganon's Castle is six short dungeons wrapped around one locked spindle, and the Medallions you spent the whole game collecting are not what opens it. Here is what each barrier room actually asks for, the one trial that has to come first, and the climb to the organ.