Ocarina of Time Bottom of the Well: Lens of Truth Guide
The Lens of Truth sits at the bottom of a Kakariko well that is full of water for the entire first act. Here is how you empty it: the time loop that unlocks the well, the six-step run to the Lens chest, and the ten other things buried down there.
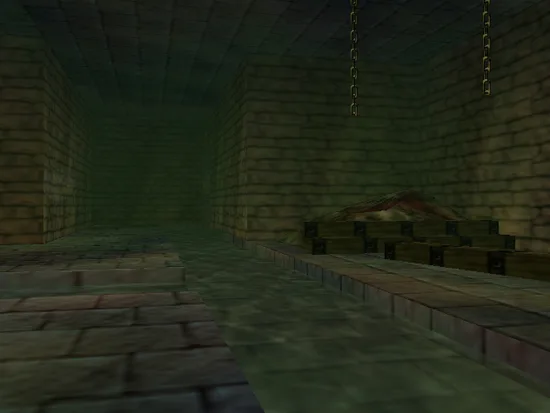
Ocarina of Time has a habit of gating a genuinely useful item behind a room it barely points at. The Lens of Truth is the clearest case. It is the thing that makes the Shadow Temple readable, the Haunted Wasteland crossable and half of Ganon's Castle survivable, and it is never a quest objective — the pointers are two lines of optional villager dialogue. It sits at the bottom of a well in Kakariko that is full of water for the entire first act.
Zelda Wiki classes the Bottom of the Well as an optional mini-dungeon with "no effect on the main quest if not attempted." That is true on paper and a trap in practice. Here is how you open it, the shortest line to the Lens chest, and the ten other things buried down there alongside it.
The well at a glance
| Location | Well of Three Features, Kakariko Village |
| Age | Child Link only — as an adult the well is drained and sealed |
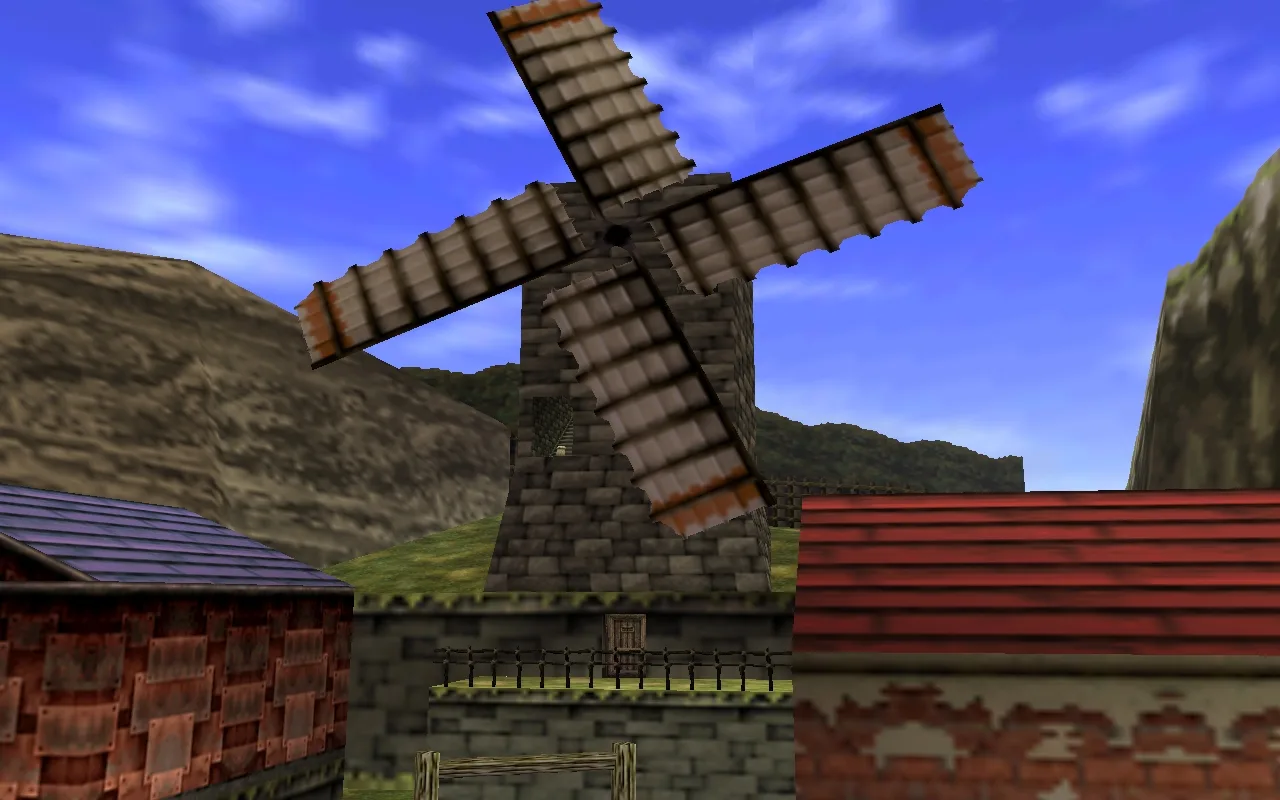
| Unlocked by | Playing the Song of Storms inside the Kakariko Windmill as a child |
| Sub-boss | Dead Hand |
| Main reward | Lens of Truth |
| Also inside | 3 Small Keys, Dungeon Map, Compass, 3 Gold Skulltulas |
| Boss Key | None — there is no boss and no Boss Key |
| Floors | Three, all treated as basement levels |
Note what is missing from that list: a Heart Piece and a Boss. This is a mini-dungeon, not a temple. Only the first and largest floor has to be explored to get the Lens.
Why the well stays shut until you have been an adult
The ordering here is easy to get stuck on, and it is not a bug. The well is opened by the Song of Storms — and the Song of Storms is taught to adult Link.
Zelda Wiki's Kakariko Windmill entry lays out the loop plainly. The Phonogram Man stands inside the windmill trying to write a theme about going around and around. Speak to him as an adult and he is furious about something that happened seven years ago; show him the Ocarina of Time and he demonstrates the strange melody a kid once played that wrecked his windmill, which is how he teaches it to you. You then travel back to childhood, walk into the same windmill, and play that melody at him — spinning the windmill up, draining the well, and causing the grievance he will be complaining about seven years later. He never works out that the ocarina kid and the man in front of him are the same person.
So the sequence is fixed: become an adult, learn the song from the Phonogram Man, return to the past, then go down the well. You cannot shortcut it as a first-act child.
The hints are there, they are just thin and split between two villagers. A Hylian in Kakariko tells you the windmill draws water up from the depth of the well, which is the mechanical link. Professor Shikashi tells you about a man with an eye that could see the truth whose house stood where the well now is, which is the reward. Neither one says the words "play a song in the windmill."
How to drain it
- As adult Link, enter the Kakariko Windmill and pull out the Ocarina of Time in front of the Phonogram Man. He plays the Song of Storms on his phonograph and you learn it.
- Return to the Temple of Time and put the Master Sword back to become a child again.
- Walk into the Kakariko Windmill as a child and play the Song of Storms.
- The windmill accelerates, the well drains, and the entrance opens.
If you want the Song of Storms for other reasons — grottoes, watering Magic Bean sprouts, the Fabulous Five Froggish Tenors Heart Piece in Zora's River — it is the same song, learned the same way. Our Ocarina of Time songs guide has the note inputs for all twelve.
What to take down with you
- The Sun's Song. It freezes ReDeads and Gibdos in the room it is played in, and there is a room of coffins down here guarded by a Gibdo. You learn it in the Royal Family's Tomb in the Kakariko graveyard, which itself only opens after Zelda's Lullaby is played on the Triforce mark outside.
- Zelda's Lullaby. Non-negotiable. It is what drains the water on the first floor and opens the rest of the dungeon.
- Deku Sticks. One of the three Small Keys is behind a torch that has to be lit, and a Deku Stick is child Link's lighter.
- Bombs, or the Bomb Bag at least. There is a chest of bombs inside if you arrive empty, and you need them for the boulders on the bottom floor. The Beamos takes a bomb too, though Thonky notes a Deku Nut will stun it instead.
- Slingshot and Boomerang. Thonky's walkthrough uses the Boomerang to stun the Green Bubble and the Slingshot to finish it, and the Slingshot again on the Like Like near the third Gold Skulltula.
- Magic. The Lens of Truth drains the Magic Meter while it is switched on, so a green potion or a bottled fairy is worth having. If you have somehow reached this point without a meter, the Great Fairy fountains guide covers where it comes from.
One source conflict worth flagging: Thonky's walkthrough opens by telling you to swap the Deku Shield for the Hylian Shield, citing Fire Keese. Zelda Wiki's enemy list for this dungeon has ordinary Keese and does not list Fire Keese. Take the shield swap as cheap insurance rather than a hard requirement — a Fire Keese destroys a Deku Shield and equipped Deku Sticks the instant it touches Link, and you are carrying Deku Sticks for that torch.
The fast route to the Lens of Truth
If all you want is the Lens and you intend to leave, this is the whole run.
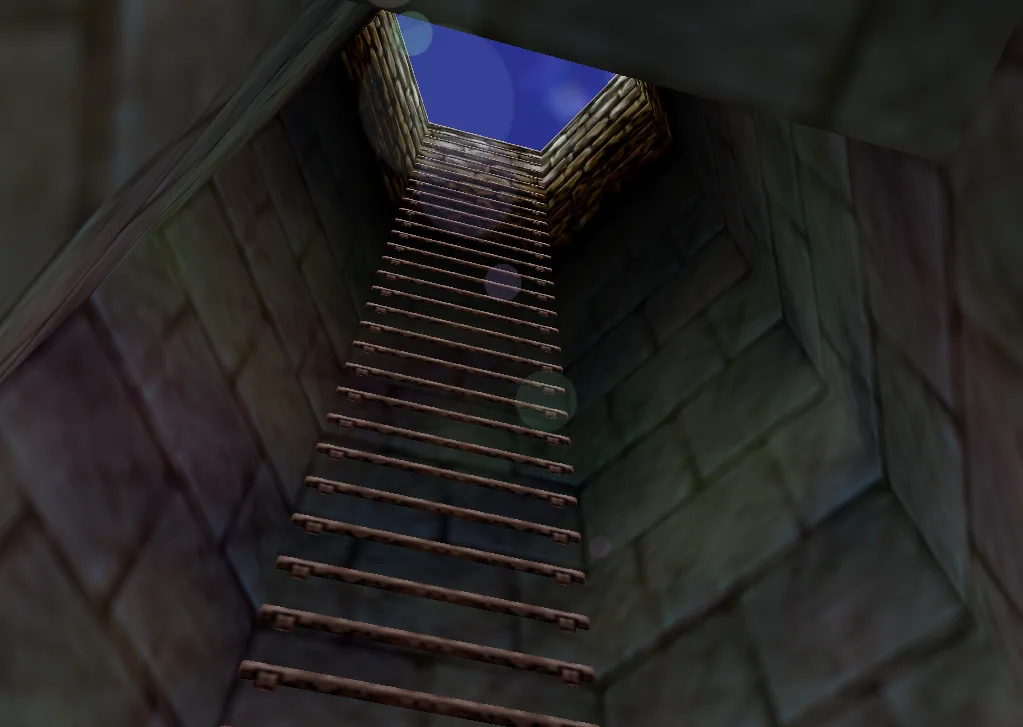
- Drop into the well, crawl through the hole and climb down the ladder. Kill the Skulltula at the bottom.
- Walk straight through the wall next to the skeleton. It is an illusion, and you have no Lens yet to prove it — this is the dungeon telling you what it is about before it gives you the tool.
- In the big central chamber, follow the shallow water around the room in either direction until you reach a Triforce symbol on the floor beside a stone mouth pouring water. Play Zelda's Lullaby. All the water drains.
- Go back to the pool near where you came in. It is empty now, so drop in or climb down the vines. The chest at the bottom holds bombs.
- Crawl through the hole in the wall behind that chest. Kill the Skulltula on the far side, climb up, and go through the door.
- Dead Hand.
That is it. Six steps, no Small Keys required. The keys, the Map and the Compass are all optional detours.
Dead Hand, and why you let it grab you
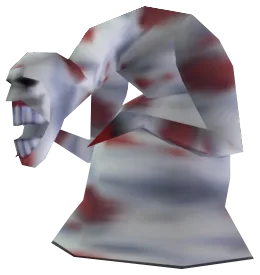
Dead Hand is a sub-boss, not a boss, and the fight is a deliberate inversion: the correct opening move is to walk into one of the disembodied Hands circling the room and let it catch you. Zelda Wiki puts the count at usually four to six per chamber. Getting grabbed is what makes the main body surface.
Once you are held, mash the buttons and waggle the stick to break free, then hit the exposed face with your sword until it turns away. Back off immediately — it is about to burrow, and the wave of earth it throws off as it submerges will hit you. Then feed yourself to another Hand and repeat.
| Dead Hand | Detail |
|---|---|
| Bite | 1/2 Heart |
| Burrow / emerge shockwave | 1/4 Heart |
| Weak to | Sword, Bombs |
| Hand respawn | Roughly 20 seconds after being destroyed |
| Reward here | Lens of Truth |
There is an alternative that Zelda Wiki notes: destroy enough of the Hands and the Dead Hand is forced to emerge on its own, letting you swing without being held first. They regenerate in about twenty seconds, so it is a race rather than a clean lockout. The bomb-on-the-shadow trick works too, but not on this one — it needs the Lens to see the shadow, which is exactly the item you are here to collect. Save it for the Dead Hand in the Shadow Temple, which drops the Hover Boots.
The invisible chest behind the Lens chest
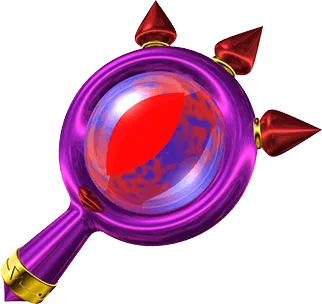
Do not leave the Dead Hand room the moment the Lens chest opens. There is a second, invisible chest tucked behind it holding a Gold Rupee worth 200. Switch the Lens on and it appears.
The catch is a real one: a Gold Rupee is wasted if your wallet cannot hold the change. Child Link with the base wallet caps at 99. If you are carrying an Adult's Wallet (200) or a Giant's Wallet (500) from the Gold Skulltula rewards, spend down first, then open it.
Everything else down there
With the Lens in hand the dungeon changes character completely — most of what remains is behind fake walls you now have a tool for. Here is everything worth a detour. Thonky's walkthrough also logs three minor chests along the way, holding a recovery heart and five rupees apiece.
| Item | Where | What it needs |
|---|---|---|
| Bombs (chest) | In the drained pool near the entrance | Zelda's Lullaby to drain the water |
| Lens of Truth | Chest after Dead Hand | Nothing but the fight |
| Gold Rupee (200) | Invisible chest behind the Lens chest | Lens of Truth, and wallet space |
| Small Key 1 | Fake wall in the passage the water used to flow through | Lens of Truth |
| Small Key 2 | Hidden room off the drained channel | Lens of Truth |
| Small Key 3 | Coffin in the Gibdo room | Deku Stick to light the torch; Sun's Song helps |
| Compass | Chest behind another fake wall, past a hole in the floor | Lens of Truth |
| Gold Skulltula 1 | Locked room with a Deku Baba and flying pots | 1 Small Key |
| Gold Skulltula 2 | Locked room, on an invisible ledge around the edge | 1 Small Key, Lens of Truth |
| Gold Skulltula 3 | Past the portrait, through a locked door, beyond the Beamos and Like Like | 1 Small Key, Lens, bombs or Deku Nuts |
| Dungeon Map | Bottom floor, behind bombable boulders | Bombs, and a deliberate fall |
Three Small Keys, three locked doors, three Gold Skulltulas. The arithmetic works out exactly, which is the tell that none of the keys are optional if you want the spiders.
Two navigational warnings that the Lens exists specifically to solve. Near the X made of wooden beams there is both an invisible Skulltula and an invisible hole in the floor, and there is a second invisible hole directly in front of the portrait on the wall. Falling either one drops you to the bottom floor. That is not fatal, but the climb back up runs on Silver Rupees that only work once (below), so a second fall means warping out.
The third key is in a coffin
The Gibdo room is the one genuinely fiddly detour. Freeze the Gibdo with the Sun's Song and kill it, then look for the coffin at the back of the room on the left. It only opens if you light the torch beside it, and a Deku Stick is how you do that.
Do not shortcut it with Din's Fire. Thonky's walkthrough warns that lighting the whole room at once opens all of the caskets at once and a crowd of monsters comes out; even the right casket sends Keese at you when it opens.
The bottom floor, the Map, and the way out
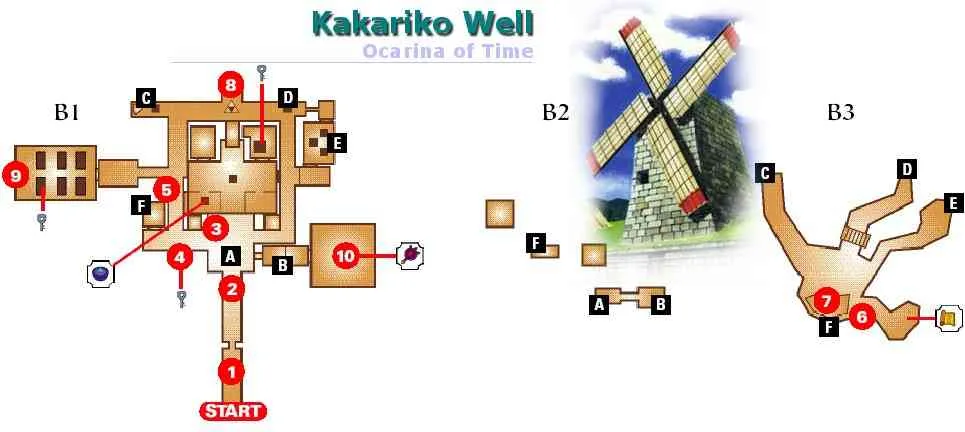
The Dungeon Map is the last thing left, and getting it means going down on purpose. The holes are in the Beamos room, one door short of the third Gold Skulltula — Thonky's walkthrough sends you back to that previous room to fall down one of them.
The bottom floor is the nastiest room in the mini-dungeon: pools of Toxic Water and a population of ReDeads. Follow the passage, bomb the boulders, then head left between the two torches beside the poison pool, bomb a second set of boulders, kill the ReDead and take the Map.
Getting back up is its own puzzle. Five Silver Rupees — three suspended over the poison pool, two more up the ladder — raise the bars on the exit door. Zelda Wiki gives this as the only way to climb back to the first floor, and notes that it works the first time only. Collecting them while dodging ReDeads over toxic water is the actual fight of the dungeon; Dead Hand is the set piece.
If you would rather not bother, a warp song out is a legitimate answer. The Prelude of Light puts you in the Temple of Time, which is where you are heading anyway to pull the Master Sword back out.
The middle floor, incidentally, is barely a floor at all. Zelda Wiki describes it as consisting entirely of cross-sections of the vertical shafts joining the first and third floors — you pass through it rather than explore it.
Master Quest turns the dungeon inside out
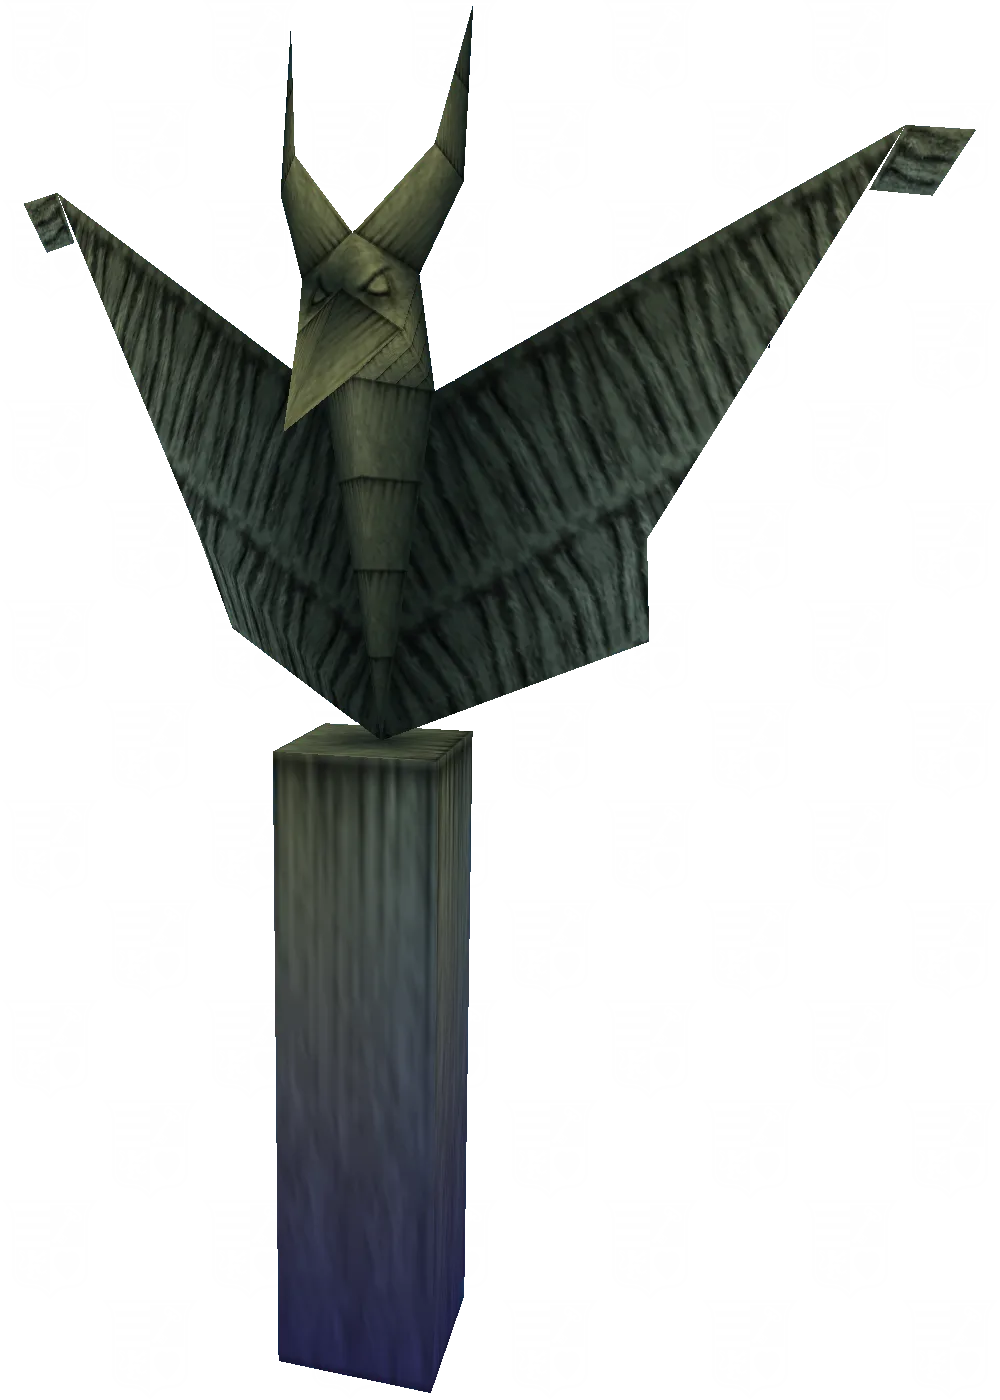
Master Quest does not just shuffle this dungeon, it removes its premise. Every fake floor and fake wall is visible to the naked eye, which means the Lens of Truth — the item the dungeon exists to give you — is useless inside it. Everything in the table below is Zelda Wiki's Master Quest write-up, and one row deserves a caveat: the same page's Master Quest enemy list still carries the Beamos, the Green Bubble and the Like Like it says elsewhere were removed. The prose and the list disagree, so treat the removals as the wiki's claim rather than a settled fact.
| Original | Master Quest | |
|---|---|---|
| Dead Hand's reward | Lens of Truth | Compass (a Small Key is in his room) |
| Lens of Truth | Chest after Dead Hand | Bottom floor |
| Lens useful inside? | Yes, constantly | No — all illusions are visible |
| Bottom floor | Toxic Water, ReDeads | Boulders, a Wallmaster, five ReDeads together |
| Coffin / Gibdo room | Holds a Small Key | Optional, holds only a Gold Skulltula |
| Gates | Locked doors | Some open to Zelda's Lullaby played at the statue |
| Removed (per the wiki's prose) | — | Green Bubble, Like Like, Beamos |
| Added | — | Floormaster, sharing a small room with a Wallmaster |
That Floormaster-and-Wallmaster room is a nasty piece of work: two enemies whose entire job is to grab you and dump you somewhere else, in a space small enough that dodging both is awkward.
One last piece of trivia
It is not a well. Zelda Wiki's trivia section points out that the structure draws its water from a reservoir rather than from ground water, which makes it a cistern. The sign outside calls it the Well of Three Features and describes it as dark, narrow and scary, which is at least accurate.
Quick Action Checklist
- Learn the Song of Storms from the Phonogram Man as an adult by showing him the Ocarina of Time, then return to childhood to play it in the windmill.
- Bring Zelda's Lullaby, the Sun's Song, Deku Sticks, a Slingshot and some magic.
- Walk through the illusory wall beside the skeleton at the entrance — the game does not tell you it is fake.
- Play Zelda's Lullaby on the Triforce tile by the stone mouth to drain the first floor.
- Chest in the drained pool, crawl through the hole behind it, then the door: that is Dead Hand.
- Let a Hand grab you, break free, hit the face, then back off before it burrows.
- Turn the Lens on inside the Dead Hand room for the invisible 200-rupee chest — check your wallet cap first.
- Three Small Keys open three locked doors holding three Gold Skulltulas.
- The Dungeon Map is on the bottom floor; five Silver Rupees are how you get back up.
- Head to the Temple of Time, take the Master Sword, then play the Nocturne of Shadow for the Shadow Temple.
Frequently Asked Questions
How do you drain the well in Ocarina of Time?
Where is the Lens of Truth in Ocarina of Time?
How do you beat Dead Hand in Ocarina of Time?
How many Small Keys are in the Bottom of the Well?
Is the Bottom of the Well optional in Ocarina of Time?
How do you get out of the bottom floor of the Bottom of the Well?
What changes in the Bottom of the Well in Master Quest?
Is there a Heart Piece in the Bottom of the Well?
Keep Reading
- Zelda Wiki — Bottom of the Well: the three floors, the Zelda's Lullaby drain, the Silver Rupee climb-out and the full Master Quest remix
- Thonky — room-by-room Bottom of the Well walkthrough: the three Small Keys, the Compass, the Map and the three Gold Skulltulas
- Zelda Wiki — Dead Hand: the grab-and-strike method, the four to six Hands, their 20-second respawn, and the bite and burrow damage values
- Zelda Wiki — Lens of Truth: found at the Bottom of the Well, drains the Magic Meter, and is not required to complete the game
- Zelda Wiki — Kakariko Windmill: the Phonogram Man teaches the Song of Storms to adult Link, closing the time loop that drains the well
- Zelda Wiki — Song of Storms: taught by the Phonogram Man, and played by child Link in the windmill to drain the well
- Zelda Wiki — Sun's Song: learned in the Royal Family's Tomb, freezes ReDeads and Gibdos in the room it is played in
- Zelda Wiki — Deku Shield: burns up instantly on contact with a Fire Keese, and is child-only
Related Guides
Ocarina of Time Ice Cavern Walkthrough: Every Room
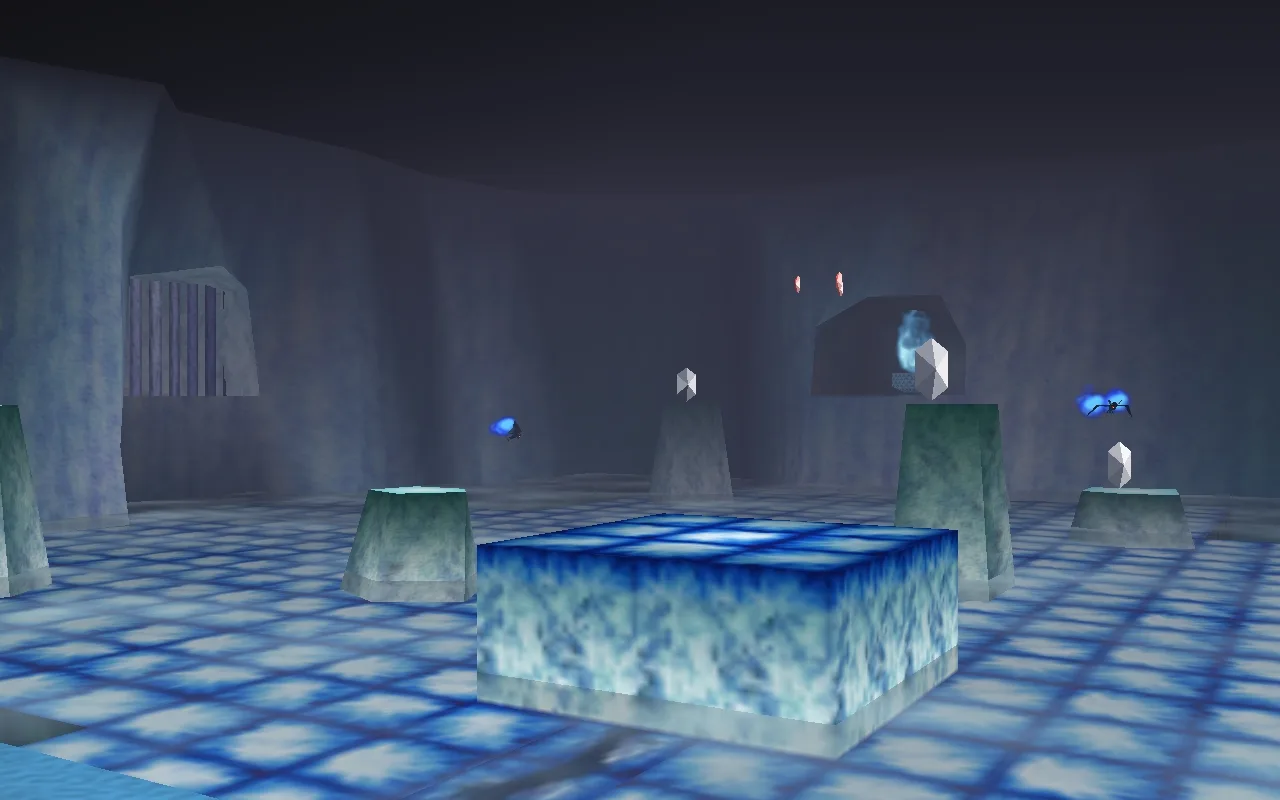
Skip the Ice Cavern and the Water Temple becomes uncrossable — the Iron Boots live nowhere else in the game. It's also a genuinely strange dungeon: per Zelda Wiki, it's tied with the Gerudo Training Ground as the smallest in Ocarina of Time, and every room but the mini-boss chamber connects by open hallway instead of a door. Here's the room-by-room route: the Ice Scythe hub and its five Silver Rupees, all three Gold Skulltulas, the White Wolfos fight, and the underwater shortcut on the way out.
Ocarina of Time Jabu-Jabu's Belly Walkthrough: Every Room
Inside Jabu-Jabu's Belly is the third dungeon in Ocarina of Time and the odd one out: no map-and-compass hunt for its own sake, and an escort mission where the person you're escorting can drown. Here is how to actually get in (it takes a diving contest and a message in a bottle), the full route through the Fork in the Guts, the Big Octo fight, and every phase of the Barinade boss fight, including the scripted invulnerability window partway through.
Ocarina of Time Dodongo's Cavern Walkthrough: Every Room
Dodongo's Cavern is one enormous lock with a giant dead Dodongo for a keyhole, and the entire dungeon is you gathering the means to open its mouth. Here is the route through the Entrance, Eastern, Western and Northern Rooms, every chest, the Bomb Bag, all five Gold Skulltulas — two of which child Link cannot reach on the way through — and the King Dodongo fight.
Ocarina of Time Deku Tree Walkthrough: Every Room
Inside the Deku Tree is the first dungeon in Ocarina of Time and the game's own tutorial, teaching doors, vines and switches in about twenty minutes. It is also easy to half-explore, because several of its rewards sit behind puzzle steps the game never spells out. Here is every chest, all four Gold Skulltulas (one of which needs an item you don't have yet), and the fastest way through Gohma.
Ocarina of Time Dungeon Order: The Full Route, Explained
Ocarina of Time looks like an open adventure and plays like a corridor. Eight required dungeons, three side dungeons, and exactly one place where the game genuinely lets you pick. Here is the whole route with the reasons behind each lock.
Ocarina of Time Ganon's Castle: All 6 Barrier Trials
Ganon's Castle is six short dungeons wrapped around one locked spindle, and the Medallions you spent the whole game collecting are not what opens it. Here is what each barrier room actually asks for, the one trial that has to come first, and the climb to the organ.