Ocarina of Time Ice Cavern Walkthrough: Every Room
Skip the Ice Cavern and the Water Temple becomes uncrossable — the Iron Boots live nowhere else in the game. It's also a genuinely strange dungeon: per Zelda Wiki, it's tied with the Gerudo Training Ground as the smallest in Ocarina of Time, and every room but the mini-boss chamber connects by open hallway instead of a door. Here's the room-by-room route: the Ice Scythe hub and its five Silver Rupees, all three Gold Skulltulas, the White Wolfos fight, and the underwater shortcut on the way out.
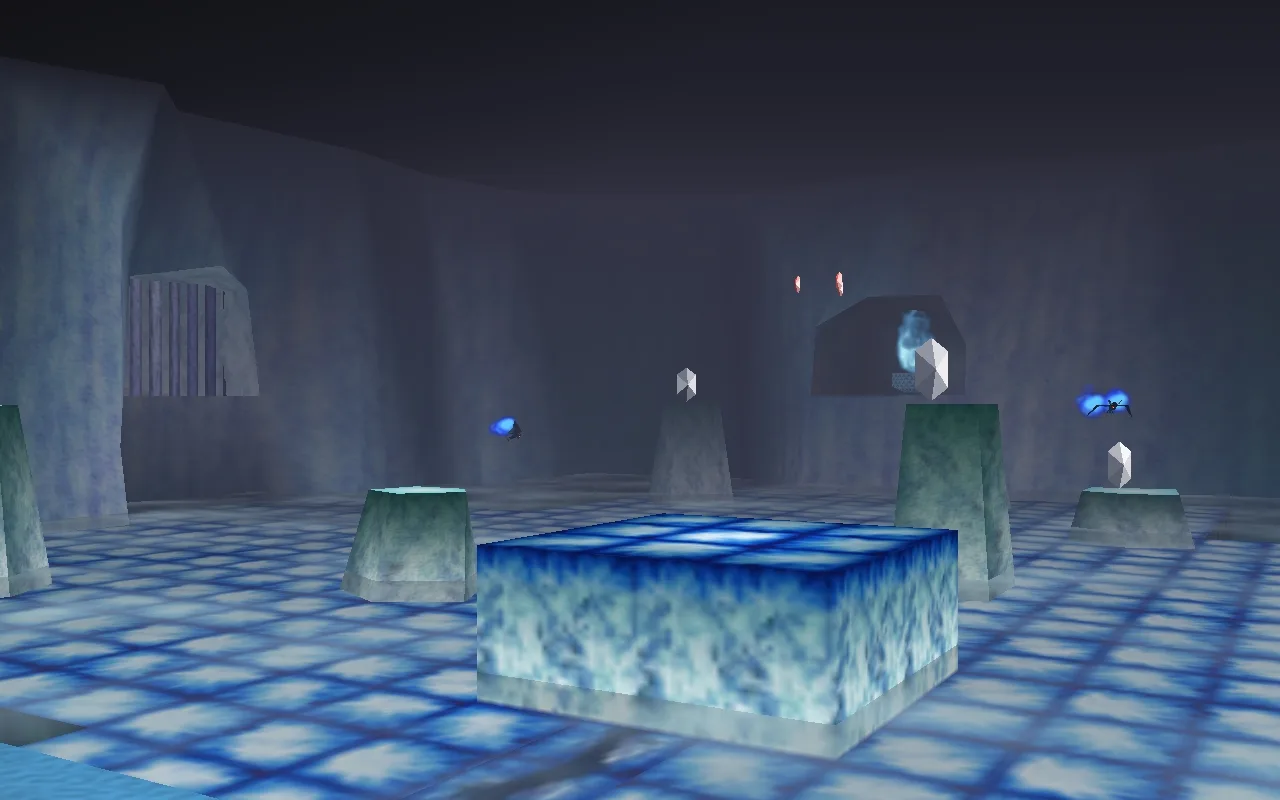
Skip the Ice Cavern and the Water Temple becomes uncrossable, because the Iron Boots don't exist anywhere else in the game — this optional side dungeon gatekeeps a mandatory item. It's also a structurally strange dungeon in its own right. Zelda Wiki calls it, tied with the Gerudo Training Ground, the smallest dungeon in Ocarina of Time, and notes that every room but the mini-boss chamber connects by open hallway instead of a door — the whole thing reads as one enormous cave with alcoves branching off it, not a lock-and-key gauntlet.
It only takes about twenty minutes start to finish, but it's dense: five Silver Rupees guarded by a giant rotating ice blade, three Gold Skulltulas, a genuine mini-boss fight, and the song that opens the Water Temple. Here's the full route, room by room.
Ice Cavern at a glance
| Location | Behind Zora's Fountain, where Lord Jabu-Jabu used to be |
| Age | Adult Link only |
| Entry requirement | An ice-floe jumping puzzle across Zora's Fountain — no key item gates the door itself |
| Mini-boss | White Wolfos (a Stalfos in Master Quest) |
| Boss | None — and no Boss Key either |
| Dungeon item | Iron Boots |
| Also teaches | The Serenade of Water, from Sheik |
| Also inside | Dungeon Map, Compass, 1 Piece of Heart, 3 Gold Skulltula Tokens |
| Small Keys | None |
| Size | One floor, rooms connected by hallways rather than doors (the mini-boss chamber is the one exception) — tied with the Gerudo Training Ground as Ocarina of Time's smallest dungeon, per Zelda Wiki |
Getting to the cave behind Zora's Fountain
The Ice Cavern doesn't exist until the back half of the adult timeline. Zora's Domain and Zora's Fountain turn up frozen solid after Link wakes up seven years later, and the story only routes you here after the Fire Temple — that's the sequence the dungeon order guide lays out in full. Lord Jabu-Jabu is gone from the fountain by this point, replaced with a path of ice floes leading into a cave mouth that wasn't there as a child.
Climb onto the first block of ice, jump onto the round block past it, then follow the string of floes that curls around into the cave entrance. One of those floes carries a Piece of Heart on the way — but it belongs to Zora's Fountain's own tally of two, not to the Ice Cavern's single interior Piece of Heart. The heart pieces guide has the full fountain-area breakdown, including the second one sitting on the fountain floor once you have the Zora Tunic and Iron Boots to reach it.
The frozen entrance hall
Past the cave mouth, icicles start dropping from the ceiling — a hazard that recurs through most of the dungeon, so get in the habit of watching up as much as down. The corridor opens into a room patrolled by a Freezard and a Pathblade, a mechanized spinning blade that glides along a fixed path at a constant speed regardless of what Link does; contact only costs a quarter heart, but it's cheap chip damage worth dodging — read its cycle and step around it rather than trade hits with it.
Freezards are the Ice Cavern's signature enemy and don't appear anywhere else in the game. Per Zelda Wiki, they blow an icy gale at regular intervals that encases Link in ice and slowly drains his hearts if it connects, and they can vanish and reappear elsewhere in the room. The safe read is to circle one until it fires its breath, then close in and sword it while it's recovering — regular arrows can't pierce their icy hide, though a Fire Arrow kills one outright if you've already got one. Clear the room and the door ahead opens.
The Ice Scythe hub and the first five Silver Rupees
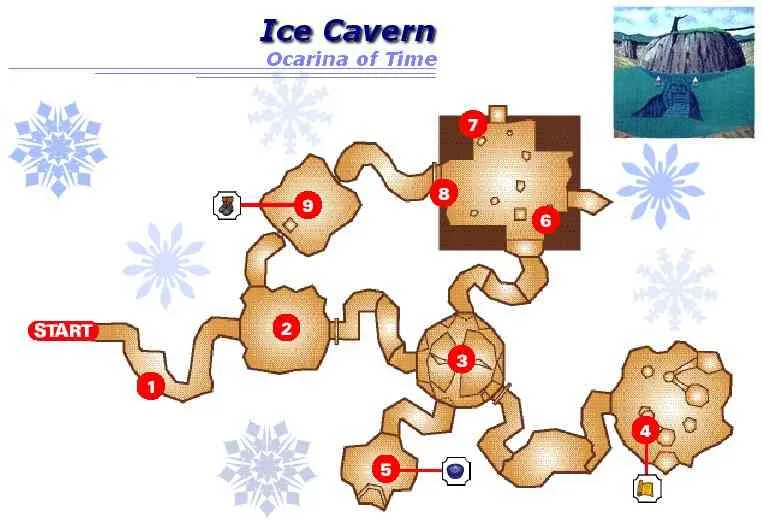
This room is the dungeon's real hub — you'll pass back through it three more times before you're done. Its centerpiece is an Ice Scythe, a giant double-edged blade of ice that swirls around a central pivot. Zelda Wiki notes a detail most walkthroughs skip: tapping the Shield button while not Z-targeting lets Link duck underneath it, though that only works if he actually has a Shield equipped.
Five Silver Rupees are scattered around the room, and collecting all five opens the way onward. Grab the one near the center between passes of the blade, then trail directly behind the Ice Scythe to snatch the next two before it swings back around. Cut down the icicles hanging near the entrance for a fourth, then climb the barred ledge and jump off it for the fifth. While you're in here, the Hookshot reaches a Gold Skulltula perched out of normal jumping range — the first of the dungeon's three.
The Map chamber and your first scoop of Blue Fire
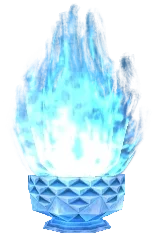
From the hub, continue on to a room with Ice Keese circling it — hookshot them from range rather than trading hits, since Zelda Wiki confirms contact with one freezes Link on the spot and damages him for as long as it takes to break free. Climb onto the ledge, wait out a nearby Freezard's cold breath, kill it, then jump across to a platform holding a spout of Blue Fire, which melts Red Ice. You'll need bottled scoops of it repeatedly through the rest of the dungeon — so make sure an empty bottle is in your loadout before you come down here.
Scoop the Blue Fire, then use it on the chest frozen behind red ice nearby. Melting it open gets you the Dungeon Map. Top off your bottle with more Blue Fire before you leave — the block puzzle later burns through it.
The Piece of Heart chamber and the Compass
Back in the hub room, melt the wall of red ice on the left side (marked by two jars next to it) and follow the path through. This next room is thick with falling icicles on both sides — run the gauntlet across the middle first, cutting down icicles and hookshotting any Keese in the way, then work each side in turn. One side sits behind its own patch of red ice; melt it and it holds the dungeon's only Piece of Heart alongside the second Gold Skulltula. The other side holds a chest with the Compass. Scoop more Blue Fire before you head back out.
The ice-block puzzle and the third Gold Skulltula
Head back to the hub a third time and melt the red ice directly across from the entrance. The room beyond has Ice Keese to clear and the dungeon's third Gold Skulltula, stuck to the wall left of the entrance — mind your footing going for it, since the ledge drops off.
The rest of the room is a push-block puzzle: an ice block rises out of the floor, and shoving it through the right sequence of directions walks it under a string of red-ice-encased Silver Rupees and a second Blue Fire spout, with a fresh block popping up from the same spot each time the old one goes over an edge. None of this is required to progress — the door forward already opened back in the hub room the moment you collected the original five Silver Rupees — but it's free money and one more top-up of Blue Fire before the dungeon's final stretch, and worth doing on the way through rather than skipping.
White Wolfos, the Iron Boots, and the Serenade of Water
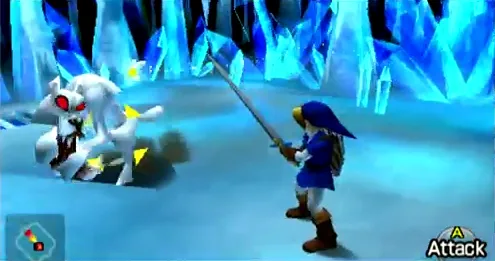
Past that room, melt one more patch of red ice and step into the Ice Cavern's final chamber. Walking further in triggers the fight: a White Wolfos, the dungeon's mini-boss (a Stalfos takes its place in Master Quest). It's a genuinely different fight from the regular Wolfos back in the Lost Woods — Zelda Wiki describes it circling Link before rushing in to claw at him, and attacking it head-on just gets it guarding. The opening comes from its own attack: the force of its claw swing spins the White Wolfos around and leaves it briefly stunned with its tail exposed, which is the actual window to land damage.
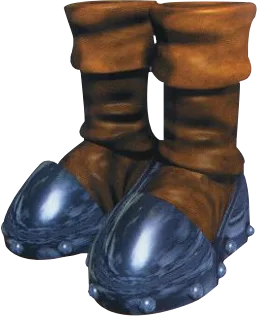
Beat it and the chest behind it holds the Iron Boots — the entire reason this side dungeon exists. The in-game text spells out the tradeoff bluntly: "So heavy, you can't run. So heavy, you can't float." Equipped, they let Link sink and walk along lakebeds and riverbeds instead of swimming, which is mandatory for the flooded sections of the Water Temple and for crossing the fan currents inside the Shadow Temple later. Sheik appears right after and teaches the Serenade of Water, the warp song to Lake Hylia and the Water Temple — full note input is in the songs guide if you need it.
The underwater shortcut back to the entrance
There's a pool of water behind the chest in this final room, and it's worth using before you warp anywhere. Equip the Iron Boots and jump in, then follow the submerged path out through the door at the bottom. It surfaces back in the second room of the dungeon, right near the entrance — a genuine shortcut that skips retracing the whole route back through the hub and every side chamber you just cleared.
If King Zora is still frozen
If you haven't thawed King Zora yet, don't warp to Lake Hylia the moment you finish here — grab one more bottle of Blue Fire first. Head back into the hub room and melt the red ice on the right side this time, rather than the left side you already opened, then leave the cave and carry the flame to King Zora's throne at Zora's Domain. What that actually unlocks — the Zora Tunic and the rest of the King Zora sidequest — is covered in the bottle locations guide and the Water Temple guide.
Every chest and Gold Skulltula in one table
| Item | Where |
|---|---|
| Dungeon Map | Frozen chest in the Blue Fire room, melted open |
| Compass | Chest in the Piece of Heart room |
| Piece of Heart | Same room as the Compass, behind its own patch of red ice |
| Iron Boots | Chest behind the White Wolfos fight |
| Gold Skulltula | Where |
|---|---|
| #1 | Hub room, reachable with the Hookshot during the five-Silver-Rupee puzzle |
| #2 | Piece of Heart room, behind red ice |
| #3 | Ice-block puzzle room, on the wall left of the entrance |
Three chests, one Piece of Heart, three Gold Skulltula Tokens — that's the entire loot table for the dungeon, and every one of them is reachable on a single pass through with no return trip required.
What changes in Master Quest
Per Zelda Wiki, Master Quest reworks the puzzle logic more than the layout. The Ice Scythe is removed, and Freezards and Ice Keese both appear far less often. The ice-block puzzle is gone entirely — playing the Song of Time makes a block appear instead, granting access to Blue Fire — and several switches take its place, camouflaged inside a diamond pattern, hidden behind a stalactite, or poking up out of the floor as just the tip. New Boulders roll through the connecting hallways, and two White Wolfos patrol the dungeon as regular enemies. The mini-boss itself changes species: a Stalfos replaces the White Wolfos fight entirely. Because red ice blocks more of the route by default, the first Blue Fire you find sits where the Piece of Heart originally was — the heart itself has been relocated to the dungeon's other Blue Fire room.
Quick Action Checklist
- Reach the cave via the ice-floe jump across Zora's Fountain — the Piece of Heart on the way in belongs to the fountain's own tally, not the Ice Cavern's.
- In the hub room, collect all five Silver Rupees to open the way forward, and grab the Hookshot-only Gold Skulltula while you're in there.
- Bring an empty bottle. You'll be scooping and re-scooping Blue Fire through most of the dungeon to melt Red Ice.
- The Piece of Heart and second Gold Skulltula share a room with the Compass chest, behind the hub room's left wall of red ice.
- The ice-block puzzle room isn't mandatory — the door beyond it already opened when you cleared the five Silver Rupees — but it holds the third Gold Skulltula and more free Rupees.
- Against White Wolfos: don't attack head-on, or it guards. Its own claw swing spins it around and exposes its tail for the follow-up.
- After the Iron Boots and the Serenade of Water, jump into the pool behind the chest for an underwater shortcut back to the second room of the dungeon.
- Still need King Zora thawed? Grab one more Blue Fire from the hub room's right red-ice wall before you leave the cave.
Frequently Asked Questions
How do you get to the Ice Cavern in Ocarina of Time?
How do you beat White Wolfos in the Ice Cavern?
How many Gold Skulltulas are in the Ice Cavern?
Do you need the Hookshot for the Ice Cavern?
What do you get from the Ice Cavern?
What changes in the Ice Cavern in Master Quest?
Keep Reading
- Zelda Wiki — Ice Cavern: dungeon overview, item list, and the full Master Quest summary of changes
- Zelda Wiki — White Wolfos: the circle-and-rush attack pattern, the guard against head-on hits, and the exposed-tail opening
- Zelda Wiki — Freezard: the freezing-breath attack, the disappear-reappear behavior, and the Fire Arrow weakness
- Zelda Wiki — Ice Keese: the on-contact freeze effect
- Zelda Wiki — Ice Scythe: the central-pivot blade and the Shield-duck mechanic
- Zelda Wiki — Pathblade (the "Razor" hazard): fixed-path spinning blade behavior
- Zelda Wiki — Iron Boots: the in-game pickup text, the underwater-walking mechanic, and where they're required later
- Zelda Wiki — Zora's Fountain: the area's own two Pieces of Heart, separate from the Ice Cavern's single interior one
- Thonky's Ocarina of Time walkthrough — Ice Cavern: the full room-by-room route, the Silver Rupee count, and the ice-block puzzle sequence
Related Guides
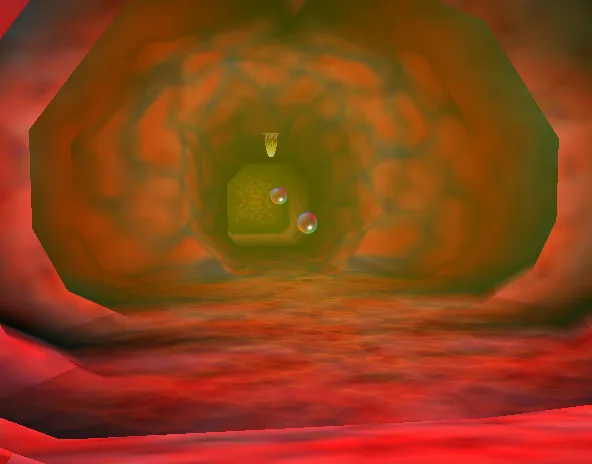
Ocarina of Time Jabu-Jabu's Belly Walkthrough: Every Room
Inside Jabu-Jabu's Belly is the third dungeon in Ocarina of Time and the odd one out: no map-and-compass hunt for its own sake, and an escort mission where the person you're escorting can drown. Here is how to actually get in (it takes a diving contest and a message in a bottle), the full route through the Fork in the Guts, the Big Octo fight, and every phase of the Barinade boss fight, including the scripted invulnerability window partway through.
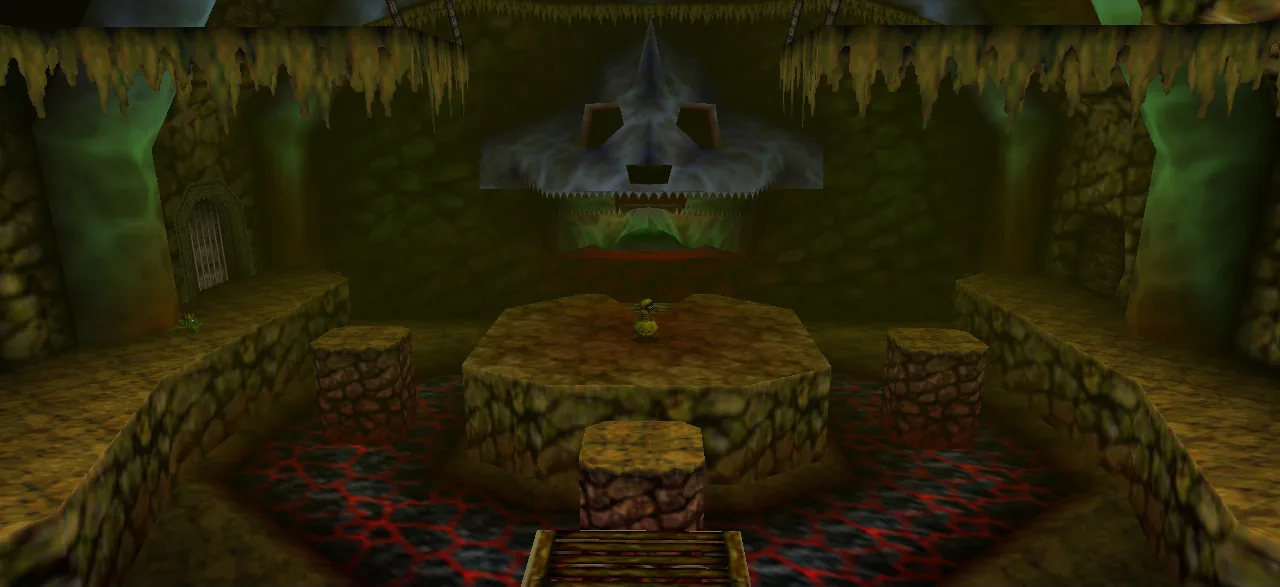
Ocarina of Time Dodongo's Cavern Walkthrough: Every Room
Dodongo's Cavern is one enormous lock with a giant dead Dodongo for a keyhole, and the entire dungeon is you gathering the means to open its mouth. Here is the route through the Entrance, Eastern, Western and Northern Rooms, every chest, the Bomb Bag, all five Gold Skulltulas — two of which child Link cannot reach on the way through — and the King Dodongo fight.
Ocarina of Time Deku Tree Walkthrough: Every Room
Inside the Deku Tree is the first dungeon in Ocarina of Time and the game's own tutorial, teaching doors, vines and switches in about twenty minutes. It is also easy to half-explore, because several of its rewards sit behind puzzle steps the game never spells out. Here is every chest, all four Gold Skulltulas (one of which needs an item you don't have yet), and the fastest way through Gohma.
Ocarina of Time Bottom of the Well: Lens of Truth Guide
The Lens of Truth sits at the bottom of a Kakariko well that is full of water for the entire first act. Here is how you empty it: the time loop that unlocks the well, the six-step run to the Lens chest, and the ten other things buried down there.
Ocarina of Time Dungeon Order: The Full Route, Explained
Ocarina of Time looks like an open adventure and plays like a corridor. Eight required dungeons, three side dungeons, and exactly one place where the game genuinely lets you pick. Here is the whole route with the reasons behind each lock.
Ocarina of Time Ganon's Castle: All 6 Barrier Trials
Ganon's Castle is six short dungeons wrapped around one locked spindle, and the Medallions you spent the whole game collecting are not what opens it. Here is what each barrier room actually asks for, the one trial that has to come first, and the climb to the organ.