Elden Ring Stance Break Guide: The Hidden Numbers Behind Critical Hits
The bar that decides whether a boss drops to one knee is invisible, unaffected by your stats, and cut by 40% the moment you summon a phantom. Here are the real numbers behind stance breaks, guard counters, and your own poise.
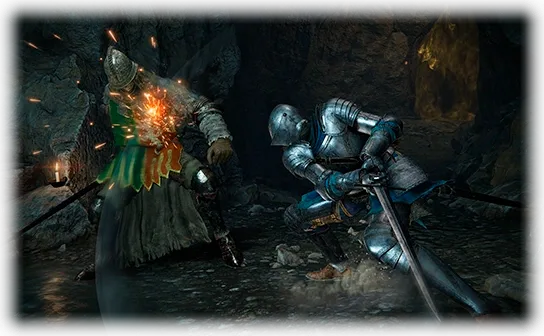
Margit has 4,174 HP and a stance value of 80. Those two numbers are doing completely different jobs, and only one of them is on your screen. Chip away at the health bar and you win slowly. Chip away at the invisible one and he drops to one knee, glows at the chest, and eats a critical attack worth several times a normal swing.
The game never shows that second number, never explains the arithmetic behind it, and quietly cuts it by 40% the moment you ring a summon sign. Here is what is actually happening under the hood.
Poise and Stance are two different systems
The wikis use the words interchangeably and the game uses neither consistently, so start here.
Your poise is the stat on your equipment screen. Internally it drives a value called Toughness, equal to one tenth of the number you see, and it decides whether an incoming hit interrupts your animation. You do not have a stance bar. There is no state where an enemy breaks your stance and executes you with a critical attack — you just get staggered, and your poise instantly resets to full.
Enemy stance is a hidden bar with its own value. Fill it inside the time window and the enemy is stance broken: stunned, and open to a critical attack. Non-player enemies actually run both systems at once — a regular poise system that governs hitstun, and a separate stance system that governs the critical-hit opening. Their hitstun threshold is not derived from their stance value, which is why a boss can flinch constantly and still never drop to a knee.
One exception worth knowing before you build around it: horse-locked enemies like Tree Sentinels and Night's Cavalry can have their stance broken, but cannot be hit with the resulting critical attack.
Stance damage ignores your stats completely
This is the single most useful fact in this article, and it falls straight out of how the game stores the number.
Stance damage is a fixed property of the attack. Not of your Strength. Not of your weapon upgrade level. Not of your damage output. A colossal hammer charged heavy deals the same stance damage at 20 Strength as it does at 80, which is the flip side of the rule that scaling letters never touch poise or stamina damage.
Two consequences follow immediately:
- Stance breaking works at full strength on a fresh character. A weapon you have only just met the requirements for still fills the bar at its listed rate.
- Skills are exceptional at it. An Ash of War carries its own stance damage number and has no stat requirement beyond the weapon it is bolted to, so a low-level character with the right Ash of War is dealing endgame stance damage on hour three.
For reference, some of the heavier hitters: Lion's Claw deals 30 to 45 stance damage depending on weapon class, Stamp (Upward Cut) runs the same 30-to-45 spread, Square Off does 40 on its heavy version, Troll's Roar opens at 40, and Giant Hunt does 30 to 36. On the spell side, The Flame of Frenzy sits at 56, Dragonmaw at 45, and Aspects of the Crucible: Tail totals 52 across its two swings.
Stance damage by weapon class
These are the one-handed values. Two-handing changes them, and we will get to that.
| Weapon class | Light | Heavy | Jumping heavy | Charged heavy | Guard counter |
|---|---|---|---|---|---|
| Colossal Weapons (hammers) | 18 | 15 | 28 | 42 | 42 |
| Colossal Weapons, Colossal Swords | 15 | 15 | 24 | 36 | 36 |
| Great Hammers | 13 | 17 | 26 | 40 | 42 |
| Greatswords, Curved Greatswords, Greataxes, Great Spears | 10 | 11 | 22 | 33 | 33 |
| Halberds, Reapers | 9 | 10 | 20 | 30 | 30 |
| Flails, Hammers | 6 | 12 | 24 | 36 | 36 |
| Heavy Thrusting Swords | 6 | 11 | 22 | 33 | 33 |
| Straight Swords, Curved Swords, Axes, Spears, Twinblades, Katanas | 5 | 10 | 20 | 30 | 30 |
| Thrusting Swords | 4 | 8 | 16 | 24 | 24 |
| Whips | 4 | 8 | 16 | 16 | 30 |
| Daggers, Claws | 3 | 6 | 12 | 18 | 18 |
| Greatshields | 12 | 12 | 24 | 36 | 36 |
| Medium Shields | 6 | 11 | 22 | 33 | 33 |
The "colossal hammers" row is not the whole class — it covers nine specific weapons that outperform their peers, including the Giant-Crusher, Great Club, Troll's Hammer, Prelate's Inferno Crozier and Fallingstar Beast Jaw.
Read the light-attack column against the charged-heavy column. A straight sword light attack is 5. Its charged heavy is 30. Six light attacks equal one charged heavy, and the charged heavy takes nowhere near six times as long. Mashing R1 is rarely the fastest route to a stance break.
The guard counter column is the story
Look at what a guard counter does. On most classes it matches the charged heavy exactly, and on Great Hammers it beats it — 42 versus 40. On whips it nearly doubles the charged heavy, 30 against 16. Even a medium shield swings for 33 on a guard counter, which is greatsword territory.
A charged heavy costs you a long, committed windup you have to find room for. A guard counter costs you an attack you were going to eat anyway. Same stance damage, opposite risk profile.
Guard counters and the pierce-weapon variant
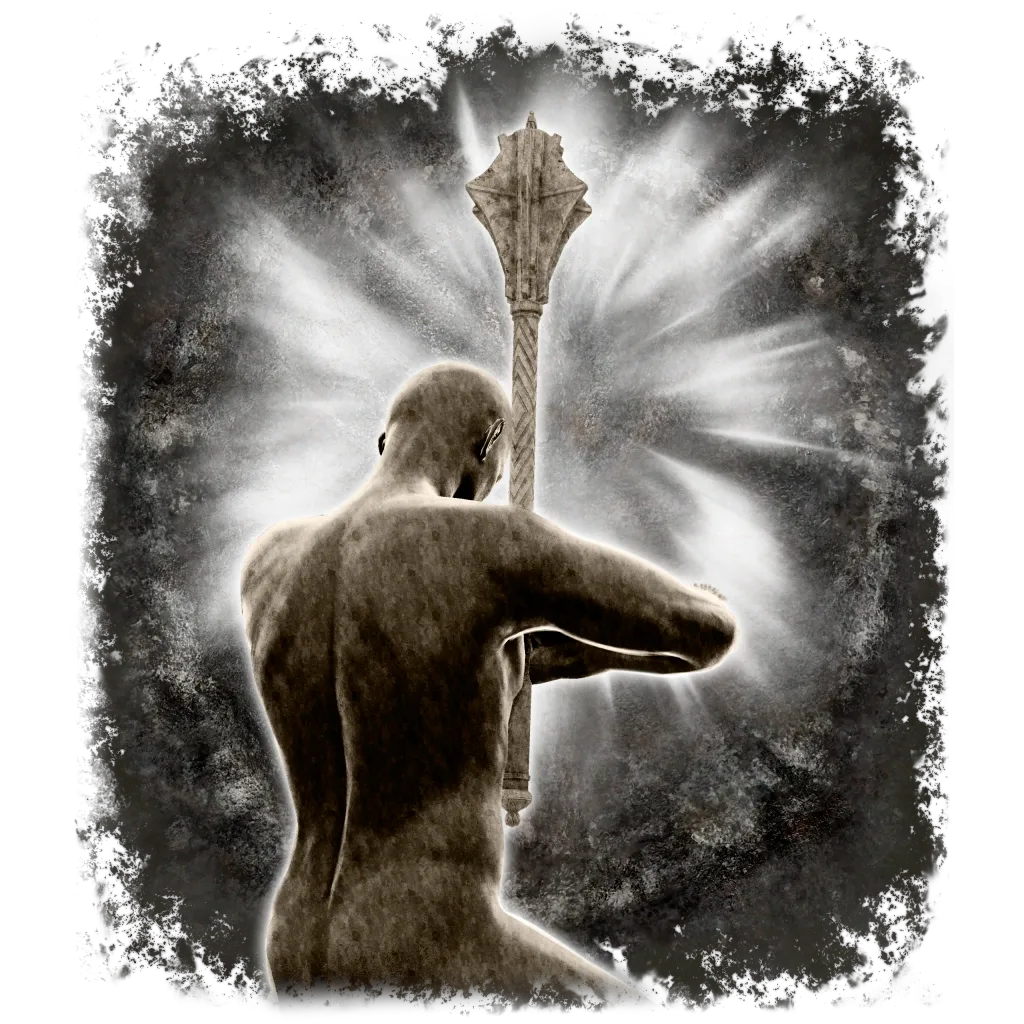
The mechanic is a heavy attack performed immediately after blocking, flagged by a distinct sound cue. The game's own tutorial text is blunt about the purpose: guard counters make it easy to break an enemy's stance.
Two details the tutorial leaves out:
Guard Boost decides whether you can afford to block at all. It reduces the stamina you lose when guarding by its own percentage. A +0 Dagger has 15 Guard Boost, so a 100-point stamina hit costs you 85. A +0 Brass Shield has 61, so the same hit costs 39. That is the difference between a guard counter and a guard break.
Pierce weapons get a stronger version. Any weapon dealing pierce damage can perform a Thrusting Counterattack, a guard counter with bonus damage — but it only pays out if it lands while the target is in an attack animation. Convert that weapon's damage fully to another type and it stops qualifying.
The multipliers that stack on top
Once you know the base number, everything else is arithmetic.
| Modifier | Effect |
|---|---|
| Two-handing, light attacks | +30% |
| Two-handing, heavy attacks and guard counters | +10% |
| Target has not noticed you | +20% |
| Stonebarb Cracked Tear | +30% for 30 seconds |
| Stormhawk Deenh spirit ash | +20% |
| Cragblade skill | +10% |
| Golem ankles | double |
| A summoned player or NPC is present | 40% less, on bosses |
| New Game Plus 2 and beyond | reduced |
Two-handing does not apply to skills — an Ash of War deals its listed number either way. There is also a small list of charged heavy attacks that fail to receive the two-handing bonus at all: the Duelist and Rotten Greataxes, the Dragon Greatclaw, the Axe of Godfrey and Troll's Hammer. Their guard counters do get it, which is why this reads like a bug rather than a design decision.
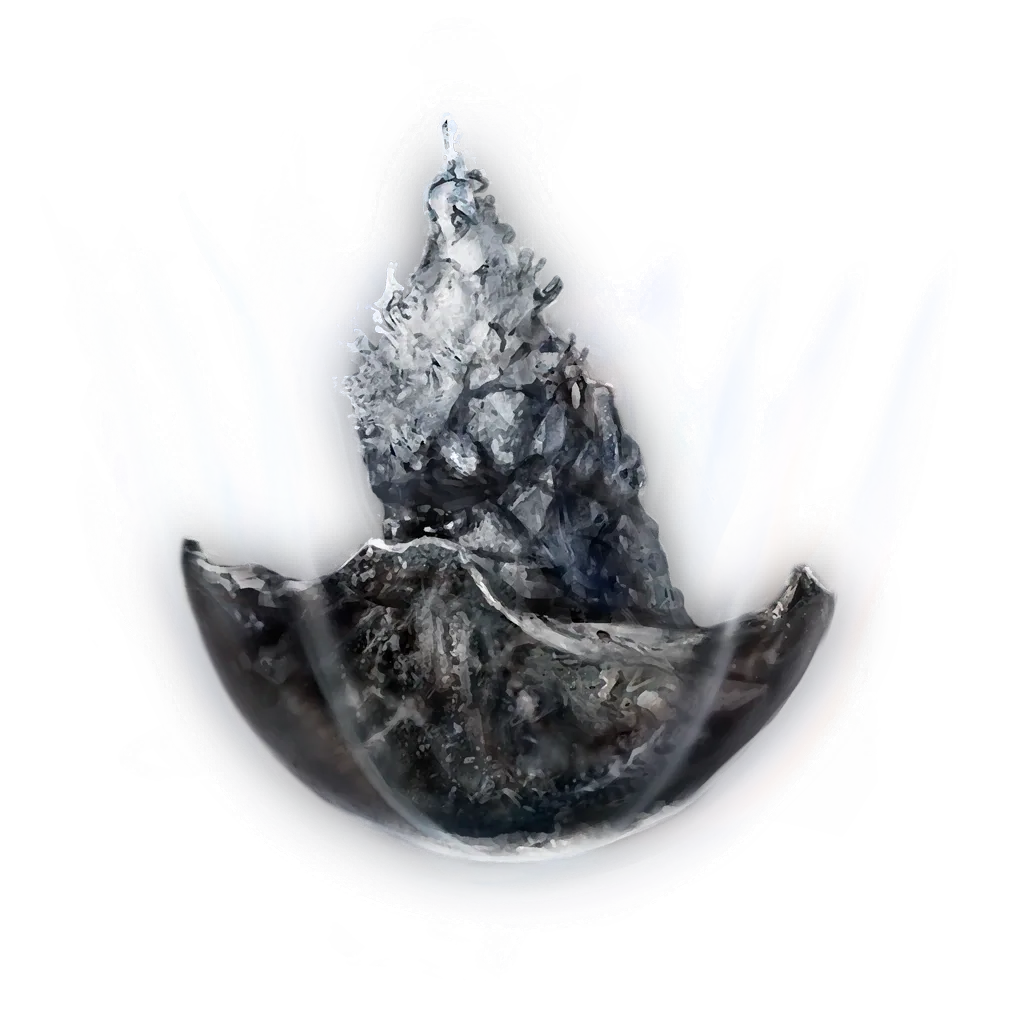
The Stonebarb Cracked Tear drops from the Putrid Avatar at Caelid's Minor Erdtree and is the stance-damage buff you can carry into a boss room in the Wondrous Physick. Thirty seconds is short enough that it is an opening-burst tool, not a plan for the whole fight.
Summoning help costs you 40 percent of your stance damage
This one deserves its own heading because it inverts standard advice.
Bring a co-op phantom or an NPC summon into a boss fight and the boss takes 40% less stance damage for the duration. Spirit Ashes carry no such penalty. Since spirit ashes and multiplayer phantoms are mutually exclusive anyway, the choice is cleaner than it looks: if your plan is to stance break the boss, the Mimic Tear keeps your numbers intact and the NPC sign does not.
Run it against Starscourge Radahn, who has the highest stance value I found at 200. Two-handing a colossal hammer, a charged heavy is 42 plus the 10% two-handing bonus, so 46.2. Solo, that is 200 divided by 46.2 — five charged heavies to a stance break. With an NPC summon on the field, each one is worth 27.7 effective stance damage instead, and you need eight. Three extra committed windups, in the arena least suited to standing still.
That is not an argument against summoning. Radahn's NPC roster exists for a reason and dividing his attention is worth a lot. It is an argument against expecting stance breaks and summons to work together.
Boss stance values, and what they tell you
| Boss | HP | Stance | Parry |
|---|---|---|---|
| Margit, the Fell Omen | 4,174 | 80 | 2 parries per break |
| Godrick the Grafted | 6,080 | 105 | Not parryable |
| Malenia, Blade of Miquella | 18,473 (phase 1) | 80 | 3 parries per break |
| Maliketh, the Black Blade | 10,620 | 80 | — |
| Morgott, the Omen King | 10,399 | 80 | 3 parries per break |
| Mohg, Lord of Blood | — | 110 | — |
| Fire Giant | — | 120 | — |
| Rykard, Lord of Blasphemy | — | 120 | — |
| Godfrey, First Elden Lord | 21,903 | 120 | Not parryable |
| Radagon of the Golden Order | — | 120 | — |
| Messmer the Impaler | — | 120 | — |
| Elden Beast | — | 150 | — |
| Starscourge Radahn | 9,572 | 200 | Not parryable |
The clustering is the point. A large share of the roster sits at exactly 80 or exactly 120, and the two figures are close enough together that stance breaking does not get meaningfully harder as you progress. Malenia carries 18,473 HP in phase one — more than four times Margit's total — and has exactly the same stance value he does.
Do the arithmetic on that 80. A two-handed colossal hammer charged heavy at 46.2 breaks Malenia in two. A two-handed straight sword charged heavy at 33 needs three. Two-handed straight sword light attacks, at 6.5 apiece, need thirteen.
Also note what parrying is not. Parrying deals zero stance damage, and breaking an enemy's stance does nothing to their parry counter. They are independent routes to the same critical attack, so parrying Margit twice and hitting him with two charged heavies are two separate plans, not two halves of one.
The recovery clock is the real difficulty
The stance bar is not the problem. The timer on it is.
An enemy's stance bar resets somewhere between 8 and 20 seconds without being hit, depending on the enemy. The saving grace is how the timer works: land even 1 point of stance damage and the countdown restarts and the bar does not regenerate. You do not have to keep landing charged heavies to hold your progress — you have to keep landing something. A thrown dagger while the boss is across the arena is doing real work.
Enemy poise, the separate hitstun system, regenerates on its own clock of roughly 6 to 15 seconds, scaled to how much poise the enemy has: around 6 seconds at 80 poise, around 15 at 200.
This is why hit-and-run play feels so bad against big bosses and why aggression feels so good. Back off for a full rotation of a slow boss and you have often handed back everything.
Breaking stance is only half the payout
Critical attacks deal roughly 2.5 to 4 times a normal hit, and the multiplier depends on the weapon in your hands:
| Weapon class | Critical multiplier |
|---|---|
| Daggers | 4x |
| Claws, Fists | 3.5x total |
| Thrusting Swords | 3.3x |
| Axes, Flails, Hammers | 3.25x total |
| Curved Swords, Katanas, Straight Swords, Twinblades | 3x |
| Halberds, Spears | 2.8x |
| Great Spears, Heavy Thrusting Swords, Reapers | 2.4x |
| Colossal Swords, Colossal Weapons, Curved Greatswords, Greataxes, Great Hammers, Greatswords | 2.5x total |
Here is the tension the game never surfaces: the weapons that break stance fastest deliver the smallest critical multiplier, and the weapons with the biggest multiplier barely dent a stance bar. Colossal hammers are top of the stance table at 42 on a charged heavy and bottom of the critical table at 2.5x. Daggers are bottom of the stance table at 18 and top of the critical table at 4x.
Two further wrinkles. Some weapons carry an explicit critical stat on top of the class multiplier — the Miséricorde's 140 works out to 40% extra critical damage, and the plain Dagger and Rapier both sit at 130. And ripostes usually beat backstabs by about 25 to 30% on the same weapon, which is worth remembering when you have the choice. Bows, crossbows, staves, seals and whips cannot deliver a critical attack at all.
For human-sized bosses that do not share the player skeleton — Margit is the canonical example — a backstab is only available after the stance break, not before.
Your own poise: 11, 51, and 101
On the receiving end, the thresholds are documented in terms of how many enemy attacks you can eat without flinching:
| Poise | Enemy attacks you can endure |
|---|---|
| 11 | 797, mostly projectiles |
| 51 | 1,727 |
| 101 | 2,037 |
And 2,692 attacks cannot be poised through at any value — those need outright stagger immunity rather than a bigger number.
Look at the gap between 51 and 101. Doubling your poise buys 310 more attacks after the first jump bought 930. 51 is where the value is, and the Knight Set hits exactly 51 at the lowest weight required to get there. The Bull-Goat Set is the heaviest-hitting single armour set at 99.99 poise, which is 101 territory only once something else contributes the last sliver.
Three items move the needle without armour weight:
- Bull-Goat's Talisman, 0.5 weight, from a corpse in Dragonbarrow Cave. The wikis describe it two ways — a 33% poise increase, or a 25% reduction in poise damage taken — and both are the same effect written from different ends, since taking 25% less damage to a bar is worth about 33% more bar. It is a hyper-armour item, so it earns its slot on colossal weapons and does very little on a dodge-roll build. Weigh it against everything else competing for those four slots.
- Baldachin's Blessing, given by Fia, costs 10 FP and cuts poise damage taken by 34%. It has a genuinely nasty secret: it reduces your max HP by 5% the entire time it sits in your inventory. The Radiant version reaches 45%.
- Ash of War: Endure, 600 runes from Bernahl at the Warmaster's Shack, 9 FP. Its own description promises a brief poise boost plus reduced damage taken while active, which makes it the trade tool for heavy weapons.
Poise is not the only defence against being interrupted. Attacks carry a DamageLevel from 0 to 11 that decides the type of hitstun — a dagger light attack is level 8, a straight sword R1 is level 1, a colossal sword R1 is level 3, Lion's Claw is level 6 — and effects like Endure, Baldachin's Blessing and the Ironjar Aromatic grant immunity to specific DamageLevels regardless of what your poise number says.
Enemies get to play the same game. Maliketh carries a special effect setting every DamageLevel to no stagger. Malenia is staggered by everything except levels 0, 5 and 8, which is a large part of why she is so hard to keep off you.
Poise damage does not carry over
A detail that changes how you should think about heavy hits. If you are sitting at 51 poise and take a 50-point poise hit, you are on 1. Take the same hit again and the excess 49 does not carry into the next bar. You stagger, and your poise resets to the full 51.
Your poise also does not regenerate on a trickle the way enemy poise does. It resets fully after 30 seconds without taking a hit, and instantly on a stagger.
What the patches did, and did not, change
Poise has been reworked publicly, which makes it easy to read old advice as current.
Version 1.10, 26 July 2023, is the one everyone remembers as the poise rework — and its poise changes were filed under a heading reading "PvP-exclusive balance adjustments", with the explicit note that they do not affect single-player or cooperative play. Increased poise damage across all weapons, increased poise while attacking with certain skills, added damage reduction on those attacks: invasions only.
The same patch's general adjustments did touch everyone: critical hit damage went up, recovery time after a whiffed critical went down, and attacks landing on you after you miss a critical now deal more poise damage. That last one is a quiet punishment for greedy ripostes. Version 1.13, June 2024, extended 1.10's poise-damage treatment to the armaments added in Shadow of the Erdtree.
Since then, nothing. Bandai Namco's patch feed tops out at 1.16.1, released 21 August 2025, and its two entries are a weapon affinity bug and a block-bypass exploit. No stance value, poise threshold or guard counter number in this article has moved in the interim.
One last modifier worth knowing about: from New Game Plus 2 onward, enemies take reduced stance damage. If your reliable four-charged-heavy stance break stopped landing on a later cycle, that is why, and it is not you.
Quick Action Checklist
- Guard counter instead of charging a heavy. Same stance damage on most weapon classes, and you were going to block that attack anyway.
- Two-hand it. +30% stance damage on light attacks, +10% on heavies and guard counters, for free.
- Use Spirit Ashes, not NPC summons, when the plan is a stance break. Phantoms and NPCs cost you 40% of your stance damage on bosses; spirits cost nothing.
- Keep landing something. One point of stance damage restarts the 8-to-20-second reset timer, so a thrown dagger from across the arena protects all your progress.
- Open from stealth when the fight allows it. Enemies that have not noticed you take 20% more stance damage.
- Put an Ash of War on it. Skills deal fixed stance damage with no stat requirement beyond the weapon's own — Lion's Claw and Stamp both reach 45 on the right weapon class.
- Do not expect your greatsword to hit like a dagger on the riposte. Colossal classes cap at 2.5x critical damage; daggers get 4x.
- Aim for 51 poise, not 101. The first threshold buys 930 more endurable attacks; the second buys 310.
- Save the Stonebarb Cracked Tear for the opening 30 seconds of a fight, not for a comeback.
Frequently Asked Questions
Does stance damage scale with your stats in Elden Ring?
What deals the most stance damage in Elden Ring?
Do summons reduce stance damage in Elden Ring?
How much stance does a boss have in Elden Ring?
How long before an enemy stance bar resets in Elden Ring?
Is 51 poise worth it in Elden Ring?
Did the 1.10 patch change poise in single-player Elden Ring?
Keep Reading
- Stance — Elden Ring Wiki (Fextralife)
- Poise — Elden Ring Wiki (Fextralife)
- Poise — Elden Ring Wiki (Fandom)
- Critical Attack — Elden Ring Wiki (Fandom)
- Guard Counter — Elden Ring Wiki (Fandom)
- Guard Boost — Elden Ring Wiki (Fandom)
- Elden Ring — Patch Notes Version 1.10 (Bandai Namco)
- Elden Ring — Patch Notes Version 1.16.1 (Bandai Namco)
Related Guides
How to Beat Radagon and the Elden Beast in Elden Ring
Elden Ring's final boss is two resistance charts behind one fog gate, with no Site of Grace between them. Radagon has no fire negation at all; the Elden Beast blocks 40% of it and every status buildup. Here is what each half resists, the one damage type that works on both, the holy-defense stack they both punish you for skipping, and what the patches actually changed.
How to Beat Radahn in Elden Ring: Full Boss Guide
FromSoftware nerfed Starscourge Radahn by accident in his very first patch, then had to ship a fix just to undo it. Here is his full verified combat profile, the Radahn Festival mechanic nobody explains, and the DLC fight wearing his name that plays nothing like it.
How to Beat Mohg, Lord of Blood in Elden Ring: Full Guide
A White Mask Varré questline reward can teleport you to Mohg, Lord of Blood's fog gate straight out of Liurnia of the Lakes, hours before the game's normal pacing puts a late-game shardbearer in front of you. Here is his full verified moveset, why his own resistance data rules out the fire and frost builds his aesthetic suggests, the item built specifically to survive his Bloodboon Ritual, and the DLC access rule that still trips people up after he's already dead.
How to Beat Malenia in Elden Ring: Full Boss Guide
Bandai Namco's own anniversary infographic counted 329 million attempts against Malenia, Blade of Miquella in one year — more than any other boss the infographic broke out. The reason isn't her health bar, it's the mechanic layered on top of it: she heals off almost everything she lands. Here is her full moveset, phase by phase, the resistances that actually work, a verified damage-reduction stack, and what patches have and have not changed about the fight.
Best Elden Ring Starting Class: All 10 Origins Ranked
Every Elden Ring origin has exactly the same number of attribute points for its level — the only thing you are really choosing is where those points sit and what gear you get for free. Here is what that actually means for your first twenty hours.
Elden Ring Spirit Ashes Guide: The Summons Worth Upgrading
You get ten grades of glovewort and about forty summons to spend them on, and most of that list is filler. Here is what each tier of spirit ash actually does for you, why Mimic Tear behaves the way it does, and which ones deserve a +10.