Elden Ring Talismans Guide: Which Ones Actually Deserve a Slot
Four slots, four Talisman Pouches you cannot miss, and about a hundred candidates. This is the honest read on which Elden Ring talismans move real numbers, which ones are traps, and how the Soreseal math actually breaks down at level 40 versus level 120.
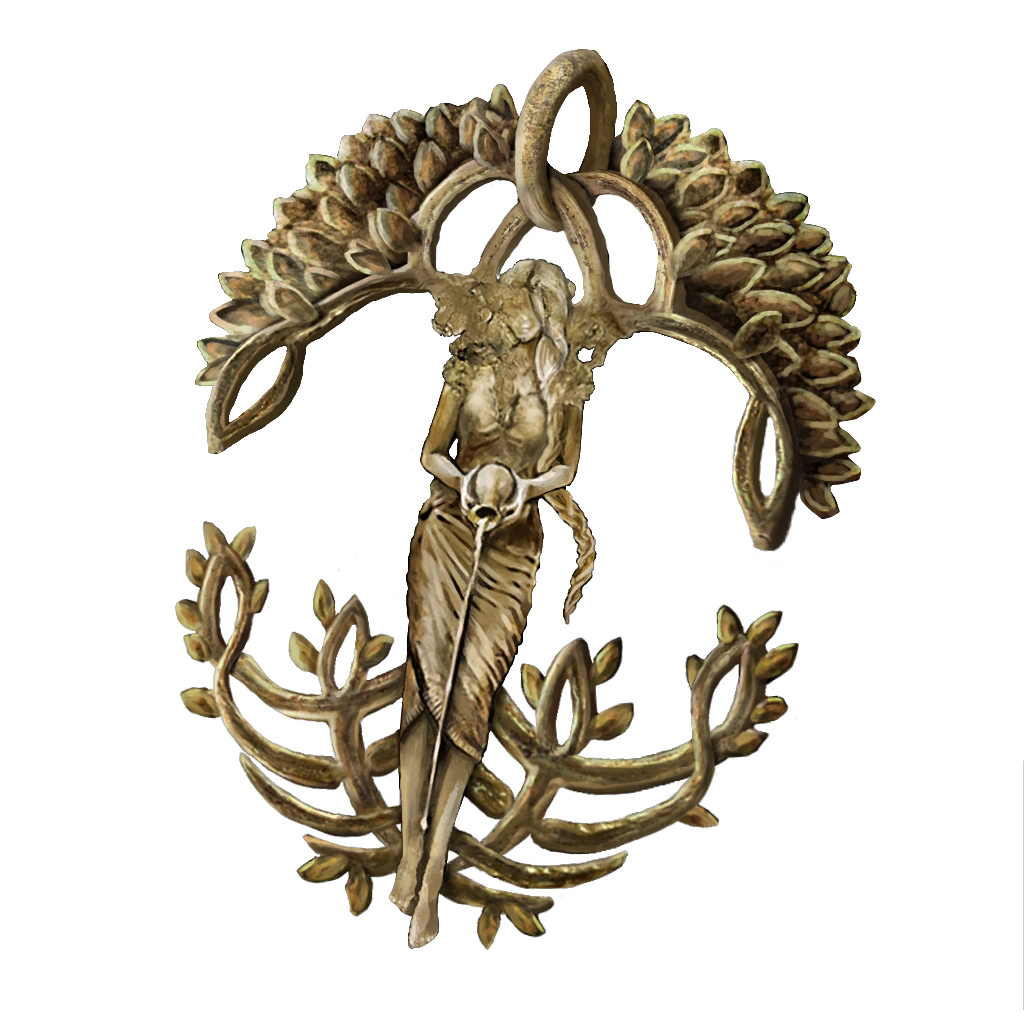
Radagon's Soreseal gives you +5 Vigor, +5 Endurance, +5 Strength and +5 Dexterity for the price of taking 15% more damage. That is twenty stat points on a 0.8-weight trinket you can grab in Caelid before you have beaten a single Shardbearer. Every build guide on the internet tells you to run it. Roughly half of them are wrong about it, and the reason is that the trade flips somewhere around the point most people stop paying attention.
That is the shape of the entire talisman system. Big obvious numbers, four slots to spend them in, and a surprising number of them that quietly stop being worth the space.
Four slots is the whole game
You start the game able to equip exactly one talisman. You get to four by collecting three Talisman Pouches, and none of them are missable — each is bolted to a progression beat:
| Pouch | How you get it |
|---|---|
| First | Defeat Margit, the Fell Omen at the gates of Stormveil Castle |
| Second | Speak to Finger Reader Enia at Roundtable Hold after defeating two or more Shardbearers |
| Third | Defeat the golden shade of Godfrey, First Elden Lord in Leyndell, Royal Capital |
Four slots is the ceiling. There is no fifth. Which means every conversation about "the best talismans in Elden Ring" is really a conversation about opportunity cost, and the honest answer for most builds is two locked slots and two that rotate per fight.
One more rule that catches people: variants do not stack. Arsenal Charm and Arsenal Charm +1 cannot occupy two slots at once, and Great-Jar's Arsenal counts as a variant of both. Same for the four Dragoncrest Shield talismans, the four Erdtree's Favors, and the Scarseal/Soreseal pairs. The game will simply refuse.
Talismans weigh something, and everyone forgets
Talismans have weight, and that weight counts against your Equip Load like any piece of armor. It is small, but it is not nothing, and at the edges it matters.
Erdtree's Favor weighs 1.5. So does Great-Jar's Arsenal. Millicent's Prosthesis weighs 1.6. The DLC's Talisman of Lord's Bestowal weighs 3.0 — heavier than a fair amount of light armor, and double the Erdtree's Favor. Meanwhile Crimson Amber Medallion weighs 0.3 and Bull-Goat's Talisman weighs 0.5.
Four heavy talismans is roughly seven units of Equip Load, which is enough to push a medium-roll build into fat-rolling. If you have ever swapped a talisman and inexplicably lost your roll, that is why. It also means Great-Jar's Arsenal (+19% Equip Load, 1.5 weight) pays for itself many times over on a heavy build, while stacking three 1.5-weight talismans on a dex build that lives at 69% load is a self-inflicted wound.
The near-permanent picks
Two talismans are close to universal, and it is worth understanding exactly how small their numbers are so you can decide honestly.
Erdtree's Favor is the generalist. The base version gives +3% HP, +7% stamina and +5% Equip Load, and it lives on an altar in Fringefolk Hero's Grave — the murder tunnel behind the Stranded Graveyard that costs two Stonesword Keys and a lot of dignity. The upgrades are real but modest: +1 (Cathedral of the Forsaken, after Mohg, the Omen) pushes it to +3.5% / +8.5% / +6.5%, and +2 (Leyndell, Ashen Capital, post-Maliketh) tops out at +4% / +10% / +8%.
Look at that ceiling honestly. +4% HP at 1,450 HP is 58 health. The Erdtree's Favor earns its permanent slot because it does three useful things at once and never has a downside, not because any one of those numbers is impressive.
Crimson Amber Medallion is the pure HP option at +6%, and it is one of the two starting keepsakes actually worth taking — or you can buy it for 1,500 runes from the Nomadic Merchant at the Castle Morne Rampart grace in the Weeping Peninsula, which means it costs you nothing at character creation. The +2 version, found in the Subterranean Shunning-Grounds after Maliketh opens the ash sewer, reaches +8% HP.
Stack those two and you are at roughly +12% HP for two slots. That is a genuine buffer at low Vigor and increasingly irrelevant as your health bar grows, which is the theme of this entire system.
The Seals: math, not vibes
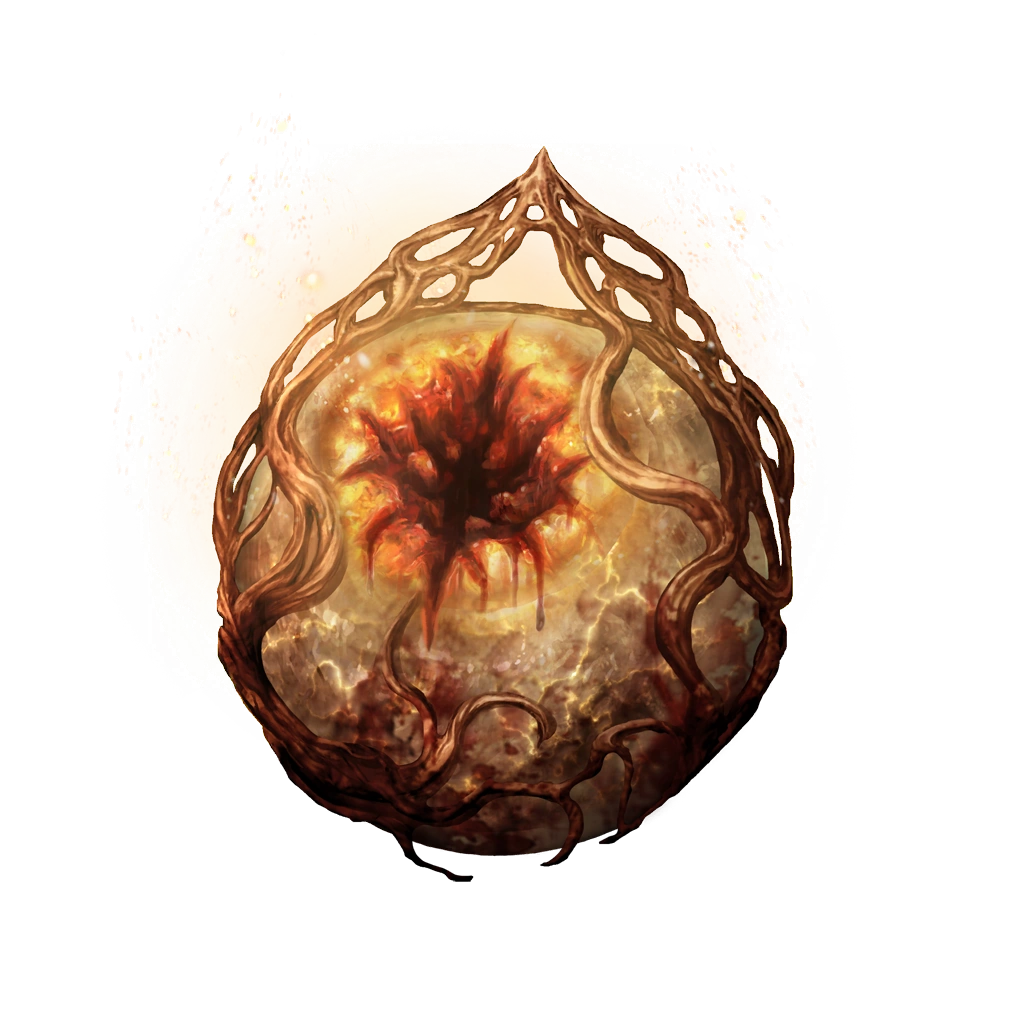
There are four Seals and they are the most interesting items in the category because they are the only ones that openly charge you for the benefit.
| Talisman | Gives | Costs | Where |
|---|---|---|---|
| Radagon's Soreseal | +5 VIG, END, STR, DEX | +15% damage taken | Corpse in the barn at Fort Faroth, Caelid |
| Radagon's Scarseal | +3 VIG, END, STR, DEX | +10% damage taken | Ancient Hero of Zamor, Weeping Evergaol |
| Marika's Soreseal | +5 MND, INT, FAI, ARC | +15% damage taken | Chalice in Elphael, behind a Stonesword Key fog |
| Marika's Scarseal | +3 MND, INT, FAI, ARC | +10% damage taken | Corpse below a waterfall behind the Dragonkin Soldier arena, northwestern Siofra River |
Here is the calculation nobody spells out. Radagon's Soreseal gives +5 Vigor, and Vigor's HP curve is steep early and flat late — at 15 Vigor you have 522 HP, at 40 you have 1,450, and past 40 the returns collapse. So at level 30 with 20 Vigor, +5 Vigor is a large percentage of your health bar and the +5 Endurance/Strength/Dexterity is often the difference between wielding your weapon and not. The 15% damage increase is a real cost, but you are buying a lot.
At level 150 with 60 Vigor, +5 Vigor is a rounding error, the stat requirements were solved forty levels ago, and you are still eating 15% more from every attack that lands. The Soreseal has silently become a debuff you are paying a slot for.
The rule: Soreseals are early-and-mid-game items. They are outstanding up to roughly the point where your primary stats hit their soft caps, and they should come off after. The Scarseals are the version for people who want the effect without a 15% tax — worse in both directions, but they age better.
And a specific trap: do not run Radagon's Soreseal on a low-Vigor glass-cannon caster. Getting one-shot 15% harder is not a trade, it is the same outcome arriving sooner.
Damage talismans that actually multiply
Shard of Alexander is the best damage talisman in the base game and it is not close.
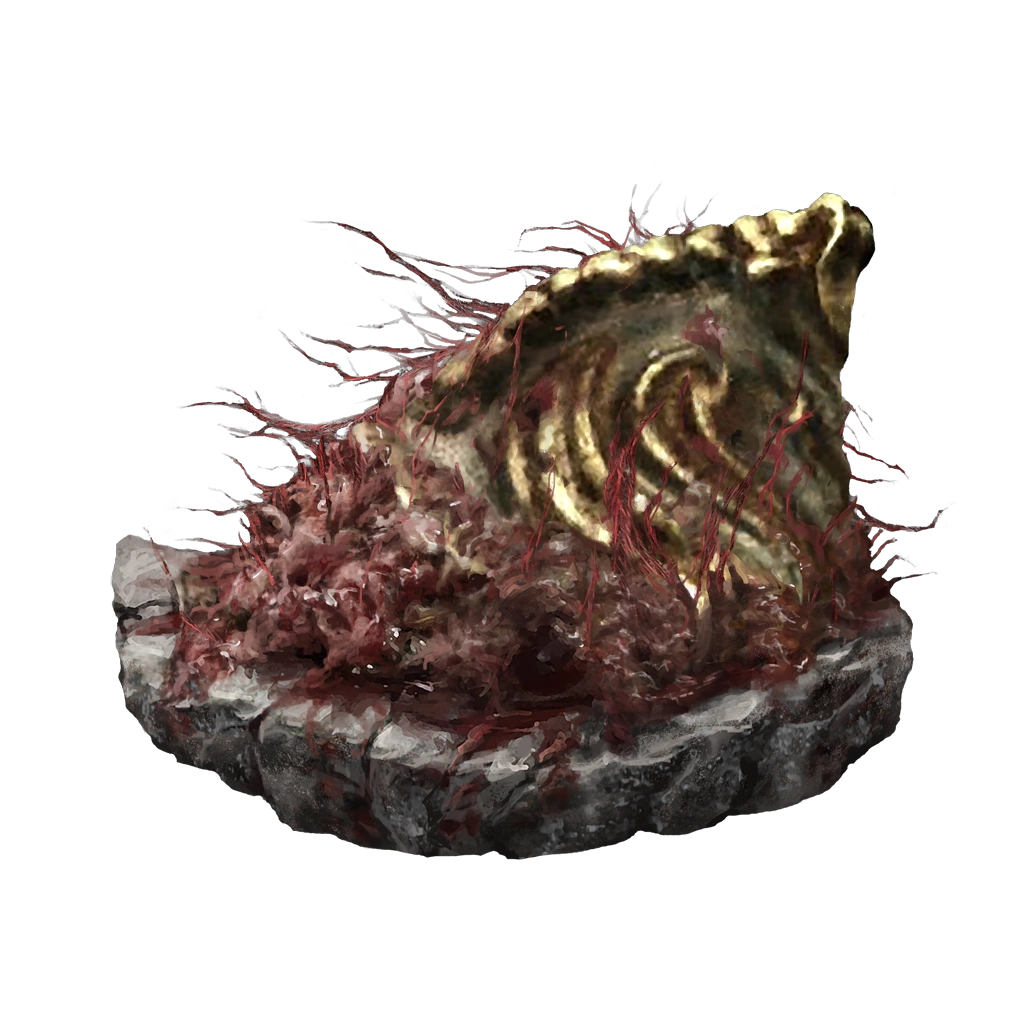
It boosts the attack power of skills by 15% — every Ash of War, every weapon skill, flat. If your build's damage comes out of Bloody Slash, Lion's Claw, Sword Dance or any of the Ashes of War worth a detour, this is a permanent slot and you should stop thinking about it. You get it by completing Iron Fist Alexander's questline and then defeating him in northwestern Crumbling Farum Azula. It counts as a variant of the Warrior Jar Shard, so no doubling up.
Godfrey Icon is the one people misread. It gives +15% to charged sorceries, incantations and skills — and the fine print is that it only applies if the thing is actually charged. Fire an uncharged Comet and the talisman contributes exactly nothing. It is a superb pick for a Comet/Cannon of Haima caster or a Carian Greatsword build and dead weight for anyone who taps the button.
The conditional damage ones
Ritual Sword Talisman gives +10% attack power while at full HP. On paper that is a first-hit bonus and nothing else. In practice, against bosses you are learning, you are at full health for the opening exchange, which is when you want your biggest burst. It is in a chest in the cellar of Lux Ruins in southeastern Mt. Gelmir, guarded by the Demi-Human Queen Gilika. Take it if you are a hit-and-run player; skip it if you fight from 40% health like most of us.
Rotten Winged Sword Insignia is the aggression talisman. It ramps attack power in tiers as you land hits — 6% / 8% / 13%, with a new tier every three hits, and it decays one tier for every 1.5 seconds you go without landing something. Light attacks count as one hit and heavy attacks count as two. That mechanic is the whole story: on a fast weapon with a quick combo you hit the 13% tier and hold it, and on a colossal greatsword that swings twice per opening you will spend most of the fight at tier one. Millicent gives it to you for helping her against her sisters.
Millicent's Prosthesis is the weaker sibling — the same ramp mechanic at 4% / 6% / 11%, plus +5 Dexterity. If you are short of a Dex requirement, this is the better item; if you are not, take the Rotten version.
Defense you can feel
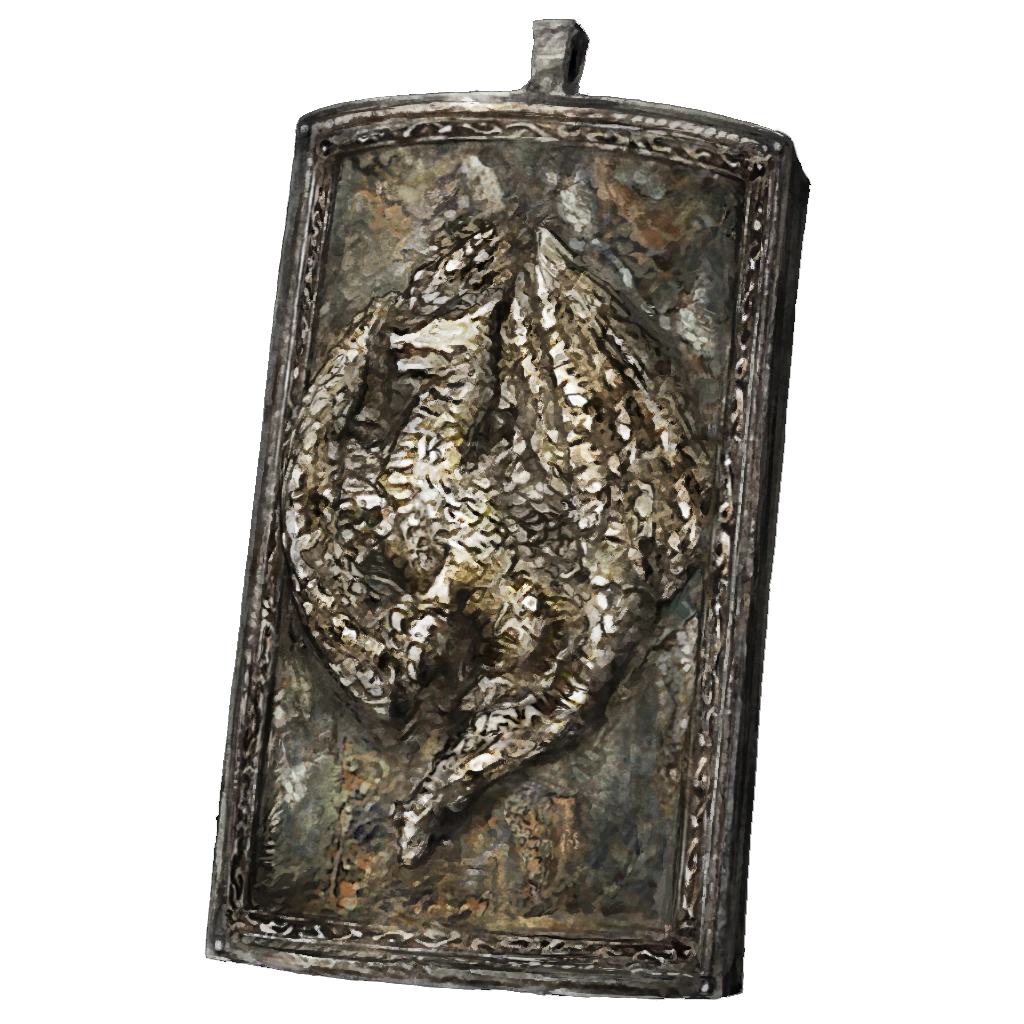
Dragoncrest Greatshield Talisman cuts 20% of physical damage taken, which is the single largest defensive number available to a talisman slot, and it is in a chest deep in Elphael, Brace of the Haligtree. That location is the problem — Elphael is a late-game area, and the vast majority of what will kill you in Elden Ring is physical. The consolation prize is real: Dragoncrest Shield Talisman +2 sits at 17% and lives on a corpse in northern Crumbling Farum Azula, which most players reach first.
Three percentage points is not worth a detour. Take whichever variant you have and move on.
Pair it with Radagon's Soreseal and the arithmetic is interesting: 20% less physical damage against 15% more damage from everything. That combination is one of the reasons the Soreseal feels fine on melee builds and terrible on casters who are taking magic and fire damage the Dragoncrest does not touch.
Blessed Dew Talisman restores 2 HP per second. That number sounds like a joke and it is, at 1,800 HP. At 500 HP in the early game it is a meaningful trickle between fights — its value is inversely proportional to the size of your health bar, which is a polite way of saying it expires. Its saving grace is how early you can get it: it sits in a chest west of the Divine Bridge in Leyndell, and the sending gate at the Tower of Return in the Weeping Peninsula will teleport a level-20 character straight there.
Stamina, poise and the quality-of-life tier
Green Turtle Talisman raises stamina recovery speed by 8 points per second on a base of 45 — about +17.8%. It is a Stonesword Key chest in the Summonwater Village cellar in northern Limgrave, so you can own it in the first two hours, and it is the most under-rated item in this article. Stamina recovery is the invisible stat that decides whether you can punish a boss's recovery frames. Wear it for your entire first playthrough and you will not miss the slot.
Bull-Goat's Talisman raises poise by 33%, and it costs 0.5 weight. Poise is the stat that decides whether an incoming hit interrupts your swing, so this is a colossal-weapon and hyper-armor item specifically. On a dodge-roll build it does very little, because you should not be getting hit mid-animation in the first place. It is on a corpse in Dragonbarrow Cave, in northern Greyoll's Dragonbarrow — head left after you enter the Runebear's room, which is a sentence that has ended several runs.
Great-Jar's Arsenal is +19% Equip Load, the largest in the game, and getting it is a genuine event: speak to the Great Jar in Greyoll's Dragonbarrow and it spawns three duelist summon signs. Beat all three Great Jar's Warriors and it is yours. Online, those duelists are drawn from real player characters who completed the challenge, then scaled and given infinite FP — offline you fight three pre-made versions instead. The earlier and easier substitute is Arsenal Charm at +15%, handed to you by Nepheli Loux at Roundtable Hold after you talk to her in Stormveil and kill Godrick.
Caster-only slots
Two items are non-negotiable for spellcasters and worthless to everyone else.
Radagon Icon shortens the casting time of sorceries and incantations. There is no percentage to quote because the effect works on cast animation frames rather than a damage multiplier, and the practical result is that slow spells become castable in a boss window. It is in a chest at Raya Lucaria Academy — from the Debate Parlor grace, out into the courtyard, around the building, over a fence, up a ladder, through a broken window. Get it the moment you are in the Academy.
Old Lord's Talisman extends spell duration by 30%, which matters for buffs (Golden Vow, Flame Grant Me Strength, Terra Magica) more than for damage. It is in a chest in Crumbling Farum Azula guarded by a Recusant Bernahl invasion and three Azula Beastmen.
What Shadow of the Erdtree adds
The DLC adds a pile of talismans, and a few of them are immediately relevant even if you are mostly playing the base game — they carry back to the Lands Between, unlike the Scadutree and Revered Spirit Ash blessings, which do not.
- Two-Handed Sword Talisman — +15% to attacks with two-handed weapons, in a chest at Temple Town Ruins, up the stairs past the Horned Warrior. If you two-hand anything, this is a straight 15% and one of the best items the DLC handed out.
- Crusade Insignia — +15% attack power for 20 seconds after defeating an enemy. Useless in a boss arena, excellent for clearing a legacy dungeon at pace. Dropped by Fire Knight Queelign the first time you beat him, at Belurat Tower Settlement or the Church of the Crusade.
- Outer God Heirloom — +5 Arcane, in a chest at the top of Prospect Town in southwestern Gravesite Plain. The Arcane equivalent of the Two Fingers Heirloom, and relevant to bleed builds that need to clear an Arcane threshold.
- Aged One's Exultation — +20% attack power for 30 seconds when madness is triggered nearby. Stacked with Black Dumpling and Madding Hand it reaches +41.9%, which is one of the largest damage multipliers in the game. It drops from the Aging Untouchable nearest the Abandoned Church in the Abyssal Woods, and that enemy is only vulnerable after you parry it.
- Talisman of Lord's Bestowal — raises poise after you drink a Flask of Crimson Tears. Interesting concept, but it weighs 3.0, the heaviest talisman in the game, and the exact poise value has never been pinned down publicly. Treat it as a curiosity until someone datamines a number.
Four loadouts worth copying
Early melee (level 30-60): Radagon's Soreseal · Green Turtle Talisman · Crimson Amber Medallion · Erdtree's Favor. You will not have four slots for most of this window, so drop in that priority order.
Aggressive melee (level 100+): Shard of Alexander · Rotten Winged Sword Insignia · Dragoncrest Shield Talisman +2 · Erdtree's Favor +2. Soreseal comes off here — that is the whole point.
Heavy / poise build: Bull-Goat's Talisman · Great-Jar's Arsenal · Dragoncrest Greatshield Talisman · Two-Handed Sword Talisman. Watch the combined weight; that is 4.0 before armor.
Caster: Radagon Icon · Godfrey Icon · Old Lord's Talisman · Marika's Soreseal — and swap Marika's Soreseal for Erdtree's Favor the second something starts one-shotting you.
Mistakes that waste a slot
- Wearing Radagon's Soreseal at level 150. The +5 Vigor is worthless past the 40 soft cap and the 15% damage increase never stops applying.
- Running Godfrey Icon without charging anything. The bonus applies only to the charged version of a skill or spell. No charge, no bonus.
- Trying to stack variants. Erdtree's Favor and Erdtree's Favor +2 will not both equip. Neither will any Dragoncrest pair, nor Arsenal Charm with Great-Jar's Arsenal.
- Ignoring talisman weight. Four heavy talismans is roughly 7 Equip Load. That is a roll type.
- Putting Rotten Winged Sword Insignia on a colossal weapon. The ramp needs three hits per tier and decays after 1.5 idle seconds. Slow weapons live at tier one.
- Skipping the Green Turtle Talisman because +17.8% stamina recovery sounds boring. It is the most consistently useful thing you can equip in the first thirty hours.
Quick Action Checklist
- Grab Green Turtle Talisman from the Summonwater Village cellar in your first few hours. One Stonesword Key, permanent value.
- Take Crimson Amber Medallion as your keepsake, or buy it for 1,500 runes at the Castle Morne Rampart merchant.
- Detour to Fort Faroth in Caelid for Radagon's Soreseal while your stats are still low enough for it to be a bargain.
- Do Fringefolk Hero's Grave when you have two Stonesword Keys and the patience for the chariot, for Erdtree's Favor.
- Finish Alexander's questline — Shard of Alexander's flat +15% to skills outlasts almost everything else in this list.
- Take the Soreseal off once your primary stats hit their soft caps. It stops being a trade and becomes a tax.
- Check your Equip Load after every talisman swap. Seven units of trinkets will change your roll.
Frequently Asked Questions
How many talisman slots are there in Elden Ring?
Is Radagon's Soreseal worth it?
What is the best damage talisman in Elden Ring?
Do talismans have weight in Elden Ring?
Can you equip two versions of the same talisman?
What does Godfrey Icon actually boost?
Which Shadow of the Erdtree talismans are worth using in the base game?
Keep Reading
Related Guides
Elden Ring Respec Guide: All 27 Larval Tear Locations
Every Rebirth at Rennala costs one Larval Tear, and a Journey only holds 27 of them. Here is where all 18 base-game tears and all nine Shadow of the Erdtree tears are, what the Rebirth menu will and will not let you change, and why eight of the eighteen wait behind Starscourge Radahn.
Elden Ring Remembrance Rewards: What Each One Unlocks
Trade a Remembrance to Finger Reader Enia and she offers exactly one item, not two — pick wrong and the other is gone unless you find a Wandering Mausoleum or Duplication Coffin first. Here is every Remembrance, both of its rewards with stat requirements, the one that is secretly a three-way choice, and the item that behaves like a Remembrance but is not one.
Elden Ring Equip Load: Roll Breakpoints and Real I-Frames
The difference between 69.9% and 70.0% equip load is one tenth of a percentage point, and it doubles your roll recovery. Here are the exact breakpoints, the i-frame numbers behind each roll type, and how much Endurance each armor budget actually costs.
Elden Ring Great Runes Guide: What Each One Actually Does (and When to Burn a Rune Arc)
Morgott's Great Rune raises your maximum HP by 25% until you die, and most players never switch it on. Here is how the three-step Great Rune system actually works, the verified numbers behind all seven runes, and why hoarding Rune Arcs is the real mistake.
Best Elden Ring Starting Class: All 10 Origins Ranked
Every Elden Ring origin has exactly the same number of attribute points for its level — the only thing you are really choosing is where those points sit and what gear you get for free. Here is what that actually means for your first twenty hours.
Elden Ring Wondrous Physick Guide: Every Crystal Tear, Ranked by Its Real Numbers
Most Tarnished mix one Crimson Crystal Tear into the Flask of Wondrous Physick and never open the menu again. Here are the real percentages behind all 32 tears, the combos actually worth running, and why the Cerulean Hidden Tear and Deflecting Hardtear break the game open.