Elden Ring Equip Load: Roll Breakpoints and Real I-Frames
The difference between 69.9% and 70.0% equip load is one tenth of a percentage point, and it doubles your roll recovery. Here are the exact breakpoints, the i-frame numbers behind each roll type, and how much Endurance each armor budget actually costs.
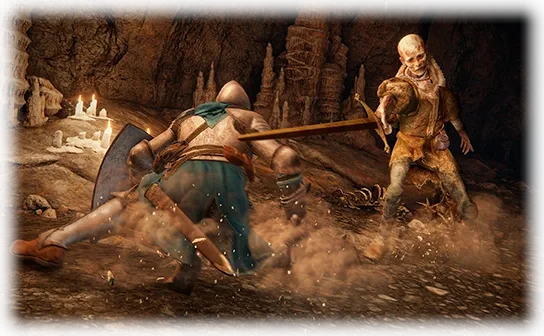
At 69.9% of your maximum equip load, your dodge roll has 13 invincibility frames and recovers in 8. At 70.0% — one tenth of a percentage point heavier — it has 12 and recovers in 16. Same character, same armor minus a talisman, twice the recovery time on every single roll for the rest of the fight.
Five of our Elden Ring guides mention equip load in passing. None of them prints the actual numbers, and neither does the game: the equipment screen shows you a weight fraction and a one-word label, and leaves the brackets, the frame data and the Endurance curve for you to find out the hard way. Here they are.
Four load brackets, one line that matters
Your equip load is the total weight of your equipped armaments, armor and talismans — items sitting in your inventory count for nothing. Divide that by the maximum on the right side of the fraction and the percentage puts you in one of four brackets:
| Weight ratio | Load | Roll i-frames (at 30 fps) | Recovery frames | What changes |
|---|---|---|---|---|
| 29.9% or less | Light | 13 (433 ms) | 8 (233 ms) | Longest roll distance, quickest backstep recovery |
| 30.0% – 69.9% | Medium | 13 (433 ms) | 8 (233 ms) | The baseline |
| 70.0% – 99.9% | Heavy | 12 (400 ms) | 16 (533 ms) | Shorter roll, doubled recovery, stamina regeneration cut by about 20% |
| 100% or more | Overloaded | — | — | No rolls, no backsteps, movement slows to a trudge |
The frame data is measured at 30 fps, so 13 frames is 433 milliseconds of invincibility. And one cost is flat across the whole table: rolls and backsteps always cost 12 stamina, at any load. Carrying less does not make dodging cheaper — it makes it better.
The bracket boundaries are hard lines. There is no scaling inside a bracket: a character at 31% load rolls identically to one at 69%, which means any weight you can add without crossing 69.9% is free.
Light roll and medium roll have the same i-frames
A persistent myth about equip load is that going light buys you more invincibility. Read the table again: light roll and medium roll both have 13 i-frames and 8 recovery frames. They are the same roll on the clock. What light load actually buys is distance — the roll travels farther — and a quicker recovery on backsteps, not rolls.
That reframes the light-roll question completely. You are not trading survivability for armor when you sit at 45% load instead of 25%; you are trading roll distance, which mostly matters for spacing-heavy fights and runaway plays. If your dodge habit is rolling through attacks rather than away from them, medium load gives up nothing that shows on the i-frame clock, and it roughly doubles your weight budget — 69.9% of your maximum instead of 29.9%.
That is also why the advice in our talismans guide — that four heavy talismans can silently change your roll type — cuts both ways. Seven units of trinkets can push you over 69.9%, but they can never make a medium roll worse from inside the bracket.
What heavy load actually costs
The 70% line is the one with teeth, and the roll is only the first bill:
- One i-frame fewer — 12 instead of 13, or 400 ms of invincibility instead of 433.
- Doubled recovery — 16 frames instead of 8. This is the part you feel: the wiki describes the heavy-load recovery animation as almost twice as long, and the frame data says exactly twice.
- Stamina regeneration penalized by about 20%, which compounds with every roll still costing 12 stamina.
- More fall damage. The penalty starts at 70% load: at 100% you take 10% extra from falls, scaling up to 30% extra at 150%.
Heavy load is a real build choice — poise armor exists for a reason, and the 51 and 101 poise thresholds are worth real weight. But it should be a choice, not an accident of picking up a greatshield.
Overloaded is not a build choice. At 100% or more you cannot roll or backstep at all — the dodge input produces a slight forward stumble — and normal movement slows dramatically. Nothing in the game rewards it.
Endurance is the budget
Maximum equip load comes from exactly one stat. Every character starts the curve at 45.0 equip load, the floor for Endurance 8 and below — which is why the Prophet, with the lowest starting Endurance in the game at 8, is also the game's most cramped wardrobe. The stat then climbs on three very different slopes, with soft caps at 25 and 60 Endurance:
| Endurance | Max equip load | Gain per point in this stretch |
|---|---|---|
| 8 | 45.0 | — |
| 15 | 56.1 | +1.6 |
| 20 | 64.1 | +1.6 |
| 25 | 72.0 | +1.6 |
| 30 | 77.6 | +1.0 to +1.2 |
| 40 | 90.9 | +1.3 to +1.4 |
| 50 | 105.2 | +1.4 to +1.5 |
| 60 | 120.0 | +1.5 |
| 70 | 130.3 | +1.0 |
| 99 | 160.0 | +1.0 |
The exact formulas, for the spreadsheet-inclined: levels 8–25 run 45 + 27 × ((level − 8) / 17), levels 26–60 run 72 + 48 × (((level − 25) / 35)^1.1), and levels 61–99 run 120 + 40 × ((level − 60) / 39), keeping one decimal.
Endurance is pulling double duty the whole way — the same stat carries your stamina, with its own soft caps at 15, 30 and 50 — so points here are rarely wasted. But the equip load return is not smooth, and the shape of the curve has a trap in it.
The dead zone from 26 to 38
From 8 to 25, every point of Endurance is worth a clean +1.6 equip load. At 26 the gain collapses to +1.0 and crawls back up through +1.1, +1.2, +1.3 — it does not return to +1.4 or better until 37, and only reaches a steady +1.5 in the 40s and 50s before the second soft cap at 60 drops everything after it to +1.0.
Practically: the stretch from 26 to 38 Endurance is the worst equip load real estate on the curve. If you are leveling Endurance specifically to fix a roll problem, points up to 25 are premium, and a talisman is often cheaper than pushing through the dip — +19% from Great-Jar's Arsenal on an 80-load character is worth about 12 levels of dead-zone Endurance.
Your real weight budget, by Endurance
The brackets and the curve combine into one practical table: the heaviest loadout you can wear at each Endurance level without leaving light or medium load. Light budget is 29.9% of your maximum; medium budget is 69.9%.
| Endurance | Max load | Light-roll budget | Medium-roll budget |
|---|---|---|---|
| 8 | 45.0 | 13.4 | 31.4 |
| 15 | 56.1 | 16.7 | 39.2 |
| 20 | 64.1 | 19.1 | 44.8 |
| 25 | 72.0 | 21.5 | 50.3 |
| 30 | 77.6 | 23.2 | 54.2 |
| 40 | 90.9 | 27.1 | 63.5 |
| 50 | 105.2 | 31.4 | 73.5 |
| 60 | 120.0 | 35.8 | 83.8 |
| 99 | 160.0 | 47.8 | 111.8 |
Read the light column honestly and it explains why so few builds actually light-roll: at 20 Endurance your entire kit — both hands, four armor slots, four talismans — has to weigh under 19.1. That is cloth armor and a dagger. The medium column is the one most builds live in, and it more than doubles the allowance at every row.
The items that raise maximum equip load
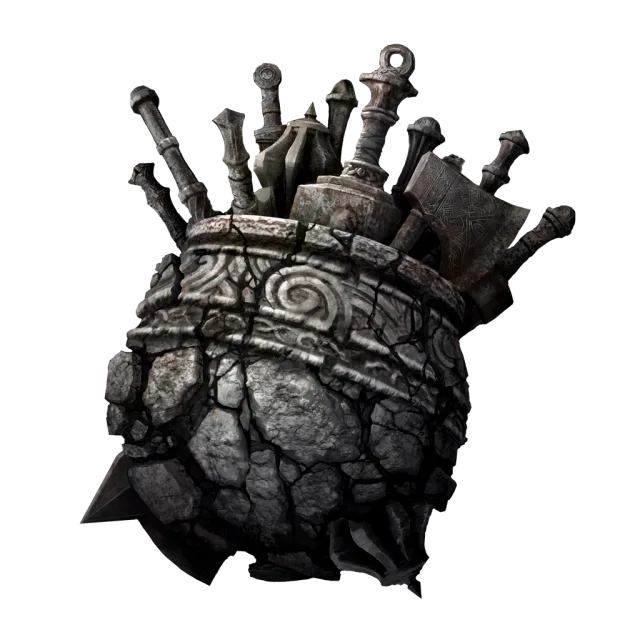
Seven items raise the maximum directly, in two families that do not stack within themselves — you can wear one Arsenal talisman and one Erdtree's Favor at a time, not two of either:
| Item | Effect | Type |
|---|---|---|
| Arsenal Charm | +15% max equip load | Talisman |
| Arsenal Charm +1 | +17% | Talisman |
| Great-Jar's Arsenal | +19% | Talisman |
| Erdtree's Favor | +5% (plus HP and stamina) | Talisman |
| Erdtree's Favor +1 | +6.5% | Talisman |
| Erdtree's Favor +2 | +8% | Talisman |
| Winged Crystal Tear | +450% for 3 minutes | Crystal Tear |
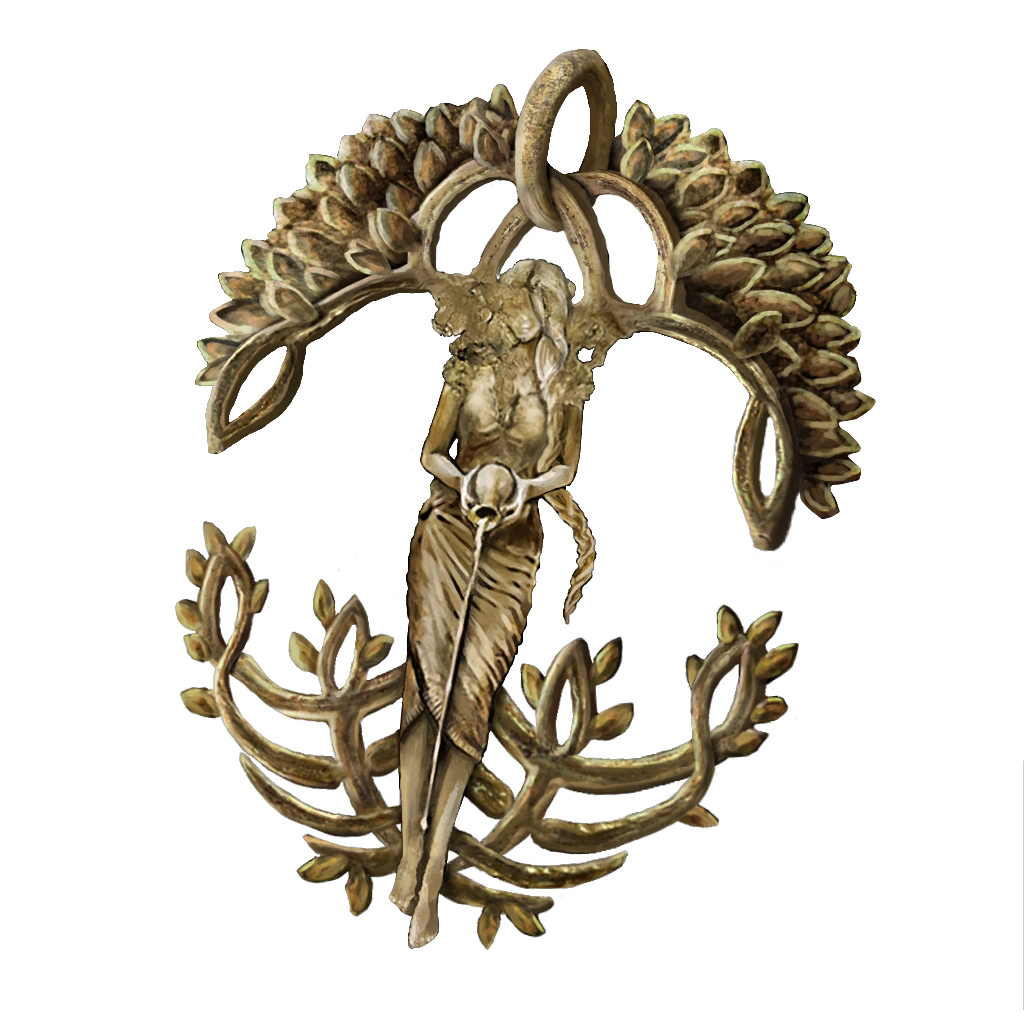
A second, indirect family raises Endurance itself, and the equip load follows: the Imp Head (Wolf) helm and the Hierodas Glintstone Crown each add 2 Endurance (the crown also adds 2 Intelligence and costs 10% of your FP), and Radagon's Scarseal adds 3 Endurance along with Vigor, Strength and Dexterity — its Soreseal upgrade adds 5, and the two Radagon talismans cannot be worn together. Where to find each talisman, and what else is fighting for those four slots, is the talismans guide's territory; the arithmetic that matters here is that percentages multiply your whole maximum, so they get better with every Endurance level while a flat +2 Endurance helm is worth at most +3.2 load.
The Winged Crystal Tear and the snap-back
The Flask of Wondrous Physick entry deserves its own paragraph because the wikis disagree with themselves about its size. The tear is described as a 450% increase, which would multiply your maximum by 5.5 — but Fextralife's own worked maximum says a 205.6 equip load rises to 925.3 with the tear active, which is a 4.5x total multiplier, and the snap-back arithmetic only works at 4.5x too. Whichever way the wording falls, the practical shape is the same: for three minutes your maximum balloons several times over.
Then it expires, and your load percentage is recalculated against your real maximum in one frame. At 4.5x, anything over about 15.6% of the boosted maximum lands you in heavy load the moment the timer ends, and anything over about 22.2% leaves you overloaded — unable to roll, mid-fight, in the Bull-Goat Set. It is a three-minute loan, not a build.

The ceiling, and the heaviest light roll in the game
Stack everything permanent — 99 Endurance for a base of 160.0, Great-Jar's Arsenal for +19%, Erdtree's Favor +2 for +8% — and the maximum reachable equip load is 205.6. The two talismans cost you half your talisman slots, but the light-roll budget on 205.6 is 61.4 — more than the entire 45.0 maximum equip load an Endurance 8 character has to spend. That is the theoretical ceiling; the Winged Crystal Tear pushes it to 925.3 for its three minutes, which is how a naked-stat build briefly wears everything it owns at once.
Three armor budgets, worked through
Numbers from the wiki's set pages, to make the table concrete:
Knight Set — 25.3 weight, 51 poise. The set the stance break guide recommends as the cheapest route to the 51-poise threshold is also cheap on the scale. At 20 Endurance your medium budget is 44.8, which fits the full set plus 19.5 of weapons and talismans — a greatsword and change. Even 16 Endurance medium-rolls it with 15 to spare.
Bull-Goat Set — 63.0 weight, 99.99 poise. The heaviest set in the game costs more than an entire level-8 character can carry at any roll speed. Medium-rolling it plus roughly 10 weight of weapons needs a 104.4 maximum — that is 50 Endurance unassisted, or about 38 with Great-Jar's Arsenal doing +19% of the lifting. This set is why the Arsenal talismans exist.
Blue Cloth Set — 17.8 weight, 33 poise. A genuinely light set, and even so, a light-roll build at 20 Endurance (budget 19.1) has 1.3 weight left after wearing it — not enough for any real weapon. Light roll is not an armor choice so much as an Endurance tax: from the table above, plan on 40-plus Endurance or an Arsenal talisman before a light build carries both a weapon and its clothes.
Edge rules worth knowing
- Torrent does not care. Equip load restrictions do not apply while mounted, so an overloaded character rides at full speed. Useful for hauling a new armor haul back to a Site of Grace without stripping.
- Sprinting outside combat is free. Stamina is only consumed by sprinting during combat, so load never limits your overworld travel — only your fights.
- Talismans weigh real weight. The load counts armaments, armor and talismans together, which is how a 3.0-weight talisman flips a roll type on its own.
- Everything in the fraction is only what is equipped. Carrying six spare weapons in your inventory costs nothing; holstering them in your actual armament slots counts every one.
- The brackets have no memory. Drop a weapon mid-fight and your roll upgrades on the next dodge. Two-handing does not change your load — the weight is counted whether the weapon is in one hand or both.
Quick Action Checklist
- Sit anywhere under 69.9% and stop optimizing. Medium roll has identical i-frames and recovery to light roll — 13 and 8 — so weight below the line is free.
- Cross 70% on purpose or not at all. Heavy load costs an i-frame, doubles roll recovery to 16 frames, and cuts stamina regeneration by about 20%.
- Treat light roll as a distance tool, not an i-frame tool. It rolls farther and backsteps quicker; the invincibility window is unchanged.
- Level Endurance to 25 for equip load, then reassess. Every point to 25 is +1.6 load; points 26 through 38 average about +1.2, the worst stretch on the curve.
- Prefer a percentage talisman over dead-zone levels. Great-Jar's Arsenal at +19% beats roughly 12 levels of mid-curve Endurance on an 80-load build.
- Check the fraction after every talisman swap — they weigh real weight, and one bracket line is a tenth of a percent wide.
- Use the Winged Crystal Tear with a timer in your head. Above roughly 22.2% of the boosted maximum, its expiry leaves you overloaded mid-fight.
- Never fight at 100%. Overloaded removes rolls and backsteps entirely; nothing compensates for that.
Frequently Asked Questions
What are the equip load breakpoints in Elden Ring?
Do light rolls have more i-frames than medium rolls in Elden Ring?
What does Endurance soft cap at for equip load in Elden Ring?
How do you increase maximum equip load in Elden Ring?
What is the maximum equip load in Elden Ring?
What happens when you are overloaded in Elden Ring?
Does heavy load reduce stamina regeneration in Elden Ring?
Keep Reading
Related Guides
Elden Ring Tarnished Pack: Every Weapon and Armor Location
Patch 1.17's notes never name the Tarnished Pack's weapons. Here are all eight armaments, the four armor sets and the three Torrent attires, where each one sits, what stands in front of it, the two invaders who carry two of the sets, and the one set you can lock yourself out of.

Elden Ring Memory Stones: All 8 Locations and Max Slots
Every character starts with two memory slots, and Comet Azur alone needs three. Here are all eight Memory Stones, the tortoise puzzles and missable gesture that guard them, the talisman that takes you to twelve, and the spells that cost more than one slot.
Elden Ring Respec Guide: All 27 Larval Tear Locations
Every Rebirth at Rennala costs one Larval Tear, and a Journey only holds 27 of them. Here is where all 18 base-game tears and all nine Shadow of the Erdtree tears are, what the Rebirth menu will and will not let you change, and why eight of the eighteen wait behind Starscourge Radahn.
Elden Ring Talismans Guide: Which Ones Actually Deserve a Slot
Four slots, four Talisman Pouches you cannot miss, and about a hundred candidates. This is the honest read on which Elden Ring talismans move real numbers, which ones are traps, and how the Soreseal math actually breaks down at level 40 versus level 120.
Best Elden Ring Starting Class: All 10 Origins Ranked
Every Elden Ring origin has exactly the same number of attribute points for its level — the only thing you are really choosing is where those points sit and what gear you get for free. Here is what that actually means for your first twenty hours.
Elden Ring Ashes of War Guide: Affinities, Whetblades, and the Ashes Worth Farming
There are 91 Ashes of War in the base game and thirteen affinities to bolt onto them, and the game explains almost none of it. Here is the system, the five Whetblade locations, and the short list of Ashes that are actually worth a detour.