Minecraft Mining Guide: Best Levels for Every Ore
Since the 1.18 world overhaul, every ore lives in a known altitude band — and most are densest at a specific Y level you can stand on. Diamond at -59, gold at -16, copper at 48, iron at two separate peaks. Here is the exact level for every ore, plus which mining pattern and gear actually pays off.
If you are still mining at Y 11 because a guide told you to a few years ago, you are wasting your time. The 1.18 Caves & Cliffs overhaul tore up the old ore rules and replaced them with something better: every ore now spawns in a defined vertical band, and most peak at a specific altitude you can stand on. Mining stopped being "dig down and hope" and became "go to this number for that ore." Once you memorize a handful of Y levels, you stop wandering and start farming exactly what you came for.
This is the level-by-level breakdown for every ore in current Minecraft, with the numbers verified against the Minecraft Wiki's distribution data — including the two ores that trip everyone up (iron has two peaks, and emerald is a mountain-only oddball). Then the part most guides skip: which mining pattern is actually worth your durability, how Fortune changes the math, and what to pack so a great vein does not end on a respawn screen.
How ore distribution works now
Two big ideas drive everything in 1.18 and later.
First, the world is taller. It bottoms out at Y -64 (not the old Y 0 bedrock floor) and tops out at Y 320. That extra basement is where the good stuff lives.
Second, ores use triangular distributions. Instead of spawning evenly across a flat band, most ores follow a triangle: rare at the edges of their range, densest at a peak in the middle. Diamond, for example, can appear anywhere from Y -64 up to about Y 16, but it is overwhelmingly more common near the bottom. So the "best level" for an ore is the peak of its triangle — the single altitude with the most ore per block mined.
Below Y 0, stone is replaced by deepslate, the darker, harder rock. Deepslate ores drop the same materials as their stone versions; they just take a little longer to mine, which is why your pickaxe choice and an enchantment like Efficiency matter more the deeper you go.
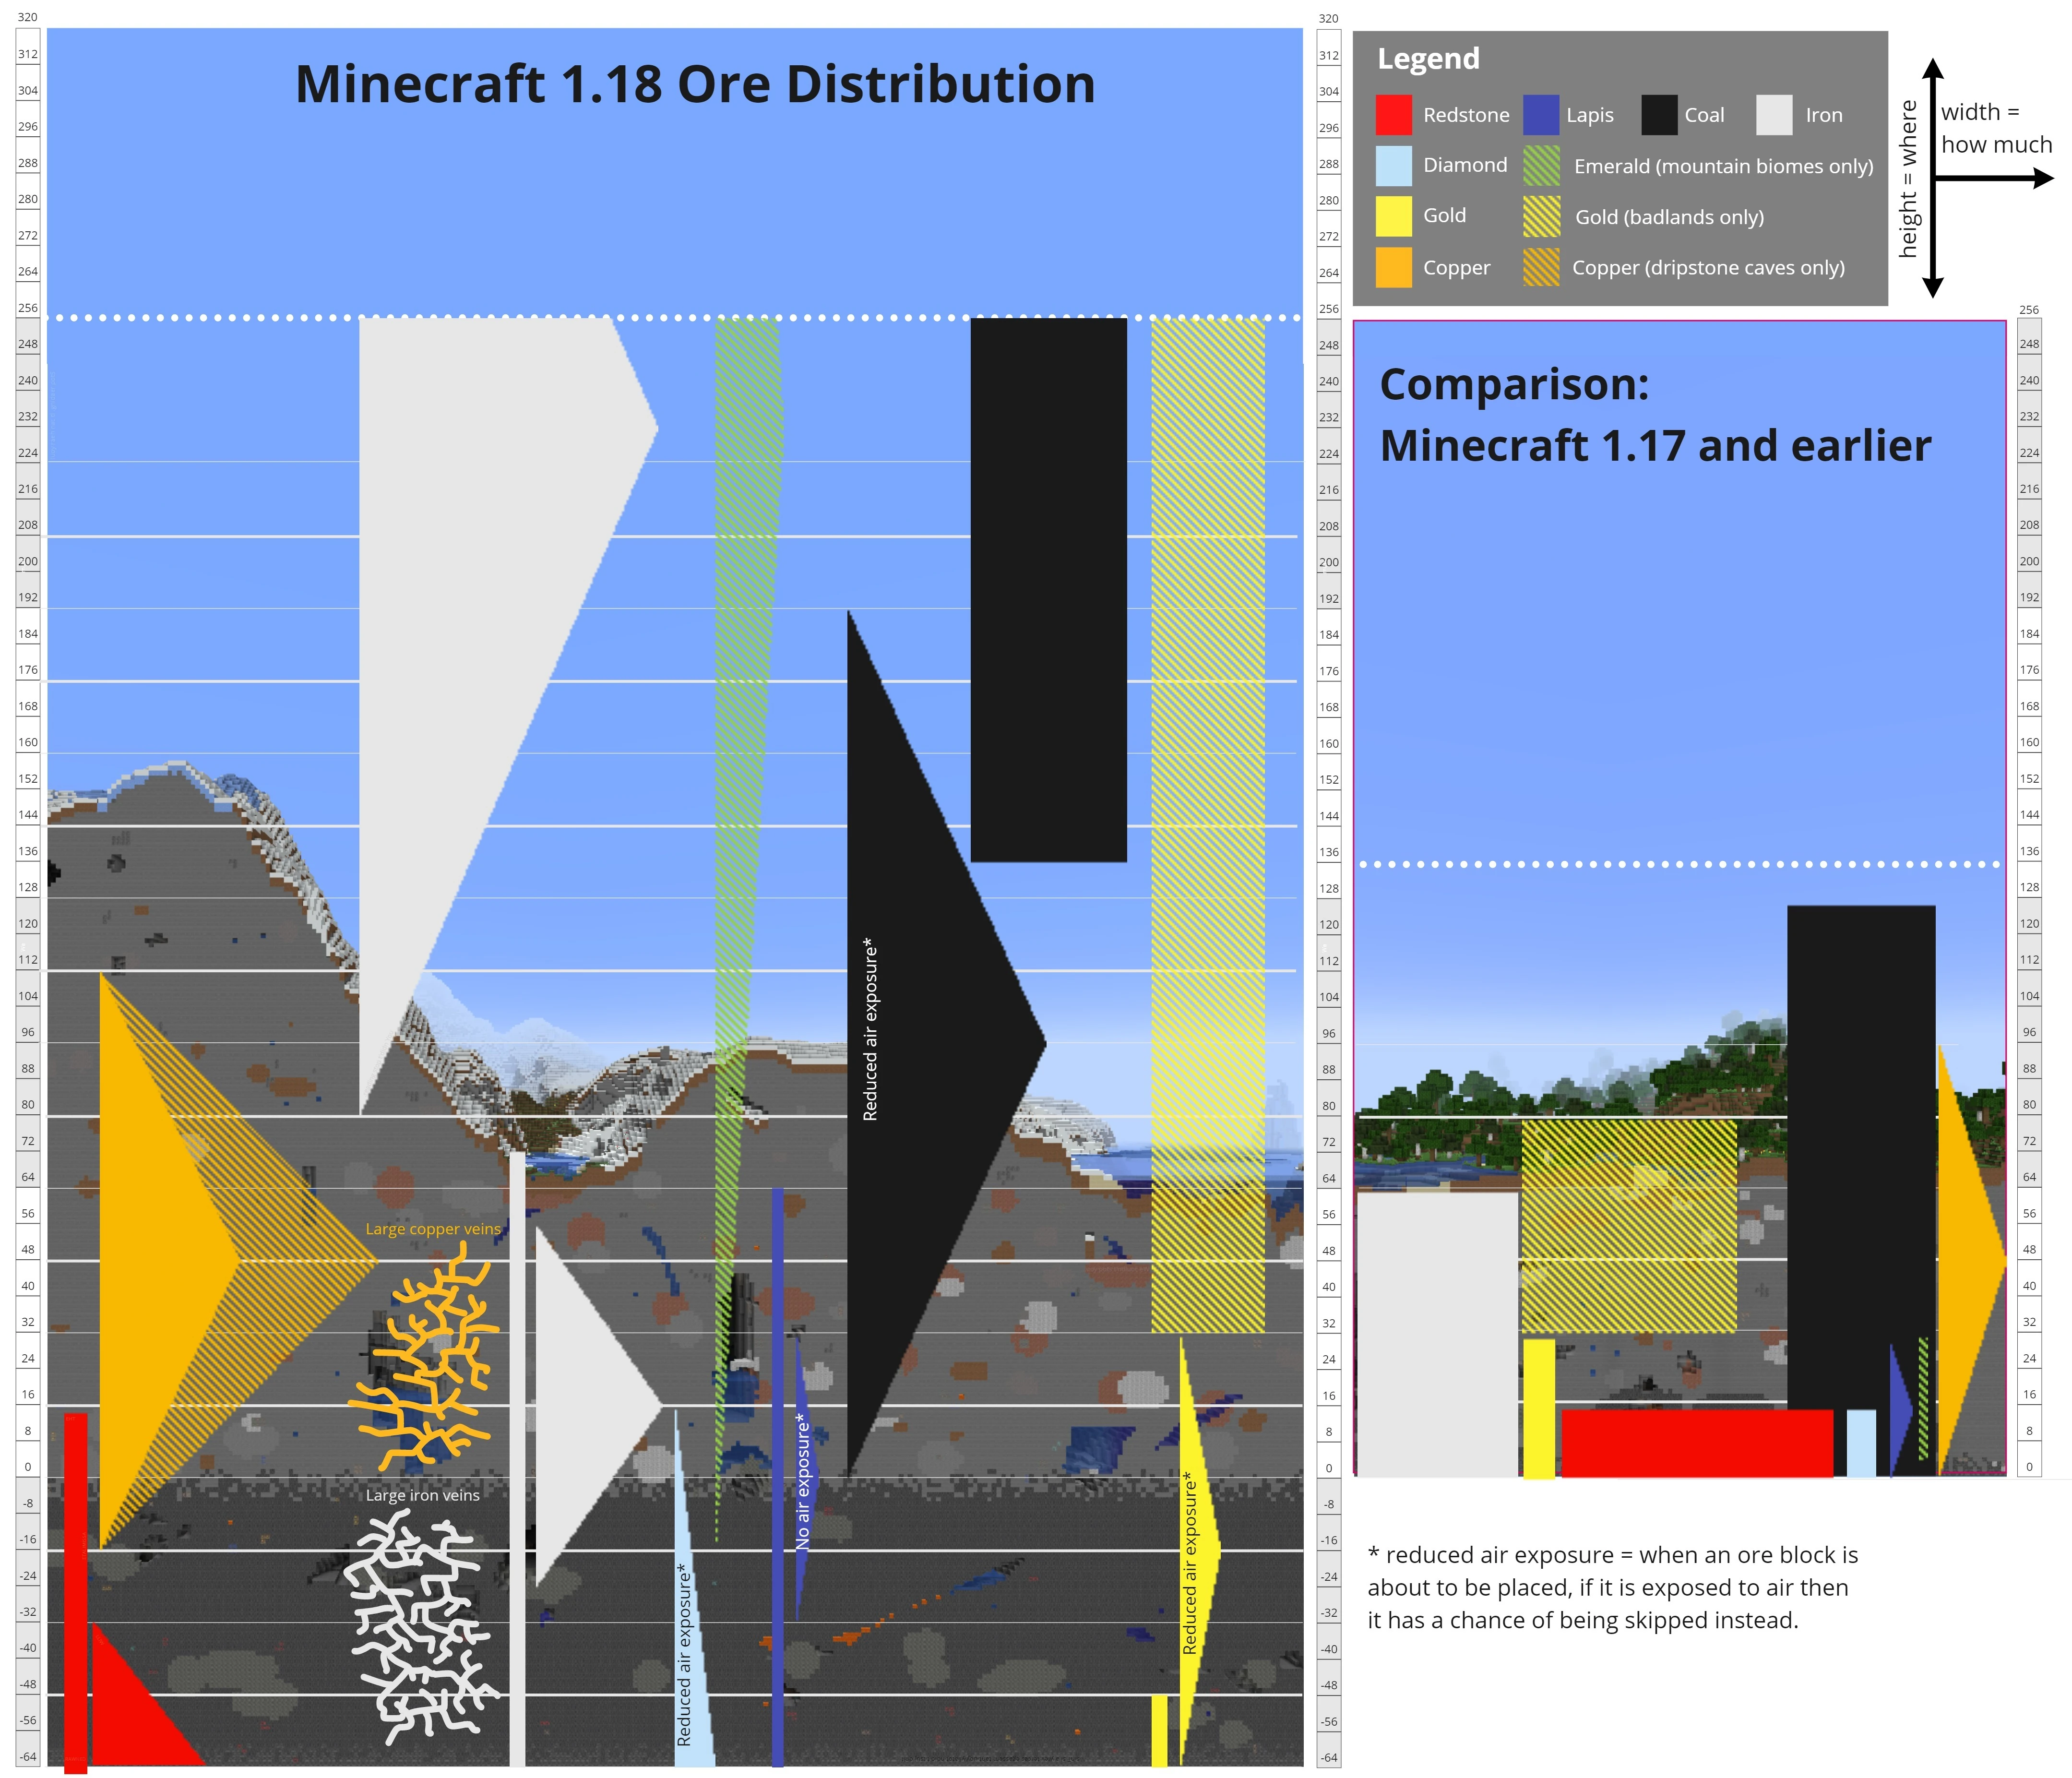
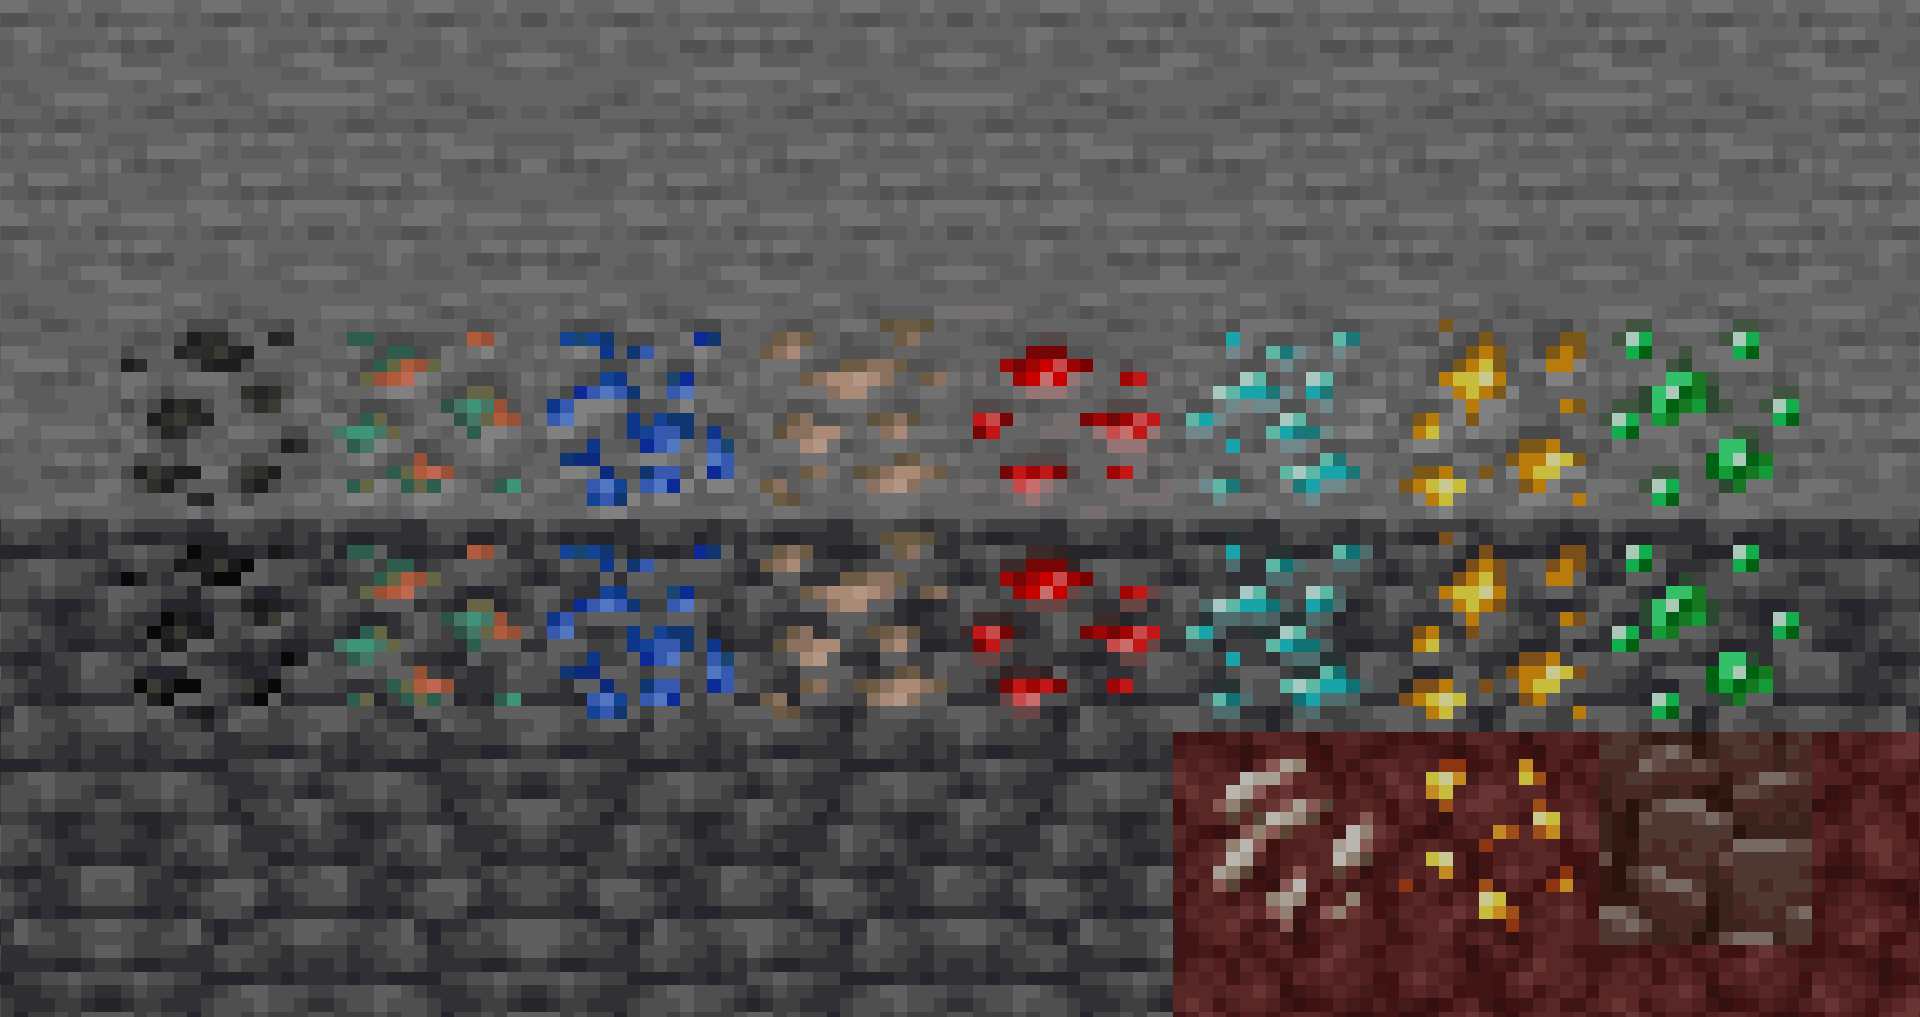
Best Y level for every ore
Here is the whole list at a glance. Stand at the "best level" and you are in the densest part of that ore's band.
| Ore | Best Y level | Spawns in range | Pickaxe needed |
|---|---|---|---|
| Coal | Y 95 (also common near surface) | 0 to 320 | Wooden+ |
| Copper | Y 48 | -16 to 112 | Stone+ |
| Iron | Y 15 (and Y 232 in mountains) | -64 to 384 | Stone+ |
| Lapis lazuli | Y 0 | -64 to 64 | Stone+ |
| Gold | Y -16 | -64 to 32 | Iron+ |
| Redstone | Y -59 (denser the lower you go) | -64 to 15 | Iron+ |
| Diamond | Y -59 | -64 to 16 | Iron+ |
| Emerald | Y 90-ish (mountain biomes only) | -16 to 320 | Iron+ |
A few things jump out of that table. Diamond and redstone share the same sweet spot near the very bottom, so a single trip to around Y -59 farms both at once. Gold sits just above them at Y -16. And iron and emerald are the only ores that want you high up, not deep — which is why so many players never find emerald (they are looking in caves instead of climbing a mountain).
Diamond: Y -59
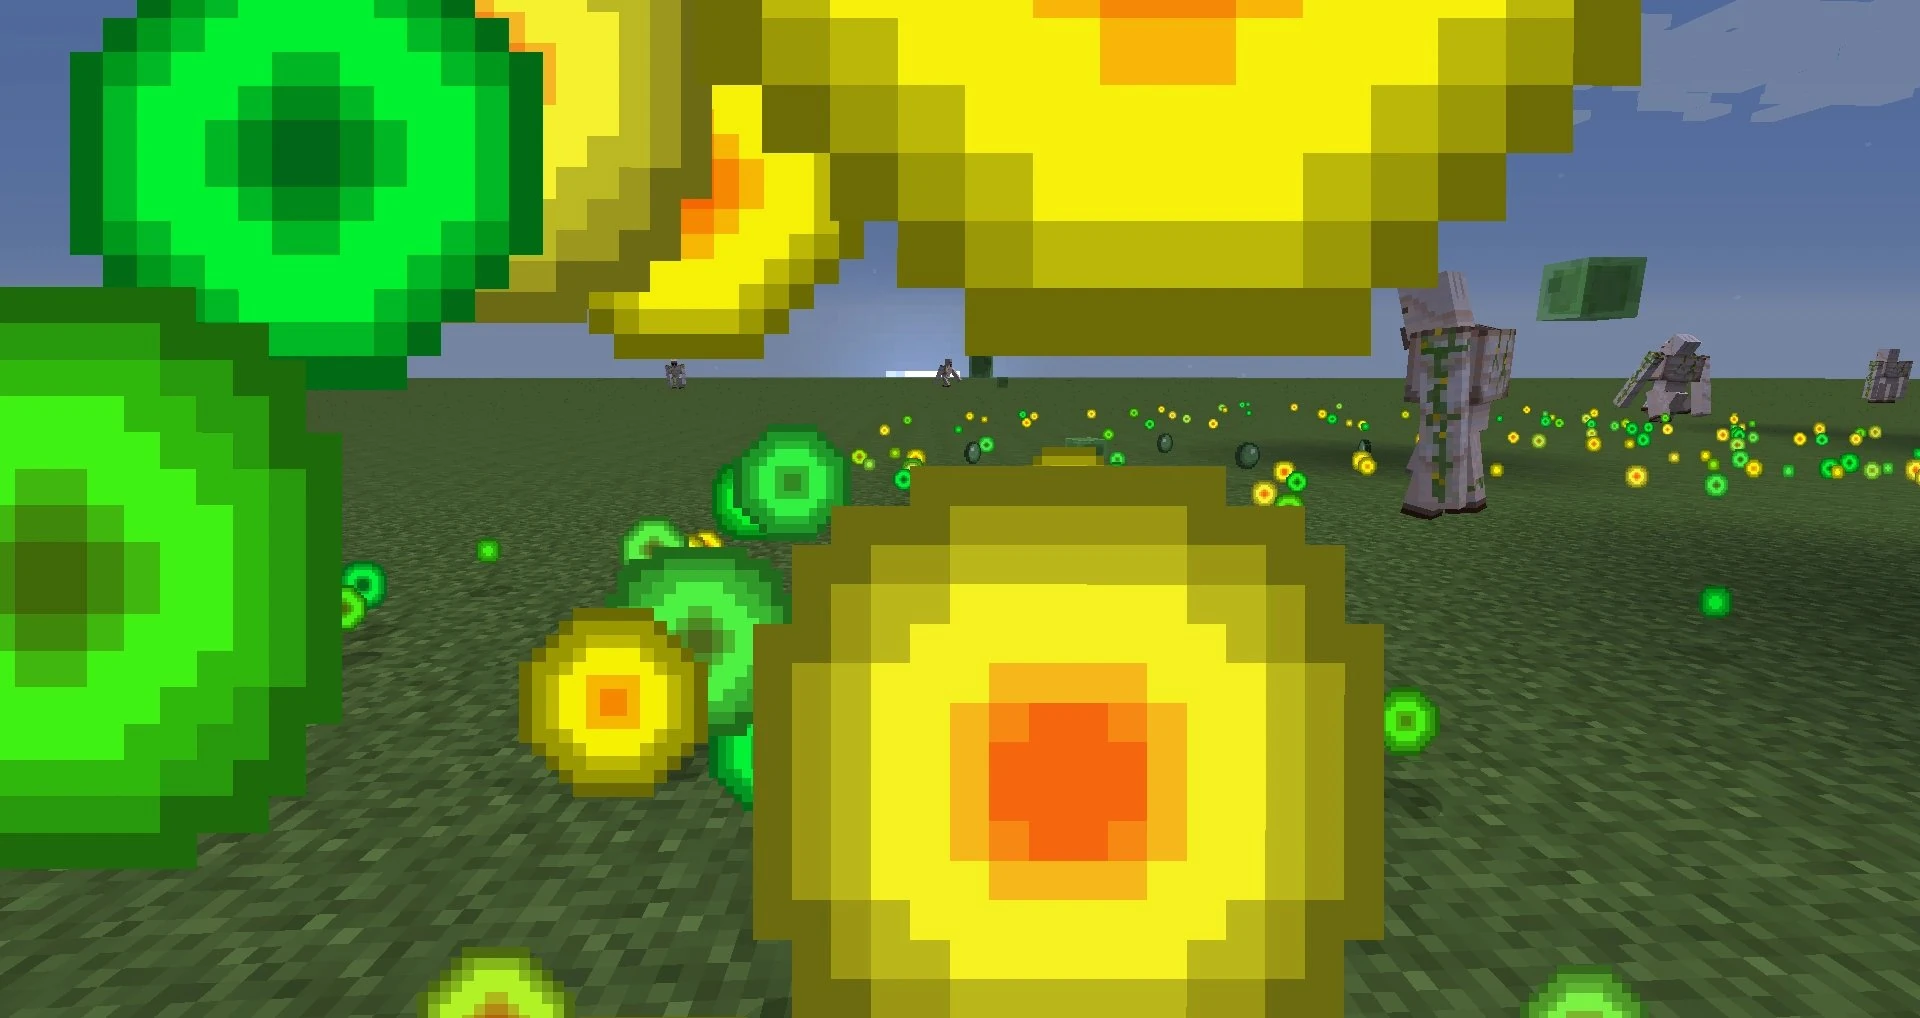
Diamond is the headline ore, so it gets its own number to memorize: Y -59 is the mathematical peak, and most players park at Y -58 to -54 to mine it. That keeps you in the densest part of the band while staying a hair above the bedrock layer that starts mixing in around Y -60 and makes tunneling ugly.
Diamond needs an iron pickaxe or better — a wooden or stone pick breaks the ore and drops nothing, wasting the vein. At these depths it shows up as deepslate diamond ore, the darker variant, which is slightly slower to mine than the stone version.
If diamonds are your only goal, this has its own deeper walkthrough — see the dedicated diamond guide for the three best methods and the lava traps that eat your loot. For a general mining trip, just remember -58.
Iron: the two-peak ore
Iron is the one that confuses people, because it does not have a single best level — it has two peaks.
- The lower peak is around Y 15, in the same general depth as a lot of cave exploration. This is the convenient one to hit on the way to or from a deep dig.
- The upper peak is around Y 232, high in mountain biomes — jagged peaks, snowy slopes, and the like. Iron blobs up there are huge and often partly exposed on cliff faces, so a mountainside can hand you stacks of raw iron with almost no tunneling.
Iron only needs a stone pickaxe or better, and mining the ore gives you raw iron (which you smelt into ingots) unless you use Silk Touch. For pure volume, the mountain peak at Y 232 is criminally underused — if you live near tall mountains, it is the fastest iron in the game. Otherwise, Y 15 is the reliable default.
Copper, gold, and redstone
Three ores that sit at very different heights:
- Copper peaks at Y 48. It is densest in the mid-positive levels and is genuinely abundant — copper is the easiest of the metals to stockpile, and dripstone caves are loaded with it. It needs a stone pickaxe or better and drops raw copper. Most players end up with more copper than they know what to do with.
- Gold peaks at Y -16, just above the diamond layer. It needs an iron pickaxe or better. Two bonuses worth knowing: gold gets a big spawn boost in badlands (mesa) biomes between roughly Y 32 and 79, where it generates in extra blobs near the surface, and the Nether has its own nether gold ore. If you have a badlands nearby, that is your gold mine — literally.
- Redstone peaks at the very bottom, around Y -59 and lower, getting denser the closer you get to bedrock. It shares the diamond depth, so your diamond trip is also your redstone trip. Redstone needs an iron pickaxe or better and, like the gems, benefits hugely from Fortune.
Lapis, emerald, and coal
The last three round out the set:
- Lapis lazuli peaks at Y 0, right at the old bedrock line, in a band centered on the stone/deepslate transition. It needs a stone pickaxe or better and is essential because you spend lapis on every enchant at the enchanting table. Fortune multiplies lapis drops a lot, so a Fortune pick pays off here.
- Emerald is the weird one. It spawns only in mountain biomes (meadows, windswept hills, jagged peaks, and similar) and nowhere else. Its raw distribution technically peaks way up at Y 232, but because the terrain thins out that high, in practice you find the most emerald ore around Y 90 to 95 on a tall mountain. It needs an iron pickaxe or better. If you mine in flat plains or caves and never see emerald, this is why — go climb.
- Coal is everywhere. It has the widest range of any ore (Y 0 to 320) and is common both near the surface and around Y 95. You will never struggle for coal; it tends to pile up as a byproduct of every other trip.
Branch mining vs strip mining
Once you are at the right Y level, the pattern you dig decides how efficient your trip is. The two main approaches:
Branch mining is the precise one. You dig a single straight main corridor, then cut narrow side branches off it every two or three blocks. Leaving exactly two blocks of stone between branches means no ore vein can fully hide in the gap — you will clip at least one block of it from a branch on one side. It is the most thorough sweep of a chunk per block you actually break, and it keeps you locked at one Y level the whole time. This is the default for hunting specific ores like diamond.
Strip mining is the blunt-force version: you carve wide, open tunnels — 2 or 3 blocks tall and wide — exposing big flat walls fast. You see a lot of blocks quickly and do not have to think about spacing, but you break far more "empty" stone per ore found. It only makes sense when each swing is basically free — that is, when you have Efficiency V and a Haste II beacon making deepslate instamine. With that setup, raw throughput beats efficiency-per-block. Without it, branch mining wins.
A third option that beats both for speed: cave and ravine diving. Big cave systems have already carved through thousands of blocks and exposed ore in their walls for free — you just descend to the right Y level and scan. It is the fastest way to find ore and the most dangerous, because deep caves are dark, mob-filled, and flooded with lava.
Fortune vs Silk Touch
The single biggest force multiplier on a mining trip is the Fortune enchantment, and the most common mistake is bringing the wrong one.
- Fortune multiplies the drops from ores that yield items directly: diamond, emerald, coal, lapis, and redstone. Fortune III can turn one diamond ore into two to four diamonds and dramatically boosts lapis and redstone yields. For these ores, Fortune is a massive upgrade — use it.
- Silk Touch does the opposite: it collects the ore block itself, intact, instead of its drops. That is only useful if you specifically want to move the ore block somewhere (or mine it later with Fortune). If you Silk Touch a diamond ore, you get a diamond ore block, not diamonds.
The two are mutually exclusive — they cannot go on the same pickaxe. The standard setup is to keep a Fortune III pickaxe for ore-hunting and a separate Silk Touch pickaxe for blocks you want intact (glass, ice, ender chests, or relocating an ore). One important note: Fortune does not multiply the metal ores that drop raw materials — iron, copper, and gold drop the same raw item whether or not you have Fortune (Fortune only adds extra raw drops in some editions/versions for those, so do not count on it). Fortune's real payoff is gems, coal, lapis, and redstone.
For deep mining, a Mending + Unbreaking III + Efficiency V + Fortune III pickaxe is the dream tool. If you have not sorted your enchants yet, the enchantment tier list covers exactly which to chase.
What to bring on a mining trip
A deep run goes sideways fast if you pack light. The standard kit:
- The right pickaxe (or two). At minimum an iron pick for the gem layers; ideally an Efficiency V, Fortune III, Mending, Unbreaking III pickaxe, plus a Silk Touch backup. Deepslate chews durability, so bring spares or Mending.
- A stack of torches. Light is mob control and a breadcrumb trail home — a lit tunnel does not spawn monsters behind you.
- Food. Hunger drains your health regen, and you will be down there a while.
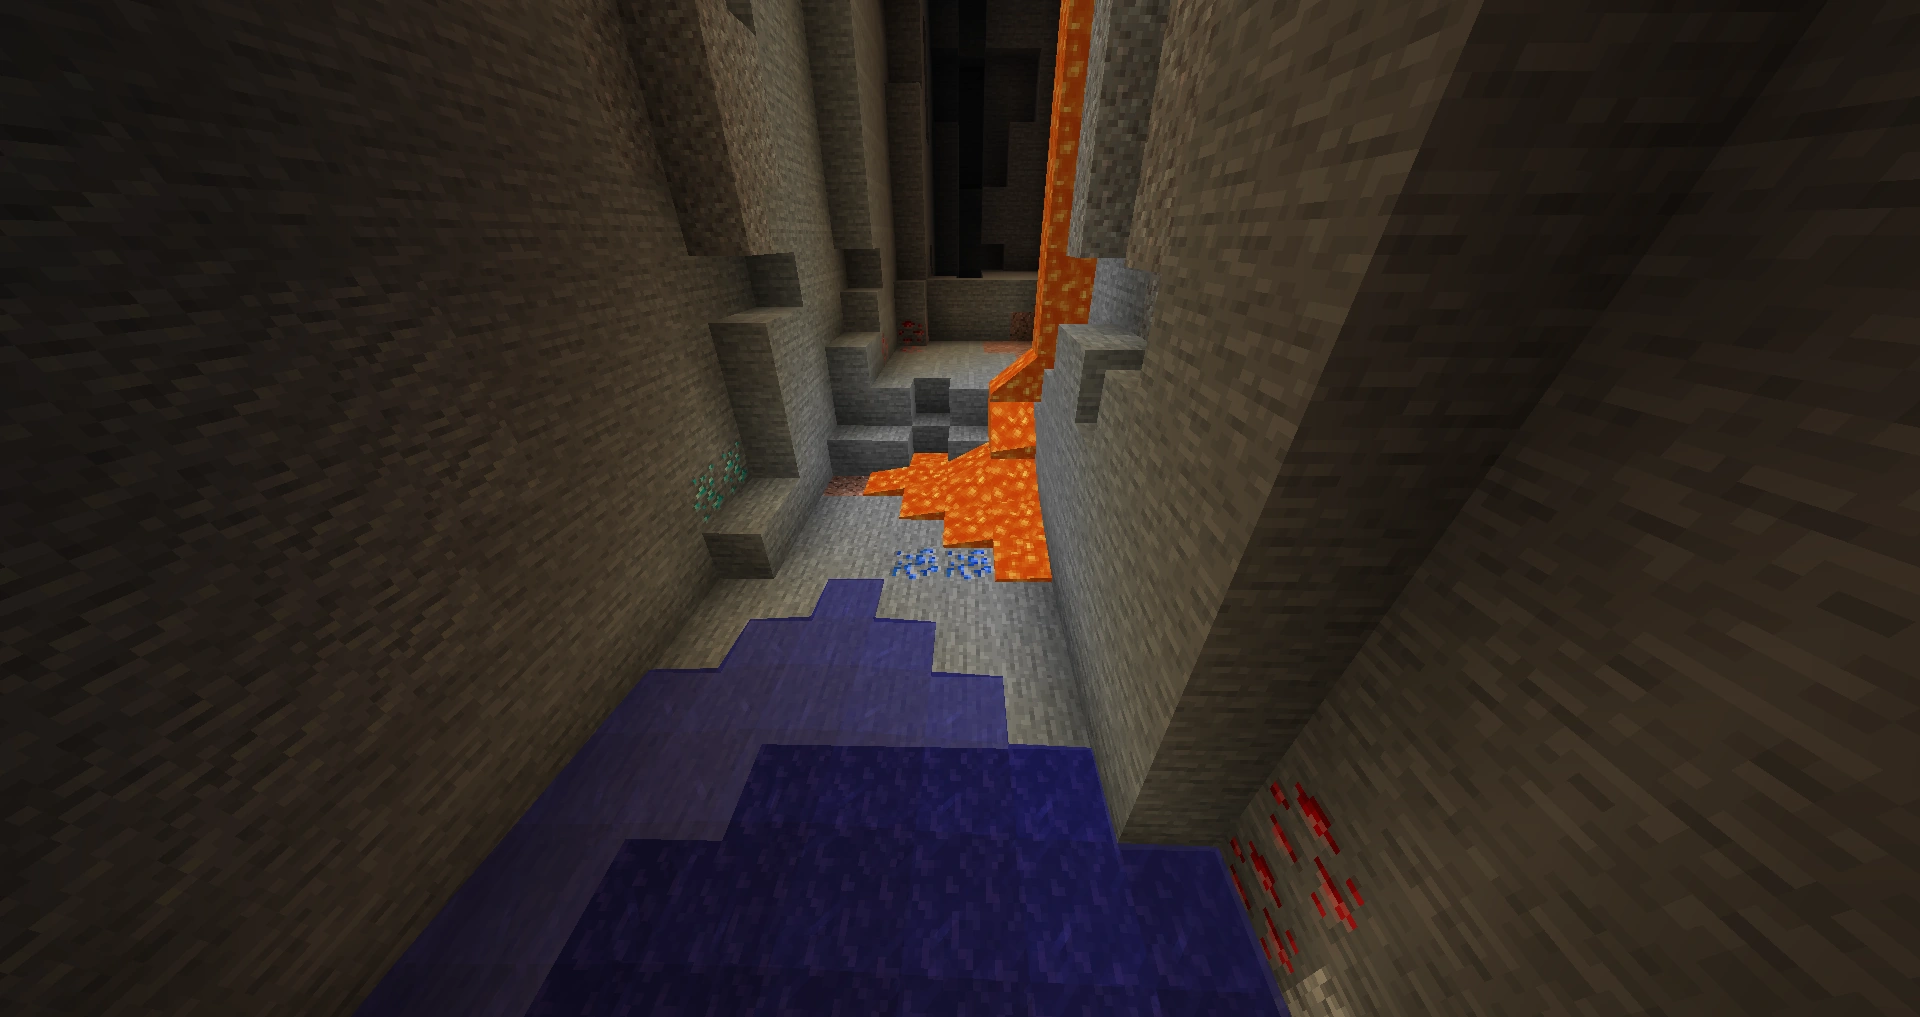
- A water bucket. This is your anti-lava insurance. Lava is the number one cause of lost loot at gem depth; placing water turns flowing lava to cobblestone and source lava to obsidian, instantly walling off a flow.
- Spare cobblestone or dirt to patch holes, bridge gaps, and wall off lava and mobs.
- A bed or a way home so a death does not cost you the whole haul.
- Optional power-ups: a Night Vision potion makes spotting ore in the dark dramatically easier, and a Haste beacon at your dig site turns the grind into a sprint.
The golden rules never change: never dig straight down (you might drop into lava or a ravine), never tunnel blind into the unknown at head or foot level, and the instant you see orange, water-bucket it before it reaches your inventory.
Java vs Bedrock notes
The good news: ore distribution is functionally identical on both editions since 1.18. Same world height, same Y peaks, same triangular bands. A diamond run to Y -58 works exactly the same whether you are on Java or Bedrock.
The small differences:
- Coordinates display. On Java, press F3 to see your XYZ instantly. On Bedrock, enable "Show Coordinates" in the world's game settings.
- Fortune drop math for gems and lapis is the same in spirit on both editions, with minor probability differences at the edges — the takeaway (use Fortune for gems, coal, lapis, redstone) holds everywhere.
- Spawn and lava behavior has tiny edition quirks, but the water-bucket fix and "light your tunnels" advice work identically.
Wherever you play: go to the right Y level, light your tunnels, run Fortune for gems, and respect the lava.
Mining trip checklist
- Diamond and redstone: dig at Y -58 to -59 (deepslate, iron pick or better)
- Gold: Y -16 (or the surface in a badlands biome)
- Iron: Y 15 for caves, or Y 232 on a mountain for bulk
- Copper: Y 48; lapis: Y 0; emerald: ~Y 90 on a mountain only
- Bring an iron+ pickaxe (Fortune III if you have it) plus spares or Mending
- Pack torches, food, a water bucket, and spare cobble/dirt
- Branch mine for precision, strip mine only if you have Efficiency V + Haste
- Use Fortune for gems/coal/lapis/redstone; keep a separate Silk Touch pick
- Never dig straight down, never tunnel blind, water-bucket lava on sight
Frequently Asked Questions
Keep Reading
Related Guides
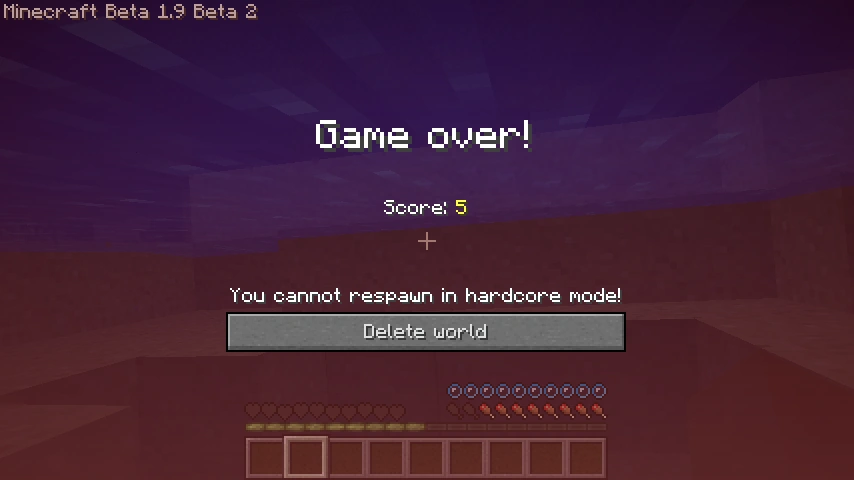
Minecraft Hardcore Mode Guide: How to Survive Permadeath
Hardcore mode locks you to Hard difficulty and gives you exactly one life. Die once and the world is over — you watch it as a ghost. Here is how the mode actually works, and the survival plan that gets you past the deaths that kill most runs.
Minecraft XP Guide: Fastest Ways to Level Up
XP is not points — it is the currency that runs your whole late game: enchanting, anvils, and Mending gear that repairs itself. Here are the fastest XP sources actually worth your time, ranked, with the real values.
Minecraft Beacon Guide: How to Build and Power One
A beacon is the closest Minecraft gets to a permanent buff station — stand near one and you get Haste, Speed, or Resistance for free, forever. The catch is everything in front of it: kill the Wither for a nether star, then stack up to 164 mineral blocks into a pyramid. Here is the whole build, tier by tier.
Minecraft Armor Guide: Netherite, Trims & Best Setups
Armor in Minecraft isn't just 'more points = better.' Netherite adds toughness and knockback resistance that diamond doesn't, trims are pure cosmetics people treat like loot, and the enchant setup matters more than the material. Here's the whole stack, sorted.
Minecraft Survival Guide for Beginners — Surviving Your First Days
You have about ten minutes of daylight before the sun sets and the world tries to kill you. Here is exactly what to do with them — punch a tree, build a tool chain, and get a roof over your head before the zombies arrive.
Best Minecraft Enchantments, Ranked — The Ones Worth Your XP
Mending is the enchantment that ends the grind — gear that repairs itself forever. Everything else is a fight over your XP and anvil uses. Here is what actually earns a slot, ranked, with the real max levels.