Pokopia Specialties Guide: Building Kits and Your Follower Crew
Ditto learns the moves. Your residents do the labor. Pokopia quietly runs a second ability system on top of the transformation list, and if you never fill your five follower slots you are playing the game with one hand.
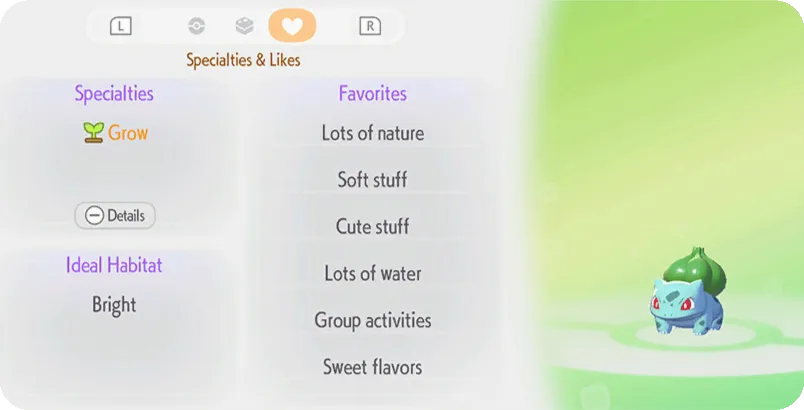
Most Pokopia advice treats your residents as decoration with legs. They are staff. Every Pokemon in the game carries a specialty — a job it will perform for you, automatically, if it happens to be walking behind you when you stand in front of the right thing — and the game never sits you down and explains how much of the mid-game runs on that.
Here is the practical version: Ditto's move list is what you can do to the world. Specialties are what your friends can do to it. The two systems barely overlap, and the second one is where buildings, demolition, fast travel and portable storage live.
Two ability systems, not one
Ditto's transformations are moves: Water Gun, Leafage, Rock Smash, Rollout. They cost PP, you aim them, they edit terrain.
Specialties are different. They cost you nothing, you do not aim them, and you cannot learn them — the Pokemon performs its own job when the situation calls for it. There are more than twenty-five distinct specialties, split into general ones shared across whole type groups and unique ones belonging to a single named character.
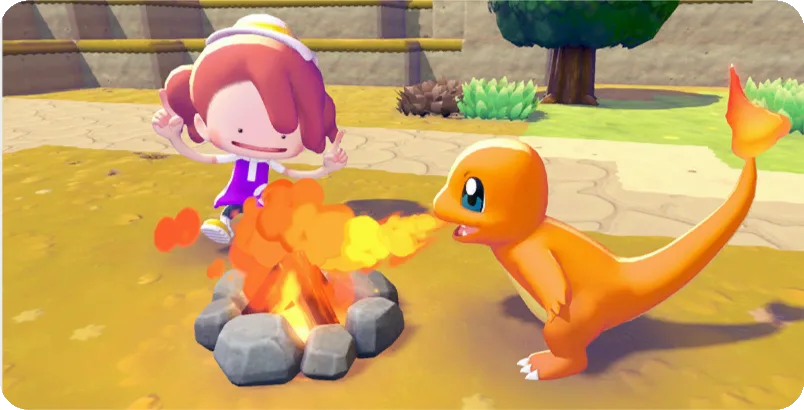
The reason this matters more than it sounds: several things in Pokopia are only possible with a specialty. You cannot manually construct a blueprint building. You cannot manually demolish one. Ditto has no move for either. If nobody with the right job is following you, the interaction prompt simply does not appear, and a lot of players read that as "not unlocked yet" when it actually means "you left your crew at home."
How followers actually work
The controls are simple enough that the game barely mentions them:
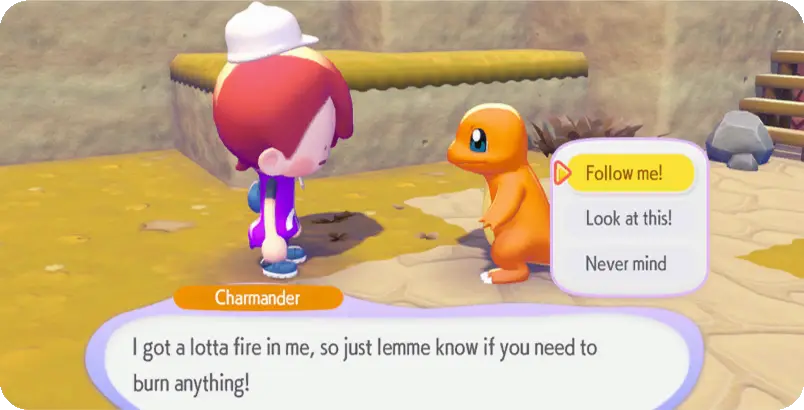
- Press Up on the D-pad near a Pokemon to ask it to follow you, or talk to it and pick "Follow me!"
- Hold Up to part ways and send it home.
- The cap is five at once. Not one, not two. Five.
- A hungry Pokemon will not follow you. Feed it first — same food economy that keeps your own PP topped up, which the beginner guide covers in more detail.
Once a Pokemon is behind you, it acts on its own. Walk up to a pile of small logs with a Chop Pokemon in tow and it starts making lumber. Stand at an unlit furnace with a Burn Pokemon and it lights it. There is no menu, no assignment screen, no cooldown.
That is also the failure mode. Nothing tells you which specialty a given situation wants until you are standing there with the wrong crew. The Pokedex has a specialty search for exactly this reason — check it before you leave, not after you have walked across two regions.
The general specialties worth memorizing
These are the common ones, shared by plenty of Pokemon, and they cover the vast majority of day-to-day tasks:
| Specialty | What it does | Examples |
|---|---|---|
| Build | Leads construction on anything with a blueprint | Machop, Cubone, Riolu, Timburr |
| Bulldoze | Demolishes and relocates large structures | Onix, Snorlax, Larvitar |
| Burn | Lights fires and furnaces, turns clay into brick | Charmander, Vulpix, Growlithe |
| Chop | Turns small logs into Lumber | Scyther, Farfetch'd, Victreebel |
| Crush | Squashes items into materials, berries into paint | Geodude, Tyranitar, Electivire |
| Recycle | Converts waste into usable building material | Koffing, Porygon, Trubbish |
| Water | Waters plants from nearby basins | Squirtle, Poliwag, Dratini |
| Grow | Speeds up plant maturation | Bulbasaur, Oddish, Bellsprout |
| Gather | Hoovers up scattered items around you | Gastly, Mr. Mime |
| Search | Digs up buried items with the Dowsing Machine | Pidgey, Ekans, Zubat |
| Litter | Drops useful items around its own habitat | Venusaur, Grimer, Spinarak |
| Generate | Powers electrical devices | Pikachu, Magnemite, Electabuzz |
| Trade | Opens bartering exchanges | Blastoise, Clefable, Meowth |
| Fly | Carries you to another Pokemon's location | Charizard, Pidgeot, Dragonite |
| Teleport | Same, without the wings | Abra, Gardevoir, Mewtwo |
| Hype | Dances and lifts the mood during celebrations | Raichu, Clefairy, Jigglypuff |
The four refining jobs — Chop, Burn, Crush, Recycle — are the backbone of your material supply chain, and they are the reason a full crew turns a foraging trip into a processing run.
Fly and Teleport deserve a specific callout, because they are fast travel and nobody advertises them as such. Pull up the Pokedex, pick a Pokemon you want to reach, and a Fly or Teleport follower will take you to it. On an island that keeps getting bigger, that single trick saves more real minutes than any building optimization in this guide.
Build is the one that gates everything
Build is the specialty you will notice the absence of first. It is skewed heavily toward Fighting-types — Machop and Timburr are the two you will realistically meet early — and it is required for anything that uses a blueprint. Houses assembled from kits, public buildings, the power infrastructure, the works.
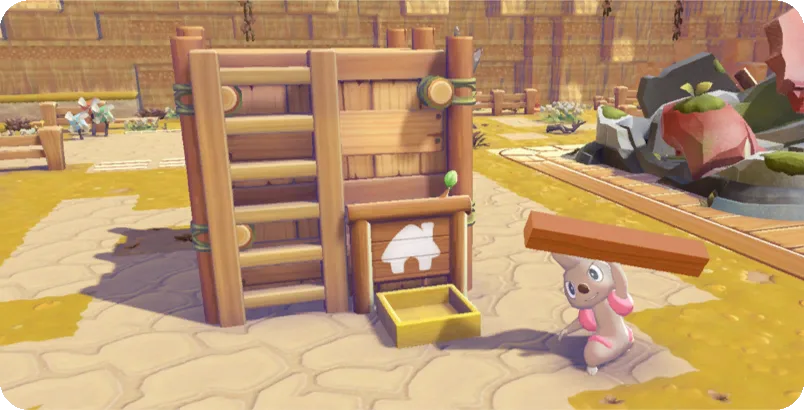
Two rules that are not obvious:
- Every kit needs at least one Build Pokemon. No exceptions, no workaround, no "do it slowly by hand" option.
- Bigger structures need more workers. A large blueprint will ask for multiple Pokemon, and some ask for a second specialty on top of Build — Bulldoze most commonly, but Burn, Water and Fly show up on specific projects.
Build is also what restores a ruined Pokemon Center, which is one of the story-critical uses. If the game has parked you on a "rebuild the Center" objective and nothing is happening, the missing piece is almost always a worker, not a material.
Building kits, step by step
The flow is the same every time:
- Place the kit where you want the structure. You get kits as story rewards and from the shop.
- Deposit the required materials into it. The kit lists what it wants; you feed it until the bar fills.
- Bring the workers over. Ask a Build Pokemon to follow you, walk it to the kit, and assign it to the project.
- Add more Pokemon if the kit asks for them, including whatever secondary specialty it names.
- Let them work. Construction resolves on its own once the crew and the materials are both in place.
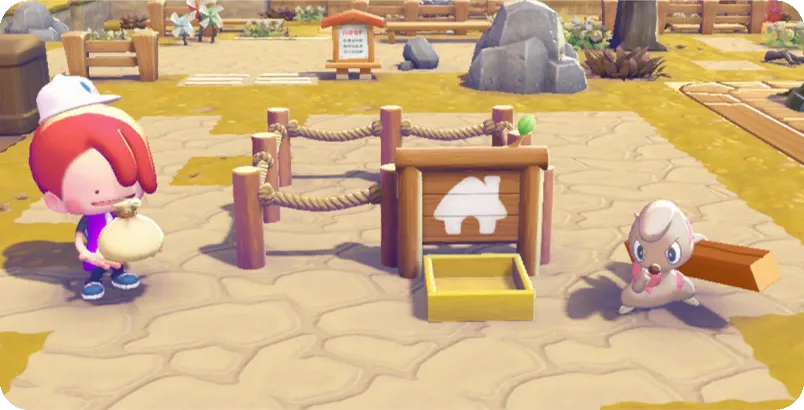
The practical consequence is that materials are rarely the bottleneck — labor is. Plan your build sessions around having a Build Pokemon on hand rather than around hoarding lumber, because you will find yourself with a full storage box and an empty construction site more often than the reverse.
Bulldoze is your undo button
Bulldoze is the specialty that turns Pokopia from a place where mistakes are permanent into a place where they are an inconvenience. Onix is the one most players get first, arriving through the story alongside the "Yawn up a storm" and "Rebuild the Pokemon Center" quests. To keep it around afterward you build it a Smooth Tall Grass Habitat: 4x Dry Tall Grass and 1x Smooth Rock.
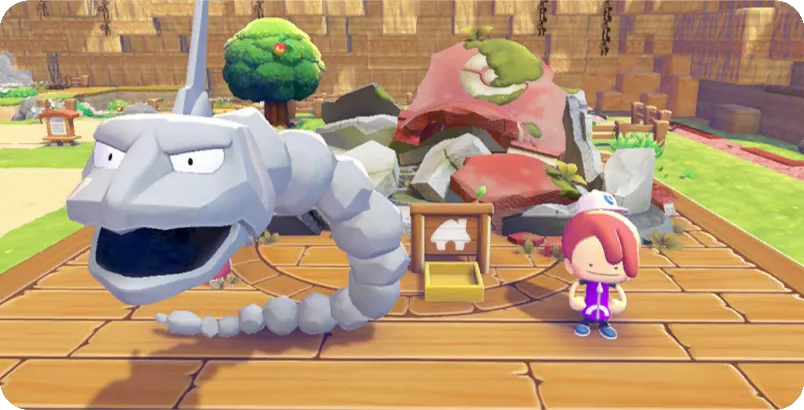
What Bulldoze buys you:
- Restoring Pokemon Centers, the story-critical use.
- Relocation kits — pick up a finished building and put it somewhere better. 10 Life Coins each.
- Demolition kits — remove a building entirely. Also 10 Life Coins each.
Ten Life Coins is nothing. If you have been avoiding a town layout you dislike because you assumed tearing it down meant losing the materials, stop avoiding it.
The workflow tip that actually saves time: keep at least one Bulldoze Pokemon settled in each region rather than dragging the same Onix back and forth. Housing is cheap, walking is not, and the habitat system makes distributing your labor force across the map trivial once you know which habitats attract which residents.
The unique specialties and who owns them
A handful of specialties belong to exactly one Pokemon or character, and they function more like unlocked services than jobs:
- Appraise — Professor Tangrowth identifies Lost Relics.
- Transform — Ditto, obviously. That is your entire move system.
- Dream Island — Drifloon, the gateway to daily resource runs.
- Engineer — Tinkmaster, who turns iron ingots into tinkagears.
- Paint — Smearguru, who recolors furniture.
- Eat — Mosslax, which hands out daily bonuses depending on what you feed it.
- Storage — Gulpin and Swalot, walking storage containers. Genuinely the best single follower for a long foraging trip.
- Explode — Voltorb and Electrode, for clearing large areas via cannon.
- Yawn — Slowpoke, which reads out habitat humidity.
- Collect — Gimmighoul and Gholdengo, trading rare items for rewards.
- Gather Honey — Vespiquen, honey for patterned furniture.
- Illuminate — Peakychu, lighting the town during story events.
- DJ — DJ Rotom, playing music from CDs.
- Party — Chef Dente, running feasts for celebrations.
Gulpin is the sleeper pick on that list. Extra inventory space on demand, while you are already out in the field, solves the single most annoying problem in the early game without spending a coin.
A five-slot crew that covers most days
You have five slots and no reason to leave any empty. A sensible default loadout:
- Build — so any kit you stumble across can start immediately.
- Bulldoze — so any building you hate can move immediately.
- Gulpin (Storage) — so a full bag never ends a trip early.
- Fly or Teleport — so getting home is one Pokedex entry away.
- A refiner (Chop, Burn, Crush or Recycle) — matched to whatever you are collecting that session.
Swap slot five based on the job. Everything else earns its place permanently. And since dismissing and re-recruiting costs nothing, there is no reason to treat your crew as a commitment — rebuild it at the start of every session in about fifteen seconds.
Quick Action Checklist
- Press Up to recruit a follower, hold Up to dismiss. Cap is five.
- Feed hungry Pokemon before asking them to follow — they will refuse otherwise.
- Use the Pokedex specialty search before leaving home, not after.
- Keep a Build Pokemon on you at all times; every blueprint needs one and bigger ones need several.
- Keep Bulldoze in every region, not just one. Onix is your first, via the Smooth Tall Grass Habitat (4x Dry Tall Grass, 1x Smooth Rock).
- Relocation and demolition kits cost 10 Life Coins each. Move your bad buildings.
- Carry Gulpin for portable storage and a Fly or Teleport Pokemon for Pokedex fast travel.
- Match your fifth slot to the material you are farming: Chop for wood, Burn for clay, Crush for paint, Recycle for waste.
Frequently Asked Questions
How many Pokemon can follow you at once in Pokopia?
What is the Build specialty in Pokopia and which Pokemon have it?
How do building kits work in Pokopia?
How do you move or demolish a building in Pokopia?
Is there fast travel in Pokemon Pokopia?
What is the best Pokemon to have following you in Pokopia?
How many specialties are there in Pokopia?
Keep Reading
Related Guides

Pokopia Photo Ops: All 50 Highlight Reel Shots and Frames
Pokopia's Highlight Reel is a 50-shot photo checklist, and it is where most of the game's photo frames come from. Here is every photo op, the Pokemon and prop each one needs, the 15 that pay a frame, and where Serebii and Bulbapedia disagree on the setup.
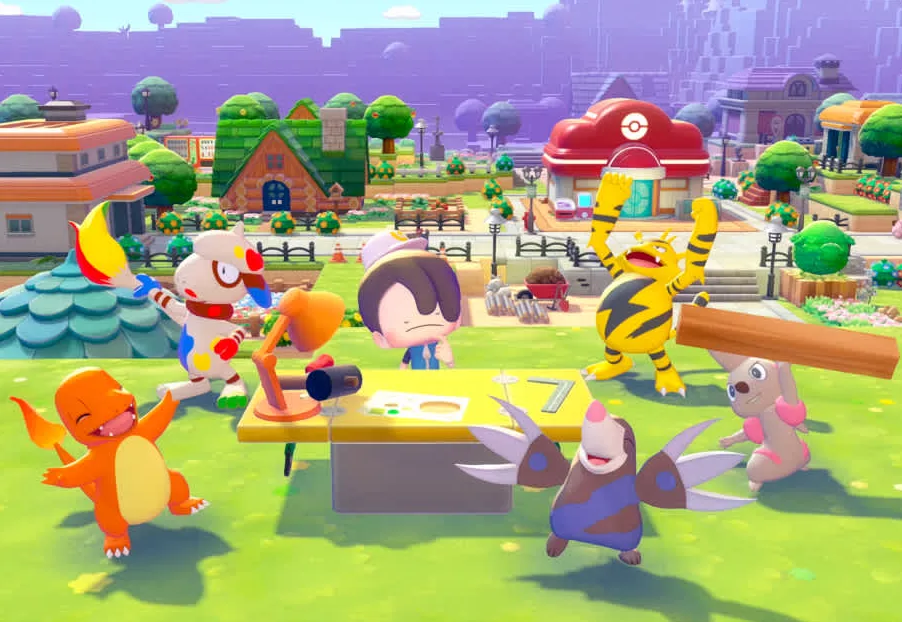
Pokopia Paint Guide: All 18 Colors, Patterns and Smearguru
Pokopia's paint system runs through Smearguru, a Pokemon the story never makes you meet. Here is how to unlock it, which berry makes which paint, the recipe for all 18 colors, and where every one of the 116 patterns comes from.
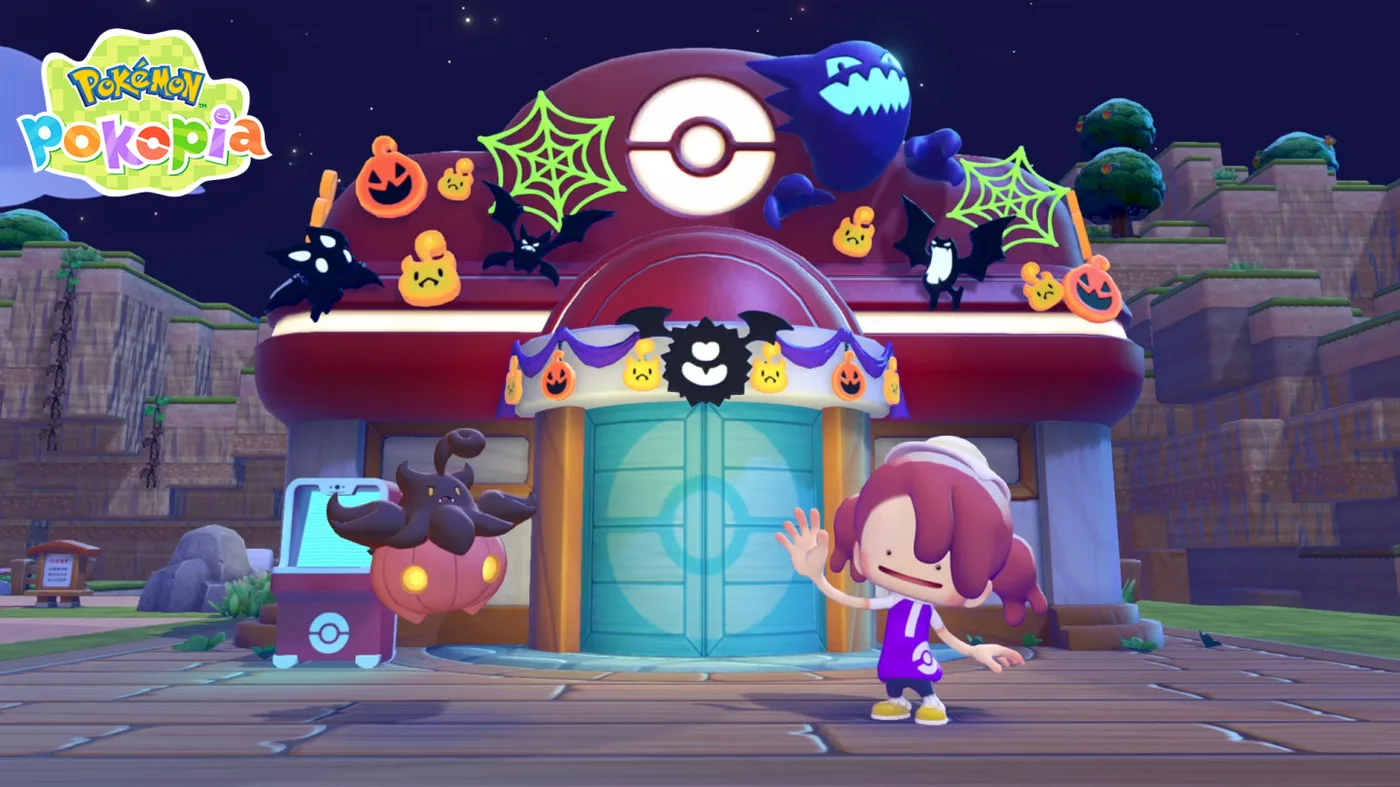
Pokopia Halloween Event: Pumpkaboo's Sweet Surprises Guide
Pokopia's first Halloween event adds Pumpkaboo and Gourgeist from October 17 to November 1, 2026, and it has a gate the Feebas event did not: you need Camouflage from Zorua. Here is the confirmed schedule, the checklist to clear before it opens, and what is still unannounced.
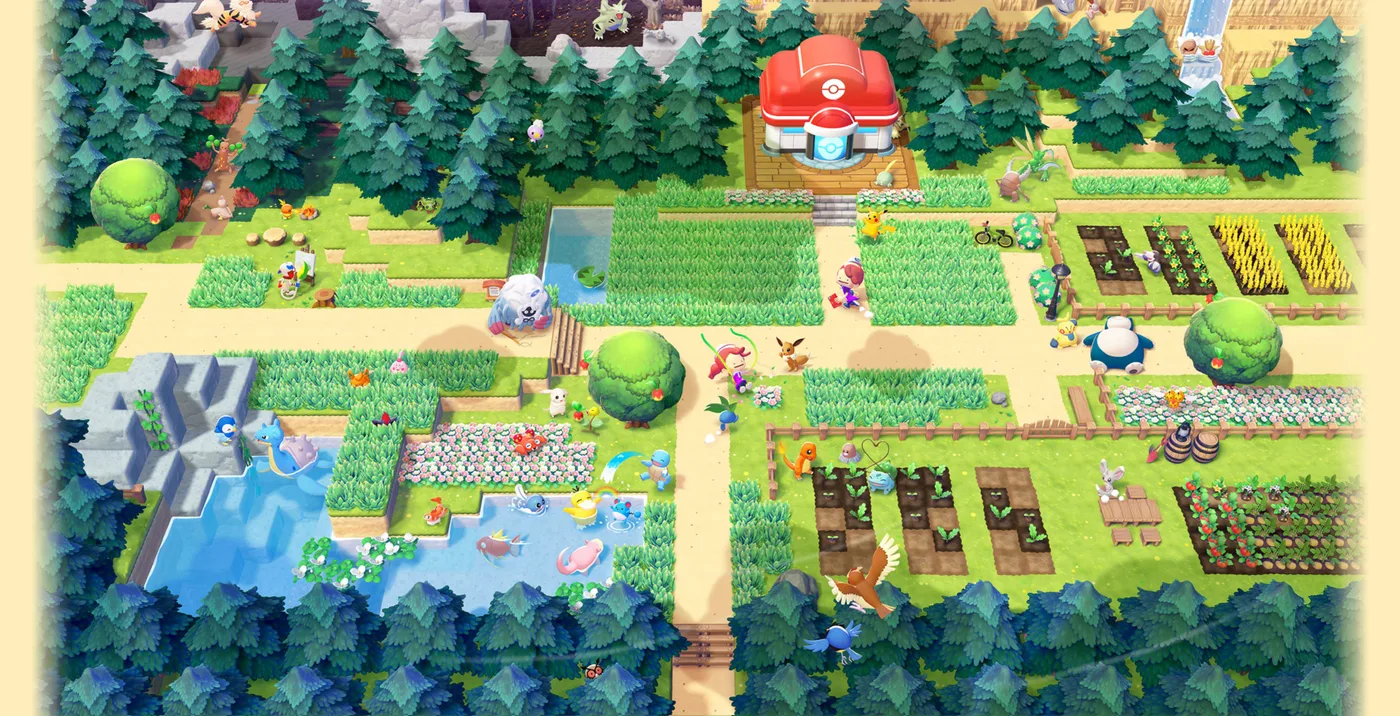
Pokopia Team Initiation Challenge: All 9 Steps and Badges
The sand-covered tower on the Withered Wasteland beach runs a nine-step request, and it is the last one before the credits. Here is each delivery it asks for, where each item actually comes from, and the combined bill so you can stockpile once instead of nine times.
Pokemon Pokopia Beginner Guide: What To Do In Your First Hours
Pokopia does not punish you for playing badly. It punishes you for building beautifully in the wrong place before you have the tools to move it. Here is the early-game order of operations that saves you a teardown.
Pokopia's Jump Rope Contest Returns: First Repeat Event
Every Pokopia event so far has been a one-and-done window. Bulbasaur's Jump Rope Contest just broke that pattern, running a second time five months after its April debut. Here is what changed, what did not, and how many days you actually have left.