Roblox Terrain Editor: Build a World in Minutes
Terrain is the fastest way to turn an empty baseplate into somewhere worth standing. Generate makes a mountain range in one click, the brush tools carve it into a level, and none of it requires a single mesh.
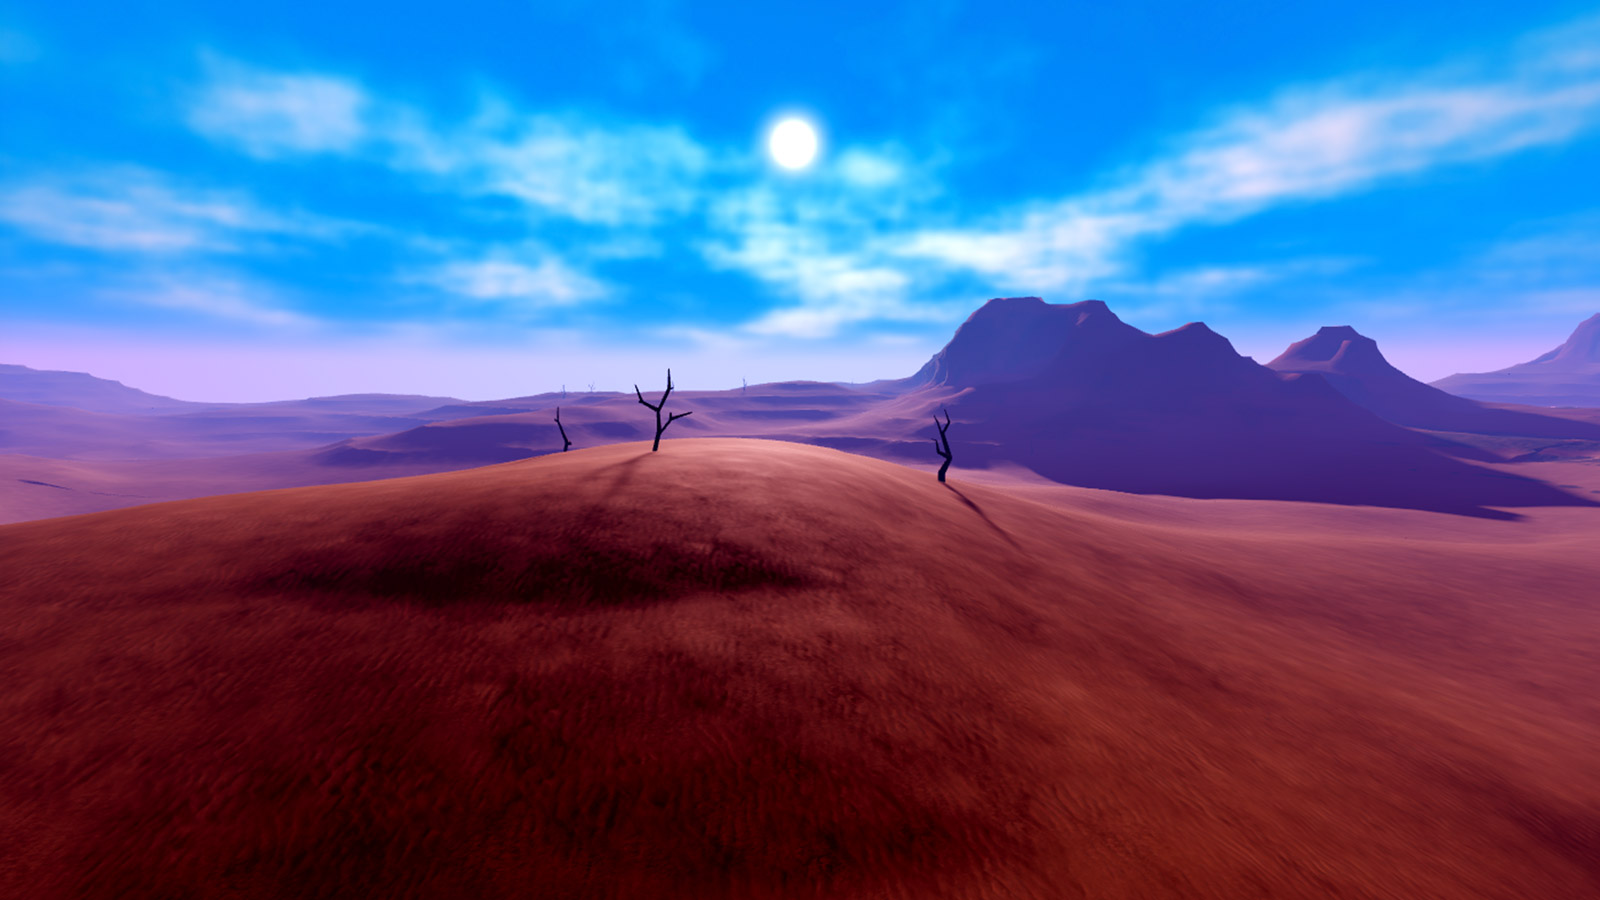
Nobody has ever loaded into an empty baseplate and thought "yes, this is a place." Terrain fixes that faster than anything else in Studio — one pass of the Generate tool and you have a mountain range with caves in it, before you've placed a single part. And unlike meshes, terrain costs you nothing but time: no modeling software, no imports, no asset budget.
The catch is that the Terrain Editor is a panel with two tabs, twelve tools (three for creating, nine for editing), and roughly forty settings, and Studio does very little to tell you which ones matter. This guide walks the entire thing — the Create tab, every region tool, all five brushes, the water and grass properties hiding on the Terrain object, and the scripting API for the parts you'd rather automate. Everything below is verified against the official Creator Documentation. Open the editor from Studio's Home tab, or from Window ⟩ 3D, and follow along.
Terrain is a voxel grid, and that explains almost everything
Roblox terrain is made of voxels: 4×4×4 stud cubes, each carrying a material. That one fact predicts most of the editor's behavior, and internalizing it will save you hours of confusion.
It explains why terrain never gives you a perfectly sharp corner — the engine smooths between voxels, so a 90-degree cliff edge comes out slightly rounded. It explains why "Snap to Voxels" exists on every region tool: off-grid selections produce ragged seams. And it explains why you cannot carve a doorframe out of terrain — the smallest unit is already wider than one.
Terrain is for landscape, not architecture. The moment you're fighting the voxel grid to make something crisp, stop and build it out of parts instead. Cliffs, riverbeds, dunes, cave systems, and hills are terrain's job. Stairs, walls, and doorways are not.
Terrain also ships with a fixed palette of 23 materials — Asphalt, Basalt, Brick, Cobblestone, Concrete, Cracked Lava, Glacier, Grass, Ground, Ice, Leafy Grass, Limestone, Mud, Pavement, Rock, Salt, Sand, Sandstone, Slate, Snow, Water, Wood Planks, and Air. Air is the one people forget is a material: painting or filling with Air is how you subtract, and it's why the Fill tool can hollow out a cave.
Generate builds a whole world in one click
The Create tab holds three tools: Import, Generate, and Clear. Generate is where almost everyone should start, because it produces a plausible landscape procedurally and gives you something to sculpt against instead of a flat void.
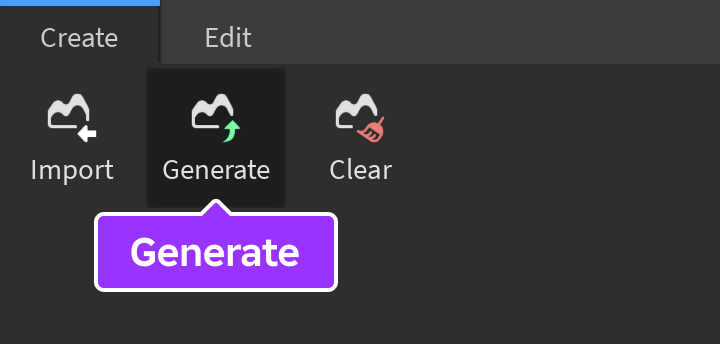
Generate has two blocks of settings. Selection Settings define the volume it fills — Size in studs on X, Y, and Z, a Position, and a Snap to Voxels toggle. Biome Settings define what goes in it:
| Setting | What it does |
|---|---|
| Biomes | Toggle which biomes are included: Arctic, Dunes, Canyons, Lavascape, Water, Mountains, Hills, Plains, Marsh |
| Blending | Higher values create smoother transitions between adjacent biomes |
| Caves | Toggles whether cave systems are carved into the generated terrain |
| Biome Size | Scales how large each biome is relative to the overall terrain |
| Seed | The number that determines the shape — change it to get a completely different world |
Two habits pay off immediately. First, pick two or three biomes, not nine. Enabling everything gives you a theme-park map where a lavascape shares a border with an arctic shelf, which reads as noise rather than a place. Mountains plus Hills plus Plains is a coherent overworld; Dunes plus Canyons is a coherent desert.
Second, treat Seed as a slot machine and pull it repeatedly. Generating is cheap and fast. Roll seeds until the silhouette is interesting, then commit — reshaping a bad generation by hand costs far more than regenerating a good one. If you want caves without committing to a full cave game, leave Caves on anyway; a couple of natural entrances is free environmental storytelling.
The third Create tool is Clear, which reveals a button that wipes all terrain in the entire place. Not the selection. The place. It is exactly as destructive as it sounds, so treat it as a nuclear option and make sure you can undo.
Import turns a heightmap into a real map
Generate is great for organic wilderness and useless for anything with a designed layout. When you need a specific island shape, a racetrack valley, or a real-world topography, use Import instead.
Import takes a heightmap: a grayscale image where darker areas become lower terrain and brighter areas become higher elevations. The scale is fixed and worth memorizing — 1 pixel in a heightmap represents 4 studs in Studio, and Studio accepts images up to 4096×4096 pixels in .jpg or .png. Do that multiplication and a maxed-out heightmap gives you a 16,384-stud square, which is a genuinely enormous map.
You can optionally supply a colormap alongside it — a second image, same dimensions, where colors determine which material each area gets. Without one, the Default Material setting paints the entire import in a single material.
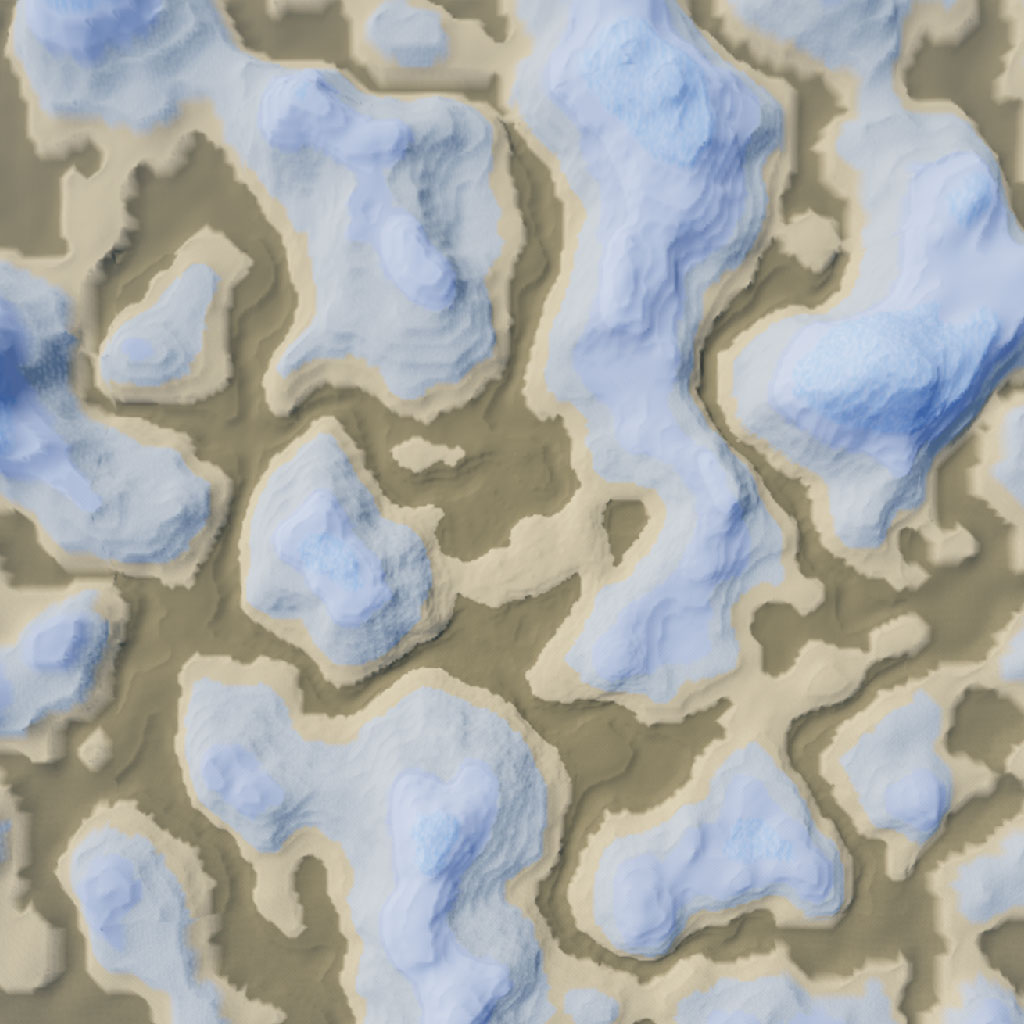
The 4-studs-per-pixel ratio is also your resolution ceiling. A 512×512 heightmap only describes a 2,048-stud map. If your imported terrain looks blocky, the fix is a bigger source image, not a bigger selection box.
Blur your heightmap slightly before importing. Hard pixel edges in the source become hard terraces in the world, and a one-pixel Gaussian blur smooths those into slopes for free.
The region tools do the heavy lifting
The Edit tab splits into region tools that operate on a rectangular volume and brush tools that operate under your cursor. Beginners reach for the brushes first and then spend an hour doing what a region tool does in four seconds. Learn these first.
Select and Transform
Select is the universal region tool: drag out a box with the move draggers and scale handles, or type exact Size and Position values, with Snap to Voxels keeping it on the grid.
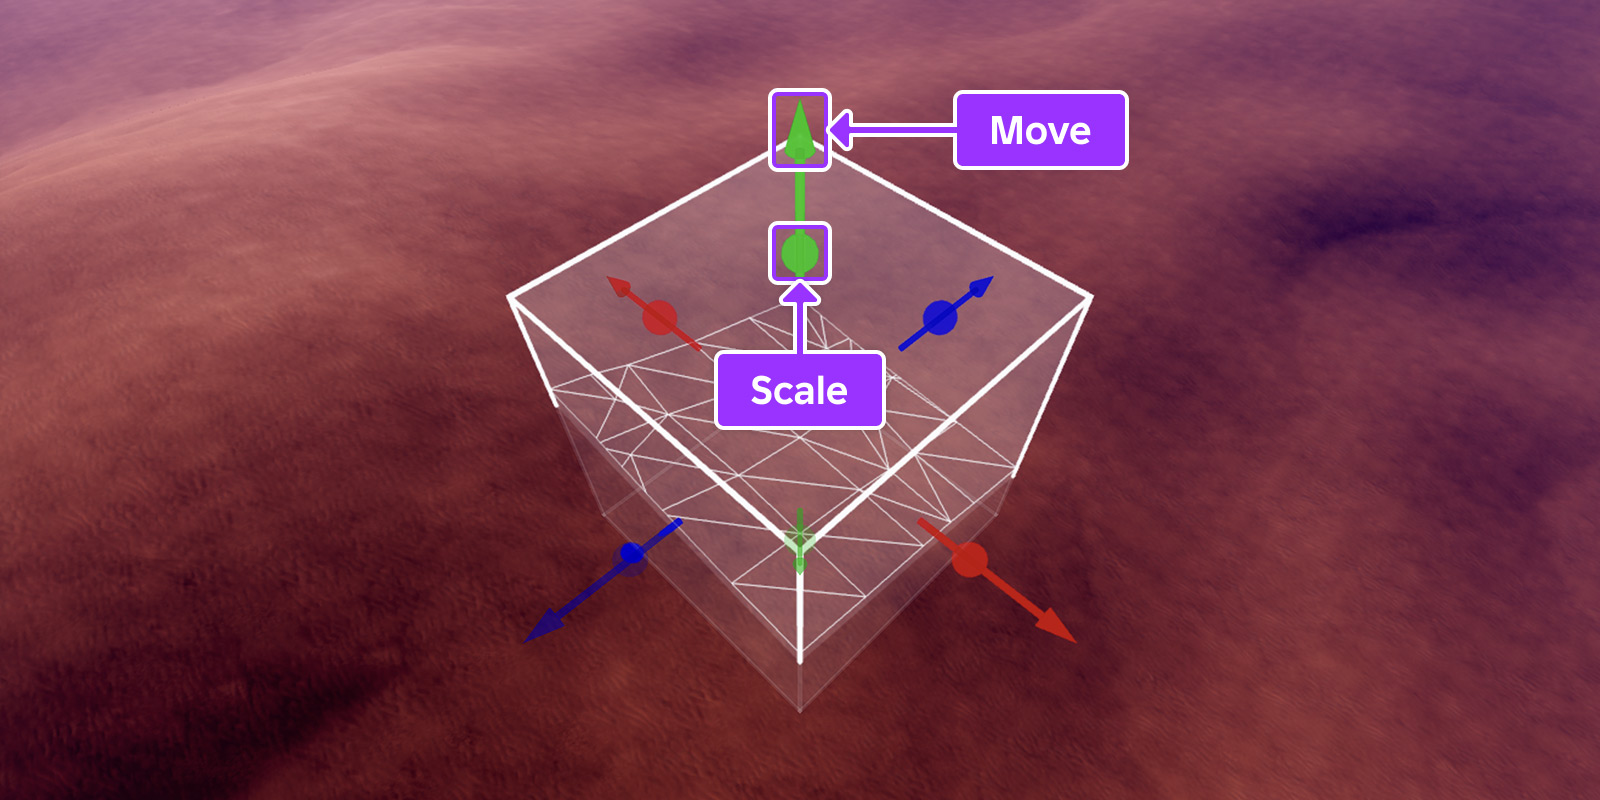
Select is also where the keyboard shortcuts live, and they're the reason it's the most useful tool in the panel:
| Windows | Mac | Action |
|---|---|---|
| Ctrl+C | ⌘C | Copy the selected terrain |
| Ctrl+V | ⌘V | Paste it |
| Ctrl+X | ⌘X | Cut it |
| Ctrl+D | ⌘D | Duplicate it |
| Delete | Delete | Remove the terrain in the region |
| Shift (drag) | Shift | Scale proportionally |
| Ctrl (drag) | ⌘ | Scale equally in both directions |
Copy-paste on terrain is underused. Sculpt one good cliff face, then duplicate it along a coastline instead of hand-carving five more.
Transform takes a selected region and moves, rotates, or resizes it — draggers, rotate rings, and scale handles, plus numeric Size, Position, and Rotation fields. Two toggles matter here. Merge Empty decides whether the air voxels in your selection overwrite whatever they land on, which is the difference between stamping a rock formation onto a hillside and stamping a rock-shaped hole around it. Live Edit updates the terrain continuously as you drag; switch it off and you get a wireframe preview instead, which is what you want on a large region that would otherwise chug. If rotation is snapping to increments you don't want, that's Studio's global rotation snapping in the toolbar, not the Transform tool.
Fill and Sea Level
Fill does two jobs depending on its Fill Mode. In Fill mode it packs the entire selected region with the Source Material — solid rock, or Air to carve a rectangular cave. In Replace mode it swaps one material for another inside the region, using Source Material and Target Material. Replace is the tool you want when you decide two hours in that the whole mountain should be Basalt instead of Rock.
Sea Level is the fastest water in the engine. Define a region, hit Create, and every voxel below the region's top surface becomes water at a consistent level. Evaporate removes water in the region. Use it once for your ocean and again, small, for every lake — hand-painting water with a brush produces a lumpy waterline that instantly reads as amateur.
The five brush tools, and when each one wins
Once the shape is roughly right, the brushes handle detail. All five share the same brush geometry — Sphere, Box, or Cylinder, at a Brush Size from 1 to 64 studs — and differ in what they do with it.
| Tool | What it does | Has Strength? |
|---|---|---|
| Draw | Adds or subtracts terrain at full force | No |
| Sculpt | Adds or subtracts gradually, for gentler shaping | Yes (0.1–1) |
| Smooth | Softens abrupt edges and seams | Yes (0.1–1) |
| Paint | Applies a material over existing terrain without changing its shape | No |
| Flatten | Levels terrain to a consistent plane | Yes (0.1–1) |
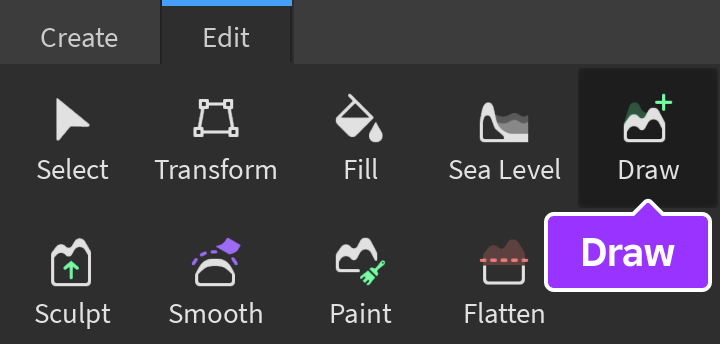
Draw versus Sculpt is the distinction people miss. Draw commits fully on every stroke, which makes it right for blocking in a landmass or gouging a canyon. Sculpt has a Strength slider from 0.1 to 1, so low-strength passes accumulate — that's how you get a believable slope instead of a staircase of full-force blobs. Rough shapes with Draw, everything after with Sculpt at around 0.3.
Flatten hides the most useful setting in the panel: Flatten Mode. Erode to Flat only removes terrain above the plane, Grow to Flat only fills terrain below it, and Flatten All does both. Erode to Flat is how you shave a hilltop into a building pad without accidentally filling in the valley behind it — a distinction that saves real cleanup work. There's also a Flatten Plane toggle that fixes the plane to a specific world-space Y value, which is how you get multiple building pads at exactly the same elevation across a map.
Paint has its own Paint/Replace split, same as Fill: paint a material freehand, or swap one specific material for another only where the brush touches. Painting is where a generated landscape starts looking authored — a band of Sand where terrain meets water, Rock exposed on the steep faces, Snow above a consistent altitude line.
Brush settings that separate fast from painful
The shared brush settings are the difference between sculpting and wrestling. These are the ones worth turning on deliberately:
- Pivot Position — Bottom, Center, or Top. It sets where the brush sits relative to your cursor. Bottom pivot with an Add brush stacks terrain upward from the surface instead of burying half your stroke inside it.
- Plane Lock — Auto or Manual. Locks brush strokes to a single plane so you can draw a flat mesa top or a level path without the brush drifting in depth. Manual mode gives you draggers to place the plane yourself.
- Ignore Water — leave this on whenever you're sculpting a coastline. Without it, brush strokes shove your carefully leveled sea around.
- Ignore Parts — stops the brush from treating your placed parts as surfaces to snap against, which matters once buildings exist on the map.
- Auto Material — the brush samples material from the surrounding vicinity instead of using a fixed Source Material. Excellent for extending existing terrain, bad when you specifically want a new material.
- Height — only appears for Box and Cylinder brushes, and can be locked proportional to the base size or set independently.
The hotkeys are what make this fast. Hold B and drag or scroll to resize the brush without touching the panel. Ctrl+B (⌘B) adjusts height on Box and Cylinder brushes. Shift+B adjusts Strength on Sculpt, Smooth, and Flatten. Alt (⌥) pops the material picker. And on Draw and Sculpt, holding Ctrl (⌘) flips to the opposite mode — add becomes subtract — while holding Shift temporarily swaps to Smooth. That last one is the single best shortcut in the editor: sculpt, Shift to blend the seam, release, keep sculpting.
Water, grass, and material colors
A surprising amount of terrain's final look lives on the Terrain object's properties in the Explorer, not in the editor panel at all.
Water gets five properties:
| Property | Range | Effect |
|---|---|---|
| WaterColor | Color3 | The overall hue of all terrain water in the game |
| WaterReflectance | 0–1 | 0 is no reflection, 1 is highly reflective |
| WaterTransparency | 0–1 | 0 is opaque, 1 is clear |
| WaterWaveSize | 0–1 | 0 is flat, 1 is large swells |
| WaterWaveSpeed | 0–100 | 0 is still, 100 is turbulent |
Note that some water properties are only visible while playtesting, so judge them from a play session rather than the editor viewport. A murky swamp is high WaterColor saturation with low Reflectance and near-zero Transparency; a tropical lagoon is the inverse.
Grass is one checkbox: enable Decoration on the Terrain object and the Grass material grows animated grass, with GrassLength adjustable from 0.1 to 1. By default it sways in simulated wind driven by your global wind settings. There's a genuinely thoughtful accessibility detail baked in here — if a player has enabled the Reduce Motion accessibility setting, the speed of the animated grass is reduced, though its vector direction is not. You don't have to build that yourself.
Then there's MaterialColors, which is how you escape the "every Roblox game's terrain looks identical" problem. Expand MaterialColors in the Terrain object's properties and you get an RGB code for every material except water. Recolor Rock toward a red-brown and Sand toward pale gold and your canyon stops looking like the default canyon. Pair this with the Lighting service and an Atmosphere object and the same generated mesa can read as Utah, Mars, or an alien fungal waste.
Building terrain from a script
Everything above has a runtime equivalent, which matters for procedural games, destructible environments, and build systems. The Terrain object is a child of Workspace and exposes fill methods that take a shape and a material:
local Terrain = workspace.Terrain

-- A solid rock platform
Terrain:FillBlock(CFrame.new(0, 10, 0), Vector3.new(100, 20, 100), Enum.Material.Rock)

-- Carve a spherical cave into it by filling with Air
Terrain:FillBall(Vector3.new(0, 12, 0), 20, Enum.Material.Air)
The full set is FillBlock(cframe, size, material), FillBall(center, radius, material), FillCylinder(cframe, height, radius, material), FillWedge(cframe, size, material), and FillRegion(region, resolution, material). ReplaceMaterial(region, resolution, sourceMaterial, targetMaterial) is the scripted twin of the Fill tool's Replace mode, and Terrain:Clear() wipes everything.
For real procedural generation you want the voxel-level API: ReadVoxels returns materials and occupancy arrays for a region, and WriteVoxels writes them back. That's how you write noise-based terrain generators rather than stamping primitives. CopyRegion and PasteRegion let you capture a chunk as a TerrainRegion and stamp it elsewhere at runtime — prefab caves, repeated islands, that sort of thing.
Two API gotchas. Decoration and GrassLength are not scriptable — set them in the Properties window. And while the panel exposes MaterialColors as a property, scripts should use Terrain:SetMaterialColor(material, color) and Terrain:GetMaterialColor(material) instead, which is the supported path for recoloring materials while a game is running. Fading Grass toward brown over a drought event is about four lines.
If you're generating large volumes at runtime, batch the work and yield between chunks rather than filling a 4,000-stud region in one frame. The same memory and performance discipline that applies to parts applies here. And once the landscape exists, PathfindingService routes NPCs over it with no extra setup.
Quick Action Checklist
- Remember terrain voxels are 4×4×4 studs — cliffs and riverbeds are terrain, walls and doorways are parts
- Start with Generate, enable two or three compatible biomes, and reroll the Seed until the silhouette is interesting
- Learn Select before the brushes: Ctrl+C / Ctrl+V / Ctrl+D on terrain regions replaces hours of hand-sculpting
- Use Sea Level's Create button for every body of water — a hand-painted waterline never looks level
- Block in with Draw, refine with Sculpt at low Strength, and hold Shift to blend seams with Smooth mid-stroke
- Pick the right Flatten Mode: Erode to Flat shaves a hilltop, Grow to Flat fills a dip, Flatten All does both
- Enable Decoration for animated grass and recolor MaterialColors so your map stops looking like default Roblox
Frequently Asked Questions
How do I open the Terrain Editor in Roblox Studio?
How big is a Roblox terrain voxel?
What size heightmap can I import into Roblox?
What is the difference between the Draw and Sculpt terrain tools?
How do I add water to Roblox terrain?
How do I change the color of Roblox terrain materials?
Can I generate Roblox terrain with a script?
Keep Reading
Related Guides
Roblox Platform-Integrated Chat: Migrate Your Custom Chat
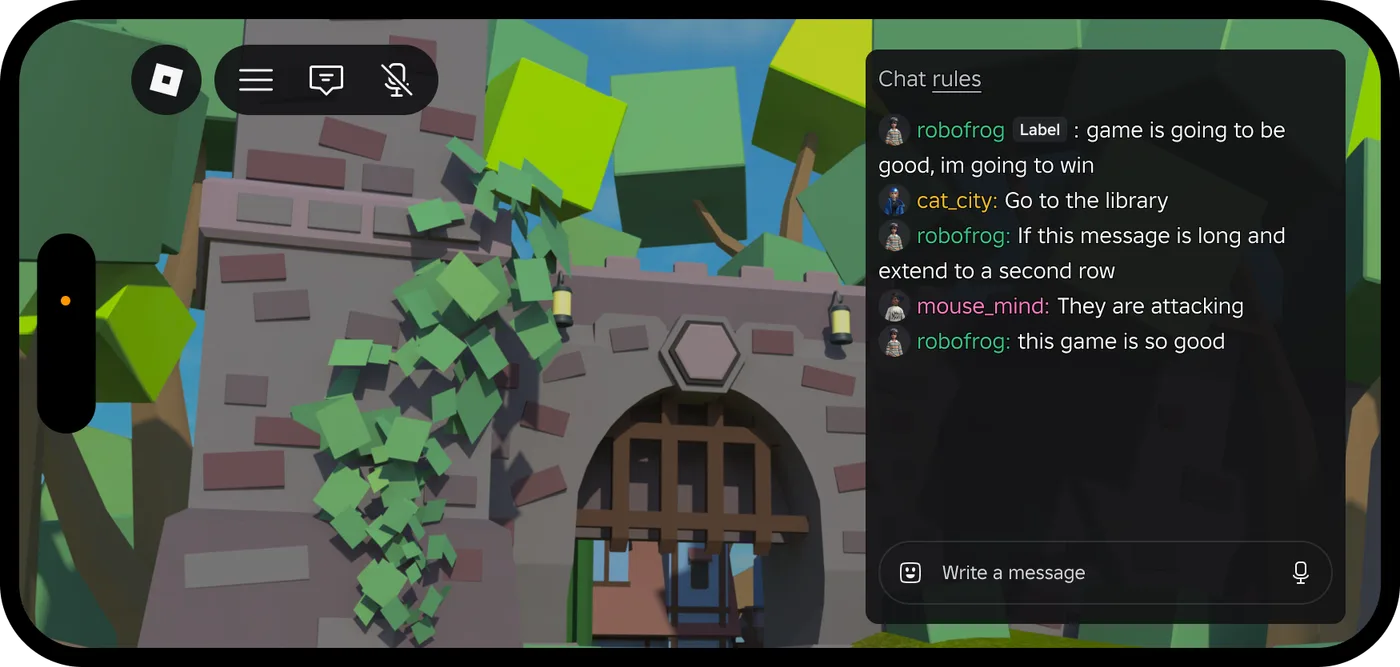
On October 21, 2026, Roblox announced that chat message text will stop being readable from game code. It is opt-in today, the default from February 2027 and required from May 2027. Here is what stops working, the replacement for each custom chat feature, which one has no replacement yet, and how to test it in Studio now.
Roblox Early Testers and the New Publish Flow: What Changed
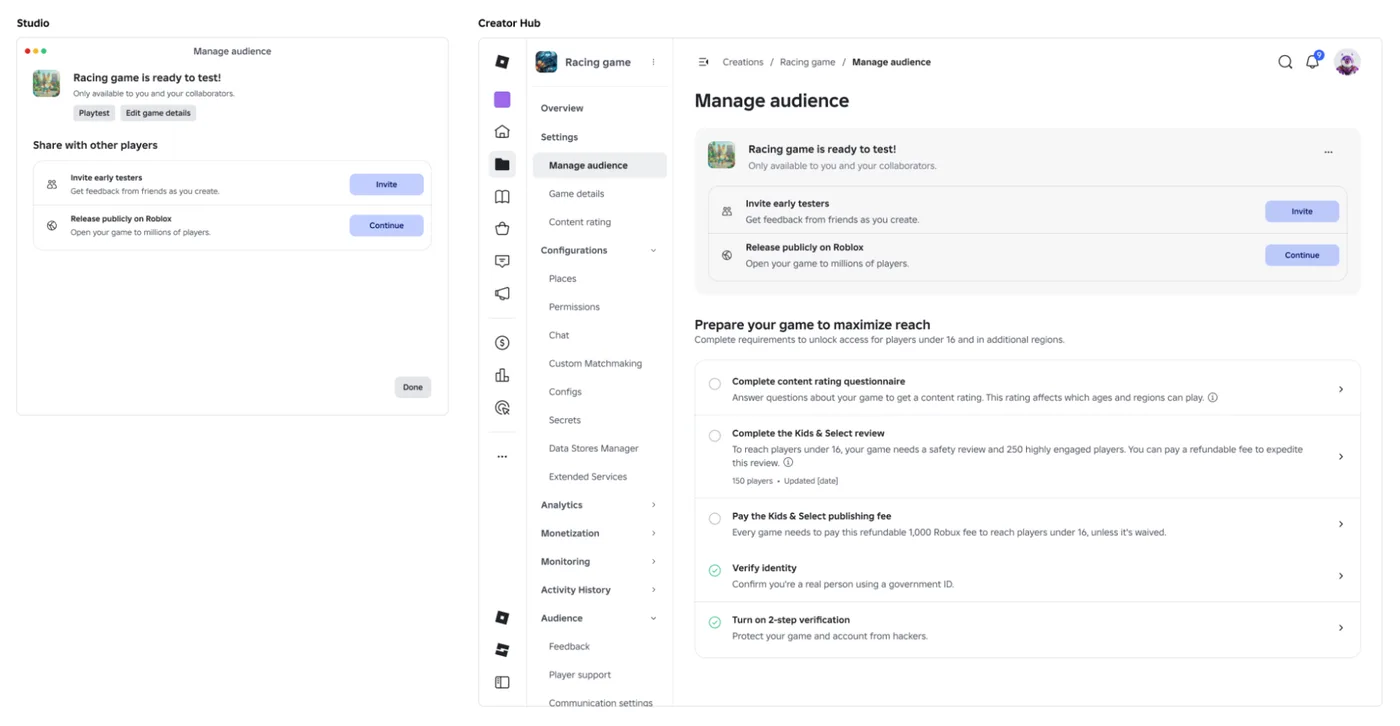
Since October 12, 2026, you can let up to 10 friends play your unreleased, unrated Roblox game, and Roblox is rolling out a path that lets a game with no age-restricted content reach age-checked players 16 and older by answering one question instead of the full questionnaire. Here is who can be an early tester, what replaced the Private and Limited audience settings, what the one question actually covers, and what still takes the long road to players under 16.

Roblox BadgeService Guide: Award, Check, Debug
Call AwardBadgeAsync on a player who isn't currently in your server and it fails one of five documented requirements — silently, the same way it fails for a disabled badge or a place outside the badge's own experience. Here is every BadgeService method, which four are dead, the rate limit two of them share despite a 10x difference in batch size, and the deprecated check that Roblox says will now always return true.
Roblox Luau Type Checking: nocheck, nonstrict, strict
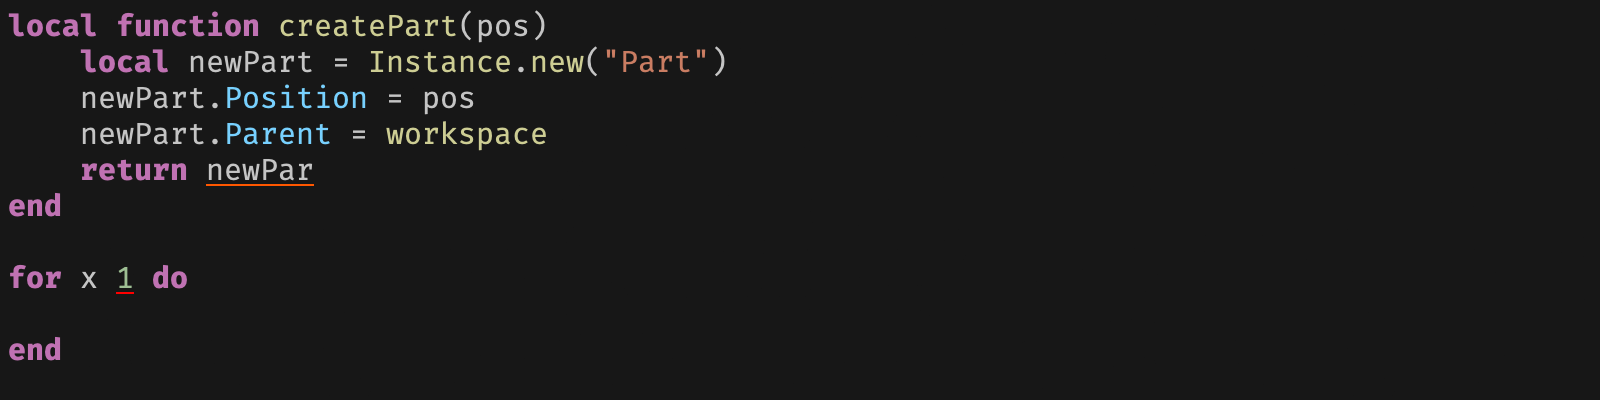
Roblox says every script used to default to no typechecking. That is no longer how it works: a Workspace property now sets the default mode, projects using only nocheck and nonstrict were moved to the New Type Solver automatically, and strict mode projects were not. Here is what each mode reports, what the new solver changed, and the annotation syntax that covers most code.
Best Roblox Games to Play in 2026
Roblox's front page is engagement bait. This is the filtered version: the games with real, sustained player counts and actual staying power, sorted by what you're in the mood for.
How to Get Robux Safely (Legit Ways + Scams to Avoid)
There is no free Robux generator. There never was. Here are the actual legit ways to get Robux without overpaying, the earning methods that really work, and the scams that exist purely to steal your account.