Roblox Lua Scripting Basics (Luau for Beginners)
Placing parts in Roblox Studio gets you a static diorama. Scripting is what makes things happen — doors open, bricks kill, leaderboards count. This is the no-fluff intro to Luau: the Explorer, the script types, variables, events, and a handful of first scripts that actually do something.

Placing parts in Roblox Studio gets you a really nice diorama. A floor, some walls, a glowing platform — and absolutely nothing happens when a player shows up. Scripting is the difference between a static model and a game: it's what makes the door open, the brick kill, the leaderboard count, the shop button charge you. If you've already done the Studio basics and built something out of parts, this is the next step — the one that actually makes the thing playable.
Here's the good news up front: you do not need to learn an entire programming language before you can build a working mechanic. You need a handful of concepts — where scripts live, the difference between the script types, variables, and events — and one pattern that powers most of what games do. This guide hands you exactly that, plus three real scripts you can paste in and watch work. No prior coding required.
Lua, Luau, and why it matters
Roblox games are scripted in Luau (pronounced "loo-ow"), which is Roblox's own dialect of the Lua programming language. Lua is a small, fast, beginner-friendly scripting language that's been used in games for decades; Luau is Roblox's fork of it, extended with things like optional type checking, performance optimizations, and clearer error messages tuned for game development.
For your purposes as a beginner, here's all you need to internalize: when a tutorial says "Lua" and when it says "Luau," they're talking about effectively the same thing in a Roblox context — the language you write in the Studio script editor. Luau is just the modern, Roblox-flavored version. It's genuinely one of the gentler languages to start with: no semicolons to forget, readable keywords, and forgiving syntax. If this is your first time writing any code at all, you picked a friendly place to begin.
Don't try to "learn Luau" as a goal. That's like trying to "learn English" before saying a sentence. You learn it by building one mechanic, then another. Every concept below exists in service of making something happen in your game — keep that framing and it'll stick far faster.
Where scripts live: the Explorer
Everything in a Roblox game — every part, model, light, and script — lives in a tree called the Explorer. If you can't see it, turn it on from the View tab in Studio. The Explorer is your map of the game: it shows every object that exists and how they're nested inside each other.
A few containers matter for scripting:
- Workspace — holds everything physically in the 3D world: parts, models, the baseplate. A script that affects a specific part usually lives inside that part, here.
- ServerScriptService — the standard home for game-logic scripts that should run on the server (more on server vs client in a second). This is where most "real" gameplay scripts belong.
- StarterPlayer / StarterGui — these feed scripts and UI to each player when they join. Client-side scripts that control a player's screen or input live in these areas.
To add a script, you right-click an object or a service in the Explorer, choose Insert Object, and pick the script type you want. The script becomes a child of whatever you inserted it into, and where you put it affects what it can reach. A script inside a part can easily refer to that part as its parent; a script in ServerScriptService reaches into the game from the top down. Getting comfortable reading and navigating the Explorer tree is half of scripting, honestly — it's how you find and reference everything.
The three script types you must know
This trips up every beginner, so get it straight early. Roblox has three script object types, and using the wrong one is the most common reason a script "doesn't work."
| Type | Runs on | Use it for |
|---|---|---|
| Script | The server | Core game logic — scoring, spawning, anything all players share |
| LocalScript | A single player's client | Things only one player sees or controls — UI, camera, input |
| ModuleScript | Nothing on its own | Reusable code other scripts load and share |
The server-versus-client split is the key idea. A Script runs on the server — the authoritative machine Roblox runs your game on — so it controls things every player needs to agree on, like who has how many points or where an enemy spawns. A LocalScript runs on one player's own device, so it handles things personal to that player: their on-screen interface, their camera, their keyboard input. Put a UI script on the server and it won't work; put scoring logic in a LocalScript and players can cheat it.
A ModuleScript is different — it doesn't run by itself at all. It's a container for reusable code (a function, a table of data) that other Scripts and LocalScripts can load with require and share, so you don't copy-paste the same logic five times. You won't need ModuleScripts on day one, but know they exist so the term doesn't confuse you later. For your first scripts, you'll almost always want a plain Script.
Your first script: Hello world
Let's actually run code. In the Explorer, right-click Workspace, choose Insert Object, then Script. The script editor opens with a default line already in it. Replace it with:
print("Hello from my first script!")
Now press Play (the blue play button on the Home tab). Studio runs your game, and down in the Output window (turn it on from the View tab if it's hidden) you'll see your message printed. That's it — you just executed code in a game.
print() is the function you'll lean on constantly. It writes text to the Output window, and it's how you check whether your code is reaching a certain point and what your values actually are. Ninety percent of beginner debugging is sticking print() calls in to confirm "did this line run?" and "what is this number right now?" When something breaks later, the Output window also prints errors in red with a line number telling you where it went wrong. Reading those errors instead of panicking is the single most valuable habit you can build.
Variables: the thing everything uses
A variable is a named box that holds a value. You make one with local, give it a name, and assign it something:
local playerName = "Mythras"
local startingCoins = 100
local isGameOver = false
Those three cover the value types you'll use most: text (a "string"), numbers, and true/false (a "boolean"). The local keyword means the variable only exists inside its script, which is what you want almost always — it keeps things tidy and fast.
The genuinely useful kind of variable in Roblox holds a reference to an object in your game. This is how a script grabs a part to do something to it:
local part = script.Parent
script.Parent means "the object this script is inside of." So if you put a script inside a part, that one line gives you a handle on the part, and now you can change it:
local part = script.Parent
part.BrickColor = BrickColor.new("Bright red")
part.Transparency = 0.5
That's the whole loop of scripting in miniature: get a reference to something (a variable), then read or change its properties — the same properties you can see and tweak in the Properties panel. Everything you can set by hand in Properties, you can set in code, which is what makes scripts powerful.
Events: the 'when X happens, do Y' pattern
Here's the one pattern that powers most of what games do. An event is a signal that fires when something happens — a player touches a part, a player joins the game, a button is clicked. You connect a function (a reusable block of instructions) to an event, and Roblox runs your function every time the event fires. The shape is always: when this happens, do this.
The classic example is the Touched event, which fires when something bumps into a part. Put a script inside a part and write:
local part = script.Parent

local function onTouch(otherPart)
	print("Something touched me: " .. otherPart.Name)
end

part.Touched:Connect(onTouch)
Read it top to bottom: grab the part, define a function onTouch that prints what hit it, then Connect that function to the part's Touched event. Now anything that touches the part — including a walking player — triggers your function. That :Connect() call is the glue, and you'll use it constantly.
Two more events you'll meet immediately. game.Players.PlayerAdded fires whenever a player joins the server — the standard place to set up anything per-player, like a leaderboard stat:
game.Players.PlayerAdded:Connect(function(player)
	print(player.Name .. " joined the game!")
end)
And UI buttons have a MouseButton1Click event for when they're clicked. Different trigger, identical pattern: connect a function, do something when it fires. Once when X happens, do Y clicks for you, you can reason about most game mechanics, because that's all they are underneath.
Three beginner scripts worth stealing
Theory's fine, but you learn by running things. Here are three small, complete scripts that each do something real. Insert a Script where noted and paste.
1. A kill-brick (the obby staple). Put this in a part; touching it resets the player.
local part = script.Parent

part.Touched:Connect(function(hit)
	local humanoid = hit.Parent:FindFirstChildWhichIsA("Humanoid")
	if humanoid then
		humanoid.Health = 0
	end
end)
The if humanoid then check matters: Touched fires for anything, so you confirm what hit it actually has a Humanoid (the object that makes a character alive) before you try to hurt it. Setting Health to 0 kills the character.
2. A color-changing part. Put this in a part for a cheap but satisfying effect — it cycles color every second.
local part = script.Parent

while true do
	part.BrickColor = BrickColor.random()
	task.wait(1)
end
while true do is a loop that runs forever; task.wait(1) pauses one second each pass so it doesn't run instantly and crash. This introduces loops and waiting, both of which you'll use endlessly.
3. A simple leaderboard stat. Put this in ServerScriptService to give every player a "Coins" value that shows on the in-game leaderboard.
game.Players.PlayerAdded:Connect(function(player)
	local leaderstats = Instance.new("Folder")
	leaderstats.Name = "leaderstats"
	leaderstats.Parent = player

	local coins = Instance.new("IntValue")
	coins.Name = "Coins"
	coins.Value = 0
	coins.Parent = leaderstats
end)
Roblox automatically shows anything inside a folder named exactly leaderstats on the player list. Instance.new() creates a new object in code — here a Folder and an IntValue (a whole-number container) — and parenting it to the player wires it up. This one script gives you a working scoreboard, and it shows the create-and-parent pattern you'll reuse for tons of systems.
How to actually get good
The trap beginners fall into is trying to read the whole Luau documentation before building anything. Don't. The fast path is the opposite:
- Build one mechanic at a time. Need a door? Learn the touch/click pattern and the open-the-door bit, ship it, move on. You'll absorb the language as a side effect of making things.
- Test constantly and read the Output. Press Play after every few lines. Use
print()to check your values. When you hit a red error, read the line number — it's almost always telling you exactly what's wrong. - Steal and modify. Every script above is a starting point. Change the color, change the wait time, change what touching it does. Tweaking working code teaches you faster than writing from a blank page.
- Use the real docs when you're stuck. Roblox's official Creator Documentation has the full Luau reference and beginner tutorials. Reach for it to look up a specific thing, not to read cover to cover.
The developers behind the platform's biggest games all started exactly here — a kill-brick, a leaderboard, a script that didn't work the first three times. The only difference between you and them is reps. Go get them.
Quick Action Checklist
Your first scripting session, start to finish:
- Open Roblox Studio and turn on the Explorer, Properties, and Output panels from the View tab
- Insert a Script into Workspace and run a
print()to confirm code works - Learn the difference: Script (server logic), LocalScript (one player's client), ModuleScript (shared reusable code)
- Make a variable with
local, includinglocal part = script.Parentto grab an object - Change a part's properties in code (BrickColor, Transparency) the same way you would in Properties
- Connect a function to an event with
:Connect()— start withTouched - Paste in the kill-brick, color-cycler, and leaderboard scripts and watch them work
- Test with Play after every few lines and read the Output window for red errors
- Build one small mechanic, modify it, then learn the next — don't try to learn all of Luau first
Frequently Asked Questions
Keep Reading
Related Guides

Roblox Lighting & Atmosphere: Make Your Game Look Good
The gap between a gray-box prototype and a game that looks shippable is mostly the Lighting service. ClockTime, Atmosphere haze, and a two-effect post-processing stack will do more for your game in ten minutes than a week of extra building.

Roblox TweenService Guide: Smooth Animation Done Right
Doors that teleport open are the tell of a first game. TweenService replaces every janky hand-rolled animation loop with five lines — Create an instance, a TweenInfo, a goal table, then Play — and the engine interpolates every frame for you.
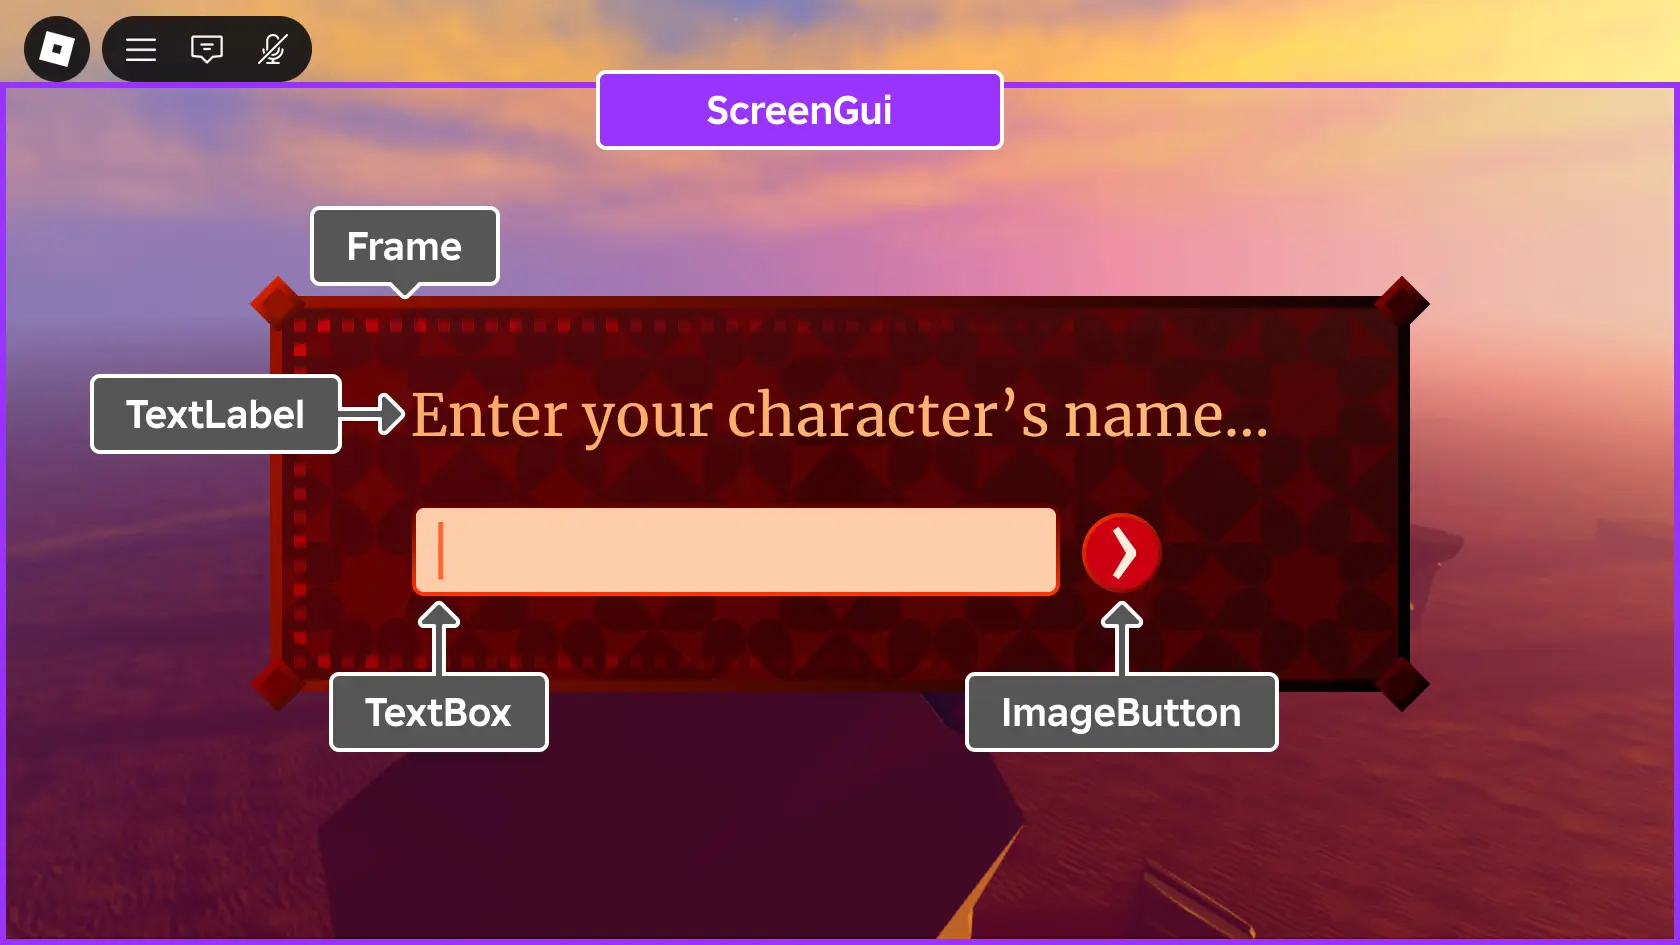
Roblox UI Design Basics: ScreenGui, Frames & UDim2
Your game can have perfect scripts and still feel broken if the menu is squished off the edge of a phone screen. This is how Roblox UI actually works: ScreenGui containers, the four GuiObjects you'll use constantly, and the UDim2 + AnchorPoint combo that separates a clean interface from a pixel-nudged mess.

Roblox RemoteEvents Guide: Client-Server Communication Done Right
Client and server in a Roblox game can't just read each other's variables — they talk through remotes. Here's how RemoteEvents and RemoteFunctions actually work, the exact methods, where to store them, and the one security rule that separates working games from exploited ones: never trust the client.
Best Roblox Games to Play in 2026
Roblox's front page is engagement bait. This is the filtered version: the games with real, sustained player counts and actual staying power, sorted by what you're in the mood for.
How to Get Robux Safely (Legit Ways + Scams to Avoid)
There is no free Robux generator. There never was. Here are the actual legit ways to get Robux without overpaying, the earning methods that really work, and the scams that exist purely to steal your account.