Super Mario 64 Boss Guide: Every Boss and How to Break It
Super Mario 64 has eleven real boss encounters and most of them are the same puzzle wearing a different hat: get behind it, hit it three times, do not fall off. Here is every fight, the exact mission it lives in, and the tell that makes it trivial.
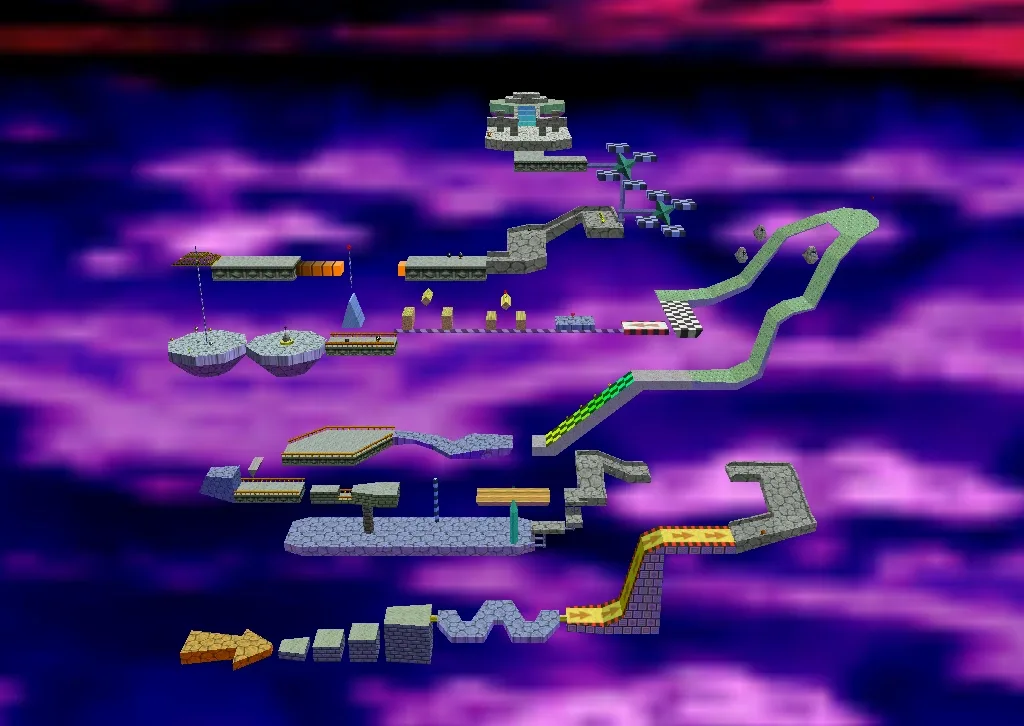
Super Mario 64 has no boss health bars, no phase transitions, and no attack patterns you need to memorize frame by frame. What it has is a design rule it repeats eleven times: get behind the thing, hit it three times, and do not fall off the edge. Once you notice that, the game stops being a series of walls and starts being a series of variations on one joke.
The exceptions are the interesting part. Eyerok breaks the rule on positioning, Big Bully breaks it on damage (you cannot actually hurt him), and the final Bowser breaks it on distance. This is every boss encounter in the N64 original, in the order a normal 70-star run runs into them, with the exact mission each one lives in so you are not selecting the wrong star and wondering where the boss went.
Every boss in Super Mario 64, in the order you meet them
Fifteen courses, 120 Power Stars, and only seven courses contain a boss at all. Here is the whole roster:
| Boss | Course | Mission | Hits |
|---|---|---|---|
| King Bob-omb | Bob-omb Battlefield | Big Bob-omb on the Summit | 3 throws |
| Whomp King | Whomp's Fortress | Chip Off Whomp's Block | 3 ground pounds |
| Bowser | Bowser in the Dark World | — | 1 throw into a bomb |
| Big Boo | Big Boo's Haunt | Go on a Ghost Hunt | 3 hits |
| Big Boo | Big Boo's Haunt | Ride Big Boo's Merry-Go-Round | 3 hits |
| Big Boo | Big Boo's Haunt | Big Boo's Balcony | 3 hits |
| Big Mr. I | Big Boo's Haunt | Eye to Eye in the Secret Room | circle it |
| Big Bully | Lethal Lava Land | Boil the Big Bully | knock into lava |
| Big Bully + trio | Lethal Lava Land | Bully the Bullies | knock into lava |
| Eyerok | Shifting Sand Land | Stand Tall on the Four Pillars | 3 hits per hand |
| Chill Bully | Snowman's Land | Chill with the Bully | knock into the water |
| Wiggler | Tiny-Huge Island | Make Wiggler Squirm | 3 stomps |
| Bowser | Bowser in the Fire Sea | — | 2 throws |
| Bowser | Bowser in the Sky | — | 3 throws |
A few things people call bosses that are not: Unagi the eel in Jolly Roger Bay, Klepto the condor in Shifting Sand Land, and the Mr. Blizzards lobbing snowballs in Snowman's Land. They guard stars, they do not fight you.
King Bob-omb, and the rule about the ledge
The first boss is also the clearest statement of intent. Climb the spiral to the top of Bob-omb Battlefield, talk to the pink-bowed King Bob-omb, and he hands you the rules himself: pick him up from behind and throw him.
Approach from the front and he grabs you first. Circle him, press B when you are behind, then throw. Three throws. The trap is the ledge — throw him off the mountain instead of onto the ground and he calls it cheating, refuses to count the hit, and the fight resets. Aim inward, toward the middle of the plateau, every time.
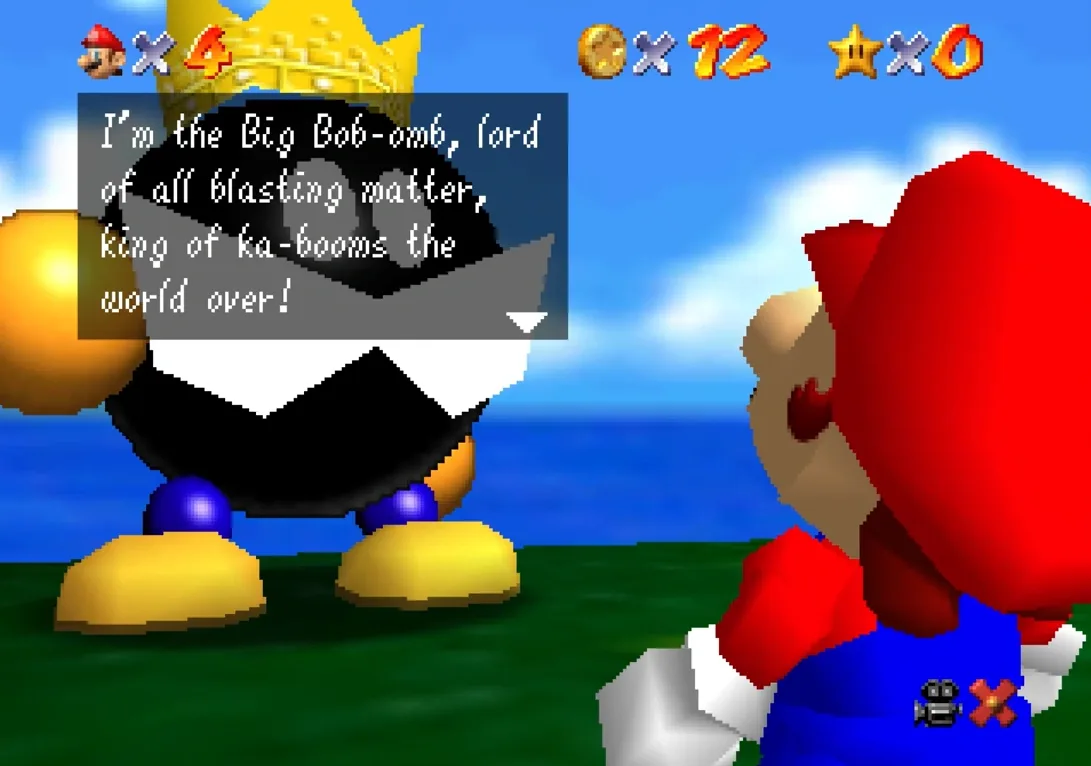
One more detail nobody mentions: right as he is standing back up from a throw, he can damage you on contact. Do not sprint straight back in. Take the half second, reposition behind him, then grab. If you are still fighting the camera during this, the movement guide covers the C-button habits that make circling anything in this game trivial.
The Whomp King is a ground pound exam
Whomp's Fortress, mission 1, "Chip Off Whomp's Block." He is at the very top of the fortress, and he only exists on that mission — pick any other star and the summit has a tower with retracting steps instead.
The Whomp King belly-flops at you. Bait the slam, sidestep, and while he is face-down on the ground, jump and ground pound his exposed back. Three ground pounds. That is the entire fight. The only way to lose is to stand where he lands or to walk off the narrow summit trying to line up a pound.
If you are getting caught by the slam, note that the flop has real windup. Wait for the animation, run to the side rather than backward, and pound the instant he hits the deck.
Bowser in the Dark World
Behind the 8-star Big Star Door on the castle mezzanine — the door requirements are laid out in the beginner guide — sits a platforming course over a black void and then a pipe into the arena.
The fight is grab-and-throw. Run behind Bowser, press B to grab his tail, rotate the control stick in wide circles to build spin, then release when he is pointed at one of the four spiked bombs ringing the platform. One bomb hit ends it and he drops the key to the basement.
Two things people do wrong. They mash the stick in tiny circles, which builds almost no spin — wide, steady rotations throw much farther. And they release while facing a bomb rather than while Bowser is aimed at one; he flies in the direction you let go of the stick, not the direction Mario is looking.
Big Boo, three fights, three different rooms
Big Boo's Haunt does not have one boss, it has the same boss three times. Big Boo shows up in "Go on a Ghost Hunt" on the ground floor, in "Ride Big Boo's Merry-Go-Round" down in the basement carousel, and in "Big Boo's Balcony" up on the roof.
Boos in this game go transparent when you look at them and solid when you do not. That means the fight is a pivot: face away until he closes in, then whip the camera around and hit him while he is still corporeal. Three hits each time. A punch works, a ground pound from a backflip works, a jump-kick works. After each hit he shrinks and gets noticeably faster, so hit three is the one that actually requires timing.
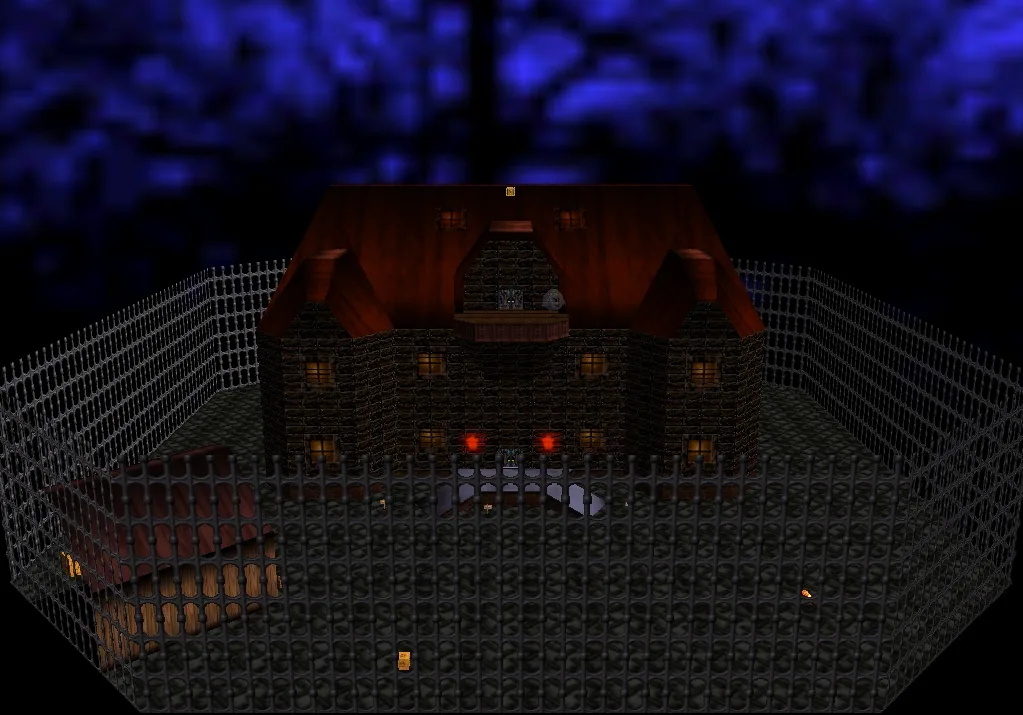
Worth remembering that the course itself is locked behind the Big Boo out in the castle courtyard, which appears once you have at least 12 stars and drops a birdcage when defeated. That one and the other castle oddities are catalogued in the secret stars guide.
Big Mr. I, the fight where you run in circles
"Eye to Eye in the Secret Room" is Big Boo's Haunt mission 6, up in the attic, and it is the only boss in the game you defeat by doing nothing to it. Mr. I is a giant floating eyeball that tracks Mario. Run laps around it. It keeps turning to follow you, gets dizzy, shrinks, and pops.
Run tight and consistent circles — wide, wobbly loops let it re-center and reset. Regular Mr. Is elsewhere in the game (Lethal Lava Land, Hazy Maze Cave) die the same way and drop a Blue Coin for the trouble.
Big Bully and the bully trio
Lethal Lava Land breaks the pattern: you cannot damage Big Bully at all. He has no hit points. The lava does the work. Punch, kick or ground pound him toward the edge of his platform until he goes over, and the Power Star appears.
- Boil the Big Bully (mission 1) — one Big Bully on the back platform. Straight shoves, no tricks.
- Bully the Bullies (mission 2) — three regular Bullies first, then a Big Bully. The trio is the harder half, because they gang up and each shove sends you backward.
The thing that separates Big Bully from his minions is knockback: he pushes you much farther per hit. That is the actual failure mode here — not damage, but getting bumped into the lava yourself. Keep your back to the middle of the platform rather than the edge, and throw punches while moving forward so your own momentum eats some of his shove.
Eyerok is the real difficulty spike
Shifting Sand Land, mission 4, "Stand Tall on the Four Pillars." Ground pound all four pillars in the sandy plain to open a hole in the top of the pyramid, drop into the chamber, and two enormous stone hands wake up.
Eyerok is two hands and each one is a separate target. Only one exposes its eyeball at a time, and that is the only vulnerable spot — punch, kick or dive into the open eye. Three hits per hand, six total. Each hand slams down, sweeps along the floor to shove you off the ledge, and one clean hit costs three wedges of your health meter, which is brutal for a course this deep into the game.
The read is simple once you see it: wait at the back of the ledge, let a hand come down, and hit the eye on the way up rather than chasing it. Diving is the highest-reach option and the safest, because the dive lets you roll out of the recovery instead of standing there eating the return swing. Go in with full health. There is no recovery coin supply mid-fight.
Chill Bully is Big Bully with worse footing
Snowman's Land, mission 2, "Chill with the Bully." He stands on a slick icy platform surrounded by freezing water that behaves exactly like Lethal Lava Land's lava.
Same rules: no damage, just shoving. What makes it harder is the ice. Mario slides, so momentum you commit to is momentum you keep, and a whiffed punch can carry you straight past him into the drink. Short, controlled hits. Do not run at him from across the platform. The Power Star pops above the platform when he goes under.
Wiggler, and the pond nobody finds
Tiny-Huge Island, mission 6, "Make Wiggler Squirm." This is the boss that stumps people not because the fight is hard but because the door is hidden.
Wiggler lives in a house under the mountain, and it is flooded. To drain it, go to the tiny version of the island, find the small pond on the mountain, and ground pound it. Then switch to the huge island and squeeze in through the gap near the base of the mountain. Now the room is dry and Wiggler is furious.
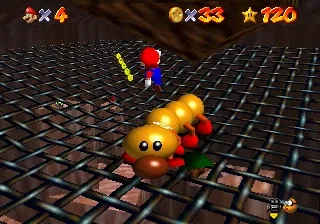
Three stomps on the head. He speeds up after the first, and after the second he thrashes around the room fast enough that chasing him is a losing game — stand still, let him come to you, and jump on him as he passes. On the third hit he calms down, shrinks, and hands over the star. Contact costs you three health wedges, so this is another one to enter with a full meter.
Bowser in the Fire Sea
Behind the 30-star door in the basement, after clearing "Board Bowser's Sub" in Dire, Dire Docks. Second verse, meaner arena.
Bowser now has spikes on his shell, so you cannot just walk up and grab. You bait his charge — he rushes you from across the platform — and grab the tail while he is faltering at the edge. He also teleports around the arena and spits single fireballs instead of the wide stream from the first fight.
The genuine threat is the floor. When Bowser lands from a jump the whole platform tilts toward him, and if you are standing downhill you slide off into the lava for free. The moment he goes airborne, start moving toward the high side. Two throws into the bombs end it, and he drops the key to the castle's upper floors.
Bowser in the Sky
The last one, past the endless stairs at 70 stars. The course is a long vertical gauntlet; the fight at the top is the only real test of the throw mechanic in the game.
Three hits. The first two are ordinary — bait the charge, grab the tail, wide rotations, release toward a spiked bomb. Between hits he breathes a stream of fire that arcs up and rains back down as red and blue fireballs, and he ground pounds to send shockwaves across the floor. Jump the shockwaves. Not a sidestep, not a backflip in place — a plain jump timed to the ring passing under you.
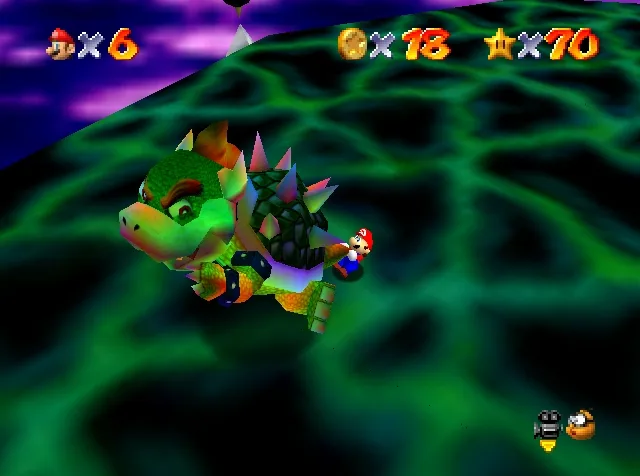
After the second hit, the entire outer edge of the arena breaks away and leaves a star-shaped platform. That is what makes the third throw the hard one: the remaining bombs sit on the far points of the star, so you need maximum spin and a genuinely accurate release angle instead of a lazy fling. Get the rotations going before you even think about letting go, and aim down the length of a point.
The consolation is that Bowser gets easier to grab as the fight goes on — each hit makes it less necessary to bait a full charge first. Land the third and he surrenders the Jumbo Star, which lifts the spell on the castle.
The eight courses with no boss at all
For routing purposes: Cool, Cool Mountain, Jolly Roger Bay, Hazy Maze Cave, Dire, Dire Docks, Wet-Dry World, Tall, Tall Mountain, Tick Tock Clock and Rainbow Ride contain zero boss encounters. If you are hunting stars and want to avoid fights entirely, that is your list — and none of them require a cap power-up you would not already have if you followed the cap guide.
One footnote on versions. Super Mario 3D All-Stars runs the same fights with the same hit counts. Super Mario 64 DS is a different animal — it adds bosses that do not exist on N64, including Chief Chilly, who holds the key that frees Wario, plus Goomboss and King Boo guarding keys of their own. If a guide mentions those names, it is not talking about the N64 game.
Quick Action Checklist
- King Bob-omb: circle behind, B to grab, three throws, always aim inward so he does not land off the mountain.
- Whomp King: only spawns on "Chip Off Whomp's Block." Bait the belly-flop, sidestep, three ground pounds on his back.
- Bowser in the Dark World: wide stick rotations, release when Bowser points at a bomb, one hit wins.
- Big Boo: face away until he solidifies, then punch or ground pound. Three hits, three separate missions.
- Big Mr. I: tight circles until it shrinks. No attack required.
- Big Bully and Chill Bully: you cannot damage them. Shove them into lava or water, and keep your own back to the center.
- Eyerok: ground pound the four pillars first, then hit only the exposed eye. Three hits per hand, six total, full health going in.
- Wiggler: ground pound the pond on tiny island to drain the room, enter through the gap on huge island, three stomps, let him come to you.
- Bowser in the Fire Sea: move uphill the second he jumps, bait the charge, two throws.
- Bowser in the Sky: jump the shockwaves, and save your best rotation for the third throw once the arena is a star.
Frequently Asked Questions
How many bosses are in Super Mario 64?
How do you beat Eyerok in Super Mario 64?
Can you damage Big Bully in Super Mario 64?
How do you reach Wiggler in Tiny-Huge Island?
How many times do you fight Bowser in Super Mario 64?
What makes the final Bowser fight harder than the first two?
Does the Whomp King appear on every Whomp's Fortress mission?
Are the Super Mario 64 DS bosses the same?
Keep Reading
Related Guides
Super Mario 64 Lives and Game Over: What You Actually Lose
A Game Over in Super Mario 64 is a file reload: you keep everything you saved and lose everything you did not. Here is when the game actually writes your file, exactly what a Game Over rolls back, the five courses where a fall is free, and every way to earn a life, from the coin tally to the Monty Mole streak that never runs dry.
Super Mario 64 Music: Every Track and Where It Plays
Super Mario 64 scores 15 courses with seven songs, and only one of them belongs to a single course. Here is which track plays in every course and secret level, the five levels whose music rearranges itself as Mario moves, what triggers the boss music and the jingles, all 36 soundtrack tracks under their 1996 and current names, and where to listen today.
Super Mario 64 Bowser Levels Guide: All 24 Red Coins
Bowser in the Dark World, the Fire Sea and the Sky each hide one Power Star behind eight red coins on the obstacle course in front of the fight. Here is the route through all three, where every red coin sits, and what else the level data holds.
Super Mario 64 120-Star Reward: Yoshi and the Castle Roof
Super Mario 64 does not announce your 120th Power Star. The reward is outside: a cannon grate that stops loading, Yoshi on the castle roof, and a gift that quietly resets the next time you load your file. Here is what 120 stars changes, checked against the wikis and the decompiled code.
Super Mario 64 Beginner Guide: Your First 30 Power Stars
Super Mario 64 does not gate you on difficulty, it gates you on Power Stars. Here is exactly which doors need what, which stars are fastest to grab, and the route that gets a first-timer from one star to thirty without wandering the castle in circles.
Super Mario 64 Snowman's Land Guide: All 7 Stars
Snowman's Land looks like the throwaway snow level, and the wiki record on it backs that read up in one specific way: it is the only one of the game's 15 main courses with no Blue Coins at all. What it does have is two freezing ponds that hurt you in two different ways, an enemy species that appears nowhere else in the game, and a cap-stealing snowman nobody warns you about. Here is every star, the full 127-coin breakdown, and the course's last remaining gap in this vertical.