The Witcher 3 Gwent Guide: How to Actually Win
Gwent is not a coin-flip and the AI is not cheating. You are losing because you dump your whole hand into round one, chase strength instead of card advantage, and never learned what a spy actually does. Here is the fix.
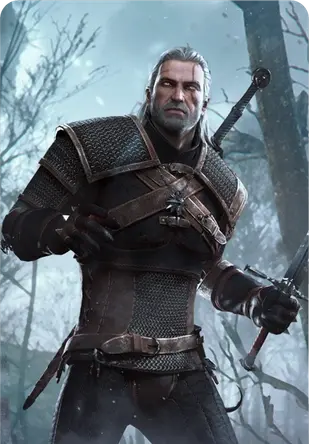
Gwent is the best game hiding inside another game since the assassin puzzles in Assassin's Creed, except Gwent is actually good. It is a tight little card game about bluffing and patience, and CD Projekt Red buried it in taverns across three regions where most players ignore it until an old man in Velen takes their coin and their pride in the same afternoon.
Here is the thing nobody tells you: the AI is not cheating. When Gwent feels like a coin-flip, it is because you are playing it like War, slamming your biggest numbers down and hoping. It is not a game about big numbers. It is a game about spending fewer cards than your opponent to win the same rounds. Once that clicks, you stop losing to innkeepers and start farming them. If Geralt himself is still dying to drowners on the road between matches, that is a separate problem, and our Witcher 3 beginner guide covers it. This one is about the cards.
How a Gwent match is actually won
The rules take two minutes and then never change. Both players build a deck, draw 10 cards to open, and may mulligan up to two of them once before the match begins. That opening hand is most of what you get. This is the single most important fact in Gwent and the one new players never internalise: you do not draw a fresh hand every round.
A match is best of three rounds. Each round, players take turns placing one card at a time, and each card has a Strength value that adds to your total. When you have nothing left you want to commit, you pass. When both players have passed, whoever has the higher total Strength wins the round. Win two rounds and you win the match.
You start each match with two gems. Lose a round, lose a gem. Lose both and you are done. A tied round costs both players a gem, which is why ties can decide matches. The coin toss at the start of round one decides who plays first, and that is the only thing the coin toss decides.
That is the whole game. The depth is entirely in one word: pass.
The rule that wins games: never overspend
Because your 10-card hand has to last all three rounds, every card you play is a card you no longer have. The winner of a Gwent match is almost never the player with the strongest cards. It is the player who wins two rounds while spending the fewest cards doing it.
This creates the core play pattern, and it is the thing to burn into your brain:
- Round one is a bluff. If your opponent commits hard, let them. Pass early and lose round one on purpose if it only cost you a few weak cards. You just baited them into spending five or six cards to win one round while you spent two.
- Round two, punish them. Now they are low on cards and you are not. Win round two comfortably.
- Round three is a card-count fight. Whoever has more cards left usually wins. You engineered that in round one.
That deliberate round-one sacrifice is called a "two-one," and it is how you beat opponents whose decks are stronger than yours. Do not chase a round you are losing by throwing good cards after bad. If you cannot win a round cheaply, throw it cheaply. The math of the whole game is: cards in hand beats Strength on board.
The five factions, ranked for a new player
Every deck belongs to one faction, and each faction has one passive ability that is always on. Four ship in the base game. Skellige was added by the Blood and Wine expansion.
- Northern Realms — draw a card every time you win a round. This is the best faction for a new player, full stop. Winning a round is already good; getting paid a card for it makes the card-economy game lopsided in your favour, and it papers over a lot of bad decisions.
- Monsters — one random unit stays on your board after each round ends. It is a low-skill, high-floor faction: that leftover unit gives you a head start every round, which is quietly excellent, and its Muster cards make it fast to build.
- Nilfgaardian Empire — wins any round that ends in a tie. This is the thinking player's faction, built on spies, medics and decoys. It is the most powerful deck in the game in the right hands and the least forgiving in the wrong ones. Deliberately tying a round for free is filthy once you learn it.
- Scoia'tael — you choose who goes first in round one instead of the coin toss. Tempo control that only matters once you understand tempo. Skip it early.
- Skellige — at the start of round three, two random units return from your graveyard to your board. Strong, but Blood and Wine only, and it wants you to lose cards to the graveyard first, which is an advanced plan.
Build Northern Realms first. It forgives everything, and by the time you have outgrown it you will understand the game well enough to appreciate what Nilfgaard is doing. None of this touches Geralt's actual character sheet, by the way, so you never spend a real skill point on Gwent, that all lives in the Witcher 3 build guide instead.

Cards, heroes, and weather
Units go in one of three rows that match their icon: close combat (melee), ranged, and siege. The row matters because of weather, which we will get to.
Hero cards are the exception to almost everything. A hero is immune to weather, immune to Scorch, and immune to being messed with by any special ability. Geralt of Rivia is a 15-Strength hero. Ciri is a 15-Strength hero. Yennefer is a hero that also heals. Because nothing can touch them, heroes are the safest Strength in your deck, but there are only a handful, so you cannot build around raw hero power alone.
Weather cards are the great equaliser and the reason the row system exists. There are three, and each hammers one row for both players at once:
- Biting Frost drops every close-combat unit to 1 Strength.
- Impenetrable Fog does the same to every ranged unit.
- Torrential Rain does it to every siege unit.
Weather does not care whose side the units are on, so it wrecks your board too if you stacked one row. Clear Weather removes all active weather. Heroes ignore weather entirely, which is a big part of why they are worth their slots. The practical takeaway: spread your units across rows so a single Frost card cannot delete half your board, and always carry a Clear Weather.
The special cards that swing matches
Special cards do not add Strength on their own; they change the board. These are the ones that decide matches:
- Commander's Horn doubles the Strength of every unit in one row. One per row. Drop it on a stacked row and your total leaps.
- Scorch destroys the highest-Strength unit or units on the entire board, both sides included. It is a punish button for anyone who overcommitted a fat non-hero unit. Bait their big card out, then Scorch it.
- Decoy swaps with a unit already on your side and returns that unit to your hand. That sounds minor. It is one of the strongest cards in the game, and we will get to why in a second.
- Mardroeme, Biting Frost, and the horn on your opponent's stacked row are all forms of the same idea: change the board more than a single unit could.
Then there are unit abilities printed on the cards themselves:
- Spy — placed on your opponent's board, so its Strength counts for them, but you draw two cards from your deck. In a game about card economy, drawing two for one is absurd.
- Medic — revive a non-hero, non-special unit from your graveyard and play it immediately. Chain medics and you can raise a small army from the dead.
- Muster — instantly pulls every copy of the same-named card from your deck onto the board. Nekkers and Arachas turn one card into three.
- Tight Bond — place two or more cards with the same name in the same row and they multiply each other's Strength. Two 6-Strength cards become two 12s.
- Morale Boost — adds 1 Strength to every other unit in its row. Small, until you have a full row.
The spy-decoy-medic engine
This is the combo that turns Gwent from "sometimes I win" into "I don't lose." It is the reason Nilfgaard is the scariest faction, but the pieces are neutral and Northern Realms runs it beautifully too.
A spy hands the opponent some Strength but draws you two cards. That is already a good trade. Now add a Decoy. You play your spy, draw your two cards, then next turn play the Decoy onto that same spy, pulling it back into your hand so you can play it again for another two-card draw. One spy, one Decoy, four cards drawn, and the spy ends up back on your side of the table where its Strength finally helps you.
Then add a Medic. Once a spy has gone to the graveyard, a Medic resurrects it for yet another draw. Stack a couple of spies, a Decoy or two, and a Medic, and you can out-card any deck in the game by a mile while your opponent wonders why they ran dry in round two. This is the entire endgame of high-level base-game Gwent: draw more cards than a human deck is supposed to have, then win the last round with the surplus. Villentretenmerth, a neutral dragon hero that Scorches the strongest melee unit, is a nasty finisher to bolt on top once your card lead is set.
Where to get the cards that matter
You build this deck by playing everyone. Two habits do most of the work.
First, buy every card from every innkeeper and merchant you pass. Most vendors sell a small pool of cards, and some strong ones become permanently unavailable once a quest moves the world forward, so buy early and buy often. The same point about hoovering up cards from innkeepers shows up in the Witcher 3 beginner guide for a reason: missing cards you can no longer buy is the one truly irreversible Gwent mistake.
Second, beat the named players. The map is full of them, flagged by the little Gwent-card icon, and the Gwent-focused side quests string them together. Beating certain opponents hands you specific cards you cannot buy anywhere. Beating Thaler, for instance, awards the Geralt of Rivia hero card. The "High Stakes" tournament in Novigrad is the big one: winning it is how you collect the four faction leader cards, including Emhyr: The Relentless and Eredin: Bringer of Death. Conveniently, the same scavenger-hunt detours that drop you next to witcher gear diagrams also route you past half the Gwent players in Velen, so you are rarely going out of your way.
Prioritise, in order: every spy you can find, a Decoy or two, a Medic or two, Commander's Horn, Scorch, and Clear Weather. Those special cards win more matches than any 15-Strength unit.
Mistakes that lose winnable matches
- Dumping your hand in round one. The cardinal sin. If you win round one but empty your hand doing it, you will lose the match. Win rounds cheaply or throw them cheaply.
- Chasing a lost round. Once you cannot win a round without overspending, pass and save the cards. Losing a round on purpose is a real strategy, not a failure.
- Stacking one row. A single weather card wipes a stacked row for both players, so a board built entirely of melee units is one Biting Frost away from disaster.
- Playing spies for their Strength. A spy goes on the opponent's side. You play it for the draw, not the number. New players avoid spies because "it helps the enemy," and that instinct is exactly backwards.
- Ignoring the mulligan. You can swap up to two opening cards. Ditch dead weather you cannot use or a Decoy with nothing to copy, and dig for a spy.
- Not buying cards. Every match you skip is cards you may never get. This is not a system you spend points on like Geralt's mutations and abilities; it is pure collection, and the collection is finite.
Quick Gwent checklist
- Draw 10, mulligan up to two, and remember that hand lasts all three rounds.
- Play a "two-one": bleed cards in round one only if it is cheap, then win rounds two and three with the card lead.
- Whoever ends with more cards usually wins round three. Engineer that early.
- Build Northern Realms first for the free card on every round win.
- Spread units across rows and always pack a Clear Weather.
- Run spies for the two-card draw, not their Strength, and recycle them with Decoy and Medic.
- Save Scorch to punish an overcommitted big unit; save Commander's Horn for a stacked row.
- Buy every card from every merchant, because some vanish for good, and beat named players for cards you cannot buy.
Frequently Asked Questions
How do you win at Gwent in The Witcher 3?
What is the best Gwent faction in The Witcher 3?
How do spy cards work in Gwent?
Do you draw new cards each round in Witcher 3 Gwent?
How does weather work in Gwent?
What does the Decoy card do in Gwent?
Where do you get the best Gwent cards in The Witcher 3?
Should I play Gwent on higher difficulties?
Keep Reading
Related Guides
The Witcher 3 Beginner's Guide: Your First 20 Hours
Most people who bounce off The Witcher 3 do it in White Orchard, and it is almost always the same three reasons: they never learned Quen, they never applied an oil, and they treated the skill tree like a shopping list. Here is the fix.
The Witcher 3 Fist Fights: Every Circuit and Brawl Master
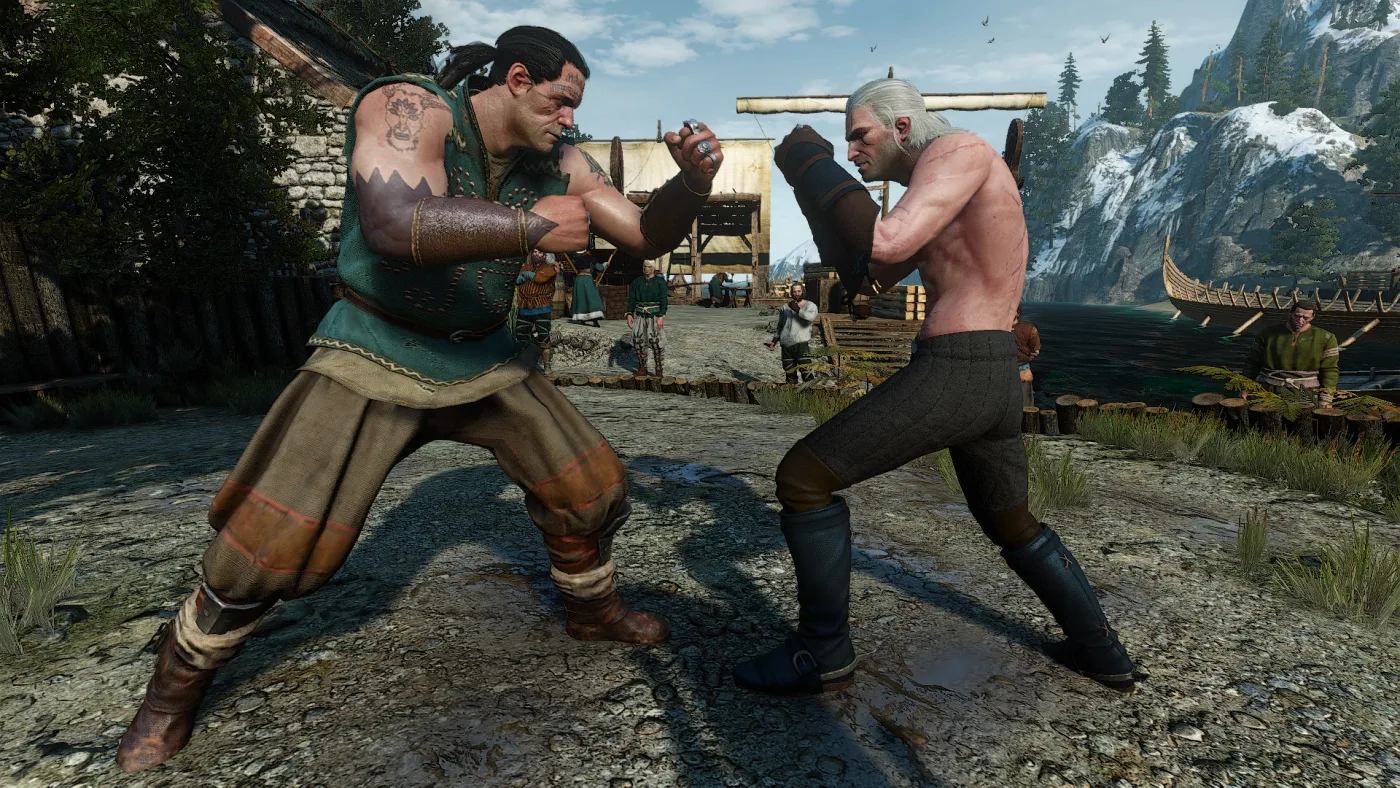
Skellige's fistfighting champion is a bear, the Champion of Champions is a rock troll, and before the troll will fight you at all you have to lose a fight to a ghost on purpose. Here is every fistfighting circuit opponent across Velen, Novigrad, Skellige and Toussaint, what each one pays, and the single loss that makes Brawl Master unobtainable.

The Witcher 3 Remastered Mods: How to Install, What Broke
Remastered put a Mods button on The Witcher 3's main menu, and CD PROJEKT RED says the same update stopped mods carrying script, XML or w3strings files from working. Here is how the mod.io menu works on PC and console, what broke and who fixes it, which Steam branch actually gets your old build back, and what a mod does to your trophies and your cross-save.
The Witcher 3 Kaer Morhen Allies: Full Crew Checklist
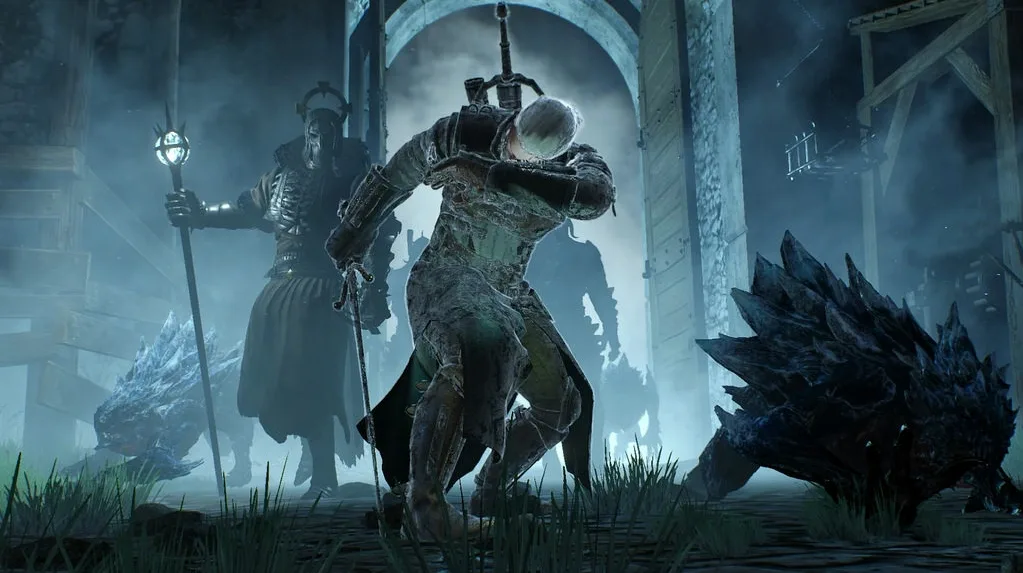
Whether Lambert survives the Battle of Kaer Morhen is decided in a level-8 Velen side quest about plague notes. Here is every ally you can bring, the exact quest chain each one needs, what they change once the Hunt arrives, and the quests that fail the moment you sail for the Isle of Mists.
The Witcher 3 Horse Gear: Best Saddle, Blinders and Bags
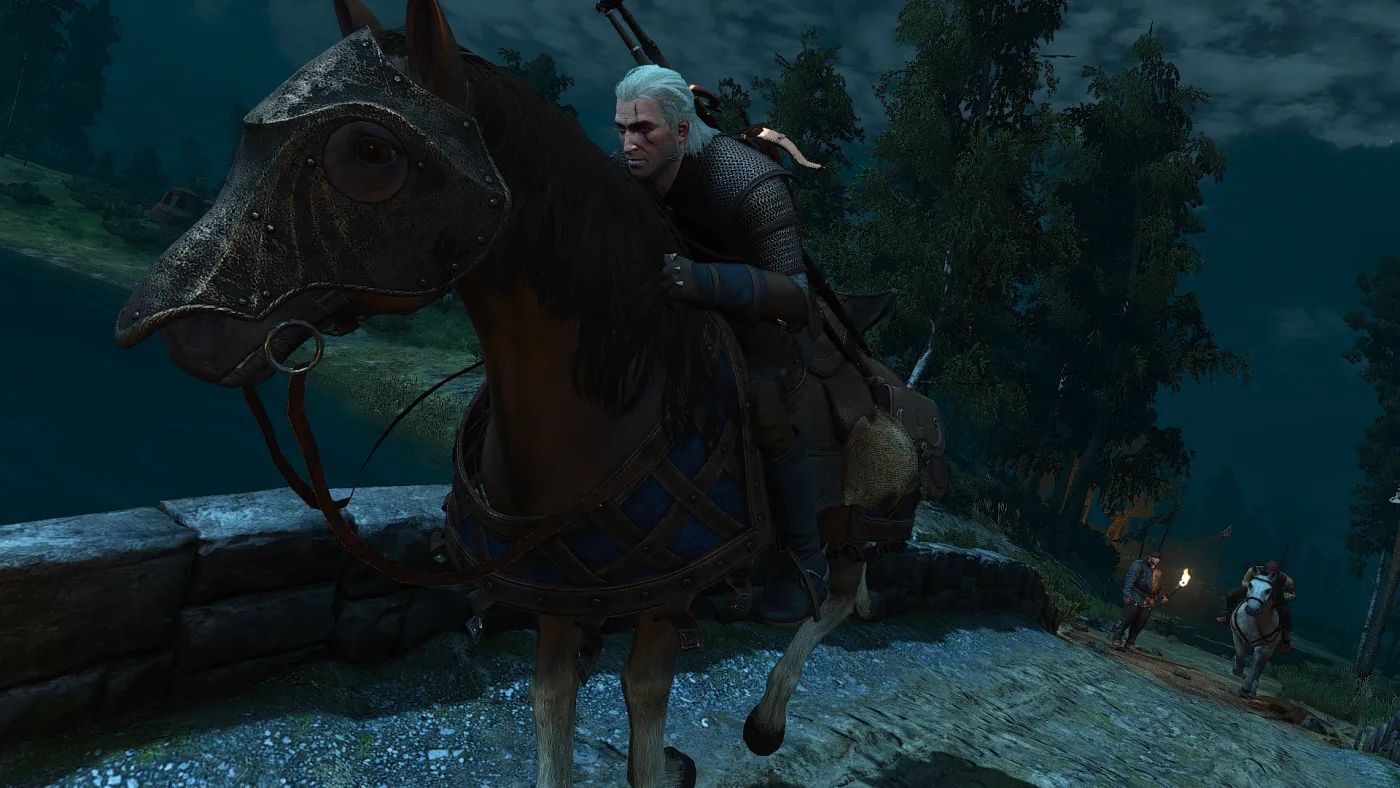
Roach starts the game in a saddle worth 20 Stamina. The best one in The Witcher 3 is worth 100, and no merchant sells it. Here is all 47 pieces of horse equipment with their real numbers, the race or quest that hands each one over, and the Skellige route that gets you endgame tack in an afternoon.

The Witcher 3 Achievements: All 78, Ranked by Rarity
Steam's own numbers say fewer Witcher 3 players have finished the story on any difficulty than have hit character level 35. The rarest achievement in the game is not a boss kill, and the expansions are, on average, more than twice as hard to fully clear as the base game. Here are all 78, sorted by how many players actually have each one.