A Link to the Past Beginner Guide: Your First Ten Hours
A Link to the Past hands you a sword and a rainstorm and then says almost nothing else. Here is the route, the combat, and the item order that turn a confusing first hour into a game you can actually finish.
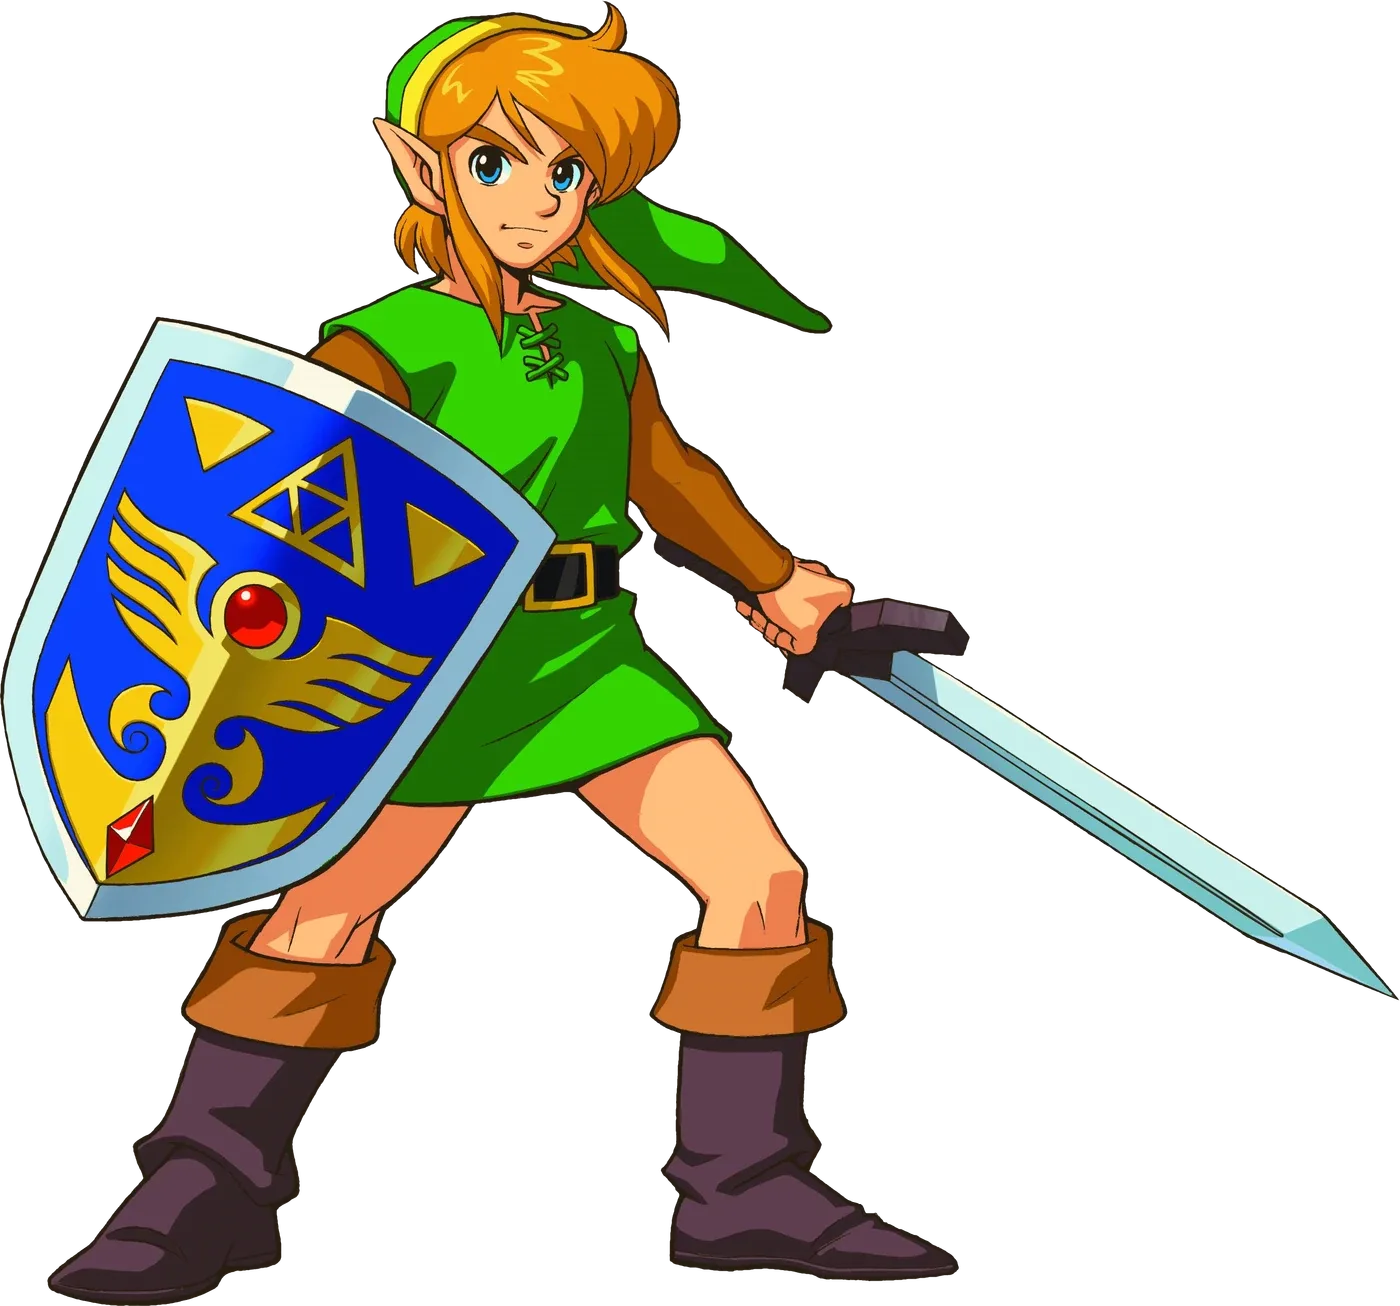
You will lose your uncle in the first four minutes and the game will not stop to explain it. That is A Link to the Past in a sentence: a 1991 SNES design that trusts you to figure things out, drops a sword in your hands in a sewer, and then hands you an entire overworld with no quest markers and one talking elder.
It still works. The pacing is tighter than most modern open-world games and the whole thing is roughly 12 to 15 hours if you are not hunting collectibles. What it does not do is tell you where to go after the tutorial ends. This guide covers the route, the combat, the item order that matters, and the specific things that make new players bounce off.
The first twenty minutes are a scripted tutorial
The opening is on rails whether you notice it or not. Zelda wakes you telepathically, your uncle leaves with a sword and shield, and you follow him into the castle passage. He dies there and gives you the Fighter Sword and Fighter Shield — your entire kit for the next hour.
From there:
- Cut through Hyrule Castle and rescue Zelda from the dungeon cell.
- Escape through the castle sewers. Grab the Lamp from the chest in the dark room — it is not optional, you cannot see in the sewer without it.
- Come out at the Sanctuary, north of the castle. The priest tells you about the Master Sword and points you at Sahasrahla.
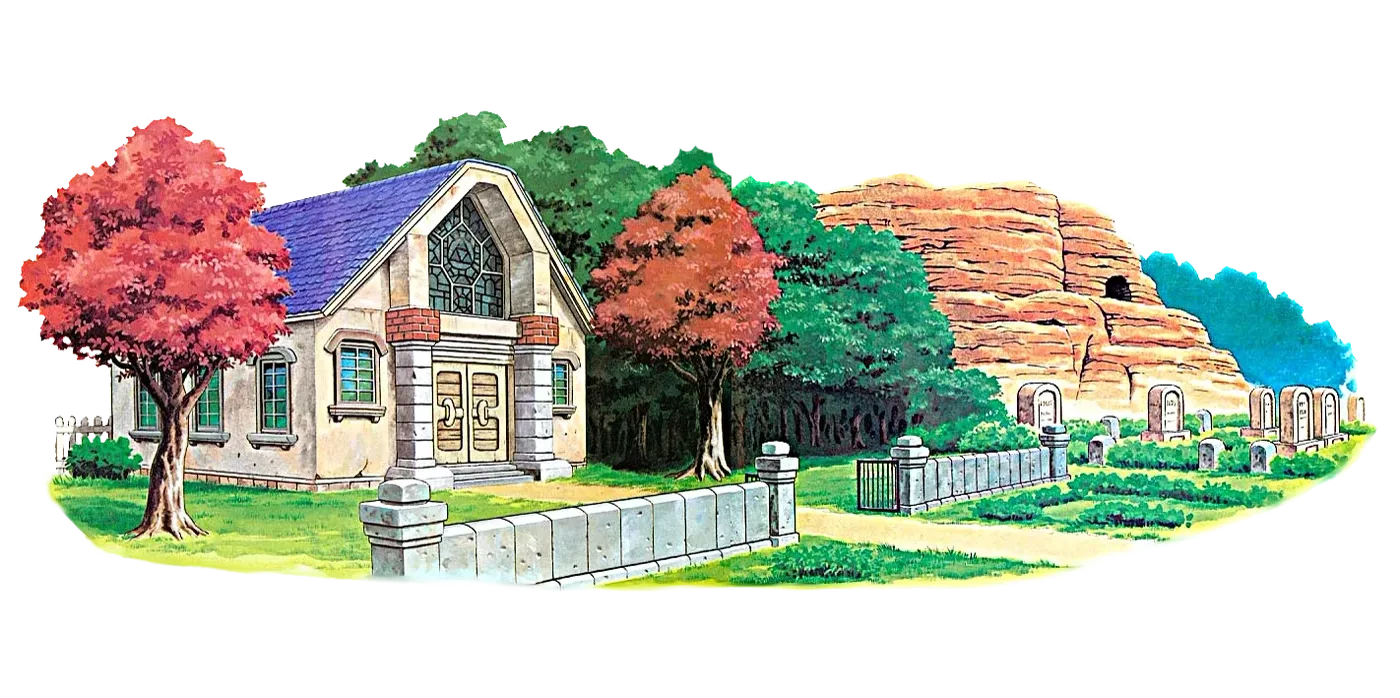
Do not walk past the Sanctuary Heart Container. There is a free full Heart Container here — the only one in the game that is not a boss drop or four Pieces of Heart — and it also fully restores your health. Take it before you leave.
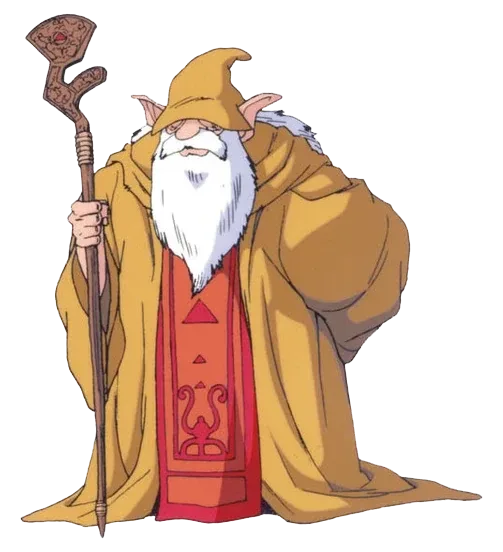
Sahasrahla lives in a hidden house in Kakariko Village, in the western half of the Light World. He is the elder who explains the Pendants of Virtue, and he is the reason the map opens up: after your first dungeon he marks the other two dungeon locations for you.
Combat is simpler and meaner than it looks
ALttP combat is three inputs deep and every one of them matters.
- Sword swing. Tap the attack button. Directional, short range, no cooldown.
- Spin Attack. Hold the attack button until Link glows, then release. It hits in a full circle and does roughly double a normal swing. This is your answer to being surrounded, and it becomes mandatory against Ganon if you never upgrade your sword past the base Master Sword.
- Sword beam. At full health, your sword fires a projectile on every swing. Free ranged damage. It is also the single best reason to keep your hearts topped off — the moment you take one hit, you lose it.
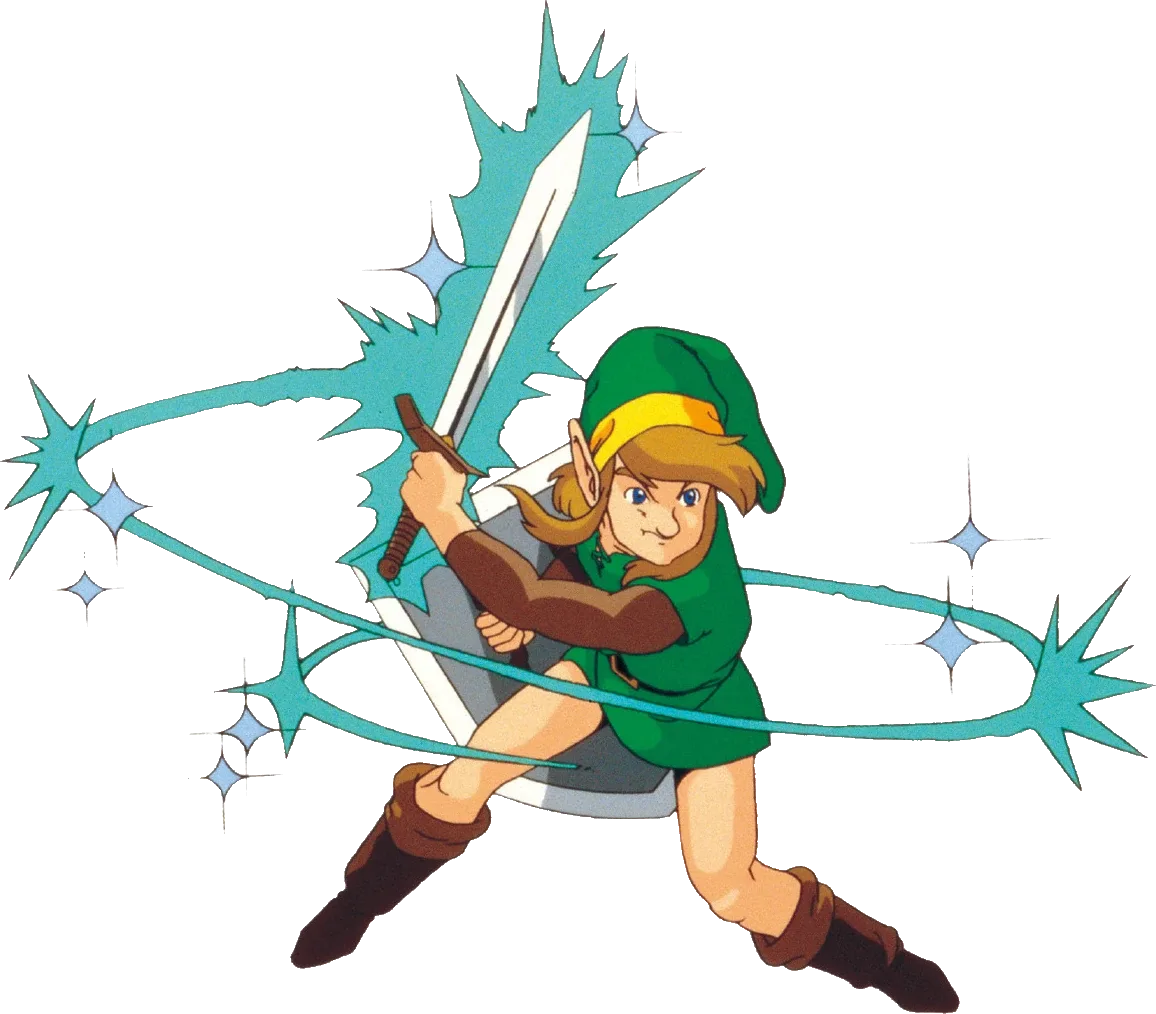
The shield auto-blocks anything you are facing that it is rated for. The starting Fighter Shield stops arrows, spears, and thrown rocks and basically nothing else. It can also be eaten by Like Likes and stolen by Pikits, which is a real and annoying failure state — if that happens, shops in the Dark World sell replacements.
Two habits to build immediately:
- Face the projectile. Standing still and facing an archer is a valid defense in this game.
- Cut every bush and lift every rock. Hearts, rupees, and bombs come out of scenery. It is the entire economy of the early game.
The three Pendants and the Master Sword
You cannot beat Agahnim with the Fighter Sword. The priest tells you this, and the game means it. You need the Master Sword, and to pull it you need all three Pendants of Virtue, each from one Light World dungeon.
The order is fixed by item gating:
- Eastern Palace — the eastern canyon. Main item is the Bow; you need it to kill the red Eyegores blocking the way to the boss. The boss is six Armos Knights, and beating them gives the Pendant of Courage. Afterward Sahasrahla hands you the Pegasus Boots and marks the other two dungeons on your map.
- Desert Palace — southwest, in the Desert of Mystery. You need the Book of Mudora to read the tablet at the entrance and open it. The Book is in the library south of Kakariko, and you get it by dashing into the bookcase with the Pegasus Boots. Main item is the Power Glove, which lets you lift light rocks. The boss is three Lanmolas and it drops the Pendant of Power.
- Tower of Hera — the summit of Death Mountain. You need the Power Glove to climb, and — this is the part that stops people — you need the Magic Mirror. Getting to the tower requires a brief trip into the Dark World and mirroring back to land on the other side of Spectacle Rock. The Mirror comes from helping the Lost Old Man on Death Mountain reach his cabin. The boss is Moldorm, and it drops the Pendant of Wisdom.
The Moldorm fight is the first genuine skill check in the game. You fight on a small platform ringed by holes, you have to hit the tail, and if you fall you get dumped a floor down and have to restart the fight. Fight it patiently from the edges rather than chasing.
With three Pendants, go to the Lost Woods and pull the Master Sword from its pedestal. Then Zelda calls again, the Sanctuary gets raided, and the game routes you to Hyrule Castle Tower for Agahnim — who beats you regardless and throws you into the Dark World.
If you want the full dungeon-by-dungeon route from here, our A Link to the Past dungeon order guide covers all eleven in the order they actually play best.
The items that actually unlock the map
Most of your progress in ALttP is item-gated, not skill-gated. These are the ones that visibly change what you can reach:
- Lamp — sewer chest. Lights dark rooms and torches.
- Pegasus Boots — from Sahasrahla after Eastern Palace. Dash to break rock piles, cracked walls, and specific bookcases and graves. Also just makes travel bearable.
- Book of Mudora — library south of Kakariko. Reads Hylian tablets. Required for the Desert Palace entrance and for both the Ether and Bombos Medallions.
- Power Glove — Desert Palace. Lift light-colored rocks.
- Magic Mirror — from the Lost Old Man on Death Mountain. Warps you from the Dark World back to the Light World, and warps you to a dungeon entrance if used inside one. This is the most under-used item new players own.
- Zora Flippers — bought from King Zora at Zora Waterfall for 500 rupees. Deep water becomes traversable. Half the map opens.
- Magic Powder — trade the Magic Mushroom from the Lost Woods to Syrup at the Magic Shop, leave the screen, come back. Used to wake the Mad Batter.
Hearts, bottles, and not dying
You start with three hearts and cap at 20. That total comes from a fixed math: 3 to start, the free Sanctuary container, ten boss Heart Containers, and six more built from 24 Pieces of Heart — 18 in the Light World, 6 in the Dark World — at four pieces per container.
Boss Heart Containers in ALttP are mandatory, not optional. Every one of the ten dungeon bosses drops one, so your health curve is tied to progress whether you hunt pieces or not.
Bottles are the real survivability item. There are four in the game:
- Bought from the street merchant in Kakariko Village for 100 rupees.
- In a chest at the back of the Kakariko inn.
- From the man under the bridge near Lake Hylia.
- From a blue chest in the Dark World version of the Smithery, after you rescue the trapped Dwarven Swordsmith — take the chest to the Average Middle-Aged Man near the desert entrance and he opens it.
Fill them. A bottled fairy auto-revives you when you die, which turns a run-ending mistake into a minor one. You need the Bug-Catching Net to catch fairies and bees. You can also throw an empty bottle into the Mysterious Pond at the Waterfall of Wishing and answer the Great Fairy honestly for a free Green Potion.
Rupees are a real resource early on
This is a Zelda where money matters for a while. The Zora Flippers alone are 500 rupees, and the Dark World Red Shield is another 500. Your wallet caps at 999.
Three reliable sources: cut grass and lift rocks constantly, dash into trees with the Pegasus Boots, and dig up the ground with the Shovel after you trade for it. The chest minigames are a coin flip and generally not worth it unless you are already rich.
What happens when the Dark World opens
After Agahnim throws you into the Dark World, one thing controls everything: the Moon Pearl, found in the Tower of Hera. Without it, entering the Dark World turns Link into a pink rabbit — no sword, no items, nothing. With it, you keep your normal form.
The Dark World is a warped one-to-one mirror of Hyrule. Terrain that is a lake in one world is solid ground in the other, and the Magic Mirror is how you exploit that: walk somewhere in the Dark World you could not reach in the Light World, mirror back, and you arrive somewhere otherwise blocked. That single trick is behind a large chunk of the game secrets and Piece of Heart locations.
Seven Dark World dungeons hold the seven Maidens in crystals. Free all seven and the barrier on Ganon Tower drops.
Five mistakes almost every new player makes
- Skipping the Sanctuary Heart Container. It is free and it is right there.
- Not buying the Zora Flippers early. People wander the map for an hour blocked by knee-deep water. Save the 500 rupees and go see King Zora.
- Ignoring the Magic Mirror inside dungeons. Using it in a dungeon warps you to the entrance. It is a free escape from a bad situation with a full inventory.
- Never charging the Spin Attack. New players tap-attack everything. The Spin Attack solves rooms.
- Fighting Moldorm aggressively. Chase the tail across the platform and you will fall. Work the edges and be boring.
If you want the full upgrade ladder — sword tiers, mail, shields, half magic — read our A Link to the Past items and upgrades guide next, or browse the rest of our A Link to the Past coverage hub.
Quick Action Checklist
- Grab the Lamp in the sewer and the free Heart Container at the Sanctuary before doing anything else.
- Find Sahasrahla in Kakariko Village, then clear Eastern Palace for the Bow and the Pegasus Boots.
- Dash into the library bookcase with the Boots for the Book of Mudora, then open Desert Palace.
- Help the Lost Old Man on Death Mountain for the Magic Mirror before attempting the Tower of Hera.
- Take the Moon Pearl from the Tower of Hera. Do not enter the Dark World without it.
- Save 500 rupees for the Zora Flippers. Buy them the moment you can.
- Collect all four bottles and keep at least one fairy stored at all times.
- Charge the Spin Attack in crowded rooms and keep your health full for free sword beams.
- Use the Magic Mirror inside dungeons as a panic-exit and outside as a world-to-world shortcut.
Frequently Asked Questions
What order should I do the first three dungeons in A Link to the Past?
How do I get the Master Sword?
Why did I turn into a rabbit in the Dark World?
How many hearts can you get in A Link to the Past?
How long does A Link to the Past take to beat?
Keep Reading
Related Guides

A Link to the Past Crystal Switches: One Byte, Whole Dungeon
A Link to the Past does not track its orange and blue Switch Fence panels room by room. One RAM byte, shared by the entire dungeon, decides whether every crystal switch and every panel in it is up or down — including the ones in rooms you have not opened yet. Here is the exact byte, what it will and will not respond to, and why it resets the second you walk back through the door.
A Link to the Past Movement Speed: When Dashing Is Slower
A Link to the Past does not simulate movement. It looks it up. One byte picks your speed, the byte divided by sixteen is your pixels per frame, and every surface and every held item swaps the byte for a worse one. Here is the table, and the arithmetic that says the Pegasus Shoes are a loss under four and a half tiles.
A Link to the Past Light World Guide: The Half of Hyrule Everyone Underrates
Everyone remembers the Dark World. But the Light World is where the Flute fast-travel lives, where half your bottles and upgrades hide, and where a whole quest turns Kakariko into a warp hub most players never bother to unlock. Here is the map you thought you already knew.

A Link to the Past Dark World Guide: Crystals, Mirror Tricks, and the Stuff Nobody Tells You
Agahnim drops you on top of a golden pyramid with no map, no explanation, and seven crystals to find. Here is how the Dark World is actually laid out, what gates what, and which detours are worth taking before Ganon Tower.
A Link to the Past I-Frames: 58 Frames After a Hit
One byte at $031F runs the mercy window. It gets loaded with 58 after an enemy touches you, and while it is counting down, contact damage, projectile trails, electric shocks, your own bombs and the spike tiles all skip their damage check. Here is what that buys you, and where it quietly runs out.
A Link to the Past Death Guide: Every Respawn Point
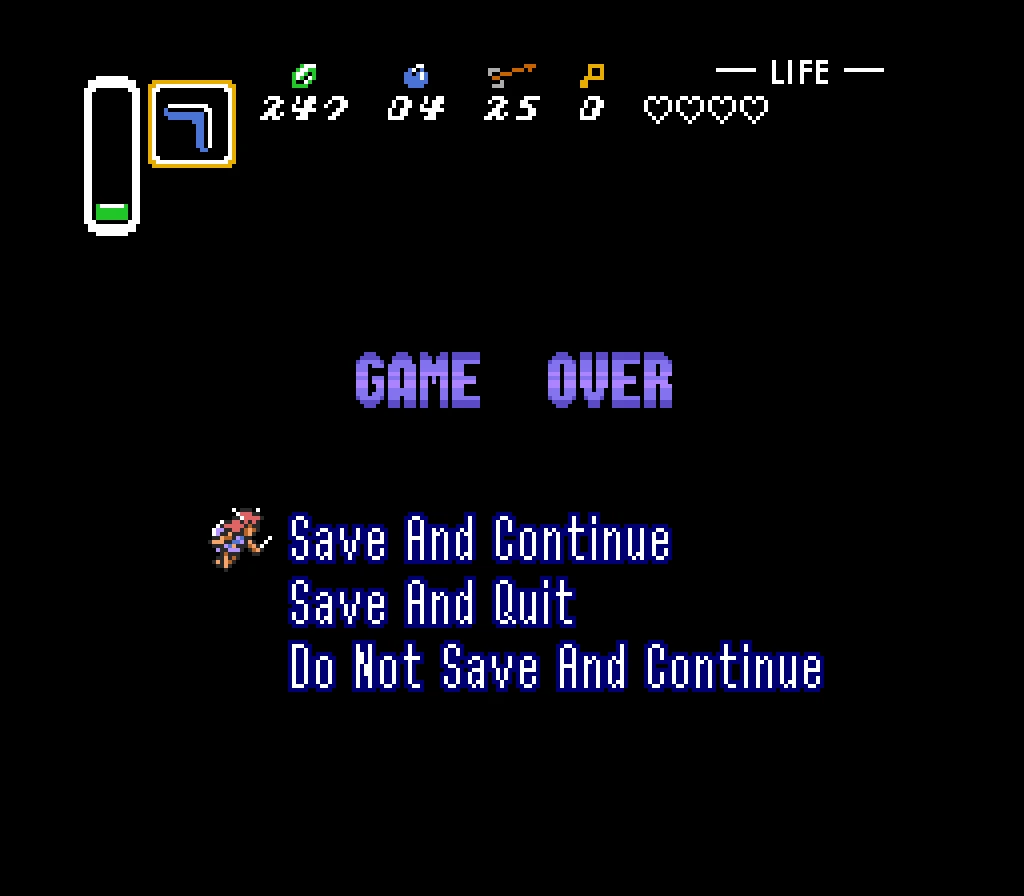
A Game Over in A Link to the Past does not cost you a rupee, a bomb, an arrow or a small key. It costs you position, four escort quests, and a number the credits will read back to you at the end. Here is the whole death routine, read off the code that runs it.