A Link to the Past Crystal Switches: One Byte, Whole Dungeon
A Link to the Past does not track its orange and blue Switch Fence panels room by room. One RAM byte, shared by the entire dungeon, decides whether every crystal switch and every panel in it is up or down — including the ones in rooms you have not opened yet. Here is the exact byte, what it will and will not respond to, and why it resets the second you walk back through the door.

Walk into a room in A Link to the Past you have never opened, and sometimes the orange panels are already down and the blue ones are already up. You did not do that in this room. You did it four rooms ago, at a switch that looks nothing like this one and has no wire, no line of sight, and no obvious connection to it at all.
That is not a bug and it is not your memory playing tricks. It is how the mechanic is built. One byte runs every switch and every panel in the dungeon, and the game is not being clever about hiding that — it is just never asked to be more precise than that.
One byte runs every Switch Fence in the dungeon
The object itself has two names. Zelda Wiki catalogues it series-wide as the Shock Switch, with Crystal Switch as the name used in A Link to the Past specifically. The blocks it moves go by their own name too, the one used across ALttP strategy content: Switch Fences — Zelda Wiki's own term for the object is Elevator Block.
Here is what ties every one of them together, in every room of a dungeon, at once. The zelda3 decompilation names the flag plainly: $7EC172, declared orange_blue_barrier_state and documented in the disassembly's own RAM notes as "Orange/blue barrier state." The switch sprite's own code reads that byte to pick its palette, LDA \$7EC172 : AND.b #\$01, and on a hit flips it with a single instruction, EOR.b #\$01 : STA \$7EC172 — an exclusive-or against 1, which is just a bit flip: on becomes off, off becomes on, every time.
That is the entire state of every crystal switch and every Switch Fence in the current dungeon: one bit, in one RAM address, read by every instance of the sprite. There is no per-room copy and no per-switch copy. When you hit one, you are not telling that switch to change — you are flipping a flag the whole dungeon shares.
The panels honor it just as bluntly. Every time a room loads, Dungeon_LoadAttributeTable checks that same byte and, if it is set, calls Dungeon_FlipCrystalPegAttribute, which walks the room's entire collision table and toggles every tile carrying the Switch Fence attribute. That call does not care whether you personally hit a switch in this specific room. It cares what the shared byte currently says, full stop. Walk into any room with Switch Fence panels and they will already match whatever you last left the byte set to — even if this is the first time you have ever set foot in that room.
What flips it, and what does not
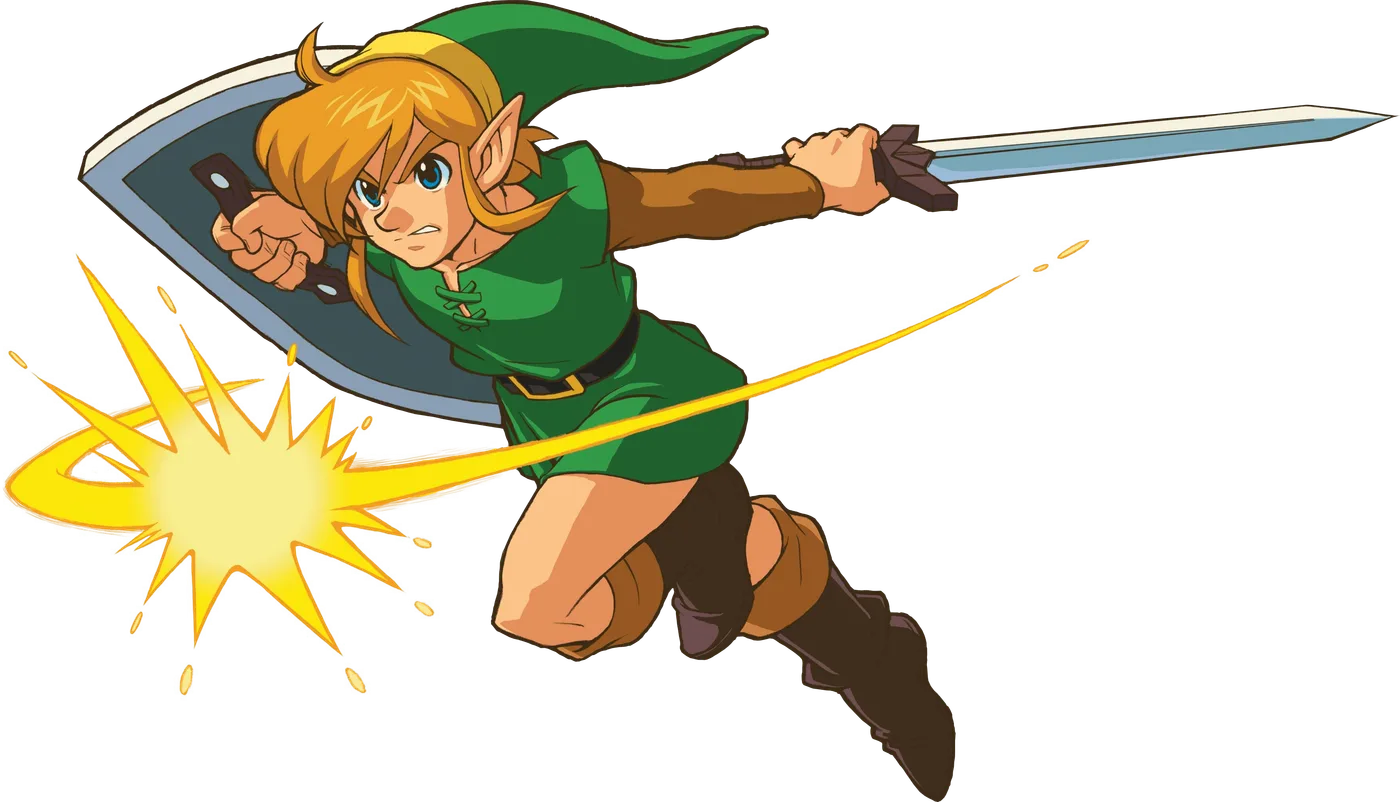
Getting the flip to register takes a real swing, not contact with the object.
| Contact | What actually happens |
|---|---|
| A completed sword swing connects | Registers as a hit and schedules the flip |
| The sword held out (a poke) | Turned away before the hit test even runs |
| Walking or dashing into the switch | Treated as a solid obstacle — Link is repelled, nothing flips |
| A second swing while a flip is already pending | Ignored until the pending flip finishes |
The poke exclusion is deliberate and it is named in the disassembly's own label. The switch's per-frame update reads $3C — the same counter the game uses everywhere else to track how many frames you have been holding the sword button on this swing — and if that counter is anywhere past 8, the routine branches straight to a label the disassembler called .ignore_player_poke_attack and returns without ever testing for a hit. The hitbox test it would otherwise run, Player_SetupActionHitBox, is annotated in the same disassembly as being specifically for "the pokey player hit box with the swordy" — it is the sword's hitbox, keyed off that same frame counter, and $3C only sits in that 1-to-8 window during an actual completed swing. Hold the blade out instead of swinging it, and the counter climbs past 8 into the range the game uses to start charging a spin attack — which is exactly the state the switch's own gate exists to reject.
Walking or dashing straight into the switch does something else entirely, and it is worth knowing so you do not mistake it for a broken interaction. That contact runs through Sprite_CheckDamageToPlayer_same_layer, not the hit-detection branch, and it calls Sprite_RepelDashAttackLong — the switch just bounces you off it, like a wall. No damage, no flip, nothing to fix. If you want the panels to move, you have to actually hit it.
One byte is also why the same rule about full-health sword beams tracks the crystal switch's rule about pokes so closely — both gate on that same $3C swing counter, just in different routines for different purposes. The damage guide covers what a beam is worth once it fires; this is the counter that decides whether either one fires at all.
The flip runs on a delay, not on contact
A connecting swing does not flip the byte on the spot. It schedules a countdown at a separate per-sprite timer, $0EA0, and the switch decrements that timer every frame until it lands on exactly $0B — 11 — at which point it finally runs the EOR #\$01 that actually changes the shared byte, and plays the switch's sound effect. Until that countdown lands, hitting the same switch again does nothing at all: the routine's very first check on the frame is LDA \$0EA0, X : BNE .switching_already_scheduled, which skips straight past the hit test while a flip is already in flight.
The switch is not idle while you wait on it, either. Whenever its sparkle timer ($0DF0) reaches zero, it spawns a particle and resets that timer to $1F — 31 frames — so the object visibly sparkles on a fixed cycle the whole time it sits there, pending flip or not. If you swing and nothing seems to happen immediately, that is normal. The game is running the countdown out before it commits.
The state is never saved
$7EC172 lives in WRAM, not SRAM, and nothing in the switch's own code ever writes it to your save file. The only place it gets forced back to a known value is Dungeon_LoadEntrance — the routine that runs when you walk into a dungeon through its own door — which zeroes it out along with the room's torch and pot-reveal state on the way in. Leave through that same entrance and come back, and every Switch Fence panel in the dungeon is back to its default position, regardless of what you flipped on your last trip through.
That single reset point is also why the "already flipped" moment described at the top of this guide only ever happens mid-visit. Within one continuous run through a dungeon, the byte only moves when you hit a switch. Between visits, it is wiped clean at the door.
Do not confuse it with a Cane of Somaria block
A Link to the Past has a second thing people call "the orange and blue blocks," and it runs on completely different code. The Cane of Somaria conjures a single temporary block wherever you are standing, and its existence is tracked by its own flag, dung_flag_somaria_block_switch, entirely separate from the Switch Fence byte covered above. A Somaria block is yours to place, one at a time, and it disappears on its own or when you summon another. A Switch Fence panel is fixed dungeon furniture that was there before you walked in, and the only thing that moves it is the shared crystal-switch byte. If a guide tells you to "stand on the block" for a puzzle, check which one it means — the two systems share a color scheme and nothing else. The magic guide has what casting Somaria actually costs; it is not on this page because it is not the same mechanic.
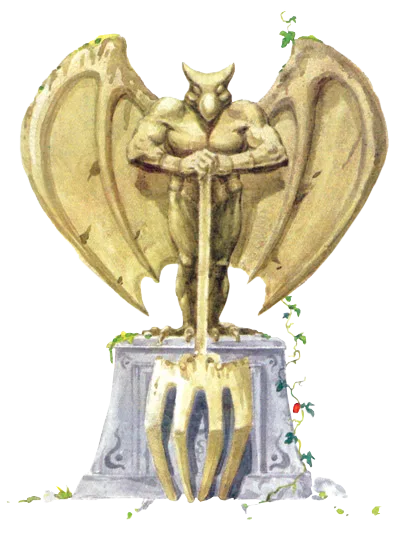
Pushable statues are a third, equally unrelated system, worth naming for the same reason as the Somaria block: it is easy to see a stone object in a dungeon and assume it answers to the crystal-switch byte when it does not. Statues answer to push and pull speeds instead, which the movement speed guide already covers in full — that same guide is also where the throwaway line about "touching a crystal switch restores your walking speed while carrying an object" comes from, which is a real side effect of the byte covered here, just not one this guide is centered on.
Where you will actually meet it
Zelda Wiki's own catalogue of the object is blunt about how often this comes up: in A Link to the Past, Shock Switches are used, in the wiki's words, "mainly for Elevator Block puzzles throughout Dungeons" — not one signature room you can point to and be done, but a mechanic the game leans on repeatedly across its dungeon list. Read this guide as the rule for whichever room you are standing in, not as a locator for one specific puzzle.
The practical upshot in any dungeon that leans on this: track the color, not the room. If you last hit a switch and left it orange, every panel you meet from here until you leave through the entrance will be orange too, on the first frame you see it. That is not the game tracking your progress through the dungeon. It is the game tracking one bit.
Frequently Asked Questions
Does hitting one crystal switch in A Link to the Past affect the whole dungeon?
Why are the Switch Fence panels already flipped when I walk into a new room in A Link to the Past?
Does poking with the sword activate a crystal switch in A Link to the Past?
Do A Link to the Past crystal switches reset?
What is the difference between a crystal switch and a Cane of Somaria block in A Link to the Past?
Keep Reading
- ALttP disassembly — Sprite_CrystalSwitch: reading and EOR-flipping $7EC172, the poke-rejecting check on $3C, the $0EA0 pending-flip countdown landing on $0B, and the sparkle timer at $0DF0
- ALttP disassembly — Player_SetupActionHitBox (the sword hitbox indexed by $3C, annotated "for the pokey player hit box with the swordy") and Sprite_CheckDamageFromPlayer
- ALttP disassembly RAM map — $7EC172 documented as "Orange/blue barrier state" and $0EA0 as the sprite damage/state countdown
- zelda3 decompilation — Dungeon_LoadAttributeTable checking orange_blue_barrier_state on every room load, Dungeon_FlipCrystalPegAttribute toggling the room-wide collision table, and Dungeon_LoadEntrance zeroing the byte on entry
- zelda3 decompilation — orange_blue_barrier_state mapped to WRAM address $7EC172
- zelda3 decompilation — Link_CheckForSwordSwing incrementing button_b_frames ($3C) and HandleSwordSfxAndBeam, the same counter that also gates the full-health sword beam
- Zelda Wiki — Shock Switch: the series-wide term, the A Link to the Past-era Crystal Switch name (Nintendo Player's Guide citation), and the note that ALttP uses Shock Switches mainly for Elevator Block puzzles throughout its dungeons
- Zelda Wiki — Elevator Block: the A Link to the Past-specific note that a lowered block does not carry Link up with it when the switch is toggled while he is standing on it
Related Guides
A Link to the Past I-Frames: 58 Frames After a Hit
One byte at $031F runs the mercy window. It gets loaded with 58 after an enemy touches you, and while it is counting down, contact damage, projectile trails, electric shocks, your own bombs and the spike tiles all skip their damage check. Here is what that buys you, and where it quietly runs out.
A Link to the Past Movement Speed: When Dashing Is Slower
A Link to the Past does not simulate movement. It looks it up. One byte picks your speed, the byte divided by sixteen is your pixels per frame, and every surface and every held item swaps the byte for a worse one. Here is the table, and the arithmetic that says the Pegasus Shoes are a loss under four and a half tiles.
A Link to the Past Death Guide: Every Respawn Point
A Game Over in A Link to the Past does not cost you a rupee, a bomb, an arrow or a small key. It costs you position, four escort quests, and a number the credits will read back to you at the end. Here is the whole death routine, read off the code that runs it.
A Link to the Past Enemy Drops: All 7 Prize Packs Explained
Zoras pay out bombs on every single kill. Wizzrobes drop hearts. A Keese drops nothing in the Light World and pulls the best table in the game in the Dark World. Here is the entire drop system, out of the ROM.
A Link to the Past Beginner Guide: Your First Ten Hours
A Link to the Past hands you a sword and a rainstorm and then says almost nothing else. Here is the route, the combat, and the item order that turn a confusing first hour into a game you can actually finish.
A Link to the Past Damage Guide: Every Weapon Number and What Your Mail Really Does
The Golden Sword spin attack deals exactly what a Golden Sword swing deals. The Magic Hammer hits as hard as a Tempered Sword. And the Blue Mail does nothing whatsoever about a Beamos. Here are the real numbers, out of the ROM.