A Link to the Past Dark World Guide: Crystals, Mirror Tricks, and the Stuff Nobody Tells You
Agahnim drops you on top of a golden pyramid with no map, no explanation, and seven crystals to find. Here is how the Dark World is actually laid out, what gates what, and which detours are worth taking before Ganon Tower.
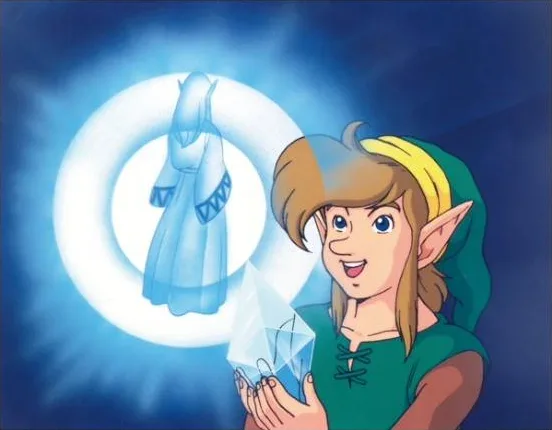
Agahnim beats you. That is the script. He throws you onto the roof of a golden pyramid in a world that looks like Hyrule with the lights off, and the game's total onboarding for the second half is a telepathic message telling you there are seven Maidens somewhere out there.
That's the moment most first playthroughs stall. Not because the Dark World is unfair, but because it stops being a linear route and becomes a lock-and-key puzzle spread across two overlapping maps. Once you understand how those two maps talk to each other, the back half of A Link to the Past is the best-designed stretch of 16-bit adventure gaming there is.
What the Dark World actually is
The Dark World is the corrupted Sacred Realm — the old Golden Land, warped by Ganon's wish on the Triforce. Everyone who wandered in got reshaped into a physical version of their personality, which is why the place is full of talking monsters who complain about their situation instead of attacking you.
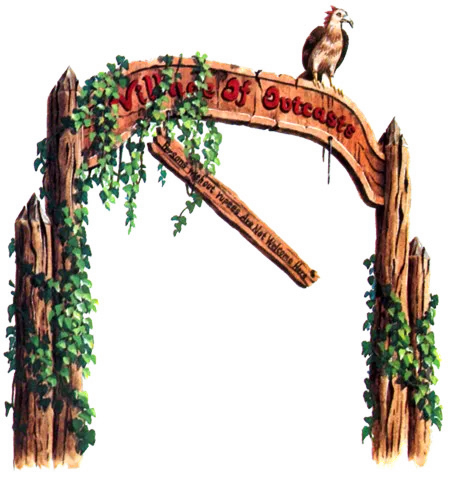
Geographically it is a one-to-one mirror of Hyrule with the terrain scrambled. Same coordinates, different surface. Hyrule Castle becomes the Pyramid of Power. Kakariko Village becomes the Village of Outcasts. Lake Hylia becomes Ice Lake. The Lost Woods becomes the Skeleton Forest. That one-to-one relationship is not flavor — it is the core traversal mechanic, and the entire second half of the game is built on abusing it.
One practical note up front: the flute's warp birds only operate in the Light World. Every fast-travel plan in the Dark World is really a Light World flute hop followed by a portal.
The Moon Pearl is not optional
The Moon Pearl lives in the Tower of Hera, the third Light World dungeon. It protects you from Ganon's magic and lets you keep your own shape in the Dark World.
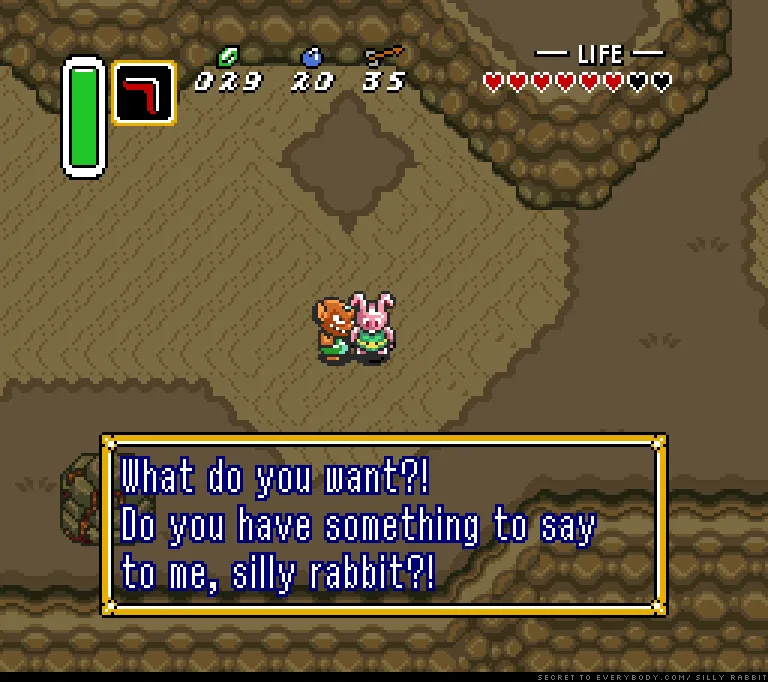
Without it, the Dark World turns you into a pink rabbit — no sword, no items, no fighting, just hopping. The game is being cute about it: everyone transforms into their "true nature," and Link's is a rabbit. The Bully on Death Mountain becomes a little demon. His indecisive friend becomes a ball. It is a genuinely funny bit of characterization that also happens to be a hard progression wall.
If you skipped the Tower of Hera chest, go back for it before you do anything else. Our A Link to the Past dungeon order guide walks the Light World route that hands it to you.
The Magic Mirror is the real traversal item
The Magic Mirror comes from escorting the Lost Old Man to his cabin on Death Mountain, and it only travels one direction: Dark World back to Light World.
That sounds limiting until you realize what it enables. Walk to a spot in the Dark World that is solid ground, mirror out, and you land at the exact same coordinates in Hyrule — including places surrounded by cliffs, water, or fences you could never walk to. When you mirror back, a sparkling spot appears where you landed; step on it to return to the Dark World. It shows on your map, so you can leave and come back.
The game protects you from yourself here. If mirroring out would drop you somewhere you physically cannot stand — inside a wall, for instance — it sends you straight back to the Dark World instead of soft-locking you.
Two habits worth building:
- Mirror inside dungeons. Using the Mirror in a dungeon warps you to that dungeon's entrance with your inventory intact. It is a free bail-out from a room that is going badly.
- Mirror as a shortcut, not a last resort. A huge share of the game's Pieces of Heart and secret caves are reachable only by walking to them in one world and mirroring into the other.
Dark World regions and their Light World twins
Learning the pairs is what turns the Dark World from confusing into navigable:
| Light World | Dark World |
|---|---|
| Hyrule Castle | Pyramid of Power |
| Kakariko Village | Village of Outcasts |
| Eastern canyon (Eastern Palace) | Palace of Darkness |
| Great Swamp / Swamp Ruins | Plains of Ruin / Swamp Palace |
| Lost Woods | Skeleton Forest / Skull Woods |
| Lake Hylia | Ice Lake |
| Desert of Mystery | Swamp of Evil / Misery Mire |
| Tower of Hera | Ganon's Tower |
The two that trip people up most: the desert becomes a swamp, and the lake becomes an ice field. If you are hunting a dungeon and the terrain looks wrong, you are probably in the right place.
The seven crystal dungeons, in the order they open
Each dungeon holds a Maiden sealed in a crystal, plus a Heart Container. Nothing here is optional — you need all seven crystals to break the barrier on Ganon's Tower. The numbering is the game's own, and it is loosely a difficulty curve rather than a strict order, because several of these can legally be cleared out of sequence.
- Palace of Darkness (Level 1) — sits where the Eastern Palace is. Work through the eastern maze and a monkey named Kiki attaches himself to you for ten rupees, then demands a hundred more to open the door. Pay him; there is no other way in. Main item is the Magic Hammer, which you need for Terrorpins and mole enemies inside. Boss is the Helmasaur King.
- Swamp Palace (Level 2) — in the Plains of Ruin, south of the Bomb Shop. You can walk in the front door and go absolutely nowhere until you go back to the Light World's Swamp Ruins and pull the water switch there, which floods the palace's first room. You need the Zora's Flippers to swim on from there. Main item is the Hookshot, in its first appearance in the series. Boss is Arrghus.
- Skull Woods (Level 3) — in the Skeleton Forest. Structurally unique: eight separate entrances hidden in giant skulls, plus pits in the forest floor you can drop through, and Star Tiles that rearrange which pits are open. The boss section is walled off from the rest, and you reach it by entering the big insect-shaped skull near where the Master Sword sits in the Light World. Main item is the Fire Rod. Boss is Mothula, in a room where the moving floor and spike traps are the real threat.
- Thieves' Town (Level 4) — under the gargoyle statue in the middle of the Village of Outcasts, exactly where Kakariko's weathercock stands. Pull the trident prongs to open it. Main item is the Titan's Mitt, and this is the one dungeon whose boss fight is a puzzle: the girl in the basement cells is Blind the Thief in disguise. Escort her up, bomb the cracked floor above the empty boss room to let sunlight through, and she reveals herself.
- Ice Palace (Level 5) — in the middle of Ice Lake. Getting there is the trick: swim in the Light World to the largest island in Lake Hylia, lift the black rock with the Titan's Mitt, and step on the portal underneath. Bring the Fire Rod or the Bombos Medallion — some enemies here die to nothing else. Icy floors ruin your traction all the way down. Boss is Kholdstare.
- Misery Mire (Level 6) — in the Swamp of Evil, the Dark World counterpart of the desert. Stand at the entrance and use the Ether Medallion to clear the storm, or the door will not open. Ether comes from the tablet across the bridge west of the Tower of Hera and needs the Book of Mudora plus the Master Sword to read. Main item is the Cane of Somaria. Boss is Vitreous.
- Turtle Rock (Level 7) — reachable only by the warp point on the eastern peak of Death Mountain, which drops you on the dungeon's roof. Use the Quake Medallion to open it; you get Quake by throwing a skull into the ring of stones at the Lake of Ill Omen and waking the Catfish. Inside, the Cane of Somaria makes rail-riding platforms, so bring magic. Main item is the Mirror Shield. Boss is Trinexx, and the crystal it guards contains Zelda herself.
For the fight-by-fight patterns on all of these, our A Link to the Past boss guide covers openings, weaknesses, and the ones that punish greed.
Dark World side quests worth the detour
These are the ones that actually change your numbers, not just your collection percentage:
- The frog and the Tempered Sword. South of the Village of Outcasts is a frog you can lift with the Titan's Mitt. Carry him to the Light World with the Mirror and he turns out to be the Dwarven Swordsmith's missing partner. Walk him to the smithy east of Kakariko and the two of them will temper your Master Sword for ten rupees. It is the single biggest damage jump available in the Dark World.
- The purple chest. Where the swordsmith's house stands in the Light World, the Dark World has a locked chest. Pick it up, mirror out, and haul it to the Average Middle-Aged Man near the desert entrance. He opens it and keeps a bottle's worth of gratitude — you get the bottle.
- The Red Shield. The Dark World shield shop sells it for 500 rupees, and it blocks fireballs the Fighter Shield does not. Worth it before Turtle Rock if you have not upgraded.
- Six Pieces of Heart are hidden in the Dark World versus eighteen in the Light World, and a chunk of them are mirror-tricks rather than puzzles.
If you want the whole ladder — sword tiers, mail upgrades, half magic — the A Link to the Past items and upgrades guide lays out what to chase and in what order.
The Super Bomb and the Silver Arrows
This is the sequence that new players miss, and missing it means walking into Ganon unable to hurt him.
The Bomb Shop in the Dark World starts selling a Super Bomb for 100 rupees once you have rescued the Dwarven Swordsmith and cleared both the Ice Palace and Misery Mire. You can only carry one at a time, it detonates about three seconds after you set it down, and you cannot dash with it or take it over a cliff edge — so the walk matters.
Walk it to the second level of the Pyramid of Power and blow open the cracked wall there. Inside is the cursed fairy, and she hands over the Golden Sword and the Silver Arrows. The Silver Arrows are not a nice-to-have: they are the only thing that finishes Ganon.
Do this before you commit to Ganon's Tower. Backtracking out of the endgame to buy a bomb is a bad hour.
Ganon's Tower and the barrier
Free all seven Maidens and the barrier around Ganon's Tower drops, revealing the stairs. The tower sits west of Turtle Rock across a bridge patrolled by Lynels, on the spot where the Tower of Hera stands in Hyrule.
Inside is a greatest-hits gauntlet. The basement holds the Red Mail, the map, and the compass — optional, but the Red Mail is permanent damage reduction and you are already down there for the Big Key that the Armos Knights guard. Above the ground floor, four ascending floors force rematches with the other two Light World bosses, in rooms given spikes and conveyor belts as a housewarming gift.
At the top, Agahnim again. Beat him and Ganon abandons the body and flees into the Pyramid of Power for the real final fight.
Dark World mistakes that cost you hours
- Entering without the Moon Pearl. Rabbit Link cannot do anything. Grab it in the Tower of Hera first.
- Trying to brute-force the Swamp Palace. The water switch is in the Light World. No amount of exploring the palace fixes it.
- Forgetting the Mirror is a dungeon escape. People die to full rooms with an exit item sitting in their inventory.
- Skipping the frog. The Tempered Sword is a free, permanent damage upgrade for ten rupees, and it makes the back half of the Dark World noticeably shorter.
- Reaching Ganon without Silver Arrows. The most preventable dead end in the game.
- Hunting Misery Mire without Ether, or Turtle Rock without Quake. Both doors are medallion-locked and neither gives you a hint at the door.
New to the game entirely and reading ahead? Start with our A Link to the Past beginner guide, or browse the full A Link to the Past coverage hub.
Quick Action Checklist
- Take the Moon Pearl from the Tower of Hera before setting foot in the Dark World.
- Treat the Magic Mirror as a routing tool, not an escape hatch — walk somewhere in one world, mirror into the other.
- Pay Kiki 110 rupees total to open the Palace of Darkness.
- Drain the Light World Swamp Ruins before attempting the Swamp Palace, and bring the Flippers.
- Lift the black rock on Lake Hylia's biggest island with the Titan's Mitt to reach the Ice Palace portal.
- Read the Ether tablet west of the Tower of Hera and wake the Catfish at the Lake of Ill Omen for Quake before Misery Mire and Turtle Rock.
- Carry the frog to the Light World smithy for the Tempered Sword.
- Buy the Super Bomb and open the Pyramid crack for the Golden Sword and Silver Arrows before Ganon's Tower.
- Grab the Red Mail in Ganon's Tower basement while you are down there for the Big Key.
Frequently Asked Questions
Why am I a rabbit in the Dark World in A Link to the Past?
How many crystals are in the Dark World?
How does the Magic Mirror work?
How do I get into the Ice Palace?
Where do I get the Silver Arrows?
What order should I do the Dark World dungeons in?
How do I get the Tempered Sword?
Can I use the flute to warp around the Dark World?
Keep Reading
Related Guides

A Link to the Past Enemy Guide: Every Sword-Proof Monster and What Kills It
A Link to the Past spends the whole game upgrading your sword and then fills the Dark World with things the sword cannot touch. Here is every armored, reforming, and element-locked enemy in Hyrule, and the one item that actually finishes it.
A Link to the Past Light World Guide: The Half of Hyrule Everyone Underrates
Everyone remembers the Dark World. But the Light World is where the Flute fast-travel lives, where half your bottles and upgrades hide, and where a whole quest turns Kakariko into a warp hub most players never bother to unlock. Here is the map you thought you already knew.

A Link to the Past Crystal Switches: One Byte, Whole Dungeon
A Link to the Past does not track its orange and blue Switch Fence panels room by room. One RAM byte, shared by the entire dungeon, decides whether every crystal switch and every panel in it is up or down — including the ones in rooms you have not opened yet. Here is the exact byte, what it will and will not respond to, and why it resets the second you walk back through the door.
A Link to the Past Movement Speed: When Dashing Is Slower
A Link to the Past does not simulate movement. It looks it up. One byte picks your speed, the byte divided by sixteen is your pixels per frame, and every surface and every held item swaps the byte for a worse one. Here is the table, and the arithmetic that says the Pegasus Shoes are a loss under four and a half tiles.
A Link to the Past Beginner Guide: Your First Ten Hours
A Link to the Past hands you a sword and a rainstorm and then says almost nothing else. Here is the route, the combat, and the item order that turn a confusing first hour into a game you can actually finish.
A Link to the Past GBA Riddle Quest: All 10 Answers
Ten one-line clues, ten things to scoop up with the Bug-Catching Net, and a sword technique at the end of it. The Riddle Quest only exists on the Game Boy Advance cartridge, and it will not start until you have won ten Medals of Courage in Four Swords.