A Link to the Past Items and Upgrades: Every Tier Explained
The Golden Sword hits eight times as hard as the sword your uncle gives you, and half magic doubles every rod, cane, and cape in your inventory. A Link to the Past hides its best upgrades behind optional detours. Here is all of them.
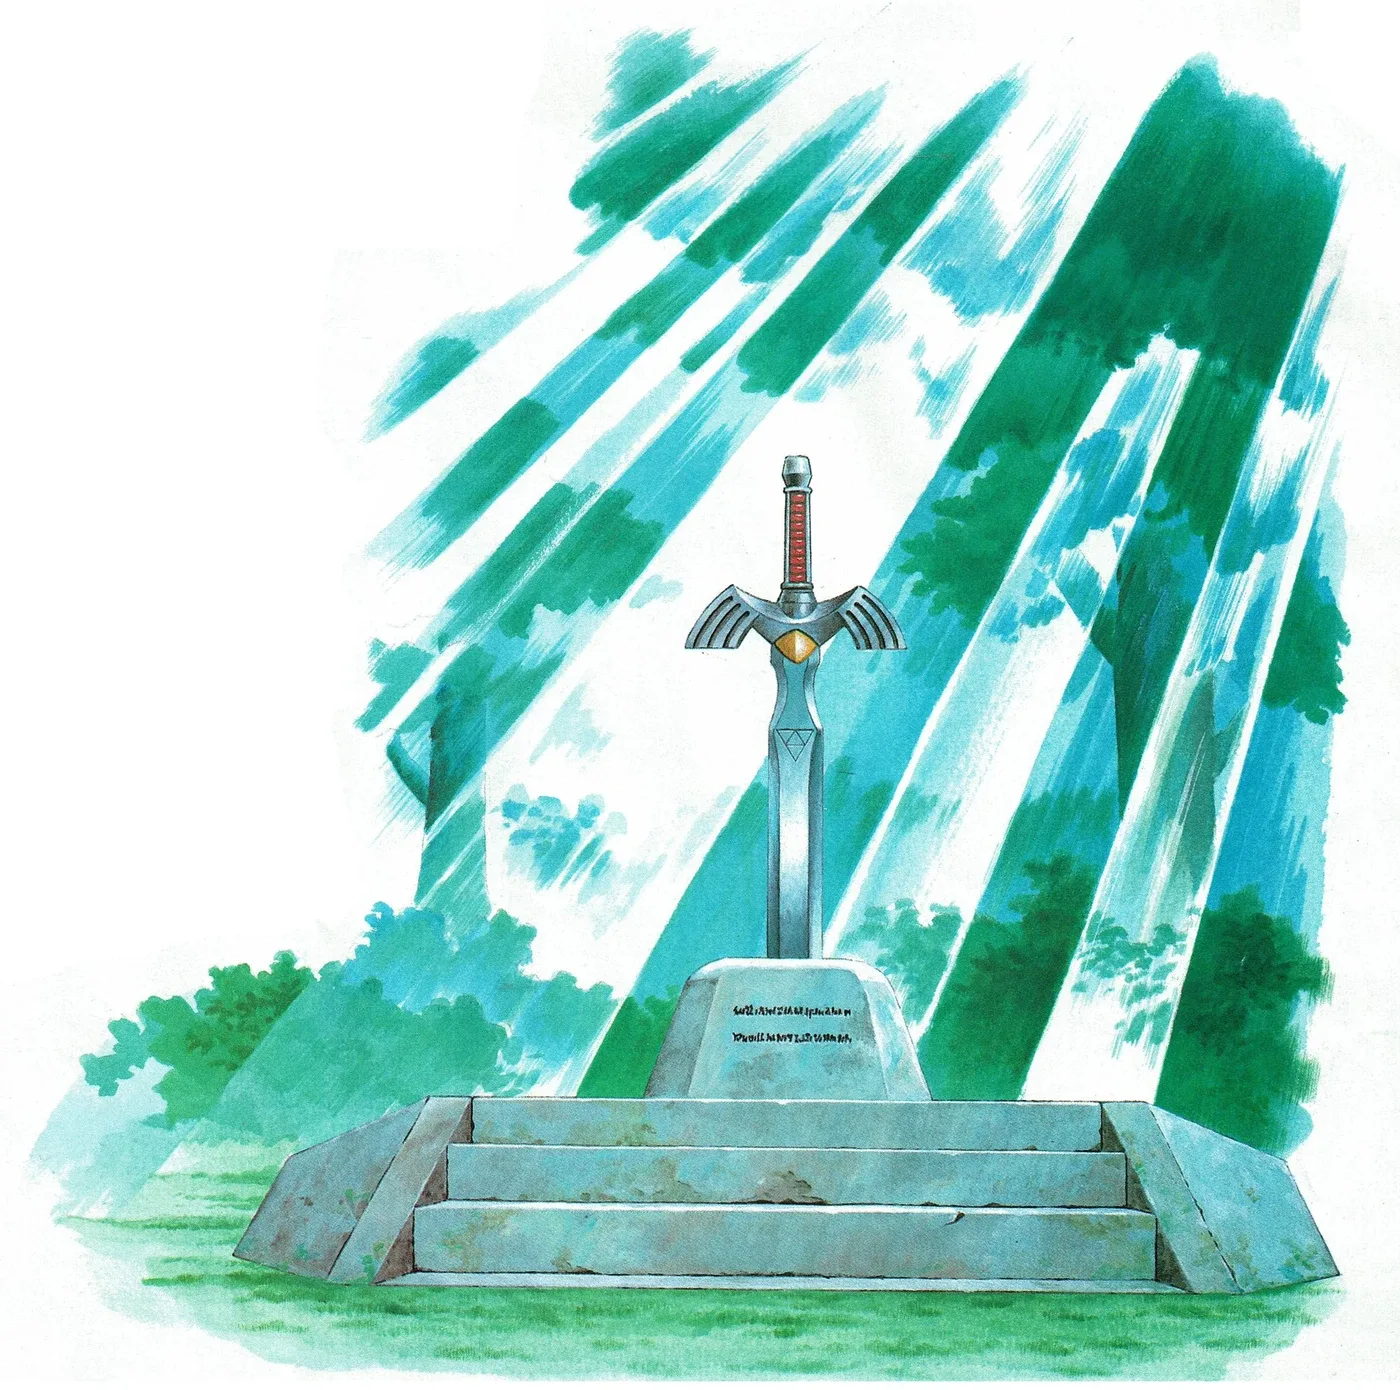
The Golden Sword deals eight times the damage of the Fighter Sword your uncle hands you in the sewer. Not eight percent more — eight times. And you can finish A Link to the Past without ever getting it, because almost every meaningful upgrade in this game is a side quest you have to go looking for.
That is the design tension worth understanding. The critical path gives you tools. The optional content gives you power. This is the full ladder: what each tier does, where it lives, and which detours are actually worth the rupees.
The sword ladder is four tiers deep
Four swords, and each step doubles your raw damage.
| Tier | Damage vs Fighter Sword | Where |
|---|---|---|
| Fighter Sword | 1x | From your uncle in the castle passage |
| Master Sword | 2x | Lost Woods pedestal, after all three Pendants |
| Tempered Sword | 4x | Dwarven Swordsmiths at the Smithery |
| Golden Sword | 8x | Fat Fairy in the Pyramid of Power |
Tempered Sword. You have to rescue the Dwarven Swordsmith stranded in the Dark World and bring him back to his brother at the Smithery east of Kakariko. That requires the Titan Mitt from Thieves Town. The brothers do the work for 10 rupees, but they keep your sword while they forge — leave the screen and come back and it is ready. While you are swordless you swing an empty fist that does nothing, so lean on items if you get jumped.
Golden Sword. Throw the Tempered Sword into the Mysterious Pond in the Pyramid of Power and the Fat Fairy upgrades it. Same pond that hands out the Silver Arrows.
One catch worth knowing: the sword beam you fire at full health does not scale. It keeps its original power at every tier. So the upgrades matter for melee, not for the free ranged plinking.
The other thing upgraded swords buy you is a much easier Ganon fight. With the plain Master Sword you can only hurt Ganon with charged Spin Attacks. Tempered and Golden both damage him with normal swings.
Mail: green, blue, red
Three tunics — and the rule of thumb that Blue halves damage and Red quarters it only holds for some enemies.
- Green Mail — your starting tunic. Baseline damage.
- Blue Mail — Big Chest in the Ice Palace. Turns your cap yellow.
- Red Mail — basement of Ganon Tower. Purple cap.
What the game actually does is a table lookup. Every sprite that can hurt you carries a damage class, and your hit is read out of a ten-row, three-column table — one column per tunic. Only three of those ten rows follow full, half, quarter. In hearts:
| Class | Green | Blue | Red | Who is in it |
|---|---|---|---|---|
| 1 | 0.5 | 0.5 | 0.5 | Octorok, Buzzblob, Rope, Leever, Popo, Stalfos, Zora, Blue Guard, Armos Knight |
| 3 | 1 | 0.5 | 0.25 | Raven, Vulture, Mini Moldorm, Mini Helmasaur, Deadrock, Geldman, Terrorpin, Red Javelin Guard |
| 4 | 1 | 1 | 1 | Anti-Fairy (Bubble), Beamos, Spark, Firebar, Big Spike, Spike Block, Eyegore, Kodongo, Lanmolas, Agahnim and his energy balls |
| 5 | 2 | 1 | 0.5 | Moblin, Poe, Gibdo, Pengator, Stalfos Knight, Pikit, Mothula, Arrghus, Helmasaur King, Blind |
| 6 | 4 | 2 | 1 | Sluggula, Wizzrobe, Freezor, Laser Eye, Lynel, Green Stalfos, Pokey |
| 7 | 4 | 3 | 2 | Kholdstare, Vitreous, Chain Chomp, Trinexx heads |
| 8 | 3 | 2 | 1 | Hinox, Snapdragon, the spike rollers |
| 9 | 8 | 6 | 3 | Ganon |
Two more classes exist and are not worth a row: one is chip damage, the other is zero.
Classes 1 and 4 are the ones to notice, because the mail does nothing in either. The half-heart contact enemies — Octoroks, Buzzblobs, Ropes, Leevers, Popos, Stalfos, Zoras — take exactly half a heart off you in all three tunics. So do the one-heart dungeon hazards: Anti-Fairies, Beamos, Sparks, Firebars, Big Spikes, Spike Blocks, Eyegores, Agahnim's energy balls. Red Mail buys you nothing against any of them.
Where it pays is the heavy hitters, and even there not always at the advertised rate. Class 7 goes 4 hearts to 3 to 2, class 8 goes 3 to 2 to 1, and Ganon's own contact damage goes 8 to 6 to 3 — not 8 to 4 to 2.
The Red Mail is technically optional — it sits in the same basement as the Map and Compass, none of which are required to finish the tower. Get it anyway. On the class-6 hitters it is the difference between four hearts a touch and one, and it takes five hearts off every bump from Ganon.
One quirk: once you have the Red Mail, the Blue Mail is gone from your inventory, and if you skipped Blue Mail entirely you will not wear it even if you go back for it later.
Shields, and the one that gets eaten
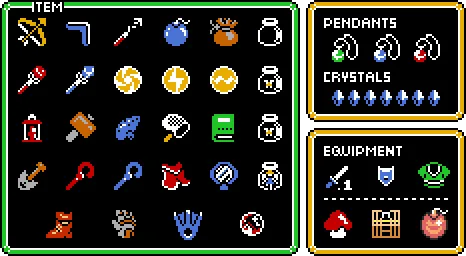
- Fighter Shield — from your uncle. Blocks arrows, spears, and thrown rocks. That is the whole list.
- Red Shield — additionally absorbs small fireballs. Buy it at the Dark World Shield Shop for 500 rupees, or get it free at the Waterfall of Wishing (below).
- Mirror Shield — Turtle Rock. Stops beams that nothing else stops, including Laser Eyes and Lynel attacks, and reflects Wizzrobe projectiles. It does not stop Beamos beams.
Shields in this game can be stolen and eaten. Like Likes and Pikits will take yours, and you will be standing there defenseless. Dark World shops sell replacements, which is a strange sentence to write about a Zelda game but here we are. The Mirror Shield cannot be stolen by Pikits.
Gloves: Power Glove and Titan Mitt
Two tiers, both mandatory.
- Power Glove — Desert Palace. Lifts light-colored rocks. Also the key to climbing Death Mountain.
- Titan Mitt — Thieves Town. Lifts heavy dark boulders and Dark World skulls.
The Titan Mitt is a bigger deal than it looks, because it is what lets you free the Dwarven Swordsmith in the Dark World, which is what gets you the Tempered Sword, and it is what lifts the black rock on the Lake Hylia island that reveals the Ice Palace portal. One item, three gates.
The four bottles and where they hide
Four bottles exist. Get all four.
- Kakariko Village street merchant — 100 rupees.
- Chest at the back of the Kakariko inn.
- The man under the bridge near Lake Hylia.
- Blue chest in the Dark World Smithery, available after you rescue the Dwarven Swordsmith. You cannot open it yourself — carry it to the Average Middle-Aged Man near the entrance to the Desert of Mystery and he opens it for you.
A bottled fairy revives you automatically when you die. That single mechanic turns a run-ending Ice Palace mistake into a shrug. You need the Bug-Catching Net to catch fairies and bees in the field.
Half magic is the best upgrade in the game
The Mad Batter halves how much magic every item consumes. Fire Rod, Ice Rod, Cane of Somaria, Cane of Byrna, Magic Cape, Bombos — all of it, permanently, for one errand.
Here is the chain:
- Find the Magic Mushroom in the Lost Woods.
- Give it to Syrup at the Magic Shop, then leave the screen and come back. Her assistant hands you Magic Powder.
- Go to the well next to the Dwarven Swordsmiths Smithery. Reach the hole by hammering the stake with the Magic Hammer, or by mirroring in from the Dark World directly above the well and dropping down.
- Head north to the altar and sprinkle the Magic Powder. The Mad Batter appears, rambles at you, and casts the spell.
Do this before Turtle Rock. That dungeon runs entirely on the Cane of Somaria creating platforms on floating rails, and it will drain you dry at full magic cost.
The three medallions
All three are cast with the Master Sword raised. Two are required.
- Bombos Medallion — Desert of Mystery, on a cliff you reach by going to the Dark World and mirroring back near the swamp. Read the tablet with the Book of Mudora. Fully optional, and the only medallion that is. It costs a quarter of your magic bar and torches every enemy on screen. Its best use is Kholdstare in the Ice Palace: it shatters the ice shield in one hit, where the Fire Rod needs multiple applications and burns more total magic.
- Ether Medallion — across the bridge west of the Tower of Hera, another Book of Mudora tablet. Lightning that freezes most survivors. Required to clear the storms over the Swamp of Evil and enter Misery Mire.
- Quake Medallion — throw a skull into the circle of stones in the Lake of Ill Omen to wake the Catfish, who hands it over to be left alone. Required to open Turtle Rock. It also shakes items out of trees, like the Pegasus Boots dash.
The Waterfall of Wishing pays you for honesty
Near Zora Waterfall there is a Great Fairy in a pond who upgrades things you throw in — but only if you answer her question honestly.
- Throw in the Boomerang, get the Magical Boomerang.
- Throw in the Fighter Shield, get the Red Shield — that is 500 rupees you did not spend.
- Throw in an empty bottle, get it back filled with green Medicine of Magic.
Lying to her just gets your item handed back. There is no upside to it.
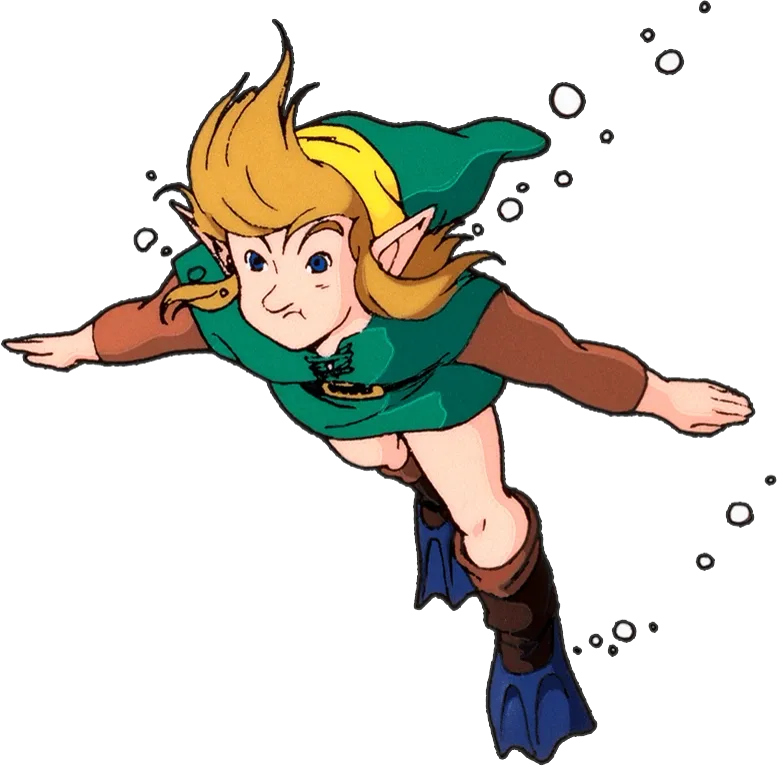
While you are in the neighborhood: King Zora sells the Zora Flippers for 500 rupees at Zora Waterfall. Deep water becomes traversable and the map roughly doubles. Buy them the first time you can afford them.
Bomb and arrow capacity at the Pond of Happiness
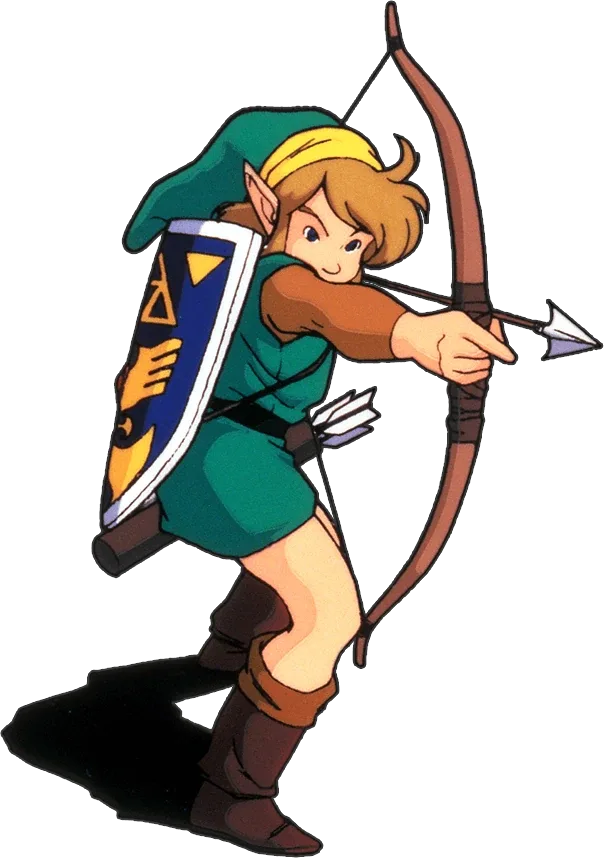
This is the upgrade most players never find. Inside a cave on the island in the middle of Lake Hylia is the Pond of Happiness, home to Venus. Throw rupees in and every 100 rupees buys a capacity upgrade — you choose bombs or arrows.
- Bombs go up in steps of 5 to 40, then in steps of 10, to a cap of 50.
- Arrows go up in steps of 5 to 60, then in steps of 10, to a cap of 70.
Once you max both, Venus points you at her friend at the Waterfall of Wishing. If you are sitting on a full 999-rupee wallet with nothing to spend it on, this is the sink.
Optional gear worth the detour
- Magic Cape — under a grave in the Graveyard north of Hyrule Castle. Dash into the grave surrounded by dark rocks; those rocks need the Titan Mitt, or you can mirror in from the Dark World to skip them. Turns you invisible and lets you walk through enemies and spikes without damage. Very expensive in magic. Required to reach one Piece of Heart by walking through a bumper on Death Mountain.
- Cane of Byrna — a cave on Dark World Death Mountain, reached by jumping from the ledge south of the warp tile below Ganon Tower. Getting the chest wants the Magic Hammer for the Moles, the Magic Cape to cross the floor spikes, and the Power Glove to move the blocking stone. It puts a damaging force field around you for less magic than the Cape costs. Completely optional.
- Magical Boomerang — the Waterfall of Wishing upgrade. Longer range than the base Boomerang.
The Silver Arrows are not optional
The Golden Sword is the strongest melee weapon in the game. The Silver Arrows are stronger than that — they one-shot most enemies and even some bosses.
They come from the Fat Fairy in the Pyramid of Power, and reaching her means blowing open the way with a Super Bomb. Ganon recovers from sword wounds, and the Silver Arrows are the only thing that finishes him. In the final fight you stun him with the Master Sword or an upgrade, then land four Silver Arrow shots.
Do not walk into Ganon Tower without them.
For where each of these slots into the run, see our A Link to the Past dungeon order guide. If you are just starting out, the A Link to the Past beginner guide covers the opening hours, and the A Link to the Past coverage hub has everything else.
Quick Action Checklist
- Buy the Zora Flippers from King Zora for 500 rupees as soon as you can.
- Throw your Fighter Shield into the Waterfall of Wishing for a free Red Shield instead of paying 500.
- Do the half magic errand — Magic Mushroom, Syrup, Magic Powder, Mad Batter — before Turtle Rock.
- Collect all four bottles and keep a fairy stored permanently.
- Free the Dwarven Swordsmith after Thieves Town and pay 10 rupees for the Tempered Sword.
- Throw the Tempered Sword into the Pyramid pond for the Golden Sword.
- Take the Blue Mail from the Ice Palace and the Red Mail from the Ganon Tower basement.
- Grab the Bombos Medallion before the Ice Palace to one-shot Kholdstare ice shield.
- Dump spare rupees into the Pond of Happiness for 50 bombs and 70 arrows.
- Get the Silver Arrows from the Fat Fairy before entering Ganon Tower.
Frequently Asked Questions
How do you get the Golden Sword in A Link to the Past?
What does half magic do and where do I get it?
How many bottles are in A Link to the Past?
What is the maximum bomb and arrow capacity?
Does the Red Mail really quarter damage in A Link to the Past?
Which medallion is optional in A Link to the Past?
Keep Reading
Related Guides
A Link to the Past Magic Guide: What Every Item Costs and How to Refill It
A Link to the Past never puts a number on magic. The meter holds 128 points, the Fire Rod takes 16 of them, the Lamp charges you 4 every time you press it, and there is a freeze-then-hammer trick that forces a magic drop 100% of the time.

A Link to the Past Heart Pieces Guide: All 24 Locations
Four Pieces of Heart make a container, and A Link to the Past hides 24 of them — three behind minigames, a pile more behind the Magic Mirror. Here is every one, and the tools you need before you go looking.
A Link to the Past Beginner Guide: Your First Ten Hours
A Link to the Past hands you a sword and a rainstorm and then says almost nothing else. Here is the route, the combat, and the item order that turn a confusing first hour into a game you can actually finish.
A Link to the Past GBA Riddle Quest: All 10 Answers
Ten one-line clues, ten things to scoop up with the Bug-Catching Net, and a sword technique at the end of it. The Riddle Quest only exists on the Game Boy Advance cartridge, and it will not start until you have won ten Medals of Courage in Four Swords.
A Link to the Past Small Keys: All 61, Dungeon by Dungeon
Palace of Darkness keeps all six of its keys in treasure chests. Desert Palace keeps none of its four in a chest at all. Here is the key count for every dungeon in the game, and where the ones you cannot find are actually hiding.
A Link to the Past Enemy Guide: Every Sword-Proof Monster and What Kills It
A Link to the Past spends the whole game upgrading your sword and then fills the Dark World with things the sword cannot touch. Here is every armored, reforming, and element-locked enemy in Hyrule, and the one item that actually finishes it.