A Link to the Past Light World Guide: The Half of Hyrule Everyone Underrates
Everyone remembers the Dark World. But the Light World is where the Flute fast-travel lives, where half your bottles and upgrades hide, and where a whole quest turns Kakariko into a warp hub most players never bother to unlock. Here is the map you thought you already knew.
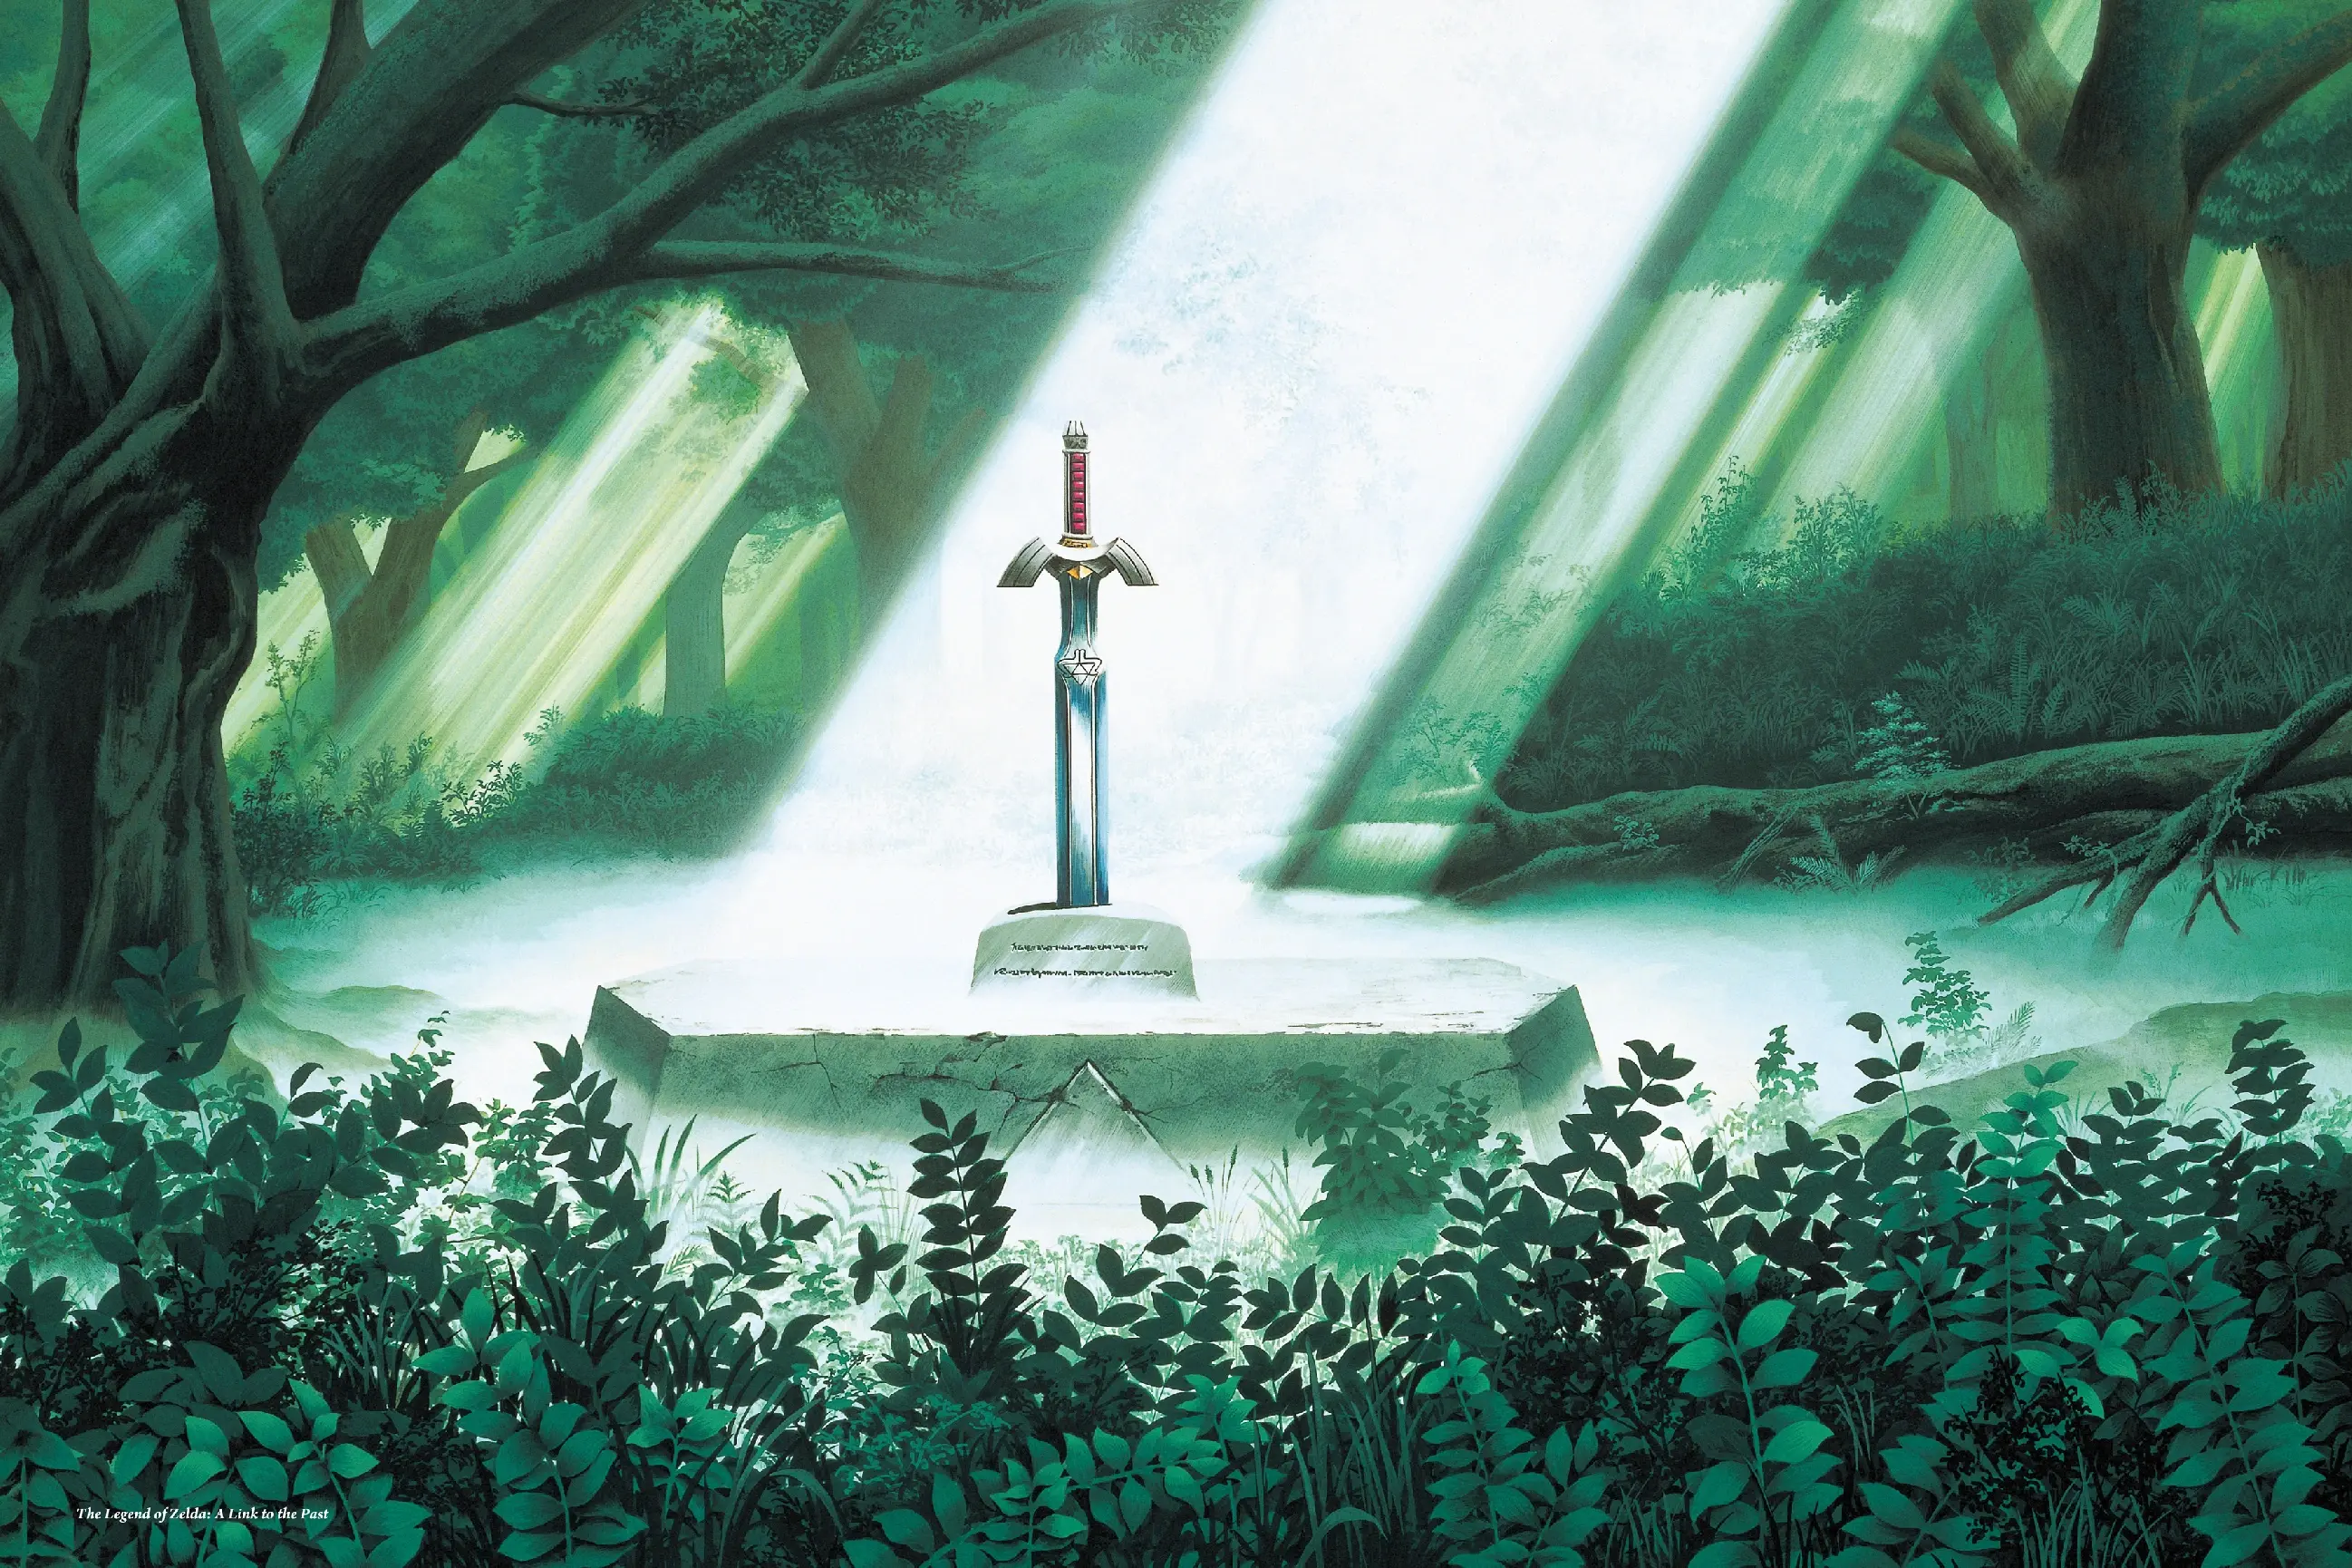
Everyone talks about the Dark World like it is the real game and the Light World is the tutorial. That is backwards. The Light World is Hyrule — the map you learn in the first hour, ignore for the second half, and then spend the entire back end of the game bouncing back into because half of the best upgrades, the fast-travel system, and a third of your health bar all live here.
It is also the half most players never actually finish exploring. They clear the three Pendant dungeons, get thrown into the Dark World, and treat Hyrule as a place they are done with. Meanwhile the Flute is sitting in a flower patch waiting to be dug up, and Kakariko has a warp hub nobody turned on. This is the guide to the overworld you thought you already knew.
The Light World is just Hyrule, and you never really leave it
The Light World is the normal, un-corrupted version of the land — the surface world where the game starts and where every warp portal eventually dumps you back out. It maps one-to-one onto the Dark World: the same coordinates, the same shape, different terrain. That relationship is not trivia. It is the engine behind a huge share of the game's secrets, and the A Link to the Past Dark World guide covers the mirror side of it in detail.
What matters here is that the Light World keeps mattering. After Agahnim throws you across the divide, you come back constantly: to drain the Swamp Ruins so the Swamp Palace floods, to lift a rock on Lake Hylia that opens the Ice Palace, to temper your sword at the Kakariko smithy, to read the Ether tablet on Death Mountain. Hyrule is not a place you graduate from. It is the hub you keep returning to with better tools, and every return unlocks something a locked door or a stretch of deep water hid from you the first time.
The Flute turns the whole overworld into fast travel
Here is the single most under-used system in the game. Hyrule has a working fast-travel network, and most first-time players finish the whole thing on foot because setting it up is buried in a Dark World side quest.
The Flute — an Ocarina, technically, and named as much in the Japanese script — belongs to the Flute Boy, who went looking for the Golden Power and never came home. You do not even meet him properly until you reach the Dark World. In the Dark World version of the Haunted Grove, south of your starting area, you find him transformed into a strange creature. He tells you he buried his Flute with some flower seeds back in the Light World and hands you the Shovel to go dig it up.
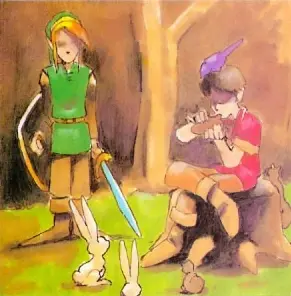
Take the Shovel to the Light World Haunted Grove and dig in the flower patch near the top of the area. Bring the recovered Flute back to the boy in the Dark World and he asks to hear it one last time before petrifying into a tree — a genuinely melancholy little scene for a 1991 cartridge. He tells you to give the instrument to his father, the man in the Kakariko tavern. The father asks you to play it in front of the Weathercock in the center of Kakariko Village. Do that, a bird bursts out of the weathervane, and from then on playing the Flute anywhere in the Light World summons that bird to carry you.
The warp menu on the SNES version drops you at one of eight spots: Death Mountain, the Witch's Hut, Kakariko Village, Link's House, south of the Eastern Palace, the Desert of Mystery, the Great Swamp, and Lake Hylia. (The Game Boy Advance re-release adds a ninth, east of Death Mountain — one of the small SNES-versus-GBA differences worth knowing.) That coverage blankets the map. And because Dark World travel is really a Light World Flute hop followed by a portal, this is also how you are meant to reach Misery Mire — the Flute is a hard requirement for getting there.
Set it up the moment you have the Shovel. It pays for itself within one dungeon.
The regions of Hyrule, west to east
Hyrule is small by modern standards and dense by any standard. Learning the regions by name makes every "go back and do X" instruction in the game legible instead of a scavenger hunt:
| Region | Where it is | Why you keep coming back |
|---|---|---|
| Hyrule Castle | Dead center | The opening dungeon, later Agahnim's tower |
| The Sanctuary | North of the castle | A free Heart Container and a save point |
| Kakariko Village | West | Sahasrahla, the tavern, the inn, shops, the Weathercock |
| The Lost Woods | Northwest | The Master Sword pedestal and the Magic Mushroom |
| Death Mountain | North | Tower of Hera, the Lost Old Man, the Ether tablet |
| Desert of Mystery | Southwest | Desert Palace, gated behind the Book of Mudora |
| The Great Swamp | South | The Swamp Ruins water switch that floods Swamp Palace |
| Lake Hylia | Southeast | Flippers gate, island heart pieces, the Ice Palace rock |
| Zora's Waterfall | Northeast | King Zora sells the Flippers; the Waterfall of Wishing |
| Eastern Palace canyon | East | The first Pendant dungeon |
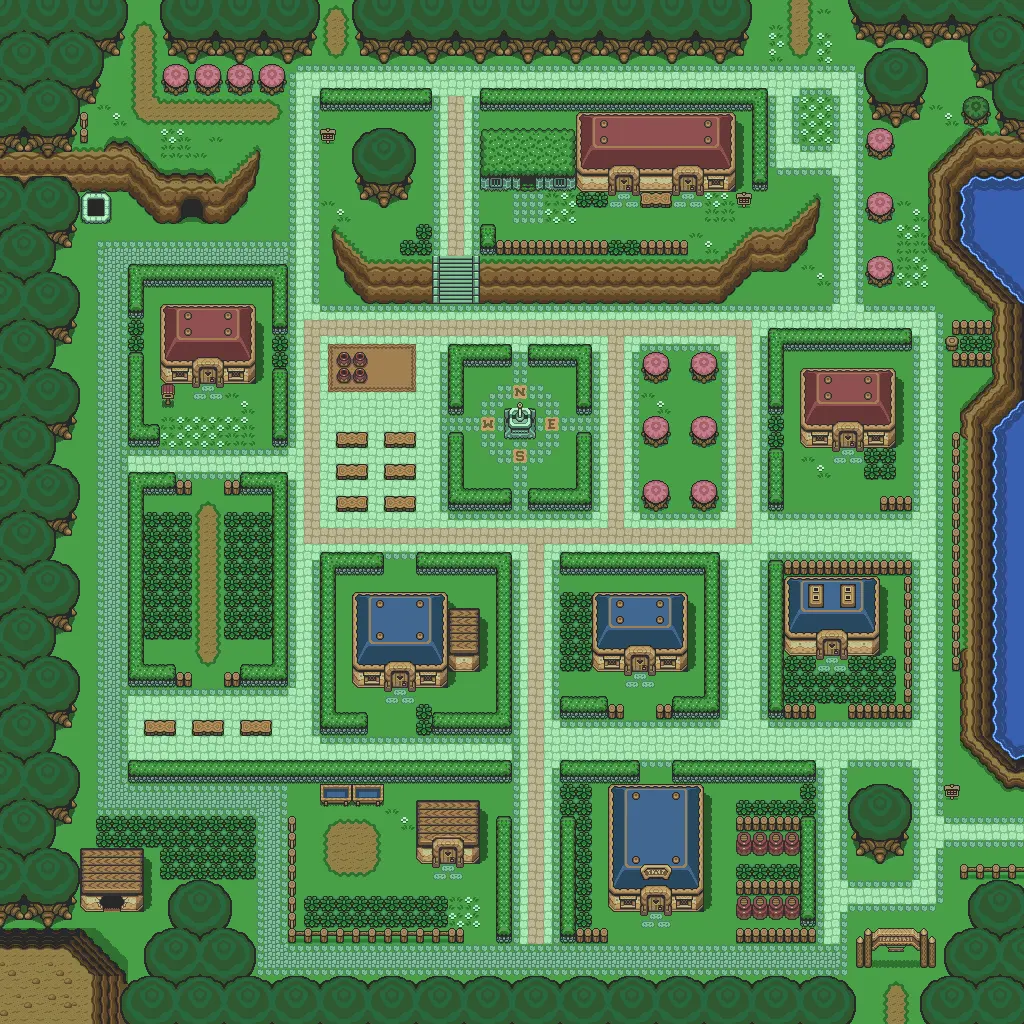
A few navigation notes the map screen does not spell out. Kakariko is the western hub for almost everything human — it holds Sahasrahla's hidden house, the tavern where the Flute Boy's father drinks, the inn with a bottle in the back, and the Weathercock you eventually play the Flute at. The library with the Book of Mudora sits just south of the village, and you pull the book off the top shelf by dashing into the bookcase with the Pegasus Boots.
Death Mountain in the north is its own vertical puzzle. You reach the summit and the Tower of Hera only after helping the Lost Old Man and grabbing the Magic Mirror, and the warp tile on its eastern peak is the sole entrance to Turtle Rock much later. The Ether Medallion tablet sits on a ledge west of the tower, unreadable until you have both the Book of Mudora and the Master Sword.
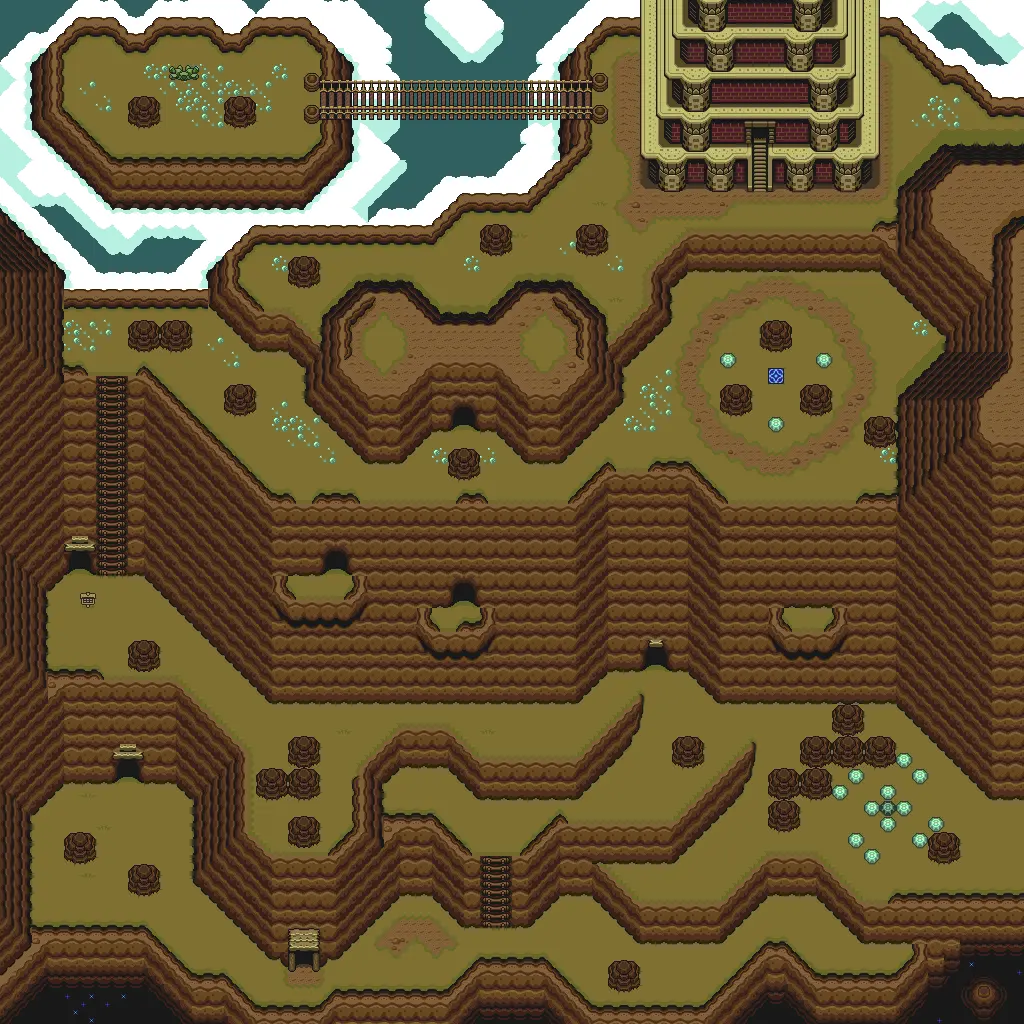
The Desert of Mystery in the southwest is a wall until the Book of Mudora reads the tablet at its entrance, and Lake Hylia in the southeast stays half-sealed until you buy the Zora's Flippers and can swim its deep water. If a chunk of the Light World feels blocked off on your first pass, it usually is — the map opens in layers as your item list grows.
The NPCs worth going out of your way for
The Light World is full of characters, but a short list of them actually hands you power:
- Sahasrahla in Kakariko is the elder who explains the Pendants of Virtue and marks your next two dungeons after you clear the Eastern Palace. He is the reason the early map opens up at all — the full route is in our A Link to the Past dungeon order guide.
- The Lost Old Man on Death Mountain gives you the Magic Mirror once you escort him to his cabin. That single item is what makes the entire Dark World navigable.
- The Bug-Catching Kid in Kakariko is out sick in bed, and if you have at least one empty bottle he lends you his Bug-Catching Net. You need it to catch fairies and bees for your bottles — and, in a fight most players do not expect, to swat Agahnim's magic back at him.
- King Zora at Zora's Waterfall in the northeast sells the Zora's Flippers for 500 rupees. Half the overworld is deep water you cannot cross without them, so this is the most important purchase in the game.
The Waterfall of Wishing pays you for honesty
Tucked in the northeast, partway between the Witch's Hut and Zora's River, is a large waterfall you can swim straight up the middle of once you have the Flippers. Behind it is a small pond with a Great Fairy who will improve whatever you toss in — provided you answer her honestly when she asks whether you dropped it.
Throw in a bottle and she fills it with a green Medicine of Magic. Throw in your Fighter Shield and she swaps it for the fireball-blocking Red Shield, saving you the 500 rupees the Dark World shop charges for the same thing. Throw in the Boomerang and it comes back as the longer-range Magical Boomerang. It is one of the best rupee-free upgrade stops in the game, and it costs nothing but a swim. For the full upgrade ladder it feeds into, our A Link to the Past items and upgrades guide lays out every tier.
Light World spots you can only reach later
A lot of Hyrule is not actually blocked by locks — it is blocked by the fact that you have not been to the Dark World yet. The Magic Mirror flips you from the corrupted world back to the same coordinates in Hyrule, which means you can walk to a spot in the Dark World that is solid ground, mirror out, and land on a Light World ledge no path leads to.
That trick is behind a surprising amount of overworld content: cliff-top caves above the desert, ledges around Death Mountain, and the odd Piece of Heart parked somewhere with no visible approach. If you ever stare at a chest or a heart on a plateau and cannot find the road to it, the answer is almost always "you get there from the other world." It is the same logic that governs the Dark World in reverse, and it is why experienced players treat Hyrule and its mirror as one interlocking map rather than two.
Eighteen Pieces of Heart hide in the Light World
Your health bar is not just a boss-drop reward. Of the 24 Pieces of Heart in the game, 18 are in the Light World and only 6 are in the Dark World — so the overworld you supposedly finished early is where three-quarters of the optional health lives.
They come from everywhere: digging spots you need the Shovel for, a piece you win (or lose) in the Lake Hylia and village minigames, ledges that need the Mirror trick, and rewards for small favors around Kakariko. Four pieces make one full Heart Container, so those 18 are worth more than four extra hearts on their own. If you are chasing a full 20-heart bar, our A Link to the Past heart pieces guide has the location-by-location rundown.
Light World mistakes that waste your time
- Never digging up the Flute. People walk the whole map on foot because the fast-travel system is buried in a Dark World fetch quest. Get the Shovel, dig the Haunted Grove, set up the Weathercock bird as early as you can.
- Skipping the Waterfall of Wishing. A free Red Shield and a free potion are sitting behind a swimmable waterfall. Bring a spare bottle and your Fighter Shield.
- Buying the Flippers late. Half of Lake Hylia and a big slice of the map are locked behind 500 rupees. Save for it and see King Zora before you wander in circles.
- Forgetting the Bug-Catching Kid needs a bottle. He will not lend you the Net unless you are already holding one, and without the Net you cannot stock fairies — your best insurance against dying.
- Assuming a blocked ledge is off-limits. If there is no path to something in Hyrule, you almost certainly reach it by mirroring in from the Dark World later. Note it and come back.
Brand new to the whole game? Start with our A Link to the Past beginner guide, or browse the full A Link to the Past coverage hub for everything else.
Quick Action Checklist
- Grab the Shovel from the Flute Boy in the Dark World Haunted Grove, then dig up the Flute in the Light World grove.
- Play the Flute at the Weathercock in Kakariko to unlock all eight overworld warp points.
- Buy the Zora's Flippers from King Zora for 500 rupees the moment you can afford them.
- Borrow the Bug-Catching Net from the sick kid in Kakariko while carrying at least one empty bottle.
- Swim up the Waterfall of Wishing with a spare bottle and your Fighter Shield for a free potion and the Red Shield.
- Read the Ether tablet west of the Tower of Hera once you have the Book of Mudora and the Master Sword.
- Use the Magic Mirror to reach Light World ledges that have no road, and note any you cannot approach yet.
- Sweep for the 18 Light World Pieces of Heart — three-quarters of the game's optional health is on this side of the map.
Frequently Asked Questions
How do you get the Flute in A Link to the Past?
How many Flute warp locations are there?
What is the difference between the Light World and the Dark World?
How do I get the Zora's Flippers?
What does the Waterfall of Wishing do?
How many Pieces of Heart are in the Light World?
Where do I get the Bug-Catching Net?
Keep Reading
Related Guides
A Link to the Past Dark World Guide: Crystals, Mirror Tricks, and the Stuff Nobody Tells You
Agahnim drops you on top of a golden pyramid with no map, no explanation, and seven crystals to find. Here is how the Dark World is actually laid out, what gates what, and which detours are worth taking before Ganon Tower.

A Link to the Past Crystal Switches: One Byte, Whole Dungeon
A Link to the Past does not track its orange and blue Switch Fence panels room by room. One RAM byte, shared by the entire dungeon, decides whether every crystal switch and every panel in it is up or down — including the ones in rooms you have not opened yet. Here is the exact byte, what it will and will not respond to, and why it resets the second you walk back through the door.
A Link to the Past Movement Speed: When Dashing Is Slower
A Link to the Past does not simulate movement. It looks it up. One byte picks your speed, the byte divided by sixteen is your pixels per frame, and every surface and every held item swaps the byte for a worse one. Here is the table, and the arithmetic that says the Pegasus Shoes are a loss under four and a half tiles.
A Link to the Past Beginner Guide: Your First Ten Hours
A Link to the Past hands you a sword and a rainstorm and then says almost nothing else. Here is the route, the combat, and the item order that turn a confusing first hour into a game you can actually finish.
A Link to the Past GBA Riddle Quest: All 10 Answers
Ten one-line clues, ten things to scoop up with the Bug-Catching Net, and a sword technique at the end of it. The Riddle Quest only exists on the Game Boy Advance cartridge, and it will not start until you have won ten Medals of Courage in Four Swords.
A Link to the Past Small Keys: All 61, Dungeon by Dungeon
Palace of Darkness keeps all six of its keys in treasure chests. Desert Palace keeps none of its four in a chest at all. Here is the key count for every dungeon in the game, and where the ones you cannot find are actually hiding.