A Link to the Past Dungeon Order: All 11 Dungeons Routed
The dungeon numbers in A Link to the Past lie to you. Level 3 can be beaten fifth, Level 6 can be beaten before Level 3, and one dungeon is gated behind a medallion you get from a catfish. Here is the actual route.
Skull Woods is called Level 3 and you can beat four other Dark World dungeons before you ever walk into it. Misery Mire is called Level 6 and you can clear it before Skull Woods, Ice Palace, and Turtle Rock. The numbers painted on the dungeon maps in A Link to the Past are flavor, not instructions.
What actually orders the game is item gating. Every dungeon has an entry requirement, and every dungeon hands you the tool that opens the next lock. Here is the whole chain — eleven dungeons, every main item, every boss, and exactly what you need in your inventory to get through the door.
The dungeon numbers are not the dungeon order
Three facts that make the routing click:
- The three Light World dungeons are strictly sequential. Each one gives you the item that opens the next.
- The seven Dark World dungeons have real flexibility in the middle, but the first two and the last one are hard-locked.
- Boss Heart Containers are mandatory in this game, unlike most Zelda titles. All ten dungeon bosses drop one, so your health scales with progress automatically. Agahnim is the exception — he drops nothing, in either fight.
The full health math: 3 starting hearts, 1 free container at the Sanctuary, 10 boss containers, and 6 more built from 24 Pieces of Heart. That is the 20-heart cap.
The three Light World dungeons
1. Eastern Palace
Entry: none. Walk in. Main item: the Bow. Boss: six Armos Knights. Reward: Pendant of Courage, plus the Pegasus Boots from Sahasrahla afterward.
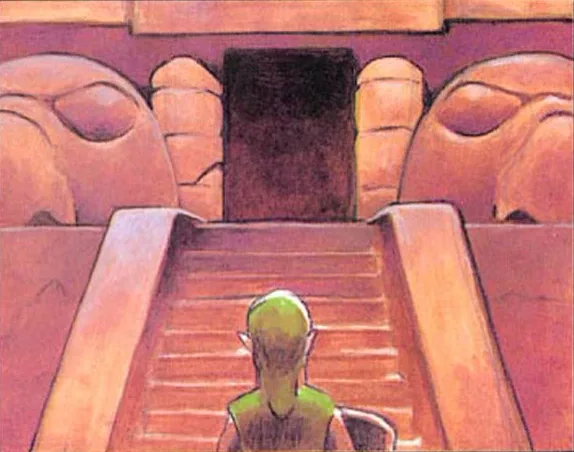
The teaching dungeon. Giant rolling balls down a corridor, then a room where they come at you from every side. The Bow sits in the middle of a Stalfos room and you need it to kill the red Eyegores blocking the path to the boss — there is no sword solution.
Clearing it does more than hand you a pendant: Sahasrahla gives you the Pegasus Boots and marks the remaining two dungeons on your map.
2. Desert Palace
Entry: the Book of Mudora, to read the tablet at the entrance and make the Wish of Opening. Main item: the Power Glove. Boss: three Lanmolas. Reward: Pendant of Power.
The Book is in the library south of Kakariko Village, and you get it by dashing into the bookcase with the Pegasus Boots — which is why Eastern Palace has to come first.
Desert Palace does something structurally weird for 1991: about three-quarters of the way through, you exit the dungeon entirely through one of the outer stone heads and use the Power Glove outside to reach the second floor. Same trick shows up later in Skull Woods.
3. Tower of Hera
Entry: the Power Glove to climb Death Mountain, plus the Magic Mirror. Main item: the Moon Pearl. Boss: Moldorm. Reward: Pendant of Wisdom.
This is where first-timers stall. Reaching the tower requires a short trip into the Dark World and mirroring back to land on the far side of Spectacle Rock. The Magic Mirror comes from helping the Lost Old Man on Death Mountain get to his cabin — do that before you try the tower.
The Moon Pearl is in the Big Chest, and it is the one item in this dungeon that is not optional for the game as a whole: without it, the Dark World turns you into a pink rabbit. Getting it requires working the star tiles that move the pitfalls around.
Moldorm is fought on a small perch ringed by holes. Fall in and you drop a floor and restart the fight. Play the edges and hit the tail.
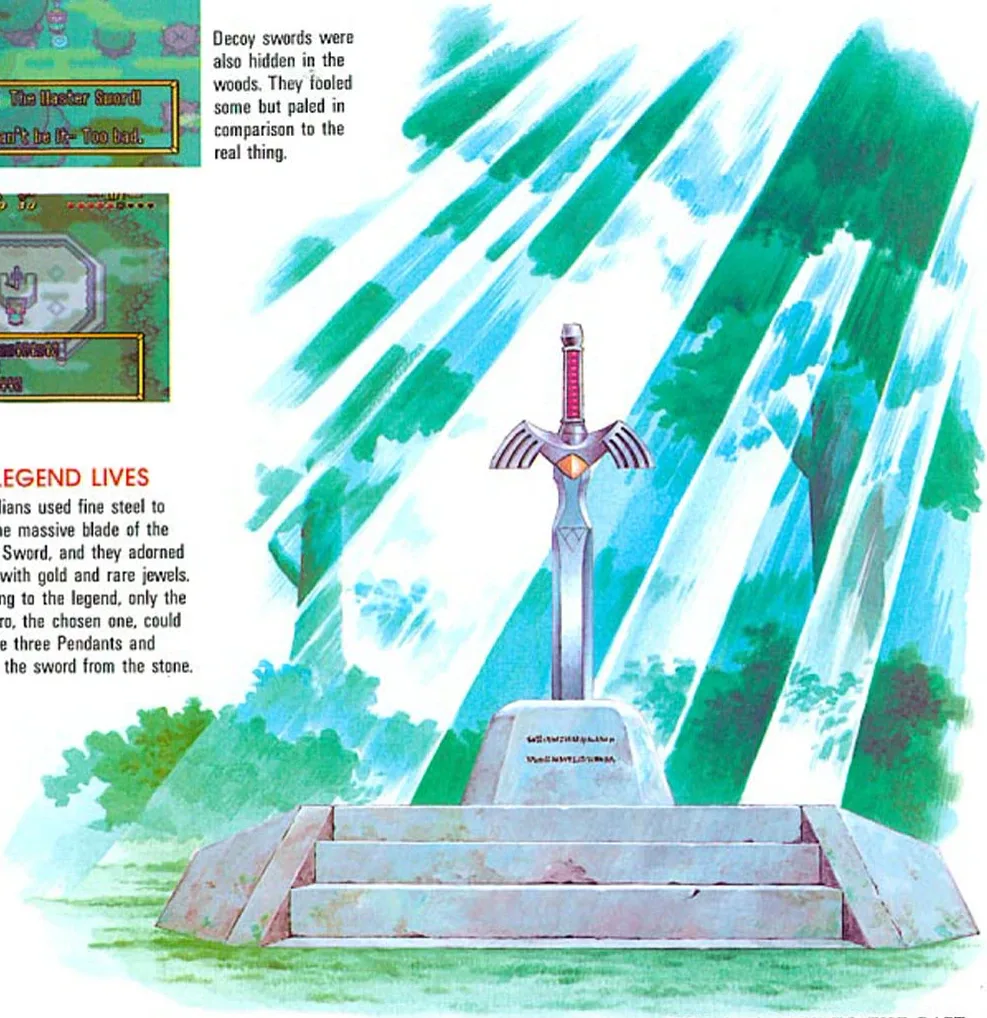
With three Pendants, pull the Master Sword in the Lost Woods.
The Hyrule Castle Tower interlude
Not numbered, no Heart Container, no crystal — but mandatory. After the Master Sword, Zelda gets taken from the Sanctuary and the game routes you back to Hyrule Castle Tower to face Agahnim.
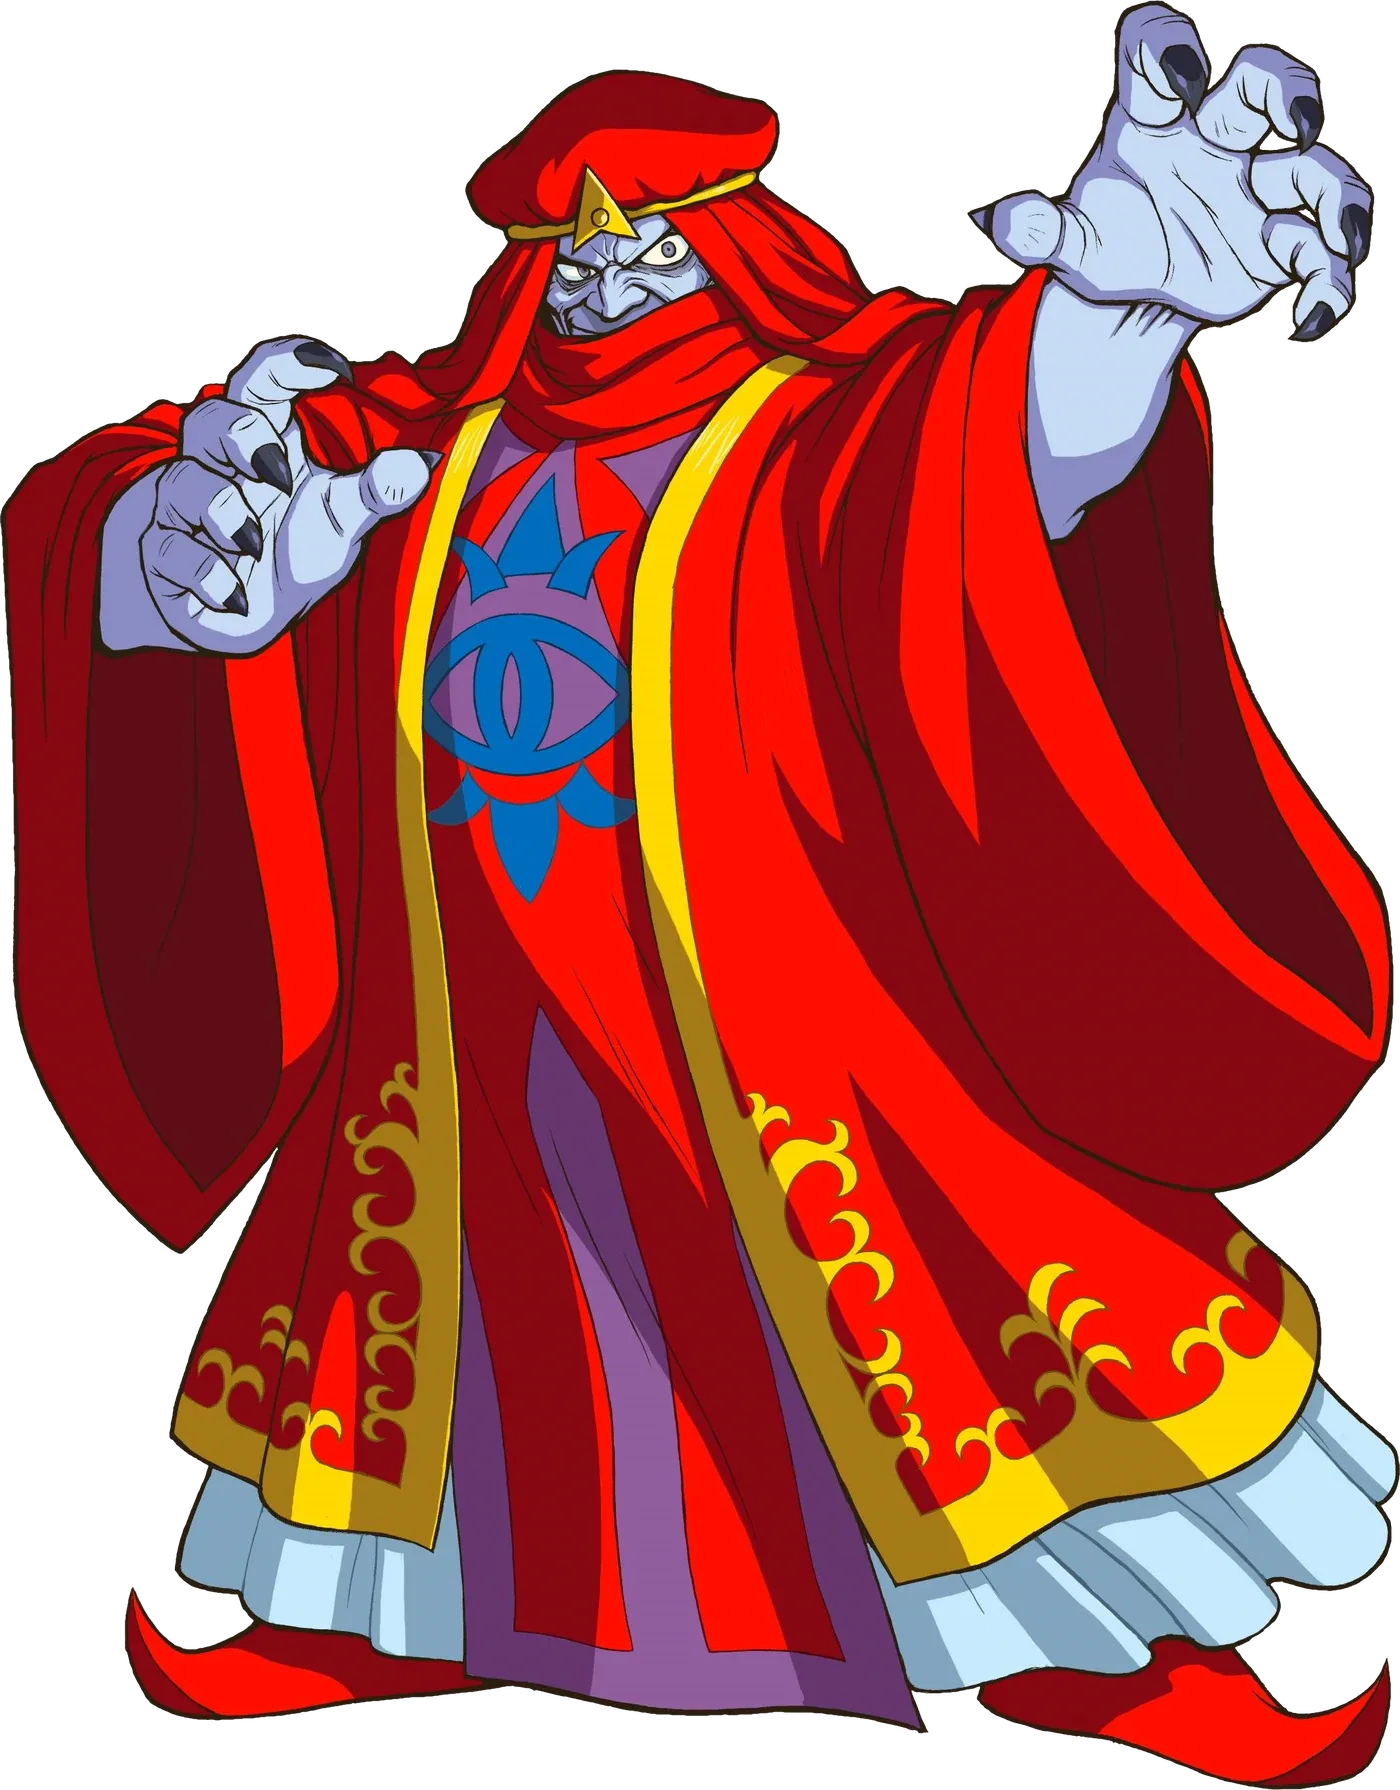
The fight is Dead Man Volley — he throws energy balls, you swat them back with the sword. Win it and he pulls you into the Dark World anyway. That is the plot, not a failure.
The seven Dark World dungeons
Each of the seven holds a Maiden sealed in a crystal. Free all seven and the barrier on Ganon Tower drops.
4. Palace of Darkness
Entry: pay Kiki the monkey 10 rupees, then 100 more at the door. Main item: the Magic Hammer. Boss: Helmasaur King. Crystal: 1.
The Dark World counterpart to the Eastern Palace, standing on the same spot. It is a significant difficulty jump — Blade Traps, Medusa statues, Helmasaurs, and Goriya that mirror your movement. The Hammer is what removes the Moles and Terrorpins in the way of the boss.
5. Swamp Palace
Entry: Zora Flippers, plus a detour. Enter, then go back to the Light World Swamp Ruins and pull the switch that drains the water outside into the ruins. That floods the first room of the palace and lets you swim deeper. Main item: the Hookshot. Boss: Arrghus. Crystal: 2.
The first water dungeon in the series. You are constantly raising and lowering water to open passages. Arrghus is the payoff for the Hookshot: yank the Arrgi off him one at a time, kill them with the sword, then hit the exposed eye.
6. Skull Woods
Entry: the eastern entrance in Skeleton Forest — the two north of the Village of Outcasts are impassable. Main item: the Fire Rod. Boss: Mothula. Crystal: 3.
Eight separate entrances scattered through the forest, plus pits you can fall through, plus disconnected sections. It is the most confusing layout in the game. The boss section is entirely cut off from the rest — after you get the Fire Rod, you have to find the right exit and enter through a huge insect-like skull near the Master Sword pedestal area.
Mothula fights on a moving floor surrounded by Blade Traps. The sword is faster than the Fire Rod here, and the Fire Rod eats your magic bar. Fun fact you can act on: Mothula is the only boss in the game that can be damaged by bees.
7. Thieves' Town
Entry: beneath the Gargoyle in the center of the Village of Outcasts — the Dark World counterpart of Kakariko. Main item: the Titan Mitt. Boss: Blind the Thief. Crystal: 4.
Four maze rooms of narrow walkways, and the trick is that the boss room is empty when you first reach it. You have to go into the basement, free the girl in the jail cells, and lead her up to where sunlight beams through the barred windows. Bomb the cracked floor above the boss lair so the light drops into the room, and she reveals herself as Blind.
The Titan Mitt is the payoff and it unlocks a chunk of the map: dark boulders, Dark World skulls, and — critically — the Dwarven Swordsmith trapped in the Dark World.
8. Ice Palace
Entry: the Titan Mitt and Flippers. Swim to the largest island in Lake Hylia, lift the black rock, and step on the portal. Main item: the Blue Mail. Boss: Kholdstare. Crystal: 5.
Widely considered the hardest dungeon in the game. Slippery floors, block-pushing puzzles, and a long descent where a wrong pit drop costs you real progress. Bring the Bombos Medallion if you have it — it shatters Kholdstare ice shield in one hit, where the Fire Rod needs several and burns more magic overall.
The Blue Mail halves incoming damage. Getting it before Turtle Rock is a meaningful difficulty change.
9. Misery Mire
Entry: the Ether Medallion, used in front of the entrance to clear the storms over the Swamp of Evil. Main item: the Cane of Somaria. Boss: Vitreous. Crystal: 6.
The Light World counterpart is the Desert Palace. Inside: Wizzrobes, a stacked double maze, a torch room you light with the Fire Rod, and a chasm crossed on wooden bridges.
The Cane of Somaria barely gets used here. Its real job is Turtle Rock, which is why Misery Mire is effectively mandatory before Turtle Rock even though the numbering suggests otherwise.
Vitreous is a giant eyeball in acid surrounded by smaller eyes. Corner yourself, spin-attack the swarm as it closes in, then use the Bow on the main eye when it charges.
10. Turtle Rock
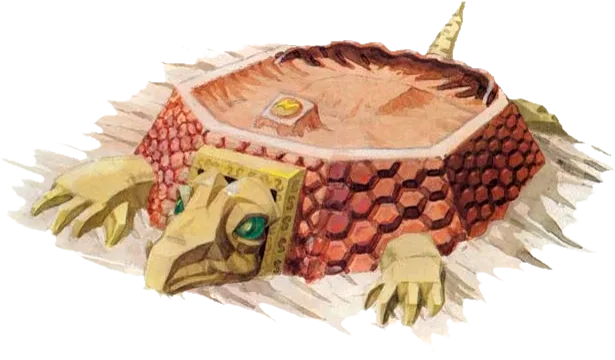
Entry: a warp point on the eastern peak of Death Mountain, then the Quake Medallion to open the entrance from the roof. Main item: the Mirror Shield. Boss: Trinexx. Crystal: 7 — this is the one holding Zelda.
The Quake Medallion comes from the Catfish in the Lake of Ill Omen — throw a skull into the ring of stones in the water and he hands it over to be left alone.
Turtle Rock is a cavern rather than architecture, and it runs on the Cane of Somaria: the cane blocks ride floating rails and let you cross gaps and light torches. That eats magic constantly, which is why the game literally has Sahasrahla warn you to arrive with a full magic bar. If you have not done the half magic upgrade yet, do it before this dungeon.
The Mirror Shield stops beams that nothing else stops, including Lynel attacks.
Ganon's Tower and the final fight
Entry: all seven crystals. The Maidens dispel the barrier. Main item: the Red Mail, in the basement — optional, and its "quarter damage" reputation only holds for three of the game's ten damage classes; hazards like Bubbles, Beamos and Firebars still take a full heart, as the damage guide lays out from the ROM's own table. Boss: Agahnim, again.
The basement holds the Map, Compass, and Red Mail, and the sub-basement holds the Big Key, which is guarded by a rematch with the Armos Knights. Above the ground floor are four more floors, and you are forced to re-fight the other two Light World bosses on the way up — all three Light World bosses appear again in this tower.
Beat Agahnim at the top and Ganon abandons the body and flees into the Pyramid of Power. The real final fight happens there, and it needs the Silver Arrows — the sword alone cannot finish him. With only the base Master Sword you have to land Spin Attacks on Ganon; the Tempered Sword and Golden Sword can hurt him with ordinary swings.
The order that actually plays best
Locked: Eastern Palace, Desert Palace, Tower of Hera, Hyrule Castle Tower, Palace of Darkness, Swamp Palace.
Flexible: Skull Woods, Thieves Town, Ice Palace, Misery Mire.
Locked again: Turtle Rock, then Ganon Tower.
The version most players should run: Thieves' Town before Ice Palace, because the Titan Mitt is the key to the Ice Palace portal and to freeing the Dwarven Swordsmith who tempers your Master Sword. Then Misery Mire before Turtle Rock, because Turtle Rock genuinely needs the Cane of Somaria. Skull Woods slots in wherever you want the Fire Rod.
New to the game entirely? Start with our A Link to the Past beginner guide. For the upgrade ladder behind all of this, see the A Link to the Past items and upgrades guide, or browse the A Link to the Past coverage hub.
Quick Action Checklist
- Do the Light World three in fixed order: Eastern Palace, Desert Palace, Tower of Hera.
- Get the Magic Mirror from the Lost Old Man before attempting the Tower of Hera.
- Take the Moon Pearl out of the Tower of Hera before touching the Dark World.
- Bring 110 rupees to the Palace of Darkness for Kiki.
- Drain the Light World Swamp Ruins switch before trying to progress in the Swamp Palace.
- Run Thieves' Town before Ice Palace — the Titan Mitt opens the Ice Palace portal.
- Bring the Bombos Medallion to Kholdstare to one-shot the ice shield.
- Clear Misery Mire before Turtle Rock; Turtle Rock is built around the Cane of Somaria.
- Do the half magic upgrade before Turtle Rock or you will run dry mid-dungeon.
- Pick up the Silver Arrows before Ganon Tower. The final fight does not end without them.
Frequently Asked Questions
How many dungeons are in A Link to the Past?
Can you do the Dark World dungeons in any order?
What is the hardest dungeon in A Link to the Past?
Do I need the Silver Arrows to beat Ganon?
Why is Skull Woods called Level 3 if I can beat other dungeons first?
Keep Reading
Related Guides
A Link to the Past Boss Guide: Every Boss and How to Kill It
A Link to the Past has thirteen boss fights and almost every one is an item check in disguise. Here is what beats each of them — including the one weapon without which Ganon literally cannot die.
A Link to the Past Small Keys: All 61, Dungeon by Dungeon
Palace of Darkness keeps all six of its keys in treasure chests. Desert Palace keeps none of its four in a chest at all. Here is the key count for every dungeon in the game, and where the ones you cannot find are actually hiding.
A Link to the Past Enemy Guide: Every Sword-Proof Monster and What Kills It
A Link to the Past spends the whole game upgrading your sword and then fills the Dark World with things the sword cannot touch. Here is every armored, reforming, and element-locked enemy in Hyrule, and the one item that actually finishes it.
A Link to the Past Light World Guide: The Half of Hyrule Everyone Underrates
Everyone remembers the Dark World. But the Light World is where the Flute fast-travel lives, where half your bottles and upgrades hide, and where a whole quest turns Kakariko into a warp hub most players never bother to unlock. Here is the map you thought you already knew.
A Link to the Past Beginner Guide: Your First Ten Hours
A Link to the Past hands you a sword and a rainstorm and then says almost nothing else. Here is the route, the combat, and the item order that turn a confusing first hour into a game you can actually finish.
A Link to the Past Dark World Guide: Crystals, Mirror Tricks, and the Stuff Nobody Tells You
Agahnim drops you on top of a golden pyramid with no map, no explanation, and seven crystals to find. Here is how the Dark World is actually laid out, what gates what, and which detours are worth taking before Ganon Tower.