A Link to the Past Enemy Guide: Every Sword-Proof Monster and What Kills It
A Link to the Past spends the whole game upgrading your sword and then fills the Dark World with things the sword cannot touch. Here is every armored, reforming, and element-locked enemy in Hyrule, and the one item that actually finishes it.
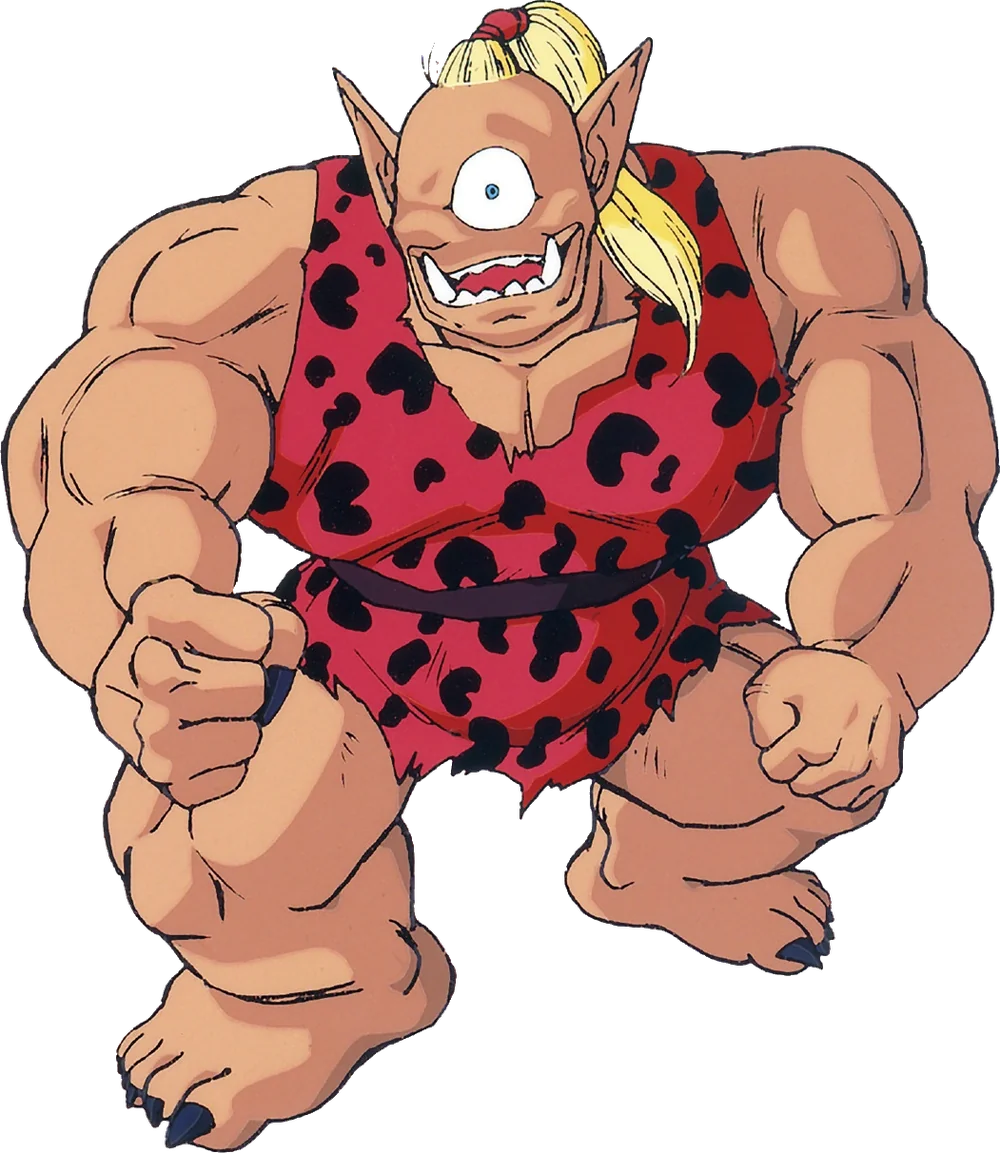
Walk into the Palace of Darkness holding the Master Sword, swing at the first Terrorpin you meet, and watch absolutely nothing happen. That is not a difficulty spike or a bad hitbox. That is the design. A Link to the Past spends its entire runtime upgrading a sword and then stocks its dungeons with things the sword has no answer for.
Everybody writes the boss guide. Almost nobody writes the one you actually need at 2am in the Ice Palace, when a skeleton four times your size keeps standing back up. So: every armored, reforming, thieving, and element-locked enemy in Hyrule, and the exact thing that kills it.
Your sword is not the answer, and the game keeps proving it
The regular enemies in this game sort into four groups, and only one of them cares about your sword.
- Armored — the front of the enemy is a wall. Hit the back, or use something that ignores armor entirely.
- Regenerating — the sword works, briefly, and then the thing reassembles itself.
- Element-locked — one specific item kills it. Nothing else does anything at all.
- Everything else — Zols, Ropes, Popos, Slaroks. Swing away.
Two habits carry you through most of it. Pots and skulls are weapons — a Blue Stalfos hops clear of every sword swing you make and will not dodge a thrown pot. And sword beams are not a shortcut: Tektites on Death Mountain dodge every single one, so beam-sniping is a trap against anything mobile.
Your shield is not a universal defense either. It blocks Moblin spears and Octorok rocks all day, but a River Zora spits a half-heart fireball the base Fighter's Shield cannot stop — that is a shield-tier problem, not a you problem. See the items and upgrades guide.
The manual lied to you about Hinox
The English SNES manual says a Hinox "cannot withstand the very bombs he throws" and tells you to aim for the eye. Both halves are wrong, and they are wrong for the same reason: the original Japanese line was the idiom "an eye for an eye." The translator read that as a body part.
What it actually meant was fight bombs with bombs. A Hinox does not take damage from the bombs it throws at you, and its eye is not a weak point. One of your bombs kills a Hinox outright. The sword works too, but it takes a pile of hits at melee range against something that hurts badly on contact — and Hinoxes cluster around the Dark World Bomb Shop, which is a genuinely funny place to be standing while you fail to remember this. Out of bombs? The Bow from across the room. Never the sword.
The armored ones: hit them somewhere that is not the front
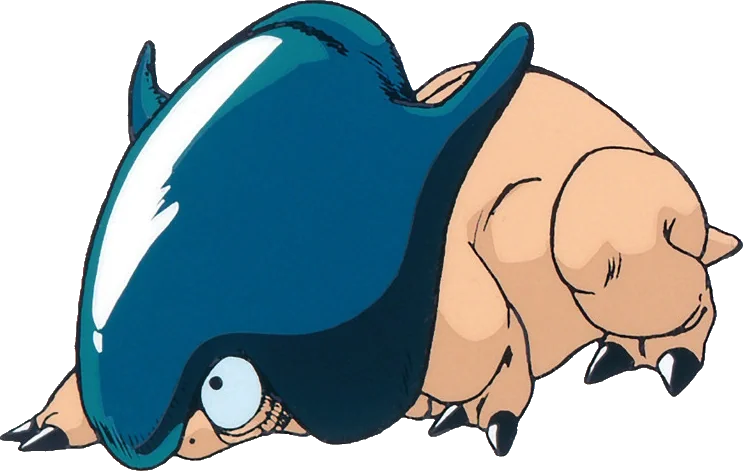
Helmasaur. Palace of Darkness, Skull Woods, Turtle Rock, Ganon's Tower. The mask covers the whole face and eats sword hits — you just knock it backwards — and it cannot be removed in this game, unlike later Zelda entries where a Hookshot rips it off. Your options: the exposed back, a bomb, an arrow, a thrown skull, or three Magic Hammer strikes. The Hookshot stuns it. What does not work: the Ether Medallion does not turn Helmasaurs into Fairies. That line traces to an uncited sentence on Zelda Wiki's Helmasaur page, and the game's own weapon damage table does not back it — the byte that converts a sprite into a Fairy appears in exactly one row of that table, the Magic Powder row, and no column of the Ether row carries it.
Terrorpin. Palace of Darkness. Nothing conventional touches them. A Magic Hammer pound near one flips it, and the exposed belly dies to almost anything; a Magic Hammer strike directly on top kills instantly with no flip needed. The trap: a second pound near an already-flipped Terrorpin rights it. Flip, then switch to the sword. Leave one belly-up too long and it gets up faster than before.
Eyegore. Eastern Palace, Desert Palace, Ganon's Tower. They stand inert until you approach, then open the eye and charge, and they are only vulnerable while the eye is open. Green ones grind down under the sword, but an arrow or thrown jar into the open eye kills instantly. Red Eyegores are immune to everything except arrows, and two arrows do it — which is precisely why the Bow sits in the middle of Eastern Palace. The red Eyegores before the boss are a hard item check, not a suggestion.
Hardhat Beetle. Tower of Hera onward, plus Dark World dungeons and Death Mountain caves. Invulnerable to nearly everything; a sword or hammer hit launches it across the room and knocks you backwards. Bombs stun them, but the real answer is the floor — knock them into a pit. Two caveats: pitting is not permanent (re-enter the room and they are back), and the red variety is faster and dramatically tankier, so pit those first.
Beetles usually share rooms with Bumpers, the pinball blocks that fling you around. Bumpers deal no damage and are a tool — you can bounce enemies into spiked Blade Traps with them, which works especially well on Gibdos. The Magic Cape walks straight through a Bumper, and one Dark World cave hides a Piece of Heart behind exactly that trick.
The ones that get back up
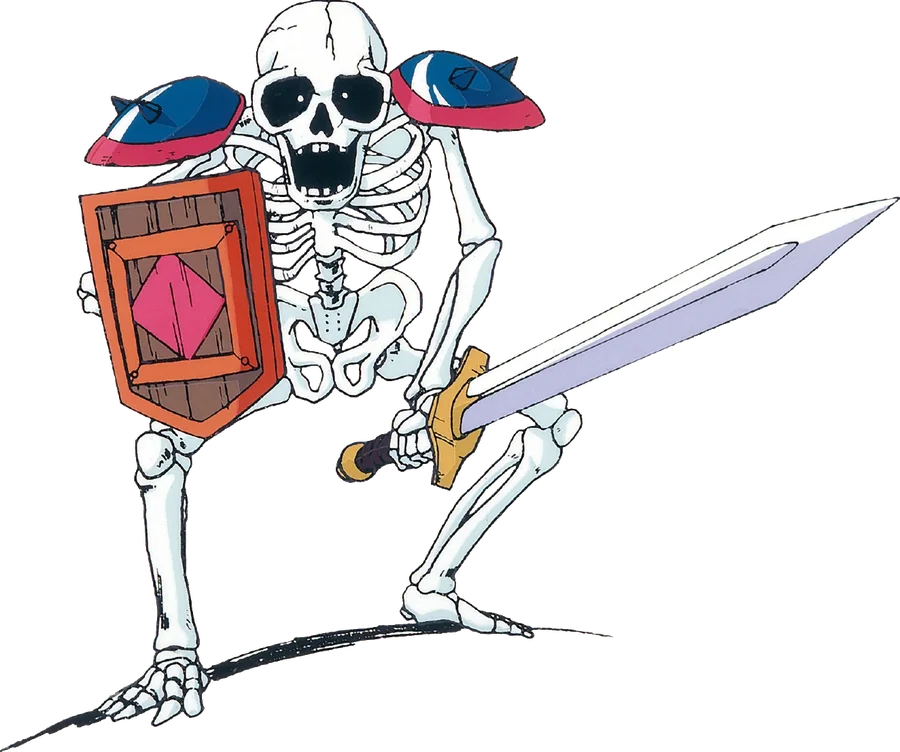
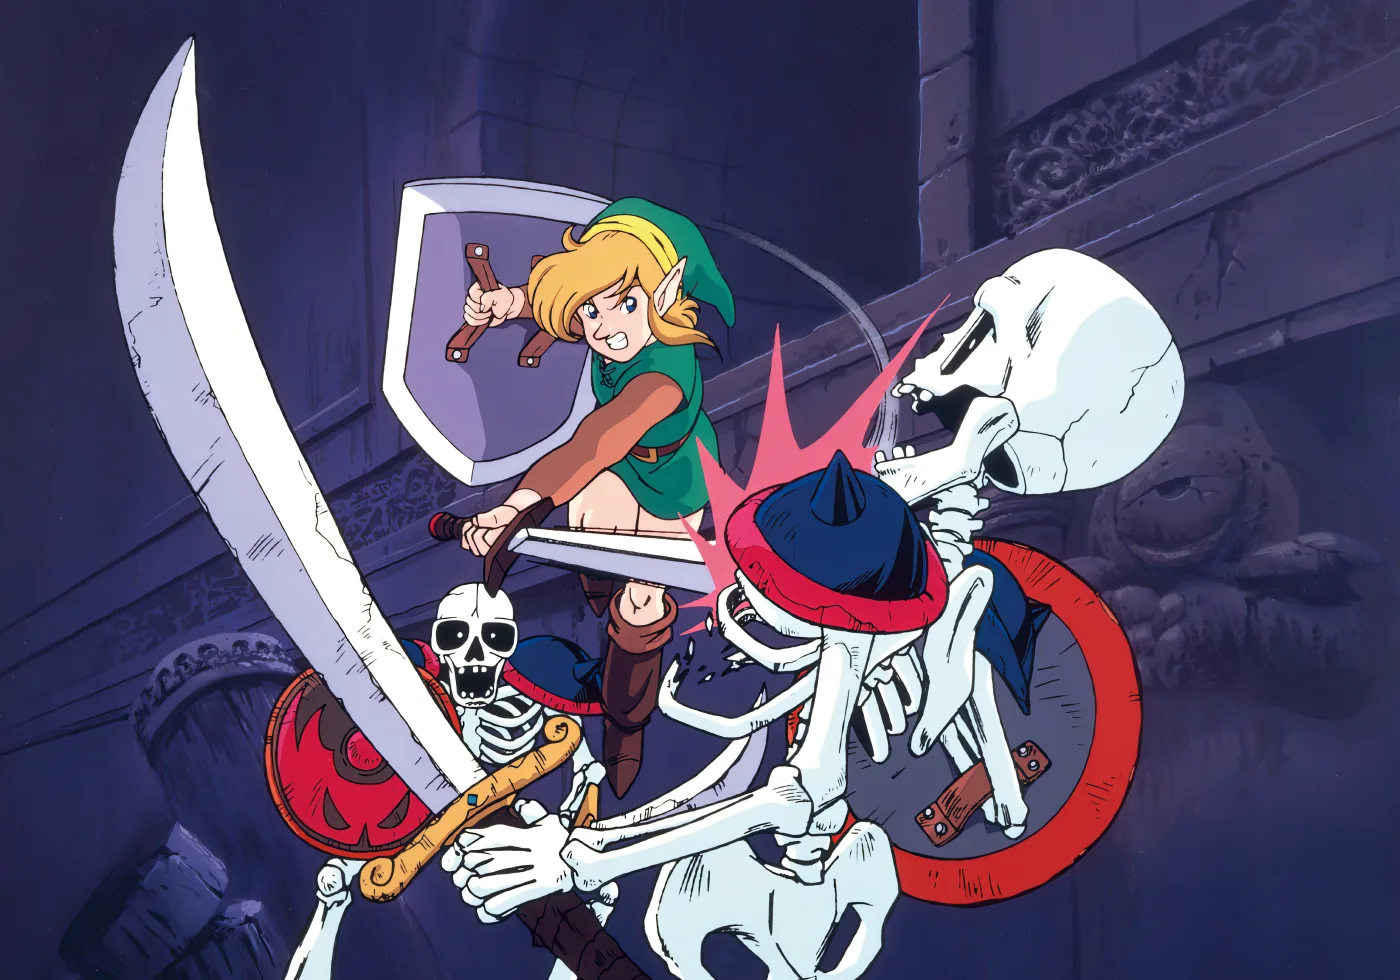
Stalfos Knight. Ice Palace, in pairs, dropping out of the ceiling. It is the largest non-boss enemy in the game — roughly four times the size of a regular Stalfos. Hit it with the sword and it collapses into a pile of bones, waits, and reassembles. Sahasrahla spells it out over telepathy: "You cannot destroy the Skeleton Knight with the sword alone."
One bomb on the pile of bones ends it permanently, and they frequently drop bombs on death, so the fight pays for itself. With zero bombs, repeated Boomerang or sword hits eventually finish one — "eventually" meaning dozens of swings while its partner leaps at you. On GBA the same knights appear in red inside the Palace of the Four Sword at identical strength.
Deadrock. Death Mountain, Light World, moving in fast erratic bursts and hitting hard on contact. Any weapon turns one to stone — invulnerable in that form, but harmless, so the practical play is to petrify and walk past. To actually kill one, Magic Powder or the Quake Medallion turns Deadrocks into slimes you can cut down normally.
Bubble (Anti-Fairy). A grinning skull orbited by four fireballs, bouncing diagonally off walls in cramped rooms. Contact damages you and drains your magic meter, which is the part that ruins a Fire Rod run. It is invincible to essentially everything except Magic Powder, which converts it into a Fairy. Eastern Palace also parks a cluster of four Anti-Fairies around a pot sitting on the Big Key switch — you cannot fight them off it. Kill every other enemy in the room and the cluster disperses on its own.
Kyameron. The water blobs that form out of shallow pools and bounce at you. Kill one normally and it simply re-forms. Freeze it with the Ice Rod, then hit it with the Magic Hammer and it is gone for good.
Bari. Red Bari split into two smaller Red Biri when damaged, and both pulse with electricity on a cycle. While the pulse is up they are immune to the sword. Watch the animation and swing in the gap; do not just mash.
The elemental locks: fire, ice, and one medallion
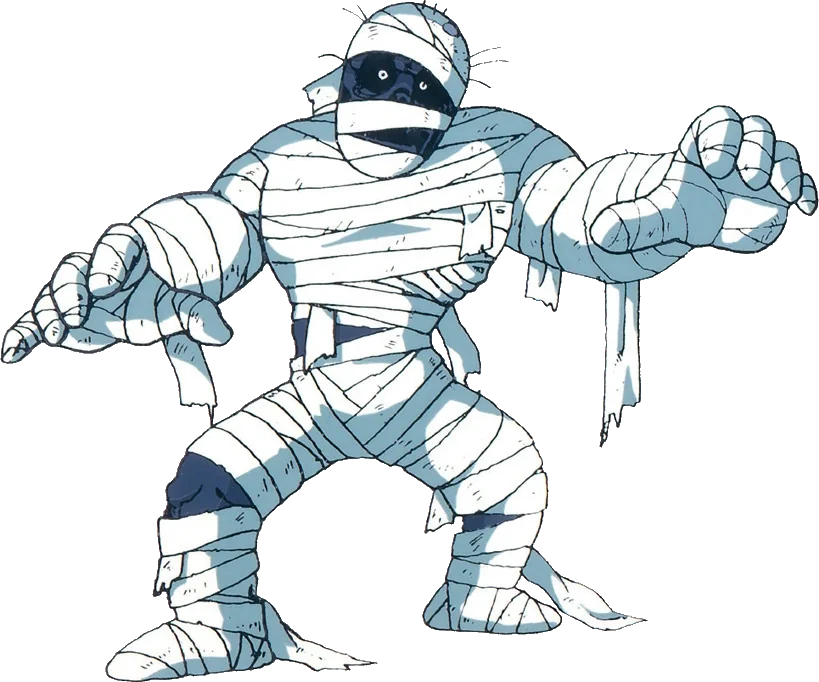
Gibdo. Skull Woods first, Ganon's Tower later. Contact costs you two hearts in the Green Mail, one in the Blue, half in the Red. If you are carrying the figure of three hearts, that is Zelda Wiki's number for the ALttP Gibdo; the ROM's contact-damage table files a Gibdo in the same bracket as a Moblin, and a Wizzrobe or a Freezor takes twice as much off you at every mail tier. The sword barely slows one. They are weak to fire, and the item that solves them is the Fire Rod, the main treasure of Skull Woods itself. That is the dungeon's design in one sentence: the tool that trivializes the local monster is buried inside it.
Freezor. Ice Palace only. They live inside wall panels and burst out when you get close, fast vertically and slow horizontally. Only the Fire Rod and the Bombos Medallion can destroy them. The Ice Palace also hangs Freezor-shaped statues on its walls that do nothing — pure camouflage so you cannot tell which panels are loaded.
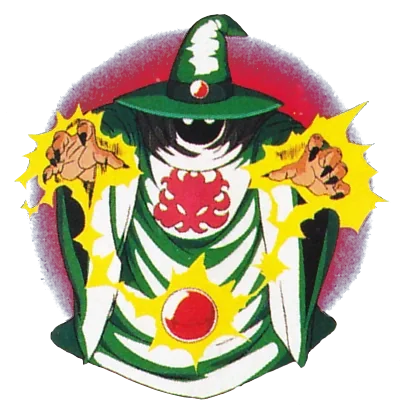
Wizzrobe. Misery Mire (green robes, brimmed hats) and Ganon's Tower (purple, faster). Unlike the original Legend of Zelda, these do not teleport around the room — they fade out and back in in the same spot, firing magic between. You can only damage one while it is solid, and it telegraphs both halves of the cycle by going transparent for a beat first. Stand off-axis, wait for the fade-in, hit, step back.
Kodongo. Red in the Tower of Hera, green in the pitch-black maze room of the Palace of Darkness. They pace behind low barriers and spit bursts of three fireballs that catch and linger, walling off narrow passages. One sword stroke kills a Kodongo, and they are immune to the Boomerang, so do not waste the throw.
The thieves, and the Like Like that is not on your cartridge
Pikit. Dark World, hopping around the Ice Lake, the Plains of Ruin, and Skeleton Forest. It shoots out a tongue to steal, and in Skeleton Forest that tongue reaches over short walls you assumed were cover. It takes green rupees, bombs, arrows, and every shield except the Mirror Shield. The saving grace: kill it and it drops the last thing it swallowed.
Like Like. The correction most ALttP guides get wrong: in A Link to the Past, Like Likes only exist in the Game Boy Advance release. On an SNES cartridge, the thing eating your shield is a Pikit. GBA added groups of them near the Dark World Shield Shop east of the Pyramid of Power and in the Palace of the Four Sword, and unlike Pikits they steal any shield — Mirror Shield included. Once one has it, it scurries off and then flies away; kill it before it takes off and you get the shield back. The Boomerang only shoves them, the Hookshot stuns. Full port differences: SNES vs GBA.
Wallmaster. Skull Woods. It drops from the ceiling and grabs you, and it does not steal an item — it steals your progress, dumping you at the dungeon entrance. No counter beyond watching the floor shadows.
The Dark World welcome party
The Dark World opens with a difficulty jump most players remember as unfair. It is mostly four enemies.
- Moblin — Dark World only, and the game where the series swapped their bulldog faces for pig ones. They throw trident spears from anywhere on screen, but the spears are blockable; the real danger is contact, at up to two hearts.
- Taros — bull-headed soldiers who charge. Blue carry spears, red carry tridents and hit harder. Red ones live almost entirely inside Ganon's Tower, plus one stray north of the Village of Outcasts. No shields, but they block your sword with their weapons, so come in at an angle.
- Zirro — the flying pests. Blue ones swarm and dodge close-range weapons. Green ones drop bombs that detonate on hitting the ground. If it is green, keep moving.
- Sluggula — Misery Mire and Ganon's Tower. It lays green bombs as it squirms, and it is immune to explosives, including its own, so a bomb is exactly the wrong answer. Anything else kills it fast.
Rounding out the neighborhood: Slaroks are the Dark World's Octoroks, near the Ice Lake and the waterfalls north of the Palace of Darkness — stronger, but still one swing of the Master Sword. Hyu are its Poes, haunting the Village of Outcasts.
Enemies that are secretly free items
A handful of these fights are net positive if you bring the right thing.
- Bubble plus Magic Powder equals a Fairy — bottle it. A full heal per puff, which is why the bottles guide calls fairy-in-a-bottle the closest thing here to an extra life.
- Stalfos Knights and Hardhat Beetles frequently drop bombs — the knight refunds the bomb you spent on it.
- Poes in the Sanctuary graveyard are tanky but reliably drop Magic Jars and arrows: a renewable ammo stop next to a save point.
- Popos die in one hit and often leave rupees — income while you save for the 500-rupee Flippers.
- Octoballoon is the opposite. There is exactly one in the entire game, on the shore of Lake Hylia, and it bursts into a spray of small Octoroks whether you approach it or hit it. No safe kill exists; it is there to make you flinch once.
The full weakness cheat sheet
| Enemy | Where | What actually works |
|---|---|---|
| Hinox | Dark World, near the Bomb Shop | One of your bombs; Bow from range |
| Helmasaur | Palace of Darkness, Skull Woods, Turtle Rock, Ganon's Tower | Hit the back; bomb, arrow, thrown skull, 3x Hammer |
| Terrorpin | Palace of Darkness | Hammer pound to flip, then anything; Hammer directly on top kills |
| Green Eyegore | Eastern Palace, Desert Palace, Ganon's Tower | Arrow or thrown jar into the open eye |
| Red Eyegore | Eastern Palace, Desert Palace, Ganon's Tower | Arrows only — two of them |
| Hardhat Beetle | Tower of Hera, Dark World dungeons, Death Mountain caves | Knock into a pit; bombs stun |
| Stalfos Knight | Ice Palace | Sword to collapse, then one bomb on the pile |
| Deadrock | Death Mountain, Light World | Magic Powder or Quake Medallion |
| Bubble (Anti-Fairy) | Dungeons, both worlds | Magic Powder — turns it into a Fairy |
| Kyameron | Shallow water rooms | Ice Rod to freeze, then Magic Hammer |
| Red Bari | Dungeons | Sword between electric pulses; splits into two Biri |
| Gibdo | Skull Woods, Ganon's Tower | Fire — the Fire Rod above all |
| Freezor | Ice Palace | Fire Rod or Bombos Medallion, nothing else |
| Wizzrobe | Misery Mire, Ganon's Tower | Any weapon, but only while it is solid |
| Kodongo | Tower of Hera, Palace of Darkness | One sword stroke; immune to the Boomerang |
| Pikit | Ice Lake, Plains of Ruin, Skeleton Forest | Kill it to get the stolen item back |
| Like Like (GBA only) | Near the Dark World Shield Shop | Kill it before it flies off with your shield |
| Sluggula | Misery Mire, Ganon's Tower | Anything except bombs |
| Blue Stalfos | Dungeons, both worlds | Thrown pot — it dodges sword swings |
| Tektite | Death Mountain | Melee; it dodges every sword beam |
New to the game and wondering which of these you will meet first? Start with the beginner guide, or browse the A Link to the Past hub.
Quick Action Checklist
- Carry bombs at all times. They are the only clean answer to Hinox and Stalfos Knights, and both refund you.
- Bring the Bow into Eastern Palace and Ganon's Tower — Red Eyegores take arrows and literally nothing else.
- Hammer flips Terrorpins, then stop hammering — a second pound flips them back upright.
- Pit the red Hardhat Beetles first, and expect them back if you leave the room.
- Keep Magic Powder stocked: it converts Bubbles into bottled Fairies and turns Deadrocks killable.
- Do not enter the Ice Palace without the Fire Rod or Bombos — Freezors answer to nothing else.
- Watch a Bari's electric pulse and swing in the gap; the sword does nothing while it is lit.
- Guard your shield in the Dark World. Pikits take everything but the Mirror Shield — and on GBA, Like Likes take that too.
- Throw pots at Blue Stalfos instead of swinging, and never sword-beam a Tektite.
- Sluggulas are immune to explosives, including the bombs they lay. Use anything else.
Frequently Asked Questions
How do you kill a Stalfos Knight in A Link to the Past?
What is the weakness of a Hinox in A Link to the Past?
How do you beat Terrorpins in A Link to the Past?
Are there Like Likes in A Link to the Past?
What kills Freezors in the Ice Palace?
Which A Link to the Past enemy does the most damage?
Keep Reading
- Mythras blog
- A Link to the Past coverage hub
- A Link to the Past beginner guide
- A Link to the Past boss guide
- A Link to the Past items and upgrades guide
- A Link to the Past Dark World guide
- A Link to the Past bottles guide
- A Link to the Past heart pieces guide
- A Link to the Past rupee guide
- A Link to the Past SNES vs GBA differences
- Zelda Wiki — Hinox (ALttP bomb weakness and the manual mistranslation)
- Zelda Wiki — Stalfos Knight (Ice Palace, bomb finisher, relative size)
- Zelda Wiki — Terrorpin (Magic Hammer flip mechanics)
- Zelda Wiki — Eyegore (green vs red, arrow-only immunity)
- Zelda Wiki — Freezor (Fire Rod and Bombos only, decoy wall statues)
- Zelda Wiki — Like Like (GBA-only ALttP appearance, Mirror Shield theft)
- Zelda Wiki — Pikit (what it steals and where it hunts)
- Zelda Wiki — Bubble / Anti-Fairy (magic drain, Magic Powder conversion)
- zelda3 source port — kSpriteInit_BumpDamage, kPlayerDamages and kEnemyDamages (contact damage per enemy, weapon damage per class)
- ALttP disassembly — sprite property tables at $6B266 and $6B8F1
Related Guides
A Link to the Past Dark World Guide: Crystals, Mirror Tricks, and the Stuff Nobody Tells You
Agahnim drops you on top of a golden pyramid with no map, no explanation, and seven crystals to find. Here is how the Dark World is actually laid out, what gates what, and which detours are worth taking before Ganon Tower.
A Link to the Past I-Frames: 58 Frames After a Hit
One byte at $031F runs the mercy window. It gets loaded with 58 after an enemy touches you, and while it is counting down, contact damage, projectile trails, electric shocks, your own bombs and the spike tiles all skip their damage check. Here is what that buys you, and where it quietly runs out.
A Link to the Past Damage Guide: Every Weapon Number and What Your Mail Really Does
The Golden Sword spin attack deals exactly what a Golden Sword swing deals. The Magic Hammer hits as hard as a Tempered Sword. And the Blue Mail does nothing whatsoever about a Beamos. Here are the real numbers, out of the ROM.
A Link to the Past GBA Riddle Quest: All 10 Answers
Ten one-line clues, ten things to scoop up with the Bug-Catching Net, and a sword technique at the end of it. The Riddle Quest only exists on the Game Boy Advance cartridge, and it will not start until you have won ten Medals of Courage in Four Swords.
A Link to the Past Beginner Guide: Your First Ten Hours
A Link to the Past hands you a sword and a rainstorm and then says almost nothing else. Here is the route, the combat, and the item order that turn a confusing first hour into a game you can actually finish.
A Link to the Past Small Keys: All 61, Dungeon by Dungeon
Palace of Darkness keeps all six of its keys in treasure chests. Desert Palace keeps none of its four in a chest at all. Here is the key count for every dungeon in the game, and where the ones you cannot find are actually hiding.