Breath of the Wild Great Fairy Fountain Locations and Costs
In Breath of the Wild the 10,000-rupee Great Fairy is not Tera. It is whichever fountain you open fourth. Here is where Cotera, Kaysa, Mija and Tera are, what each fairy you revive unlocks, and what every upgrade tier costs in materials once the rupees are paid.
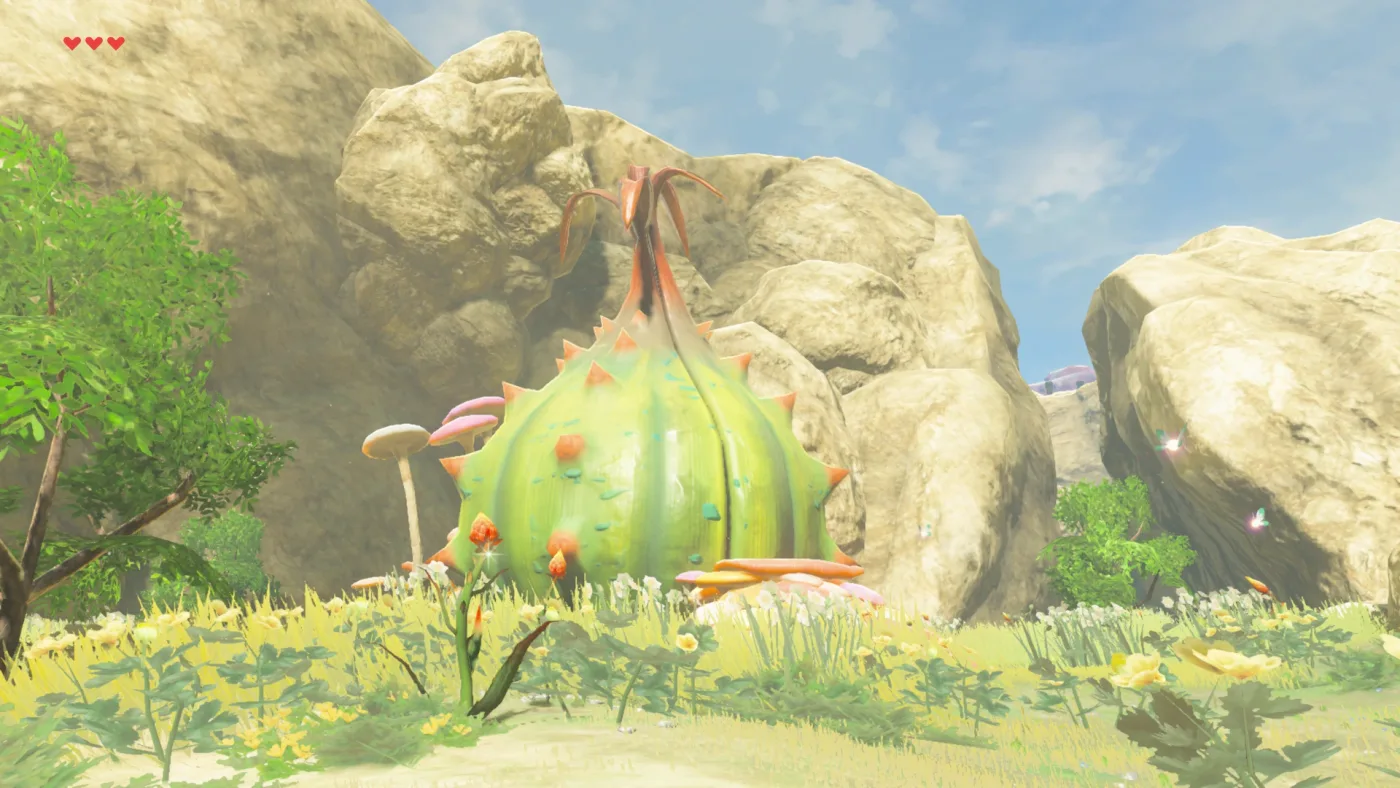
Tera is not the 10,000-rupee Great Fairy. Neither is Cotera, Kaysa or Mija. In Breath of the Wild the price on a fountain is set by how many of the four sisters you have already paid, so the fourth bud you open costs 10,000 whichever fairy is sleeping inside it, and the first costs 100. Zelda Wiki's pages for Kaysa and Tera give the same four possible asks, 100, 500, 1,000 or 10,000 rupees, and the same rule for choosing between them.
That one rule changes how you plan the whole thing. This is where all four fountains are, the quest that points at each one, what every fairy you free actually unlocks, and the material bill each upgrade tier hands you once the rupees are paid. Which armor is worth upgrading in the first place is the armor guide's job; this is the fountain side of it.
The price follows your count, not the fairy
| Fountain you open | Offering | Running total |
|---|---|---|
| 1st | 100 | 100 |
| 2nd | 500 | 600 |
| 3rd | 1,000 | 1,600 |
| 4th | 10,000 | 11,600 |
Each fairy introduces herself from inside a closed bud, explains that travellers stopped bringing her rupees, and asks for an offering sized by how many of her sisters have already received one. Pay it and the bud blooms. So "which Great Fairy is the expensive one" has no answer. "Which one do I open last" does.
One NPC will pay part of the bill for you, and it is worth collecting before you go anywhere near Kaysa. At Tabantha Bridge Stable, a traveller named Toren gives you 500 rupees, which he calls his life savings, and asks you to offer them to the Great Fairy on his behalf. That is the side quest A Gift for the Great Fairy, and its objective is only that an offering is made to her. Take his money and the four fountains cost you 11,100 net. If Kaysa happens to be the second fountain you open, his 500 covers her to the rupee.
Each fairy you free raises the cap by one star
The Armor entry on Fandom's Zelda Wiki puts the mechanic in one sentence: most clothing can be enhanced up to four times, and how many of those upgrades are available depends on how many Great Fairies have been restored. The fairies narrate it themselves as their power grows.
| Fairies revived | Highest enhancement | How the fairy describes it |
|---|---|---|
| 1 | ★ | A little bit |
| 2 | ★★ | A fair amount |
| 3 | ★★★ | Greatly |
| 4 | ★★★★ | To the max |
Three practical rules come with that:
- The ceiling is shared. Any of the four will do any upgrade up to the current cap. When Mija runs out of power mid-session she tells you that restoring her sisters is what lets her go further.
- From here on it is materials, not rupees. The offering is a one-time payment; each enhancement after it is paid in materials: monster parts, critters, plants, fish, gems and the like.
- You can read the bill before you have it. If you turn up short, the fairy still lets you look through your armor's enhancements to see what is missing.
The defense numbers follow a fixed curve set by a piece's base value. These are the four curves the sets in this guide sit on, from Fandom's enhancement tables and, for the Champion's Tunic, Zelda Wiki's:
| Base defense | ★ | ★★ | ★★★ | ★★★★ | Sets on this curve |
|---|---|---|---|---|---|
| 2 | 4 | 6 | 9 | 16 | Stealth |
| 3 | 5 | 8 | 12 | 20 | Climbing, Snowquill, Flamebreaker, Rubber, Desert Voe, Zora, Barbarian, Hylian |
| 4 | 7 | 12 | 18 | 28 | Ancient, Soldier's |
| 5 | 8 | 14 | 22 | 32 | Champion's Tunic |
Read across any row and the fourth star is the biggest single jump on it. A base-3 piece gains 2, then 3, then 4, then 8. Over a full three-piece set that is 36 total defense at ★★★ and 60 at ★★★★, so the 10,000-rupee fairy is buying the largest defense step in the system, not a rounding error.
Two fairies switch on the set bonuses
Cotera, Mija and Tera all spell out the set-bonus rule in their dialogue: enhance every piece of a set twice and some sets pay a bonus on top, and Cotera and Mija add that it only applies while you wear the set. Two revived fairies, 600 rupees, is enough to reach ★★ on everything in this table:
| Set | Bonus at ★★ on all three pieces | ★ and ★★ bill, all three pieces |
|---|---|---|
| Climbing | Climbing Jump Stamina Up | 9 Keese Wing, 9 Rushroom, 15 Electric Keese Wing, 15 Hightail Lizard |
| Snowquill | Unfreezable | 24 Red Chuchu Jelly, 9 Warm Safflina |
| Flamebreaker | Fireproof | 12 Fireproof Lizard, 6 Moblin Horn, 12 Moblin Fang |
| Rubber | Unshockable | 24 Yellow Chuchu Jelly, 15 Voltfruit |
| Desert Voe | Shock Damage Resist | 24 White Chuchu Jelly, 9 Ice Keese Wing |
| Stealth | Night Speed Up | 24 Blue Nightshade, 15 Sunset Firefly |
| Zora | Swim Dash Stamina Up | 9 Lizalfos Horn, 15 Lizalfos Talon, 15 Hyrule Bass |
| Barbarian | Charge Atk. Stamina Up | 12 Lynel Horn, 6 Lynel Hoof |
| Ancient | Ancient Proficiency | 15 Ancient Screw, 60 Ancient Spring, 30 Ancient Gear |
Seven of those nine rows are built from jellies, Keese wings, plants, fish, critters and common monster parts, the kind of thing you pick up while crossing Hyrule. Barbarian is the one that needs Lynel fights before ★★ (the Lynel guide has the farm), and Ancient is a Guardian-parts sink covered in the Guardian guide.
One naming trap on the Flamebreaker row. Fandom's Flamebreaker Set page points out that the trait on each piece, Flame Guard, is what protects you from Death Mountain's scorching air, while the ★★ set bonus, Fireproof, is what stops you catching fire. That is why the field bosses guide wants Flamebreaker at two stars before you climb an Igneo Talus. The Hylian and Soldier's sets have no set bonus at all, so for them ★★ is defense and nothing else.
Where the four fountains are
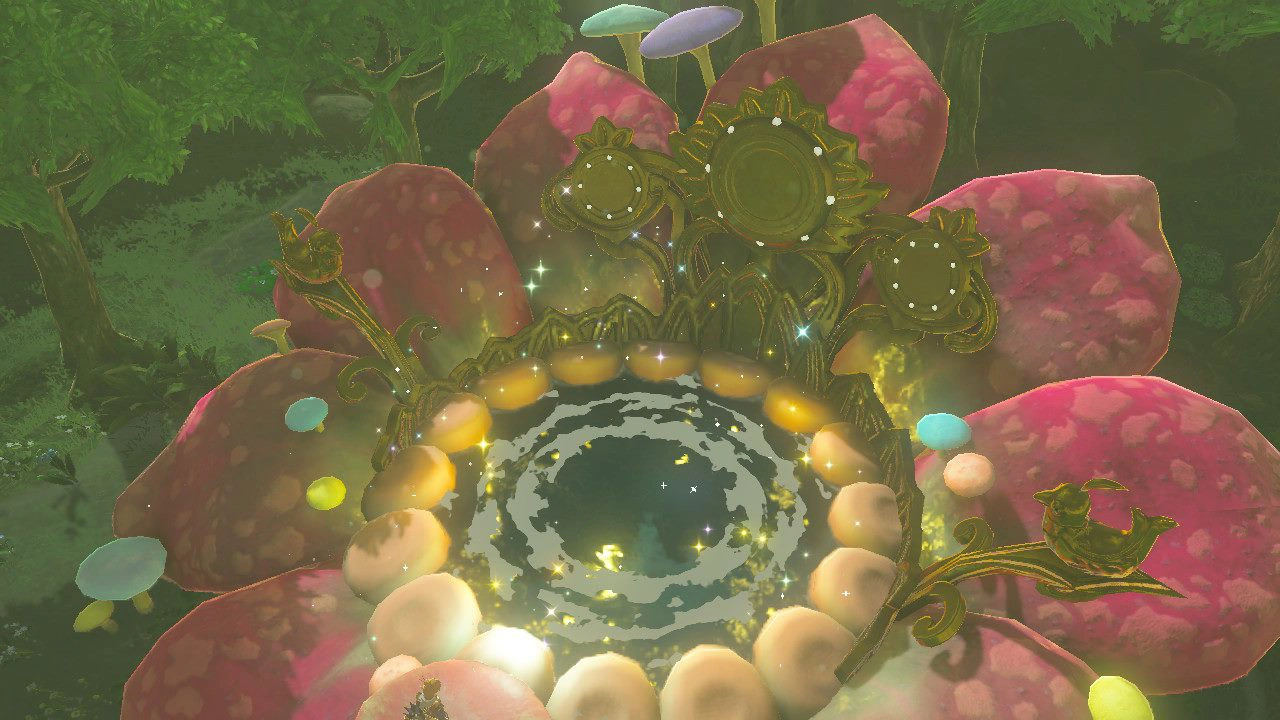
Zelda Wiki's Great Fairy Fountain entry places all four. Unlike older Zelda games, none of them is hidden in a cave: each is a giant flower bud out in the open, ringed by glowing orange mushrooms.
| Great Fairy | Region | Where the bud is | What points you there | Closest fast travel |
|---|---|---|---|---|
| Cotera | West Necluda | The woods above Kakariko Village, up the path past Ta'loh Naeg Shrine | Find the Fairy Fountain, a main quest from Pikango | Ta'loh Naeg Shrine, in Kakariko |
| Kaysa | Tabantha Frontier | Piper Ridge, south of Tabantha Tower | A Gift for the Great Fairy, a side quest from Toren | Tabantha Tower |
| Mija | Akkala | The woods south of Tarrey Town, near the shore of Lake Akkala | Monari in Tarrey Town mentions it | Tarrey Town is the landmark |
| Tera | Gerudo Desert | Inside the Gerudo Great Skeleton, in the southwest of the desert near Dragon's Exile | The Leviathan Bones side quest sends you to photograph this skeleton | Hawa Koth Shrine, in the same skeleton |
A fifth bud that looks like a fountain sits at Malanya Spring. That one belongs to the Horse God, not a Great Fairy, and what Malanya does is in the horse guide.
Cotera, up the hill from Kakariko
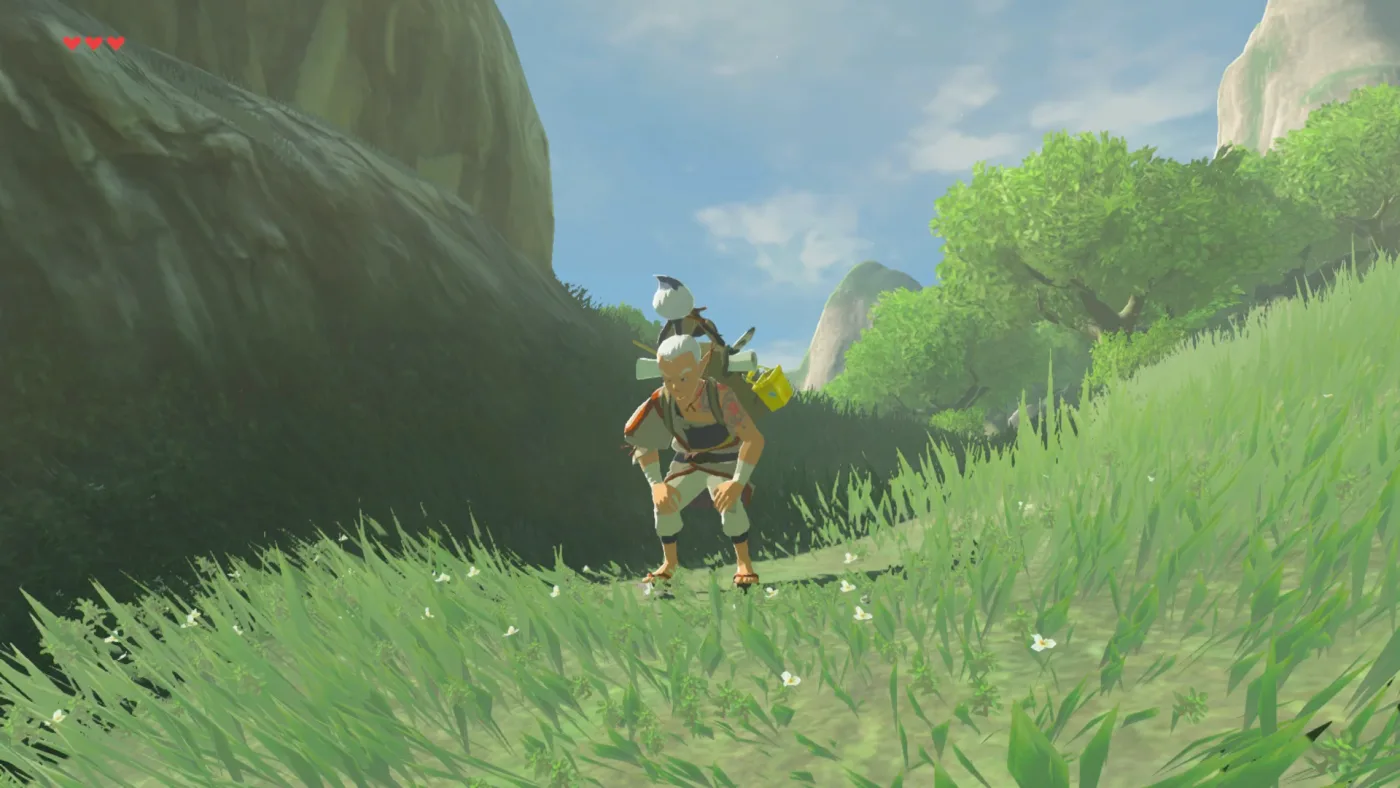
Kakariko is where the main quest sends you to meet Impa, and Cotera's bud is in the woods just above the village. Impa says only a few villagers still know it, but Kakariko was built under Cotera's watchful eye.
The signpost is Pikango, a travelling painter from Kakariko who has come home to find the fountain. Once your Sheikah Slate's Camera is back, he opens the main quest Find the Fairy Fountain and leads you uphill. Just past Ta'loh Naeg Shrine he runs out of breath and tells you the fountain is along the path beyond it. Photograph the bud and show him; he finds it less elegant than he hoped, and pays you back by identifying one of Zelda's album pictures, the gate at the base of Mount Lanayru. The other eleven album locations are in the memory locations guide.
Kaysa, at the end of a tower's shadow
Toren sits at Tabantha Bridge Stable, convinced the Great Fairy from the old stories is real. His tip is the whole route: climb the tower beyond the Tabantha Great Bridge in the afternoon and follow its shadow. Zelda Wiki puts Kaysa's fountain on Piper Ridge, south of Tabantha Tower, and the quest log text tells you to follow the shadow.
Make the offering, then go back to Toren to close the quest. Do not expect a reward from him. Hint at one and he points out that you only got to meet the Great Fairy thanks to his tip.
Mija, south of Tarrey Town
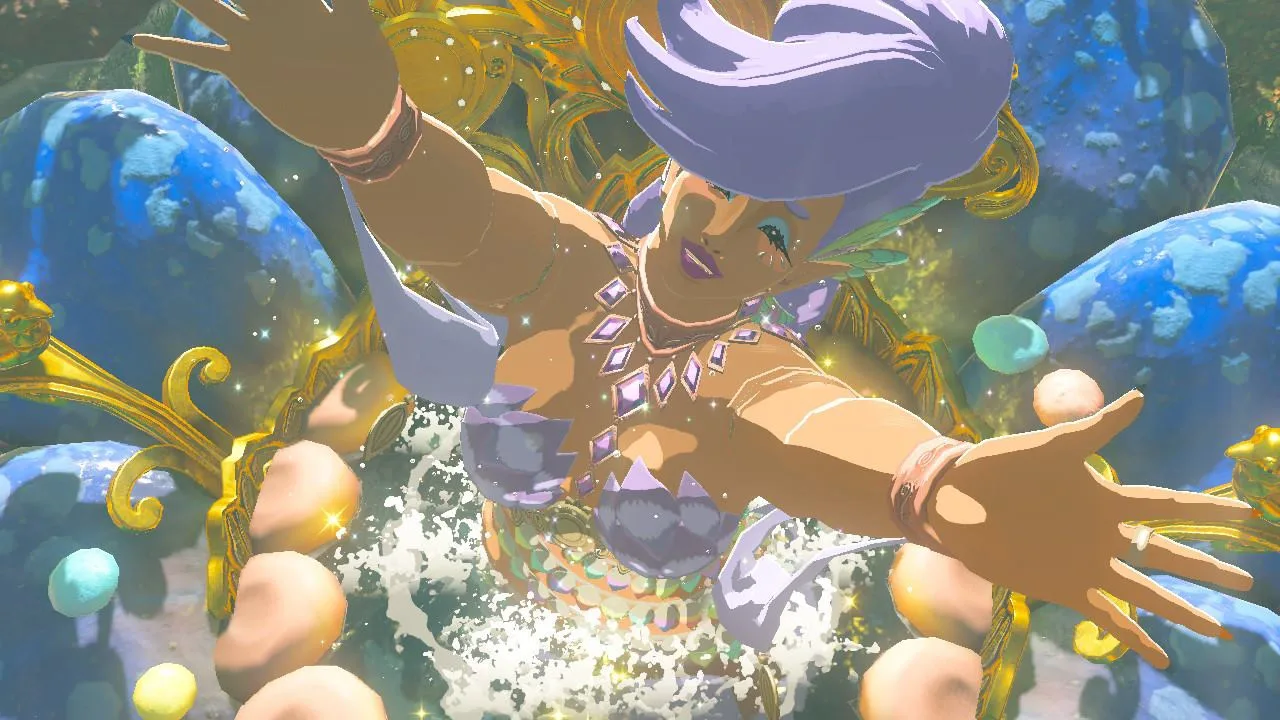
Mija's bud is in the woods south of Tarrey Town, near the edge of Lake Akkala. Monari, a Tarrey Town resident, has heard about it, but after talking it over with Moggs she decided not to disturb something she does not understand. Her tip is not a quest and nothing goes in your log, so the practical move is to fold the fountain into a Tarrey Town trip; the Tarrey Town guide has the build that puts Rhondson's armor shop and Granté's restocks in the same town.
Tera, inside a leviathan's ribcage
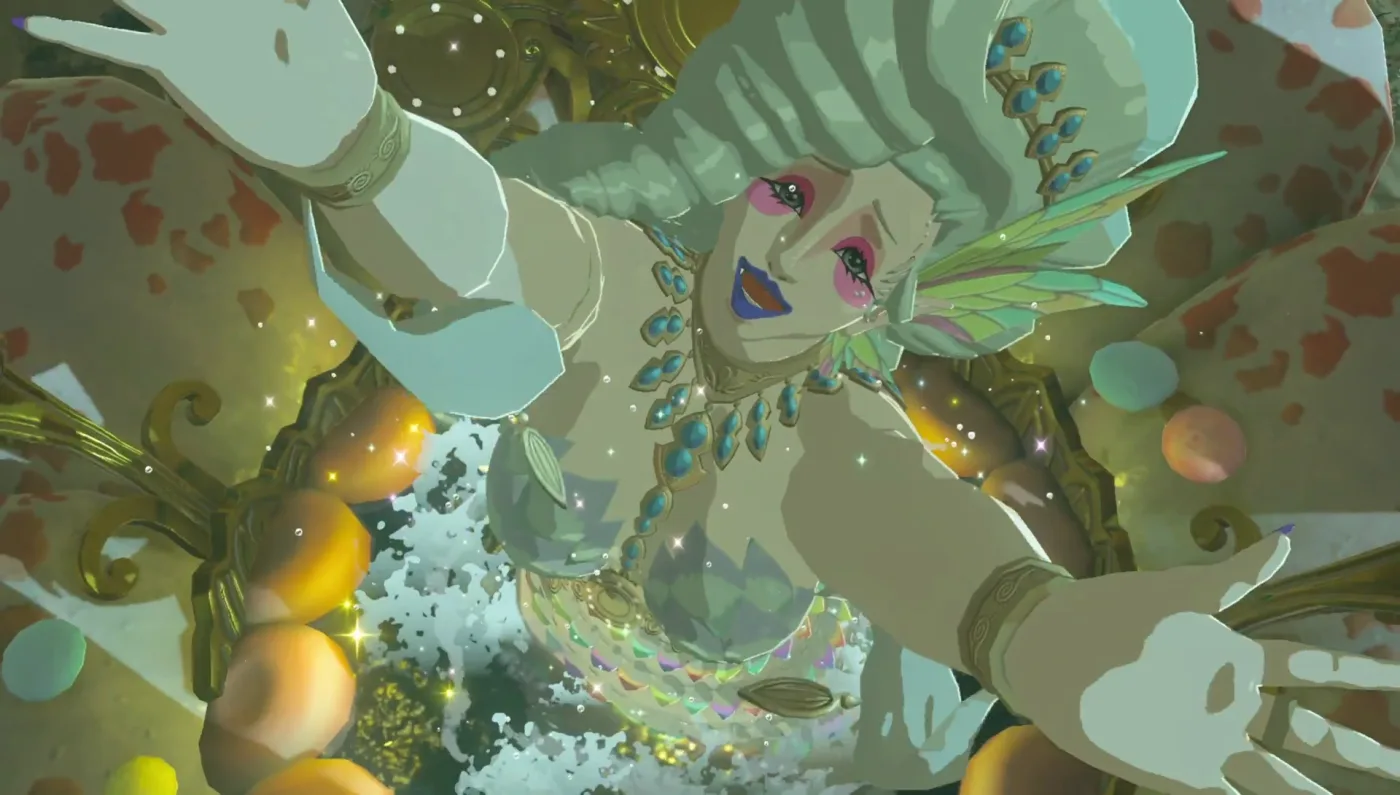
Tera calls herself the eldest of the four sisters, and her fountain is the strangest location: inside the Gerudo Great Skeleton, the bones of an extinct leviathan in the southwest of the Gerudo Desert near Dragon's Exile. Hawa Koth Shrine sits in the same skeleton, so activating it turns the fountain into a warp-and-walk trip for every upgrade after.
Two more things live in those bones. A Korok hides in leaves with fairy dust on a bone tip directly above the fountain. And the Leviathan Bones side quest, from Akrah and his brothers at Serenne Stable, wants a picture of this skull for Garshon; photograph all three skeletons for the three brothers and Akrah pays a Gold Rupee. The Gerudo Desert runs hot by day, so bring the heat protection the armor guide covers.
Zelda Wiki also notes that Great Fairy Fountains are often surrounded by Silent Princesses or Armoranths, and Fandom's material lists for all four fountain areas include the Silent Princess. Pick them while you are there. The next two sections explain why.
Open the fourth fountain when you can pay the fourth star
The fourth fairy does one thing: she lifts the cap from ★★★ to ★★★★. That is the biggest defense step, but it is also where the bills turn rare. These are the third and fourth enhancements for all three pieces of each set:
| Set | ★★★ bill | ★★★★ bill | Set defense, ★★★ to ★★★★ |
|---|---|---|---|
| Climbing | 15 Ice Keese Wing, 30 Hot-Footed Frog | 15 Fire Keese Wing, 45 Swift Violet | 36 to 60 |
| Snowquill | 24 Fire Keese Wing, 15 Sunshroom | 30 Red Lizalfos Tail, 15 Ruby | 36 to 60 |
| Flamebreaker | 9 Smotherwing Butterfly, 9 Moblin Guts | 15 Smotherwing Butterfly, 6 Hinox Guts | 36 to 60 |
| Rubber | 15 Zapshroom, 15 Yellow Lizalfos Tail | 30 Yellow Lizalfos Tail, 30 Topaz | 36 to 60 |
| Desert Voe | 24 Ice Keese Wing, 9 Icy Lizalfos Tail | 30 Icy Lizalfos Tail, 15 Sapphire | 36 to 60 |
| Stealth | 24 Silent Shroom, 15 Sneaky River Snail | 30 Stealthfin Trout, 15 Silent Princess | 27 to 48 |
| Zora | 15 Lizalfos Tail, 15 Hearty Bass | 30 Lizalfos Tail, 45 Opal | 36 to 60 |
| Barbarian | 12 Lynel Hoof, 3 Lynel Guts | 6 Lynel Guts, plus one horn shard each from Dinraal, Farosh and Naydra | 36 to 60 |
| Ancient | 45 Ancient Shaft, 15 Ancient Core | 3 Star Fragment, 6 Giant Ancient Core | 54 to 84 |
| Soldier's | 8 Lizalfos Tail, 4 Hinox Guts | 6 Lynel Hoof, 6 Lynel Guts | 54 to 84 |
| Hylian | 30 Bokoblin Fang, 15 Bokoblin Guts | 45 Bokoblin Guts, 45 Amber | 36 to 60 |
The ★★★★ column is where gems arrive, and gems are money. At the sell values Fandom's gem pages list (180 rupees a Topaz, 210 a Ruby, 260 a Sapphire, 60 an Opal, 30 an Amber), maxing the Rubber set spends 30 Topaz, 5,400 rupees of sale value, more than half the 10,000 offering itself. Snowquill's 15 Rubies are 3,150, Desert Voe's 15 Sapphires 3,900, Zora's 45 Opals 2,700 and the Hylian set's 45 Amber 1,350. That is the armor guide's case for not selling gems early, put in numbers; for the spares you do sell, the rupee farming guide has the gem buyer who pays over shop rate.
The other heavy rows point at this vertical's farming guides: Lynel Guts for Barbarian and Soldier's, horn shards from the dragon farming routes, and Giant Ancient Cores, which the Guardian guide puts at a 0.5% drop.
So the order that makes sense is not about which fairy. Open the first three whenever you pass them, because 1,600 rupees in total unlocks every ★★★ tier. Hold the fourth until you have both the 10,000 and the materials for the ★★★★ upgrades you actually want, because the fairy who costs the most only does something once those materials are in your bag.
The Champion's Tunic wants a dragon at two stars
Zelda Wiki rates the Champion's Tunic as the piece with the highest potential defense of any armor in the game, 32 at ★★★★. It also has an unusual bill, because dragons arrive at the second star rather than the fourth:
| Tunic level | Defense | Materials |
|---|---|---|
| Base | 5 | — |
| ★ | 8 | 3 Silent Princess |
| ★★ | 14 | 3 Silent Princess, 2 Shard of Farosh's Horn |
| ★★★ | 22 | 3 Silent Princess, 2 Shard of Naydra's Horn |
| ★★★★ | 32 | 10 Silent Princess, 2 Shard of Dinraal's Horn |
That is 19 Silent Princesses and six horn shards, two from each dragon. So the Tunic is one piece where two fairies are not enough on their own: ★★ also needs Farosh. Impa hands the Tunic over after your first recovered memory, so it is an early reason to learn the dragon farming routes.
What no fairy will touch
Some armor cannot be enhanced at any fountain. These are the pieces whose Fandom or Zelda Wiki pages say so explicitly. Treat it as a list of examples rather than a complete register:
- Thunder Helm. Riju's loaner, covered in the Yiga Clan Hideout guide, deflects lightning with no upgrades at all, and Fandom's Thunder Helm page notes it cannot be upgraded at a fountain.
- Gerudo outfit. The full set gives level 1 heat resistance, and Fandom's Gerudo Veil page notes the pieces cannot be upgraded at a fountain.
- Kilton's goods. The Bokoblin Mask (99 Mon), Lynel Mask (999 Mon) and Dark Hood (1,999 Mon), all from the Fang and Bone.
- Expansion Pass and collaboration rewards. The Royal Guard Uniform, Phantom Armor, Phantom Ganon Armor, Zant's Helmet, Ravio's Hood, Midna's Helmet, Tingle's Shirt and the Salvager Vest.
The pages for Kilton's three pieces and the eight rewards also say they cannot be dyed at the Kochi Dye Shop. The amiibo-exclusive sets go the other way: the amiibo guide covers which figures drop them, and all six sets there take a fairy's enhancements.
If you are playing the sequel instead, the fairies move next to stables and want a band rather than rupees, which the Tears of the Kingdom armor guide walks through. More Hyrule breakdowns are on the Breath of the Wild coverage hub, and the rest of our coverage is on the Mythras blog.
Quick Action Checklist
- Expect 100, 500, 1,000 and 10,000 rupees in the order you open the fountains, 11,600 in all, whichever fairy is which.
- Talk to Toren at Tabantha Bridge Stable before you go to Kaysa. His 500 rupees cut the total to 11,100.
- Free Cotera first if you are near Kakariko: Pikango's main quest walks you past Ta'loh Naeg Shrine to her bud.
- Remember the cap is shared: one fairy is ★, two is ★★, three is ★★★, four is ★★★★, and any fairy can do any upgrade up to it.
- Get to two fairies early. 600 rupees reaches the ★★ tier, which is where set bonuses such as Fireproof, Unfreezable and Climbing Jump Stamina Up switch on.
- Open the fourth fountain only once you can afford the ★★★★ materials too. That tier is the biggest defense jump and the one that eats gems, Lynel Guts, horn shards and Giant Ancient Cores.
- Activate Hawa Koth Shrine inside the Gerudo Great Skeleton so Tera is one warp away, and grab the Korok above her fountain.
- Pick Silent Princesses around the fountains. The Champion's Tunic needs 19 of them, plus two horn shards from each dragon.
- Do not bring the Thunder Helm, the Gerudo outfit or Kilton's masks to a fairy. They cannot be enhanced.
Frequently Asked Questions
Where are the four Great Fairy Fountains in Breath of the Wild?
How much does it cost to unlock all the Great Fairies in Breath of the Wild?
Is Great Fairy Tera always 10,000 rupees in Breath of the Wild?
How many Great Fairies do you need for set bonuses in Breath of the Wild?
What does it take to fully upgrade the Champion's Tunic in Breath of the Wild?
Does upgrading armor at a Great Fairy cost rupees in Breath of the Wild?
Which armor cannot be upgraded by a Great Fairy in Breath of the Wild?
Keep Reading
- Zelda Wiki — Great Fairy Fountain: the four Breath of the Wild locations, open-air flower buds, the 100/500/1,000/10,000 offering, Malanya Spring
- Zelda Wiki — Kaysa: Piper Ridge, A Gift for the Great Fairy, the offering set by how many sisters have been helped, the shared enhancement cap
- Zelda Wiki — Tera: eldest of the four sisters, the offering scale, the set-bonus explanation after her first enhancement
- Zelda Wiki (Fandom) — Cotera: near Kakariko Village, Impa on the village being built under her watch, the four enhancement levels and the twice-enhanced set-bonus rule
- Zelda Wiki (Fandom) — Mija: south of Tarrey Town near Lake Akkala, the shared cap, viewing enhancement requirements without the materials
- Zelda Wiki (Fandom) — Find the Fairy Fountain: Pikango's main quest, the path past Ta'loh Naeg Shrine, the photo and the Mount Lanayru gate reward
- Zelda Wiki (Fandom) — A Gift for the Great Fairy: Toren at Tabantha Bridge Stable, the 500-rupee offering, the Tabantha Tower shadow
- Zelda Wiki (Fandom) — Monari: mentions the Great Fairy Fountain near Tarrey Town
- Zelda Wiki (Fandom) — Gerudo Great Skeleton: contains Hawa Koth Shrine and Tera's fountain, Korok in the leaves above the fountain
- Zelda Wiki (Fandom) — Leviathan Bones: Akrah, Garshon and Onya at Serenne Stable, the Gerudo Great Skeleton in the southwest desert, Gold Rupee reward
- Zelda Wiki (Fandom) — Armor: up to four enhancements, available upgrades set by how many Great Fairies are restored
- Zelda Wiki (Fandom) — Set Bonus: the Breath of the Wild set bonus list, and the sets with none
- Zelda Wiki (Fandom) — Climbing Gear: enhancement materials per level and the base-3 defense curve
- Zelda Wiki (Fandom) — Snowquill Set: freezing immunity once all three pieces are upgraded twice, per-piece upgrade data
- Zelda Wiki (Fandom) — Flamebreaker Set: Flame Guard on each piece versus the Fireproof set bonus at two upgrades
- Zelda Wiki (Fandom) — Rubber Armor set: one level of shock resistance per piece, Unshockable at two upgrades
- Zelda Wiki (Fandom) — Desert Voe Set: heat resistance per piece, Shock Damage Resist set bonus at two upgrades
- Zelda Wiki (Fandom) — Stealth Set: Night Speed Up with every piece upgraded twice
- Zelda Wiki (Fandom) — Zora Set: Swim Dash Stamina Up with every piece upgraded twice
- Zelda Wiki (Fandom) — Barbarian Helm: Lynel parts per level and the Shard of Dinraal's Horn at four stars
- Zelda Wiki (Fandom) — Ancient Helm: Ancient parts per level, Star Fragment and two Giant Ancient Cores at four stars
- Zelda Wiki (Fandom) — Soldier's Helm: enhancement materials per level, Lynel Hoof and Lynel Guts at four stars
- Zelda Wiki (Fandom) — Hylian Hood: Bokoblin parts per level, Amber at four stars
- Zelda Wiki — Champion's Tunic: 5 to 32 defense, Silent Princess and dragon horn shard enhancement table, highest potential defense of any armor
- Zelda Wiki (Fandom) — Gerudo Veil: level 1 heat resistance from the full outfit, pieces cannot be upgraded at a Great Fairy Fountain
- Zelda Wiki (Fandom) — Thunder Helm: defense 3, cannot be upgraded at a Great Fairy Fountain
- Zelda Wiki (Fandom) — Bokoblin Mask: 99 Mon at the Fang and Bone, cannot be enhanced or dyed
- Zelda Wiki (Fandom) — Dark Hood: 1,999 Mon at the Fang and Bone, cannot be enhanced or dyed
- Zelda Wiki (Fandom) — Topaz: 180-rupee sell value in Breath of the Wild
- Zelda Wiki (Fandom) — Ruby: 210-rupee sell value in Breath of the Wild
- Zelda Wiki (Fandom) — Sapphire: 260-rupee sell value in Breath of the Wild
- Zelda Wiki (Fandom) — Opal: 60-rupee sell value in Breath of the Wild
- Zelda Wiki (Fandom) — Amber: 30-rupee sell value in Breath of the Wild
- Zelda Wiki (Fandom) — Great Fairy Fountain: per-region material lists for all four Breath of the Wild fountains, each including the Silent Princess
- Zelda Wiki (Fandom) — Barbarian Armor: Lynel parts per level and the Shard of Farosh's Horn at four stars
- Zelda Wiki (Fandom) — Barbarian Leg Wraps: Lynel parts per level and the Shard of Naydra's Horn at four stars
- Zelda Wiki (Fandom) — Soldier's Armor: 3 Lizalfos Tail and 1 Hinox Guts at three stars, Lynel Hoof and Lynel Guts at four
- Zelda Wiki (Fandom) — Soldier's Greaves: 3 Lizalfos Tail and 1 Hinox Guts at three stars, Lynel Hoof and Lynel Guts at four
- Zelda Wiki (Fandom) — Lynel Mask: 999 Mon at the Fang and Bone, cannot be enhanced or dyed
- Zelda Wiki (Fandom) — Salvager Vest: Xenoblade Chronicles 2 collaboration reward, cannot be enhanced or dyed
- Zelda Wiki (Fandom) — Guardian Stalker: drop table with a 0.5% Giant Ancient Core chance
Related Guides
Breath of the Wild Hateno House: Every Upgrade and Cost
Buying Link's house in Hateno Village is only the first half of Hylian Homeowner. Bolson then sells 14 additions at 100 rupees each, and nine of them do something. Here is the full 4,400-rupee bill, the conversation that unlocks the renovation menu, and what is worth hanging on the walls.
Breath of the Wild Rupee Farming: How to Make Money Fast
Four Lynel Guts and an Energetic Rhino Beetle sell for 830 rupees raw and 2,330 as an elixir, by the selling formula Zelda Wiki publishes for Breath of the Wild. Here is what sells for the most, what the cooking pot does to a price, what Ramella pays for gems, where rupees still drop as rupees, and which side quests pay in cash or Diamonds.
Breath of the Wild Dye Guide: All 15 Colors, Mapped
Sayge at the Kochi Dye Shop will turn any five matching-color materials into a dye for 20 rupees flat, and dyes your whole outfit at once whether you like it or not. Here is what makes all 15 colors, and the dozen pieces of armor that never take the dye.
Breath of the Wild Tarrey Town: How to Build It All
Tarrey Town starts as a bare rock island in Lake Akkala with one carpenter standing on it and no supplies. Getting from there to a finished town is a full side quest chain — 110 bundles of wood, four recruits whose names all have to end in "son," and a wedding you are invited to. None of it is required to beat the game.
Breath of the Wild Beginner's Guide: Your First 10 Hours
Breath of the Wild does not tell you that armor matters more than hearts, that your weapons are ammunition, or that the Blood Moon is a restock button. Here is the stuff the game leaves you to discover the hard way.
Breath of the Wild Best Armor Guide: Sets That Actually Matter
Defense in Breath of the Wild is not a bar that fills up — it is a subtraction problem, and understanding the math tells you exactly which armor sets are worth farming and which are cosmetic traps.