Breath of the Wild Horse Guide: Taming, Bond, and the Best Mounts
Breath of the Wild lets you tame a horse in the first hour and then never explains the bond meter, the spur economy, or why your horse keeps ignoring you. Here is how mounts actually work.
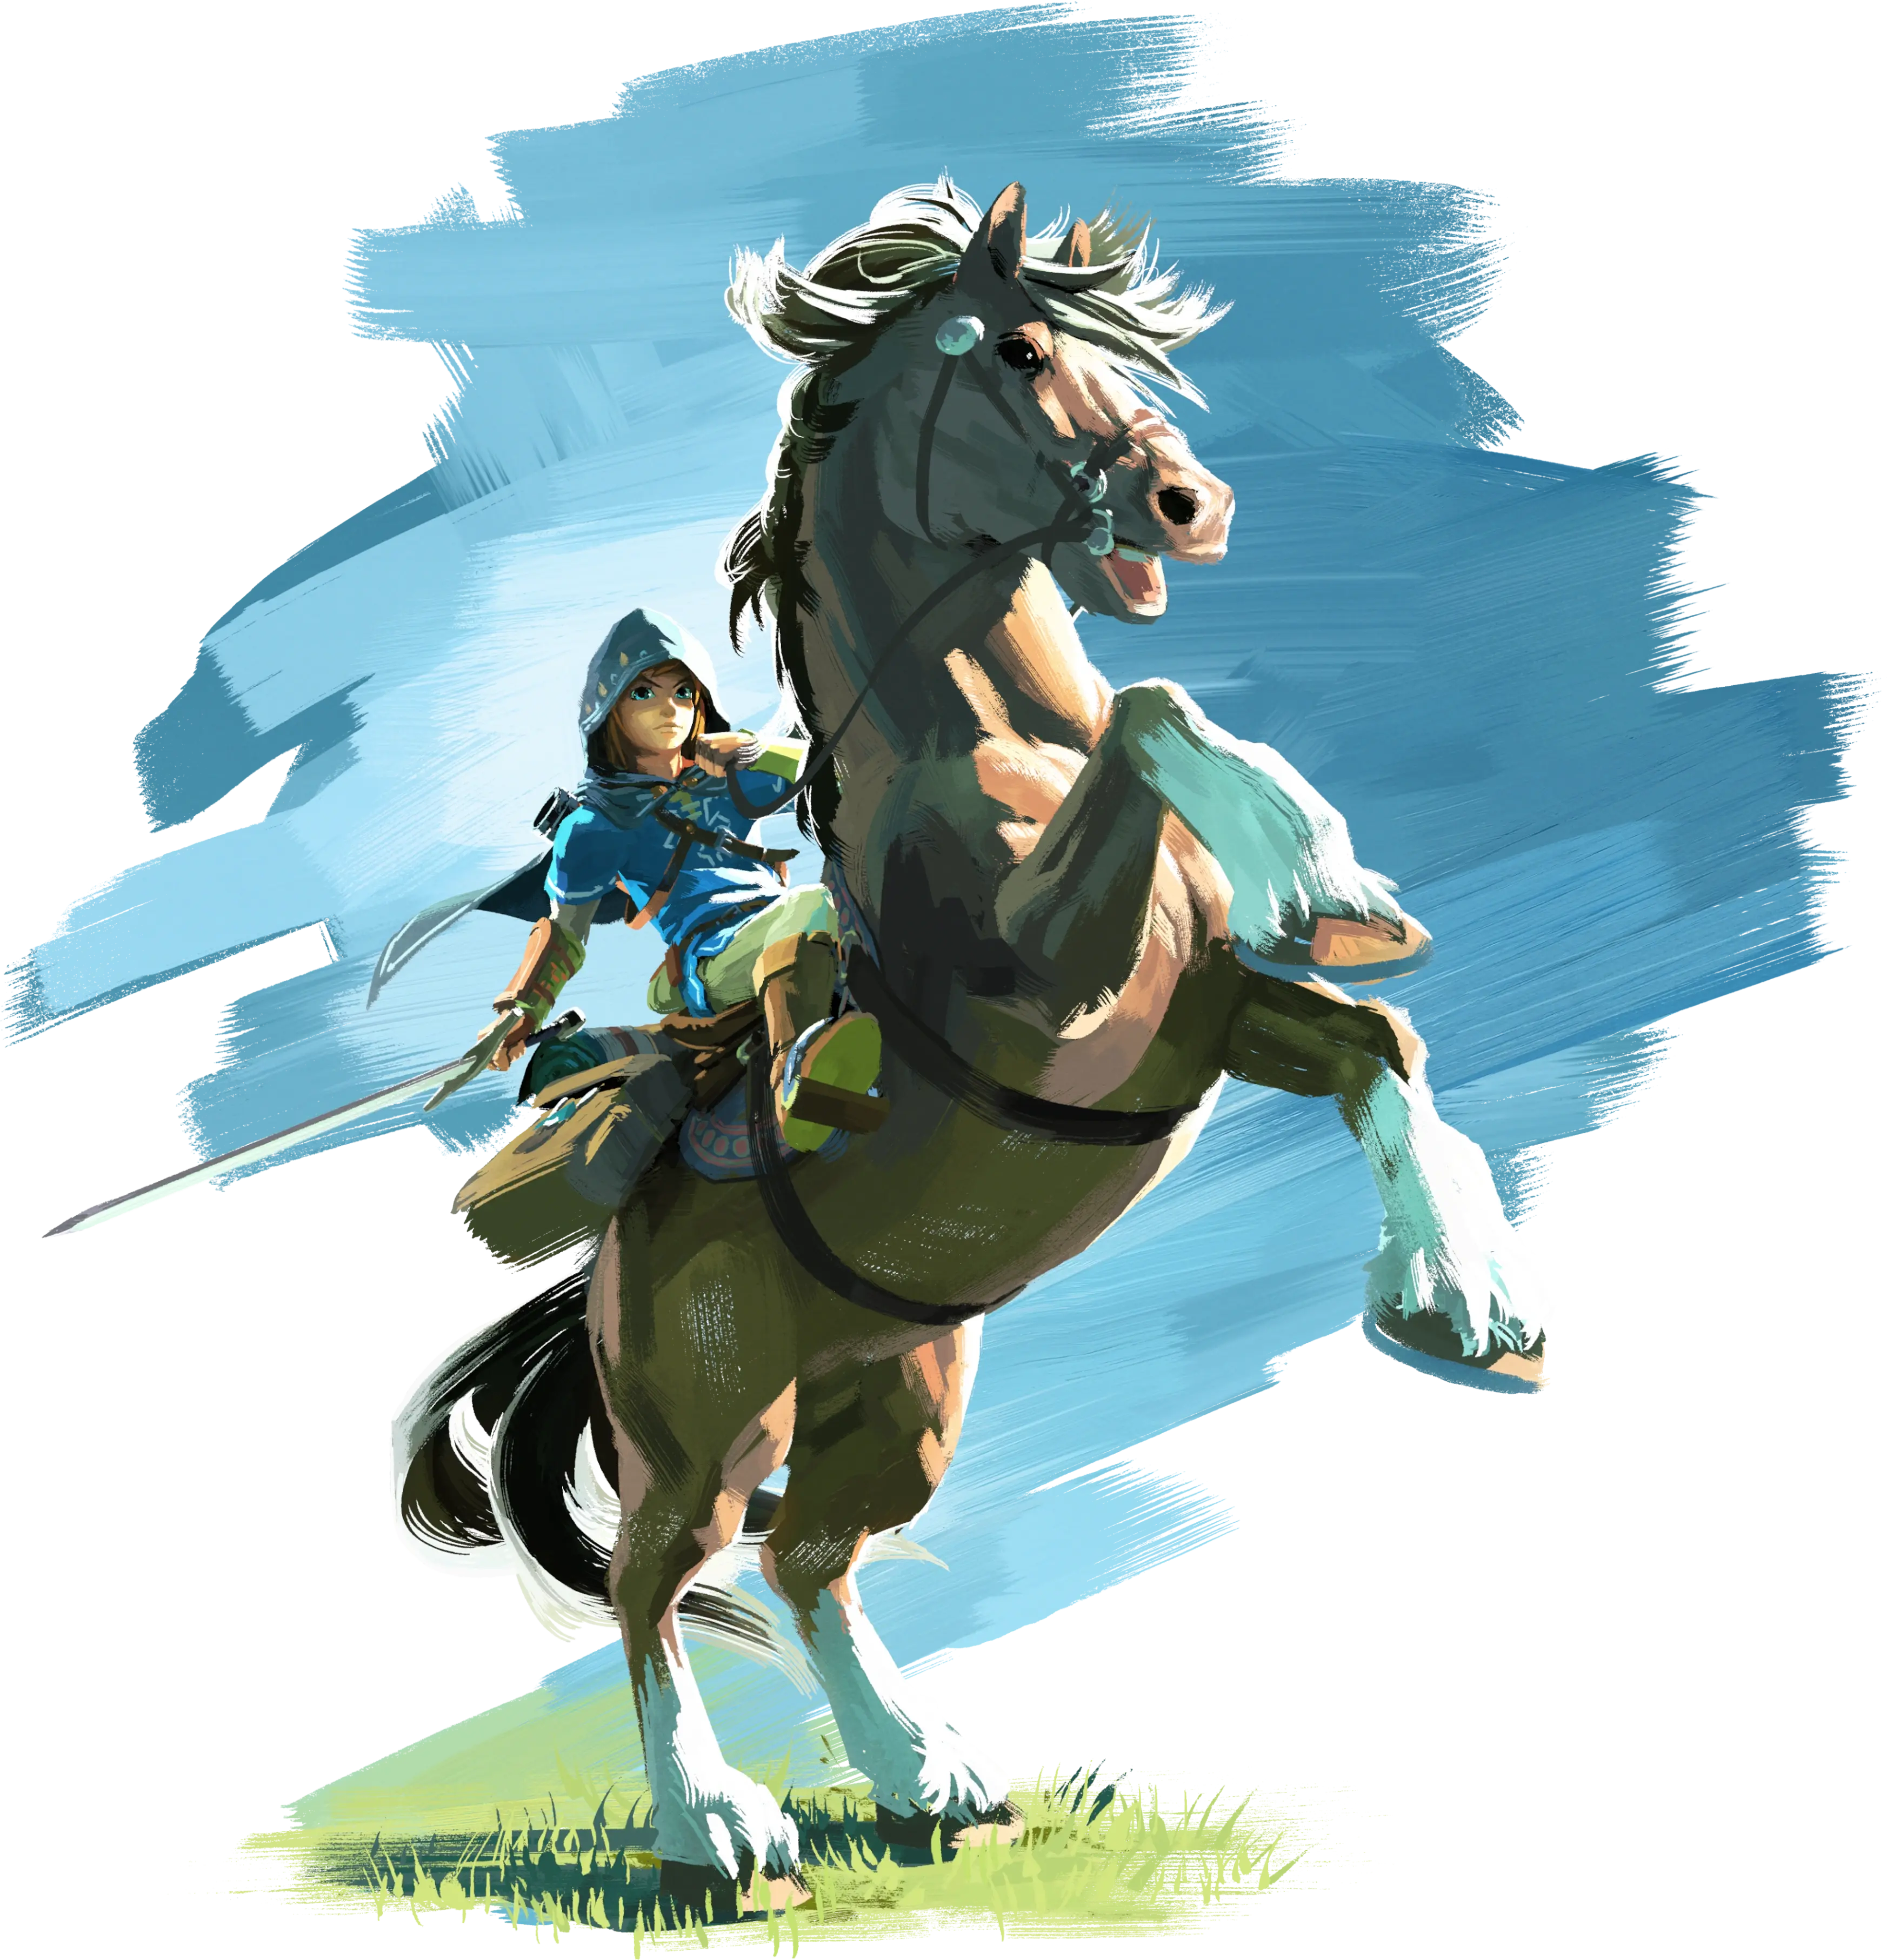
Here is the horse fact that reframes the whole system: your mount has a hidden affection score from 0 to 100, and a horse sitting near the bottom of that range will buck, drift off your intended line, and flat-out ignore your inputs mid-ride. New players assume they caught a "bad" horse and abandon it. They caught a fine horse with zero bond, and bond is the one horse stat you can actually grind up.
Breath of the Wild drops you next to rideable horses within the first hour off the Great Plateau and then explains almost nothing. It never spells out that stats are randomized per horse, that soothing costs stamina, that a carrot is worth more than a saddle, or that a dead horse is not necessarily gone forever. This guide fixes that — taming, registering, the bond meter, the spur economy, and every special mount worth the detour.
The one thing horses do that fast travel cannot
Fast travel warps you to shrines, towers, and stables you have already unlocked. Horses cover the ground between those points, and that in-between is where the game lives — the camps, Koroks, and shrines you have not found yet. A horse turns the overland slog into something you barely notice while you scan the horizon.
The catch is that a horse only follows roads well and only sticks with you at max bond — rough terrain, cliffs, and deep water are still on foot. So it is not a replacement for climbing and gliding, just a road-speed layer on top of them. If you have not sorted your stamina wheel yet, start with the Breath of the Wild beginner's guide, because taming a horse literally spends stamina.
How to actually tame a wild horse
Wild horses roam in herds across Hyrule Field and the central grasslands. Taming one is a stealth move, not a combat move:
- Crouch and approach from behind. Sprinting spooks the whole herd. Sneak up on the horse's flank or rear.
- Press up on the d-pad to mount. You can also drop onto a horse's back from a ledge or paraglider above it, which skips the sneaking entirely.
- Soothe it before it throws you. The horse bucks violently to shake you off. Hold the soothe input (L) repeatedly — each soothe drains a chunk of your stamina wheel and calms the horse a little.
- Hang on until it accepts you. How long this takes scales with the horse's stats. A gentle horse yields in a couple of soothes; a strong, wild one can outlast your entire stamina bar.
If your stamina runs dry before the horse submits, you get bucked off and have to start over — which is exactly why stamina vessels make early horse-taming so much easier. Feeding the herd is not required, but a well-timed stealth approach with a full stamina wheel lands you almost any horse in Hyrule.
Read the coat before you pounce
You cannot see a horse's numbers until you register it, but the coat is a rough tell. As a general pattern, solid, single-color horses tend to roll higher raw stats and wilder temperaments — they hit harder on strength and speed but fight you longer during taming. Spotted and two-tone horses are usually gentler and easier to break, at the cost of more middling stats. Neither is strictly better. A calm horse you can control at low bond beats a monster you can barely steer, especially early.
Registering at a stable: what the 20 rupees buys
Catching a horse is temporary. Until you register it, it is a rental — dismount and wander off and it eventually goes back to being wild. Registration is what makes a horse yours.
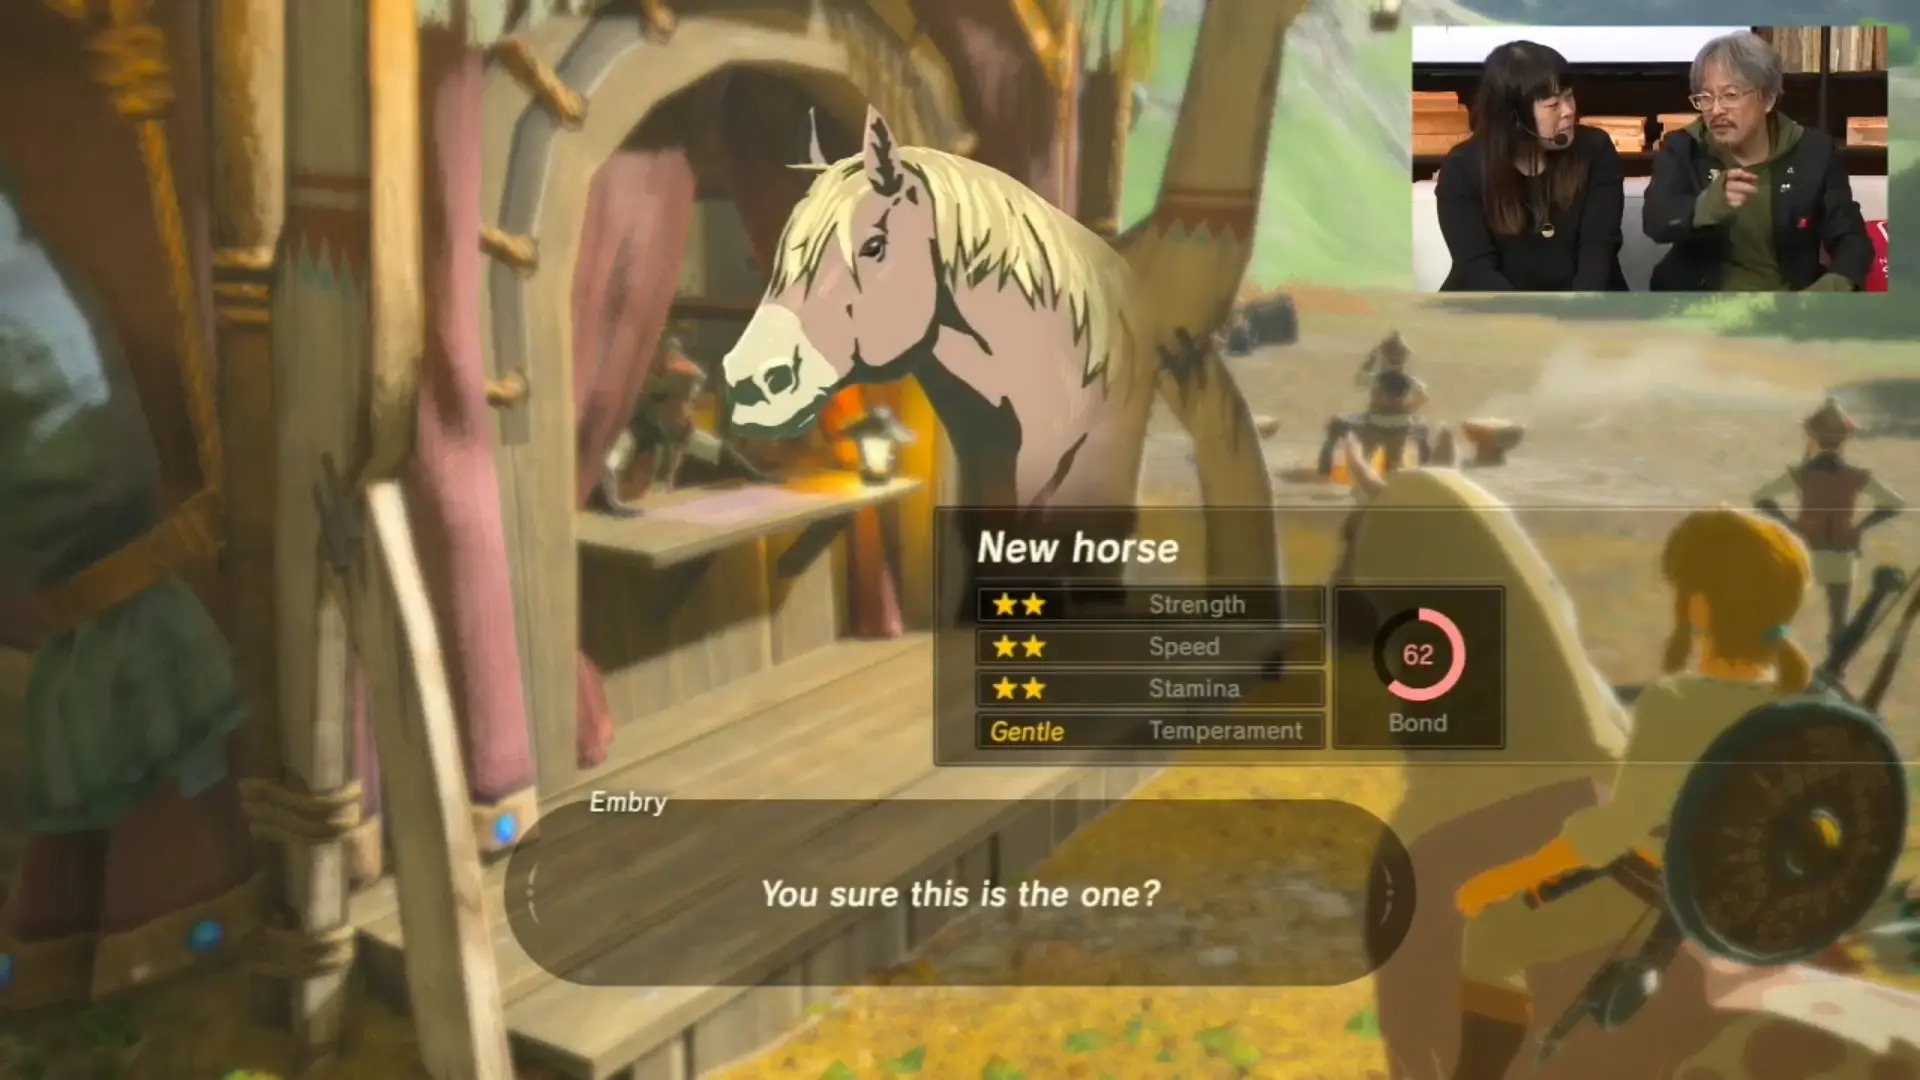
Bring the horse near any stable and talk to the owner — you do not even need to be mounted. For 20 Rupees, the stable registers the horse, dresses it in a basic saddle and bridle, and lets you name it (nine characters, so plan ahead). From that point the horse is permanent and networked: every stable in Hyrule is connected, so you can stable a horse at Dueling Peaks and withdraw it days later on the far side of the map.
You can keep a maximum of five registered horses at once, swapping any of them in and out freely. Once registered, a horse also answers your whistle — hit the flute and it comes running, provided it is within earshot. Out of range, it just does not hear you, which is a limitation the Ancient Saddle later erases entirely.
Stats are rolled, not earned
Every wild horse has fixed, randomized stats the moment it spawns: strength, speed, stamina, temperament, and bond. You do not level them up through use — what you catch is what you keep. Strength sets kick damage, speed sets top gallop, stamina sets how many spurs you get, and temperament decides how stubborn it is to tame and control. Bond is the only one that moves, and it starts low on any wild catch.
That is why serious riders farm for a good roll instead of loyally sticking with their first horse. A five-star speed horse and a five-star stamina horse are out there in the wild — you just have to find the pattern that spawns them and tame it before your stamina gives out.
Bond is the stat that decides if your horse obeys
Bond (the game calls it affection) runs 0 to 100 and controls obedience, not power. Low bond means the horse periodically bucks, veers off your line, and resists steering — you spend the ride fighting it. At max bond it stops rebelling entirely unless you drive it straight into terrain it physically cannot cross, and only then does it unlock the ability to be dressed in the fancier saddles and bridles at certain stables.
Two ways to raise it:
- Soothe it while it misbehaves. Every time the horse bucks and you calm it, bond ticks up. Slow, but free.
- Feed it, which is dramatically faster. Apples bump bond a little; Endura Carrots and Swift Carrots bump it a lot. A few carrots will take a fresh catch a meaningful chunk toward maxed.
Carrots are the shortcut the game buries. Those same carrots are cookable ingredients, so if you are already running elixirs and dishes you know where they grow — the Breath of the Wild cooking guide covers the routes. Feeding a couple to your main horse is the single highest-value thing you can do for day-to-day traversal.
Spurs, stamina, and the carrot economy
A "spur" is a speed boost — tap the gallop button and the horse surges. The number of spurs you get before the horse has to catch its breath is set by its stamina stat. A low-stamina horse gives you one or two bursts; a five-star stamina horse chains several.
Two details that matter:
- Damage temporarily kills your boosts. Take a hit while riding and the spur icon flashes red — the horse loses boost capacity until it recovers. Do not gallop your mount into a fight expecting to sprint away instantly.
- Endura Carrots grant three bonus spurs on top of the cap. Feed one and the horse carries three extra boosts that stick around until you burn them. This is how you make even a mediocre-stamina horse cross a region in one adrenaline-soaked sprint.
Leaping off a galloping mount also triggers the same slow-motion bow window as jumping off a cliff, which turns a horse into a mobile sniper platform — an angle worth pairing with the Breath of the Wild combat tips.
The White Horse: Zelda's bloodline, free stats
The White Horse, formally the Royal White Stallion, is the closest thing to a "just give me a great horse" button. It is a descendant of the pure-white horse Princess Zelda rode before the Calamity, and it spawns isolated on Safula Hill, near the Sanidin Park Ruins by Outskirt Stable in the southwest.
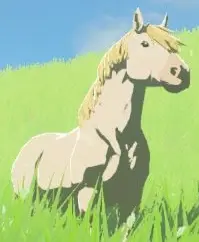
Talk to Toffa at Outskirt Stable first to start "The Royal White Stallion." Then head to Safula Hill, sneak up, and tame it — and be warned, it has high stats, so it takes serious stamina to break. Register it, show Toffa, and he rewards you with the Royal Bridle and Royal Saddle, matching gear the original wore.
Two mercies here: if the horse dies before you register it, it respawns on Safula Hill the next day, so you cannot lose it during the hunt, and completing the quest auto-equips the Royal gear regardless of bond. It rolls top-tier speed and stamina with only middling strength — a superb all-purpose road horse with a story attached.
The Giant Horse: a tank that cannot gallop

Out in the Taobab Grassland near Lake Hylia, a single enormous charcoal horse with an orange mane grazes among a normal herd. That is the Giant Horse, and taming it is a stamina war — it is one of the strongest steeds in the game, so it resists hard. Straia at the nearby Mounted Archery Camp gives you the "Hunt for the Giant Horse" side quest, and returning it means riding past two Lynels, which is its own kind of terrifying.
Here is the trade-off nobody warns you about: the Giant Horse cannot gallop. It has no real spur and poor rated speed. What saves it is stride length — each step is so massive that it actually covers ground faster than other horses sharing its low speed stat, and its strength is monstrous for trampling enemies. Its orange-tufted saddle and bridle are fixed and cannot be swapped. It is a novelty tank, not a commuter. Fun to own, frustrating to rely on.
The mounts you cannot register: Satori and Epona
Two special mounts exist that no stable will ever board.
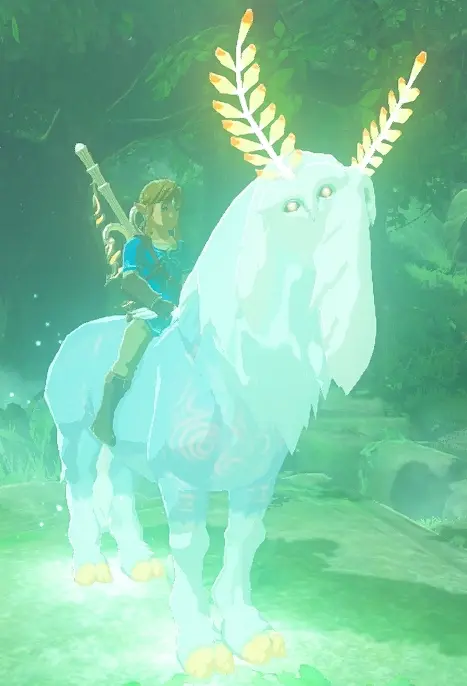
The Lord of the Mountain, also called Satori, is a glowing blue spirit-horse with antlers and an owl-like face that appears at the spring atop Satori Mountain when a green glow lights the peak, usually surrounded by Blupees. Sneak up and you can ride it, and its stats are excellent — up to five spurs. But it cannot be registered; stable owners react with superstitious dread if you even bring it near. It is a beautiful one-ride curiosity, not a keeper.
Epona is the other. She is not in a normal save — you get her only by scanning a compatible Link amiibo (the Super Smash Bros. Link or the Twilight Princess 30th Anniversary Link). Unlike wild horses, she needs no taming, mounts instantly, arrives with maxed stats, and wears her own Epona gear. Stable owners recognize her and force you to name her Epona — no other name is accepted. Like the Giant Horse, her mane cannot be groomed. If you own the amiibo, she is arguably the best day-one horse in the game.
Malanya, the Horse God who undoes death
Registered horses can die — a Guardian beam, a Lynel, a bad fall. That loss is not always permanent. In the Faron region, at Malanya Spring by the Lake of the Horse God, lives Malanya, the god who watches over horses. He starts trapped in a flower bud and asks for 1,000 Rupees to restore his power.
Pay it, and Malanya will revive any of your dead registered horses for one Endura Carrot each — provided the horse had built up enough bond with you. Keep your good horses fed and bonded, and Malanya becomes a full insurance policy against losing them. It is one more reason carrots are the most important item in the entire horse economy.
Horse gear worth chasing, including the Ancient set
Saddles and bridles are mostly cosmetic, with two enormous exceptions from the Champions' Ballad DLC:
- The Ancient Bridle sits under a cherry blossom tree atop Satori Mountain. Equipped, it adds two spurs to whatever the horse's stamina already grants — turning a good stamina horse into an absurd one.
- The Ancient Saddle waits in a chest at Malanya Spring. Equipped, it lets you whistle-warp your horse to you from anywhere it could plausibly stand, even far out of earshot. This single item removes the whole "my horse is stuck across the map" headache.
Both come from the "EX Ancient Horse Rumors" quest and can only be fitted at Highland, Outskirt, South Akkala, or Woodland Stable. Neither works on Epona or the Giant Horse. If you own the DLC, the Ancient Saddle on your main horse is a genuine quality-of-life game-changer.
This traversal loop is the same one that carries you to the four regions in the Breath of the Wild Divine Beasts guide, and the rest of our Hyrule coverage lives on the Breath of the Wild hub.
Common horse mistakes that waste hours
- Never feeding your horse. A carrot or three is the difference between a mount that obeys and one that fights you all day.
- Dumping your first catch. Bond, not the initial catch, decides obedience. Raise it before you decide the horse is bad.
- Sprinting up to herds. Approach crouched, from behind. One sprint and the whole herd scatters.
- Riding into fights expecting to flee. Damage disables your spurs temporarily. Disengage before you are surrounded, not during.
- Forgetting Malanya after a death. A "lost" horse is one Endura Carrot away from coming back if it was registered and bonded.
Quick Horse Checklist
- Sneak up from behind, mount, and soothe until the horse yields — bring a full stamina wheel.
- Register at any stable for 20 Rupees; you can keep five horses and swap them anywhere.
- Stats are randomized per horse; bond is the only one you can raise.
- Feed Apples and especially Endura or Swift Carrots to spike bond fast; max bond stops the bucking.
- Grab the White Horse on Safula Hill for free top-tier stats plus the Royal gear.
- Try the Giant Horse and Satori for novelty, but know neither commutes well.
- Unlock Malanya with 1,000 Rupees so a dead horse is never truly gone.
- If you own the DLC, put the Ancient Saddle on your main horse and never lose it again.
Frequently Asked Questions
How do you tame a horse in Breath of the Wild?
What is the best horse in Breath of the Wild?
How do you raise a horse's bond in Breath of the Wild?
Where do you find the Giant Horse in Breath of the Wild?
Can you revive a dead horse in Breath of the Wild?
What do the Ancient Saddle and Ancient Bridle do?
How many horses can you own in Breath of the Wild?
Keep Reading
Related Guides
Breath of the Wild Hateno House: Every Upgrade and Cost
Buying Link's house in Hateno Village is only the first half of Hylian Homeowner. Bolson then sells 14 additions at 100 rupees each, and nine of them do something. Here is the full 4,400-rupee bill, the conversation that unlocks the renovation menu, and what is worth hanging on the walls.
Breath of the Wild Best Shields: All 33, Stats and Locations
The Ancient Shield and the Royal Guard's Shield both block at 70 guard, but surf them down a rocky slope and the Royal Guard's loses durability fifteen times as fast. Here are all 33 shields with guard, durability, material and source, plus the surfing friction, surfing wear and Guardian-beam values from the game's data.
Breath of the Wild Kilton: Shop Locations, Mon and Masks
Kilton pays 3 Mon for a Bokoblin Horn, exactly what a shop pays in rupees, and 100 Mon for a Lynel Guts a shop buys for 200. Here is where the Fang and Bone opens, the full Mon exchange table, all twelve wares and their Divine Beast unlocks, and what the masks, the Dark set and Monster Extract actually do.
Breath of the Wild Great Fairy Fountain Locations and Costs
In Breath of the Wild the 10,000-rupee Great Fairy is not Tera. It is whichever fountain you open fourth. Here is where Cotera, Kaysa, Mija and Tera are, what each fairy you revive unlocks, and what every upgrade tier costs in materials once the rupees are paid.
Breath of the Wild Beginner's Guide: Your First 10 Hours
Breath of the Wild does not tell you that armor matters more than hearts, that your weapons are ammunition, or that the Blood Moon is a restock button. Here is the stuff the game leaves you to discover the hard way.
Breath of the Wild Rupee Farming: How to Make Money Fast
Four Lynel Guts and an Energetic Rhino Beetle sell for 830 rupees raw and 2,330 as an elixir, by the selling formula Zelda Wiki publishes for Breath of the Wild. Here is what sells for the most, what the cooking pot does to a price, what Ramella pays for gems, where rupees still drop as rupees, and which side quests pay in cash or Diamonds.