Breath of the Wild Divine Beasts Guide: Order, Bosses and Rewards
The four Divine Beasts are Breath of the Wild's closest thing to dungeons, and the order you clear them changes how hard the game feels. Here is the smart sequence, every Blight Ganon fight, and what the Champion abilities actually do.
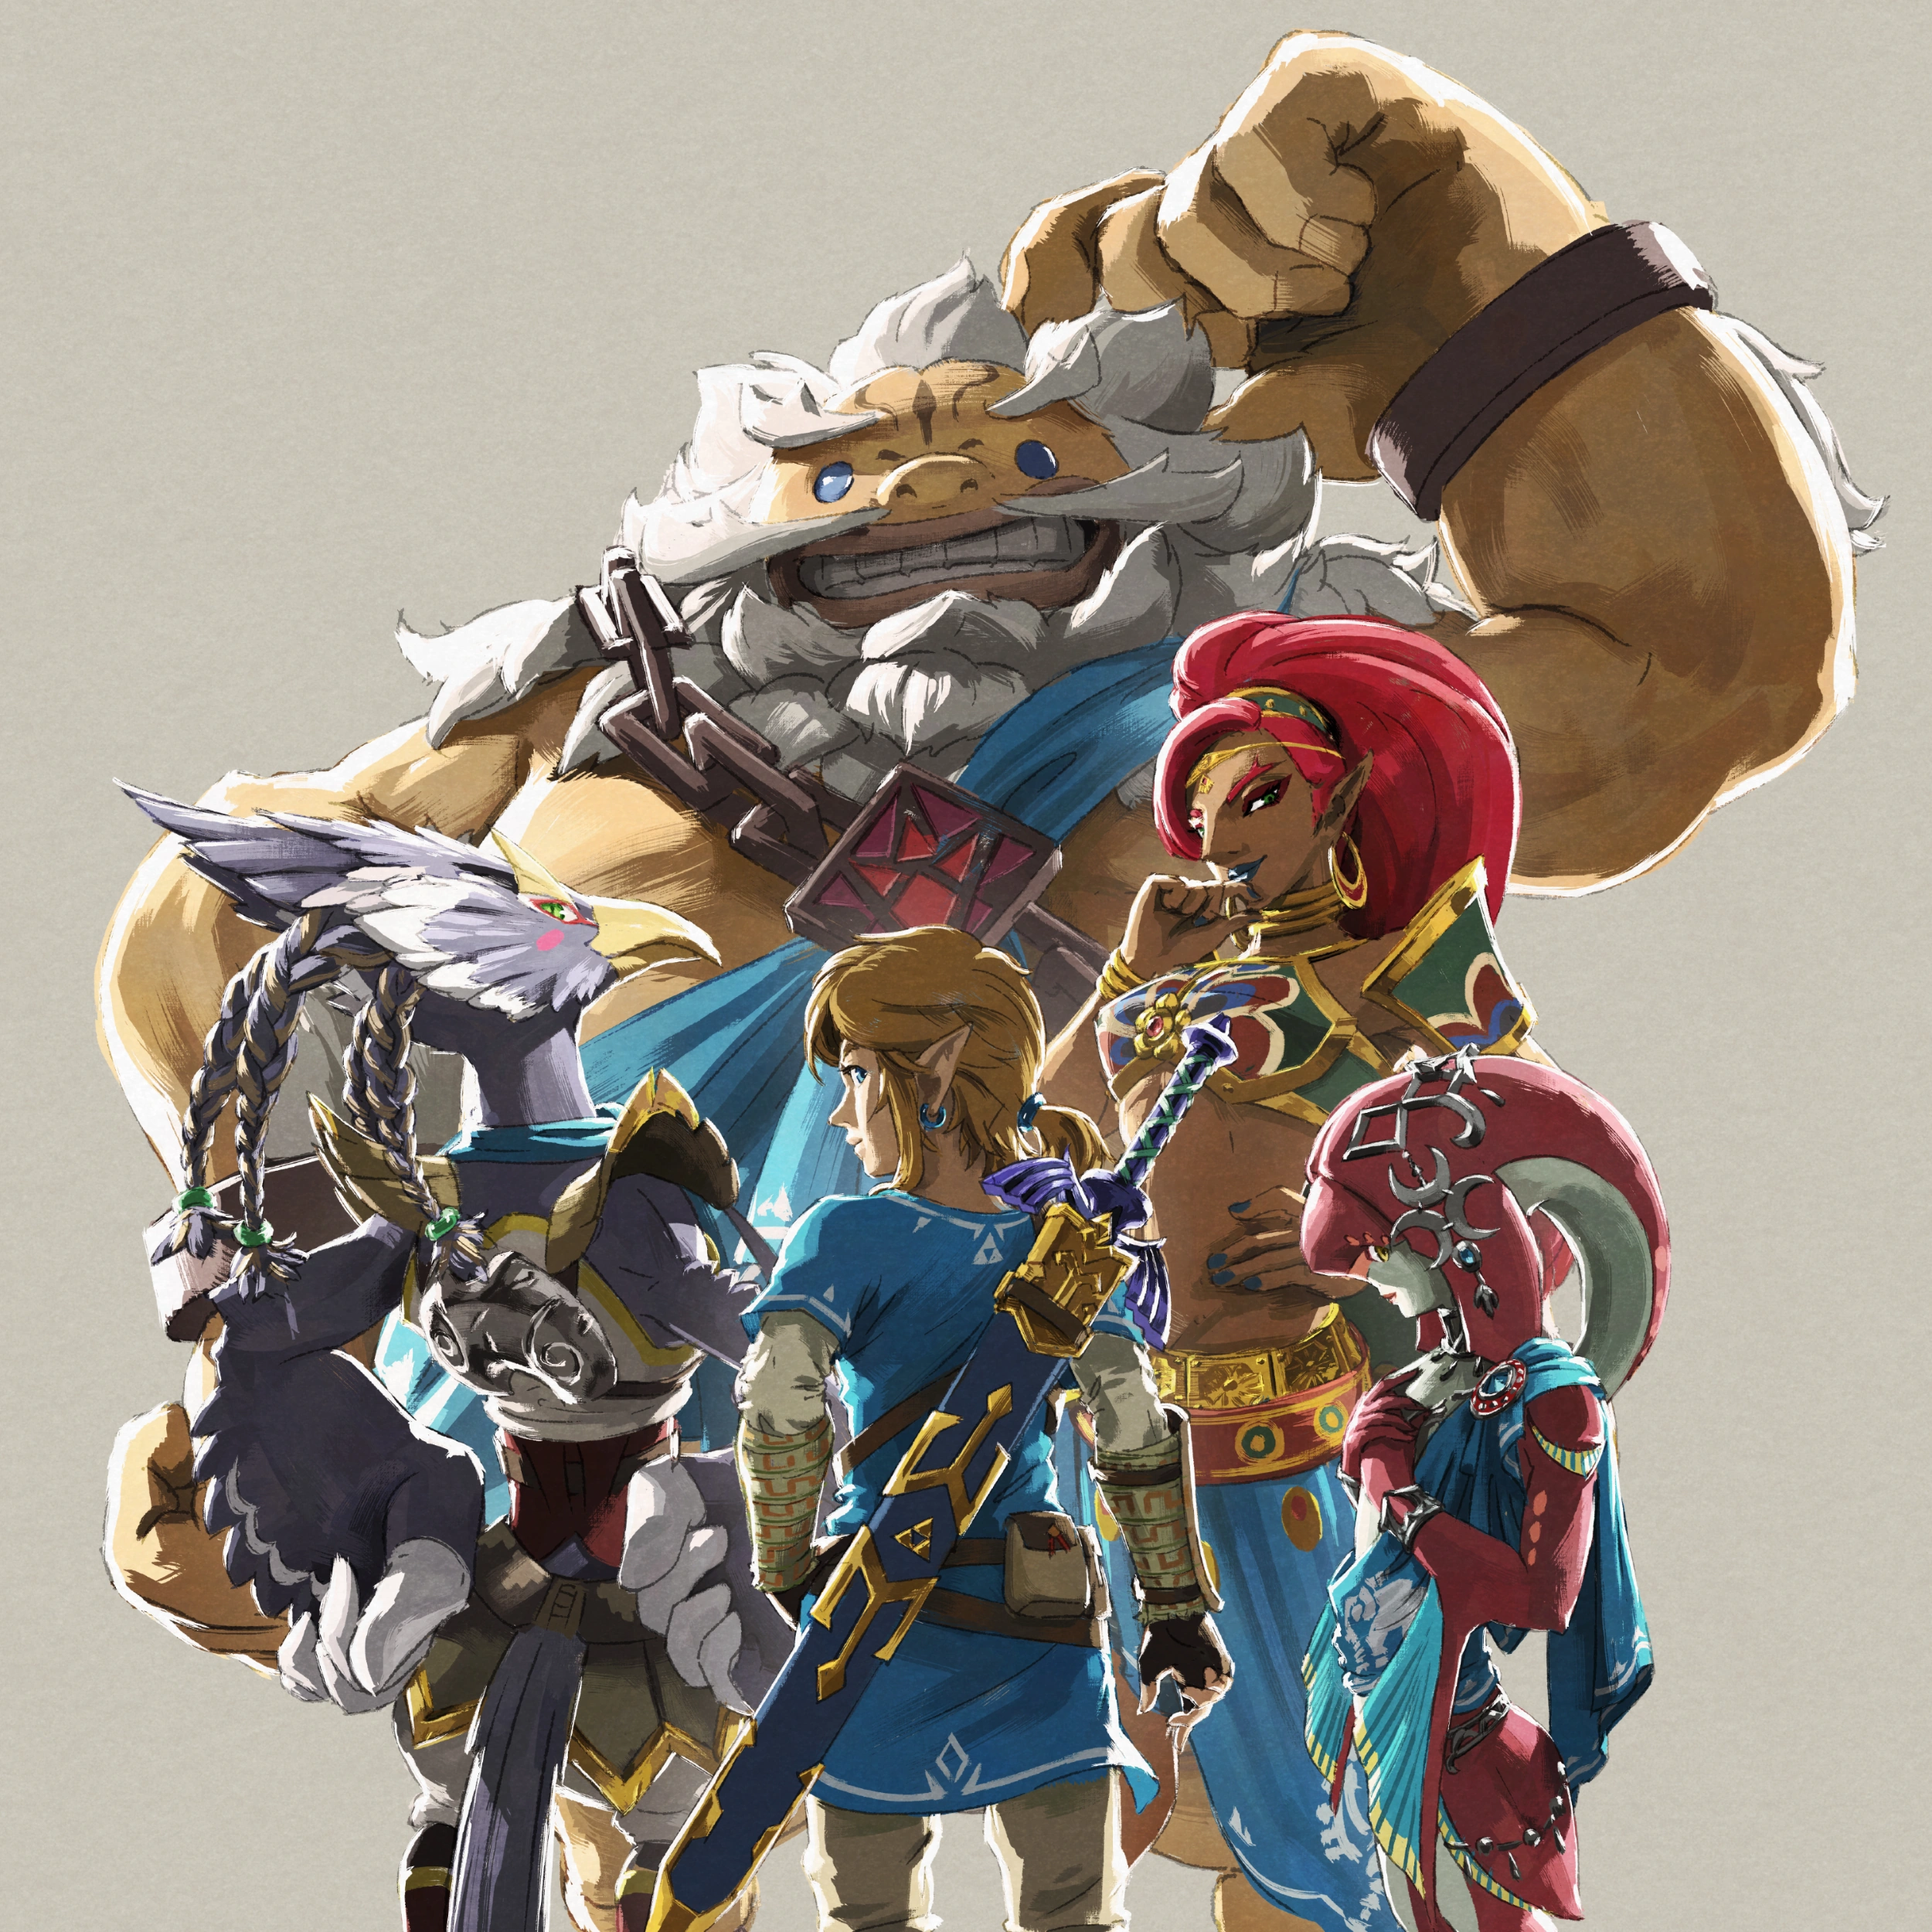
Breath of the Wild will let you sprint straight to Hyrule Castle the moment you step off the Great Plateau. You will almost certainly die, but the game genuinely does not stop you. The four Divine Beasts exist for everyone who wants to do it the other way — soften Calamity Ganon up first, collect four permanent abilities that reshape how you play, and turn the final boss from a wall into a formality.
They are the closest thing this open world has to dungeons, and there are exactly four of them. The order you tackle them in is not fixed, but it absolutely matters, because the bosses inside are not balanced against each other. Do them in the wrong sequence and you will run face-first into the hardest fight in the game with a wooden sword.
The Divine Beasts are BotW's dungeons, and there are only four
Each Divine Beast is an ancient Sheikah war machine that Calamity Ganon corrupted a century ago and turned against Hyrule. Getting inside is a whole regional quest chain on its own — you help a town, board the machine, and only then does the "dungeon" proper begin.
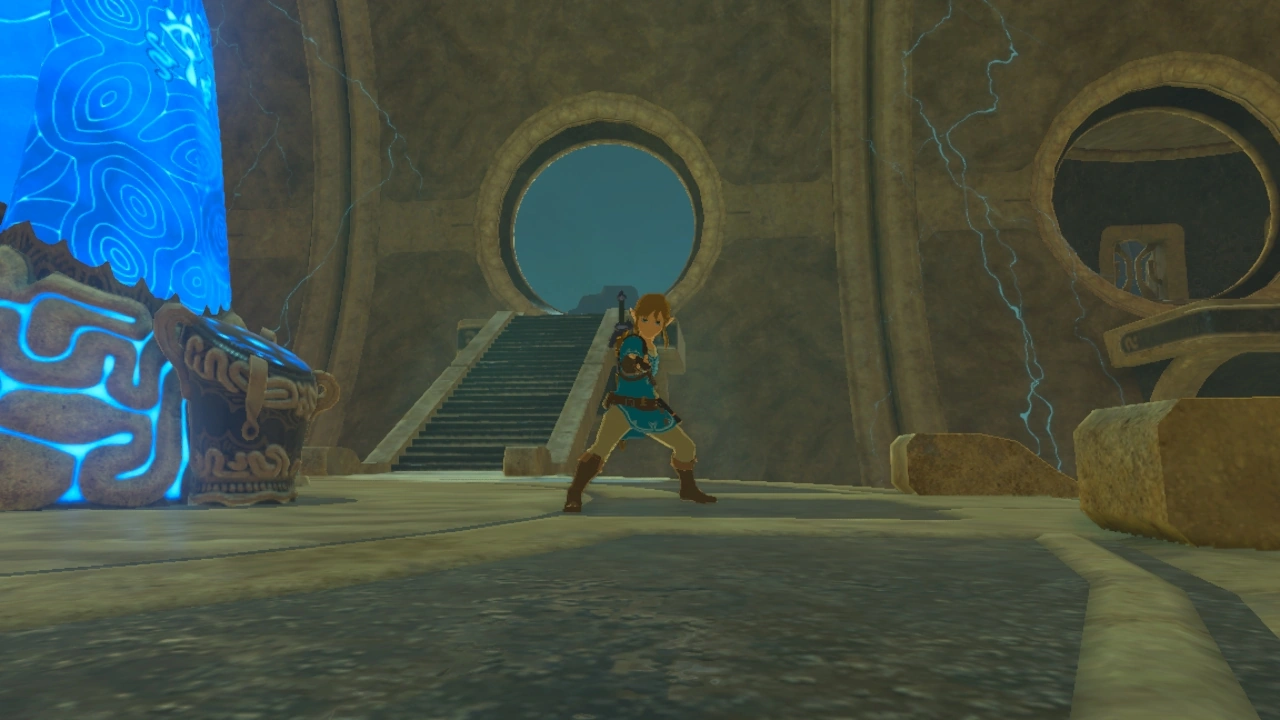
The interior loop is identical across all four: you use the map on your Sheikah Slate to physically rotate, tilt, or move part of the Beast, which repositions the puzzles. You light up five terminals to seize control of the machine, then activate the main control unit, which is where the Blight Ganon boss ambushes you. Beat the Blight and you free the Champion's spirit, who hands you a permanent ability.
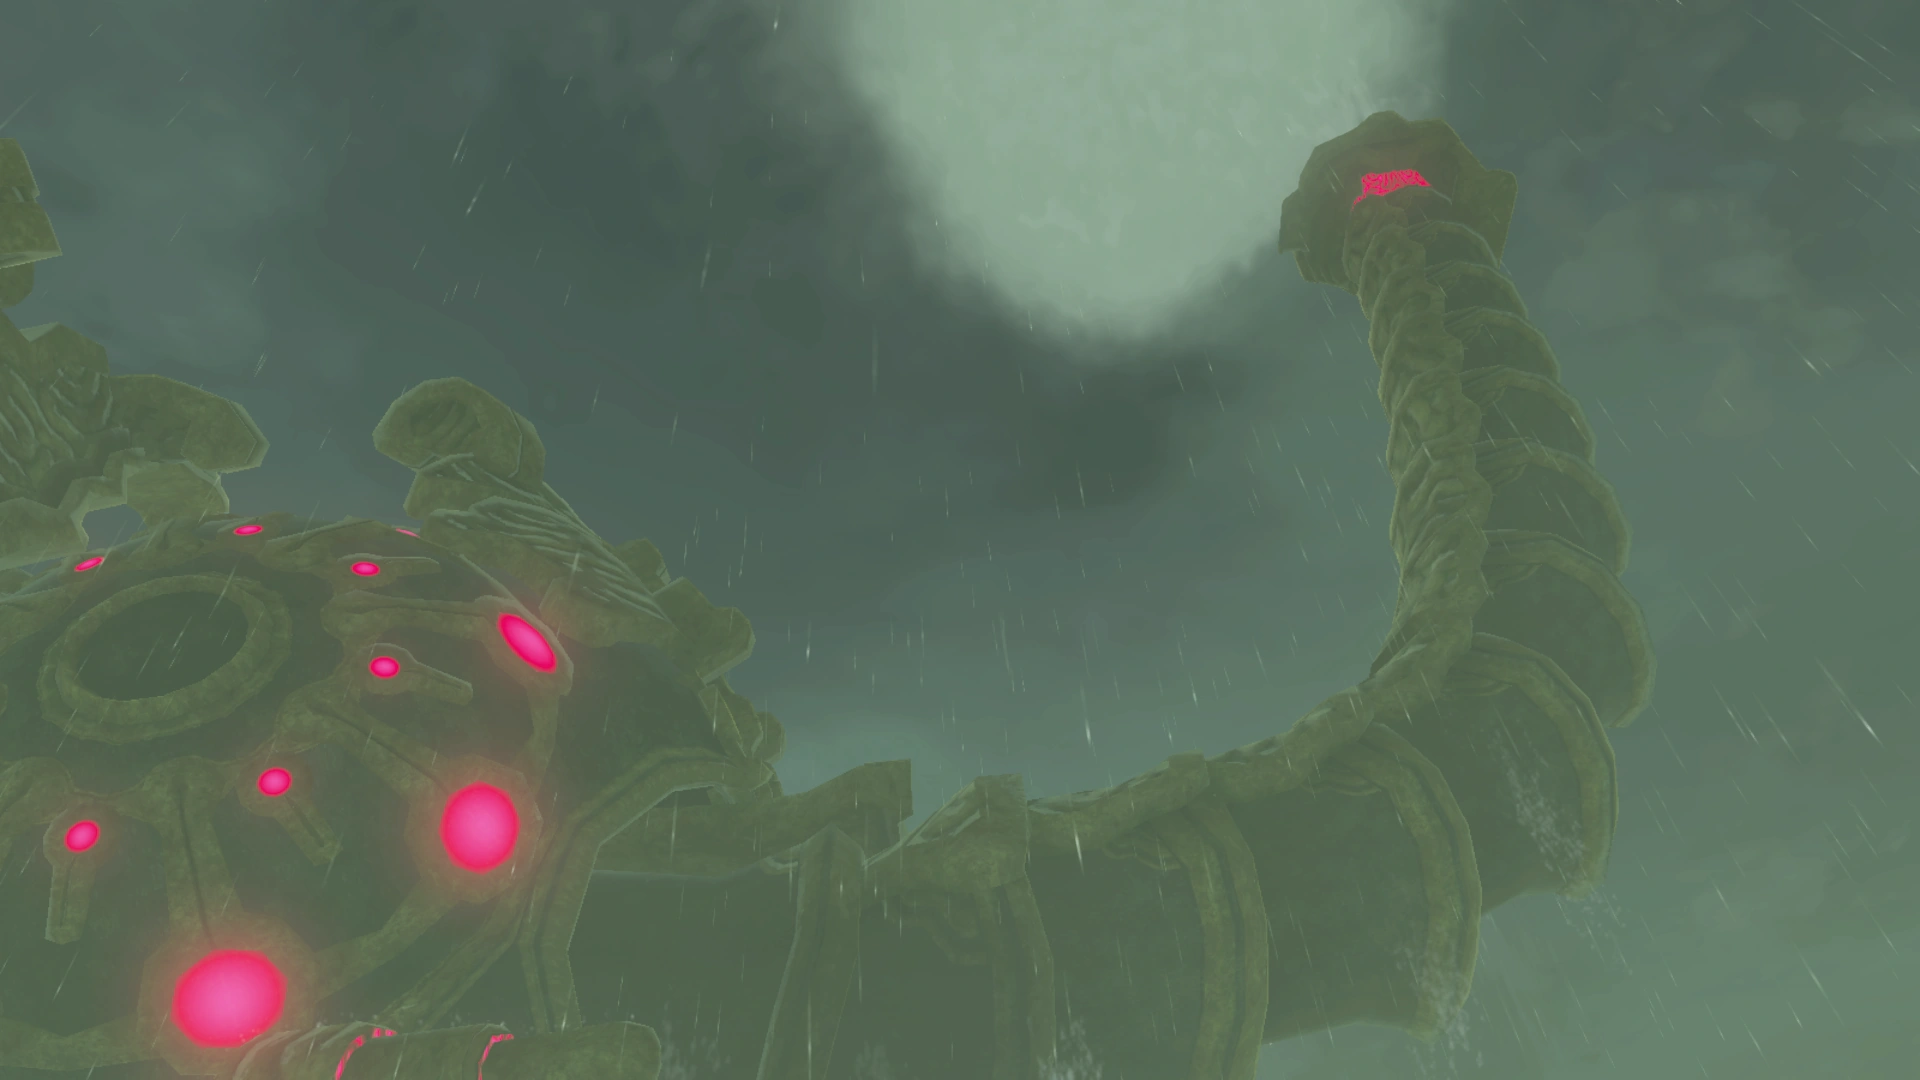
Here is the whole roster at a glance:
| Divine Beast | Shape | Region | Champion | Boss | Reward |
|---|---|---|---|---|---|
| Vah Ruta | Elephant | Zora's Domain (Lanayru) | Mipha (Zora) | Waterblight Ganon | Mipha's Grace |
| Vah Rudania | Salamander | Death Mountain (Eldin) | Daruk (Goron) | Fireblight Ganon | Daruk's Protection |
| Vah Medoh | Eagle | Rito Village (Hebra/Tabantha) | Revali (Rito) | Windblight Ganon | Revali's Gale |
| Vah Naboris | Camel | Gerudo Desert | Urbosa (Gerudo) | Thunderblight Ganon | Urbosa's Fury |
That is the entire set. There is no fifth. If you have played Tears of the Kingdom's sprawling sage quests, four self-contained machines feels almost quaint — and honestly, it is the tighter design.
The best order to do them
The game nudges you toward Zora's Domain first, and for once you should just follow the tutorial's lead — but the full smart order is about the boss difficulty spike, not the story.
My recommended sequence: Ruta → Rudania → Medoh → Naboris.
That is a genuine difficulty curve. Waterblight is a fair introduction, Fireblight teaches you to punish openings, Windblight rewards good bow play, and Thunderblight — the hardest boss of the four by a wide margin — comes last, once you actually have hearts, stamina, and a shield you can afford to break parrying. Saving Naboris for last also means you tackle the Gerudo questline, which is the longest and best of the four, when you are strongest.
Vah Ruta — Zora's Domain — Waterblight Ganon
Prince Sidon meets you on the road and basically refuses to leave, which makes this the natural first Beast. The approach has you shooting Shock Arrows at Ruta's shoulders while riding on Sidon's back up a waterfall.
Inside, Waterblight Ganon is a soft opening. Phase one is a slow bruiser swinging a giant ice trident — sidestep into Flurry Rush and chip it down. Phase two is the part people forget: it floats up out of melee range and lobs ice blocks at you. Shatter the blocks with a well-placed arrow (or Cryonis), then use the updraft-free downtime to snipe its glowing eye in bullet time. It is the least punishing Blight and the right place to learn the rhythm.
Vah Rudania — Death Mountain — Fireblight Ganon
Death Mountain will cook you alive without Flamebreaker armor or fireproof elixirs, so this Beast doubles as a gear check. You escort it down the mountain with Yunobo, a Goron cannonball with legs.
Fireblight Ganon is a lesson in patience. It wraps itself in a flame shield that makes it immune, so mashing does nothing. Wait for it to inhale for a big fireball attack — that is your window. Chuck a remote bomb into its open mouth, detonate, and it drops stunned for a free combo. Phase two speeds up and throws walls of fire, but the bomb trick still cracks it open every time.
Vah Medoh — Rito Village — Windblight Ganon
Revali's Beast circles high above Rito Village behind a barrier of cannon fire. Teba the Rito warrior flies you in while you shoot the cannons off its wings — the one sequence in the game that feels like a rail shooter.
Windblight Ganon is all about verticality. It flies constantly and pelts you with wind-laser shots, and in phase two it spawns tornadoes. This is the fight that sells you on bows: the whole thing is stand-still-and-shoot-the-eye, ideally from bullet time. If you have already freed Revali, his Gale launches you straight up for the perfect elevated bow angle, which is a small, funny irony.
Vah Naboris — Gerudo Desert — Thunderblight Ganon
Naboris stomps across the desert wrapped in a lightning storm, and the run-up on horseback (well, sand seal) shooting its legs is a highlight. The whole Gerudo Town questline that gates it is the best writing in the game.
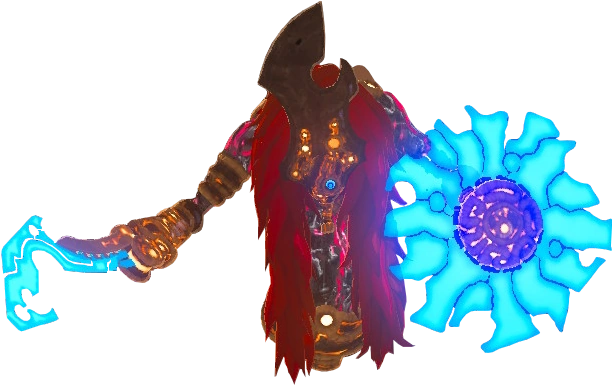
Thunderblight Ganon is why you saved this for last. It teleports around the arena at absurd speed, closes the gap instantly, and hits with a fast electric blade — miss the Flurry Rush timing and you eat a stunlock. The trick is that it telegraphs with a short flurry of teleport-dashes; guard or dodge the final strike, land your Flurry Rush, repeat. Phase two summons metal pillars to call down lightning — grab one with Magnesis and swing it into Thunderblight itself to stagger it, or just drop your metal gear and kite. It is a real skill check and the reason a fresh player should not do Naboris first.
The Champion abilities, ranked by how much they change the game
The rewards are permanent and they stack. Ranked by raw usefulness:
- Mipha's Grace (Vah Ruta) — Auto-revive. When you take fatal damage, Mipha's Grace brings you back with full hearts plus up to five temporary bonus hearts. It is a free Fairy that recharges over time, and it single-handedly makes the game more forgiving than any armor set.
- Urbosa's Fury (Vah Naboris) — Hold the attack button (Y) for a charged attack to unleash a lightning strike that hits everything around you, staggers whole camps, and strips shields and weapons off enemies. Three charges. It trivializes crowds and it is the best "oh no" button in the game.
- Revali's Gale (Vah Medoh) — Creates a vertical updraft that launches you skyward for a paraglide. Three charges. It is the traversal and combat-positioning ability, and once you have it, climbing feels optional.
- Daruk's Protection (Vah Rudania) — A shield that comes up automatically while you hold ZL and blocks any three attacks — including Guardian lasers and environmental damage — before it needs to recharge. Brilliant against Guardians specifically, a little passive elsewhere.
None of them is bad. Mipha's Grace at the top is not close, though — a free full revive removes the entire failure state of exploring.
The hidden reward nobody mentions
Here is the mechanical payoff most guides bury: every Divine Beast you free fires its main cannon at Calamity Ganon at the start of the final fight, and each blast removes a chunk of his health. Free all four and Ganon starts the battle with roughly half his health bar already gone. Do zero Beasts and you fight him at full strength.
That is the real argument for clearing them. The Champion abilities make you stronger; freeing the Beasts makes the final boss weaker. It is the difference between a grueling endgame and a victory lap. If you are speed-focused you can skip them, but you are choosing a much harder Ganon to save a few hours.
Upgrading the abilities in the Champions' Ballad
If you own the Expansion Pass, finishing The Champions' Ballad DLC questline upgrades all four abilities to their "+" versions. Every "+" is the same upgrade — a recharge-time cut to one third, nothing else. Mipha's Grace drops from 24 minutes to 8, Daruk's Protection from 18 to 6, Urbosa's Fury from 12 to 4, and Revali's Gale from 6 to 2. None of them changes what the ability does: Daruk's Protection still goes up when you hold ZL, exactly as it did before, it just comes back three times as fast. The Ballad also unlocks the Master Cycle Zero, a rideable motorcycle, as the final reward. You need all four base Divine Beasts done before the Ballad will even start, so it is the natural capstone to this whole checklist.
For the gear and cooking prep that makes the regional approaches survivable, our Breath of the Wild armor guide and Breath of the Wild cooking guide cover Flamebreaker sets and fireproof elixirs for the Death Mountain run specifically.
Common mistakes
- Doing Naboris first because the camel looks cool. Thunderblight will end you. Build up to it.
- Mashing on Fireblight Ganon. The flame shield makes it immune. Bomb the open mouth or do nothing.
- Forgetting the ice-block phase of Waterblight. It goes airborne and out of sword range — shoot the blocks, then the eye.
- Skipping the abilities to rush Ganon. You are throwing away a free half-health head start on the final boss.
- Not prepping for the region, not the Beast. Death Mountain and the Gerudo Desert kill you with heat and cold long before the boss does. Pack armor and elixirs.
For the parry and Flurry Rush timing every Blight fight leans on, the Breath of the Wild combat tips breakdown is the prerequisite. Newer players should start with the Breath of the Wild beginner's guide, and the rest of our Hyrule coverage lives on the Breath of the Wild hub and the wider Mythras blog.
Quick Action Checklist
- Do the Beasts in the order Ruta → Rudania → Medoh → Naboris — that is the real difficulty curve.
- Each Beast is a five-terminal puzzle that ends in a Blight Ganon boss and a permanent Champion ability.
- Waterblight: Flurry Rush phase one, shoot ice blocks then the eye in phase two.
- Fireblight: bomb the open mouth when it inhales — the flame shield blocks everything else.
- Windblight: bullet-time bow the eye; it is a flying, shooting fight.
- Thunderblight: hardest of the four — Flurry Rush the teleport-dash, Magnesis a metal pillar into it in phase two.
- Mipha's Grace is the best reward (free full revive); Urbosa's Fury is the best combat button.
- Freeing all four Beasts cuts Calamity Ganon's starting health roughly in half — that is the point.
- All four done unlocks the Champions' Ballad DLC, which upgrades every ability and grants the Master Cycle Zero.
Frequently Asked Questions
What order should I do the Divine Beasts in Breath of the Wild?
How many Divine Beasts are there in Breath of the Wild?
What do you get for completing a Divine Beast?
How do I beat Thunderblight Ganon?
Do the Divine Beasts make Calamity Ganon easier?
Which Champion ability is the best?
Can I skip the Divine Beasts entirely?
Keep Reading
- Zelda Wiki — Divine Beasts, Champions, and interiors
- Zelda Wiki — the four Blight Ganon bosses and their attacks
- Zelda Wiki — Champion abilities and rewards
- Zelda Wiki — The Champions' Ballad DLC upgrades and Master Cycle Zero
- Zelda Wiki — Daruk's Protection: ZL activation, 18-minute recharge, 6 minutes as Daruk's Protection +
- Zelda Wiki — Urbosa's Fury: charge-attack (Y) activation, 12-minute recharge, 4 minutes as Urbosa's Fury +
Related Guides
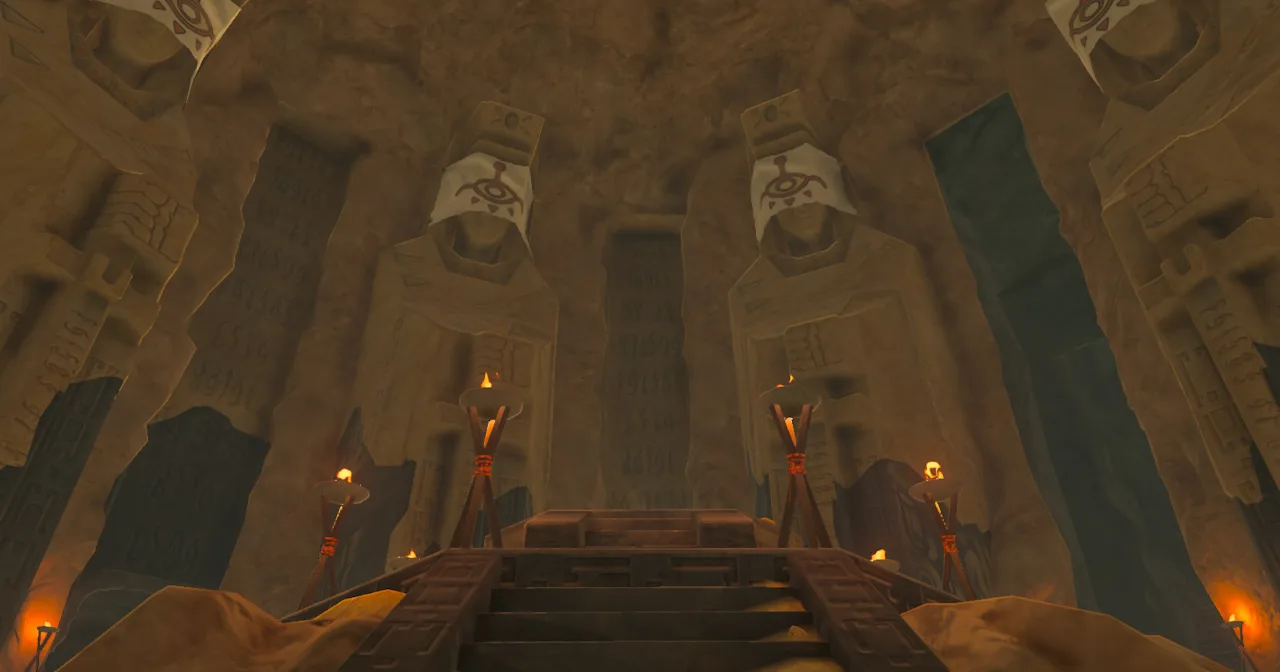
Breath of the Wild Yiga Clan Hideout and Master Kohga
Inside the Yiga Clan Hideout, hearts, armor and a pocket fairy stop mattering: a direct Windcleaver hit is a scripted game over. That makes it a stealth section pretending to be a dungeon, and the tool it wants you to use is fruit.
Breath of the Wild Best Shields: All 33, Stats and Locations
The Ancient Shield and the Royal Guard's Shield both block at 70 guard, but surf them down a rocky slope and the Royal Guard's loses durability fifteen times as fast. Here are all 33 shields with guard, durability, material and source, plus the surfing friction, surfing wear and Guardian-beam values from the game's data.
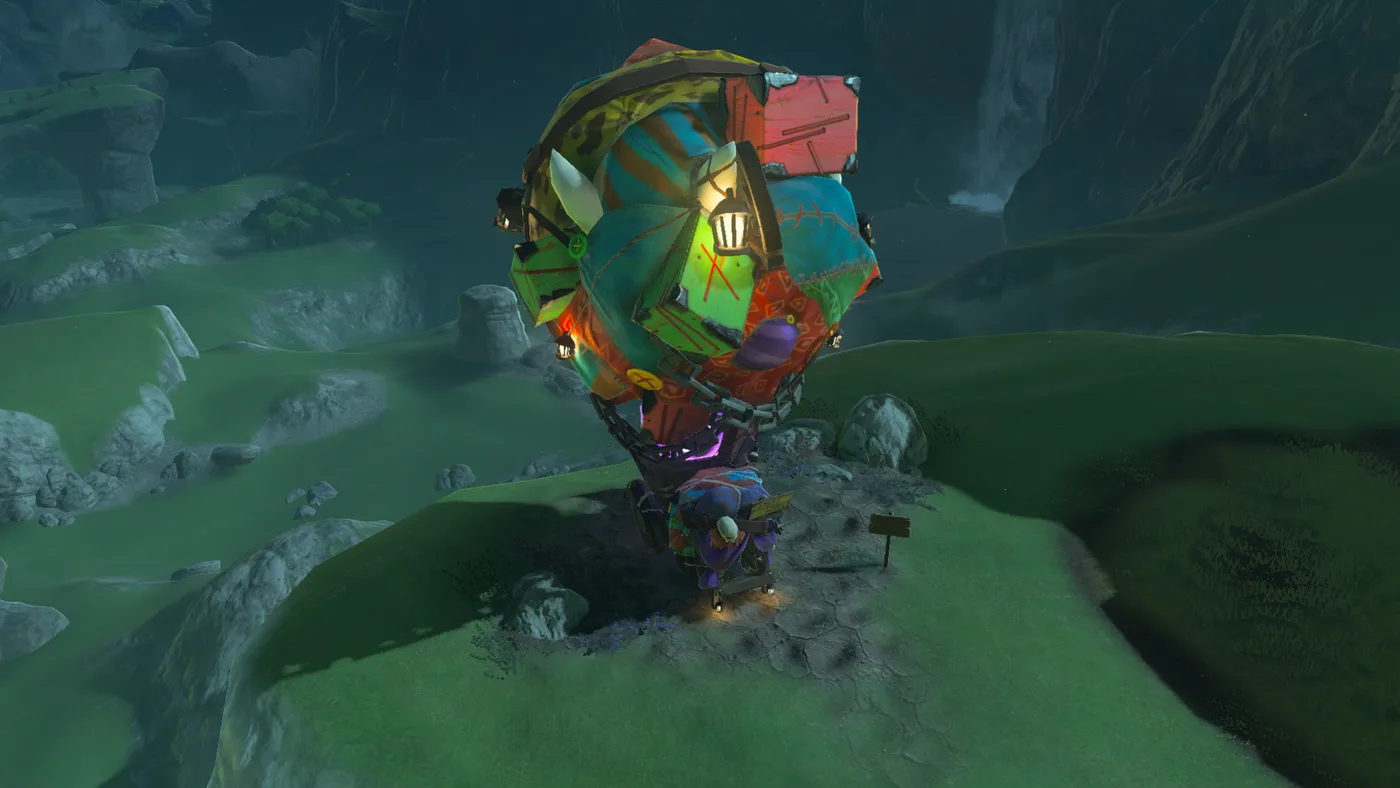
Breath of the Wild Kilton: Shop Locations, Mon and Masks
Kilton pays 3 Mon for a Bokoblin Horn, exactly what a shop pays in rupees, and 100 Mon for a Lynel Guts a shop buys for 200. Here is where the Fang and Bone opens, the full Mon exchange table, all twelve wares and their Divine Beast unlocks, and what the masks, the Dark set and Monster Extract actually do.
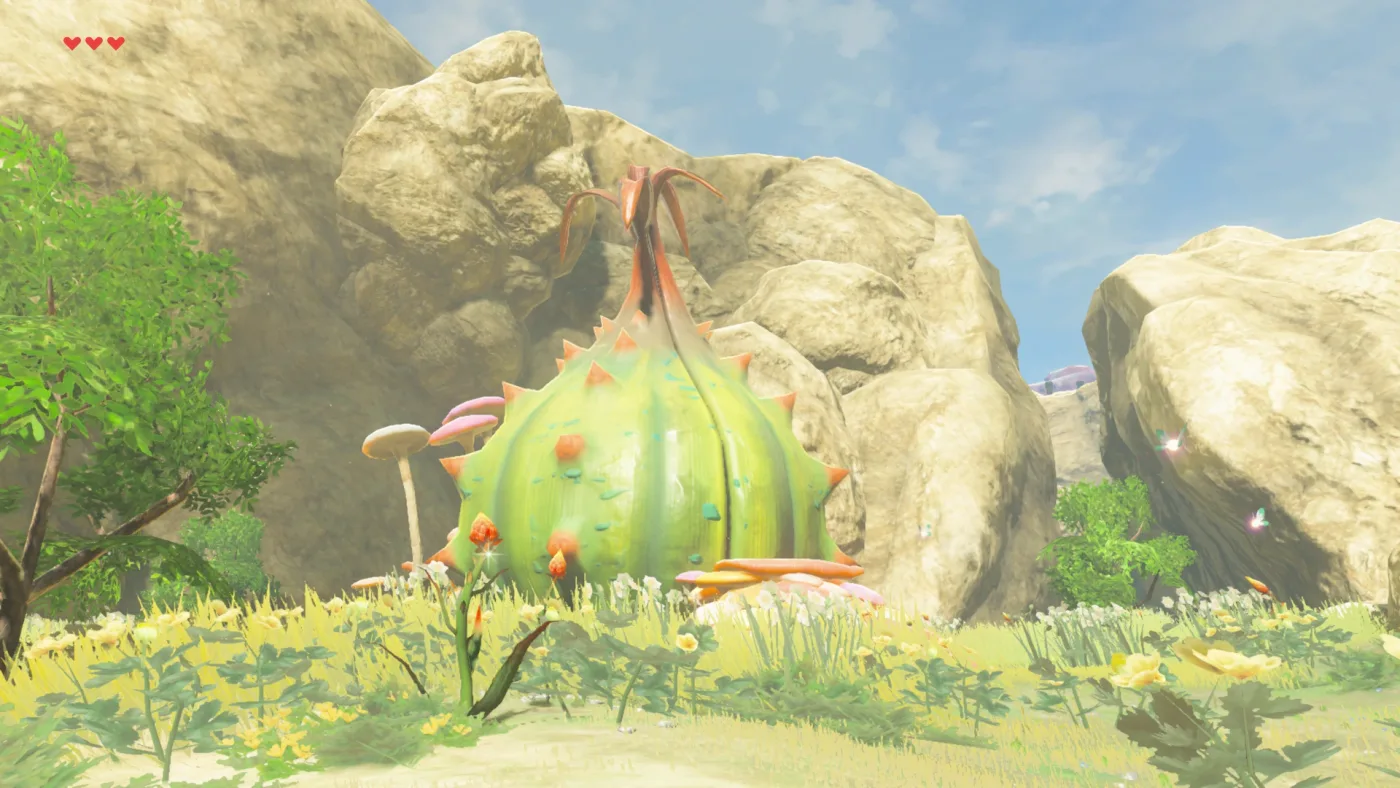
Breath of the Wild Great Fairy Fountain Locations and Costs
In Breath of the Wild the 10,000-rupee Great Fairy is not Tera. It is whichever fountain you open fourth. Here is where Cotera, Kaysa, Mija and Tera are, what each fairy you revive unlocks, and what every upgrade tier costs in materials once the rupees are paid.
Breath of the Wild Beginner's Guide: Your First 10 Hours
Breath of the Wild does not tell you that armor matters more than hearts, that your weapons are ammunition, or that the Blood Moon is a restock button. Here is the stuff the game leaves you to discover the hard way.
Breath of the Wild Rupee Farming: How to Make Money Fast
Four Lynel Guts and an Energetic Rhino Beetle sell for 830 rupees raw and 2,330 as an elixir, by the selling formula Zelda Wiki publishes for Breath of the Wild. Here is what sells for the most, what the cooking pot does to a price, what Ramella pays for gems, where rupees still drop as rupees, and which side quests pay in cash or Diamonds.