Breath of the Wild Towers: All 15, and What Blocks the Climb
Fifteen Sheikah Towers rise the moment you place the Slate in the Great Plateau, and the game never tells you where the other fourteen are. One sits in a Bottomless Bog. One has a Royal Claymore buried in a stone skull. One is stranded inside a ring of Decayed Guardians. Here is every location and exactly what makes each climb different.
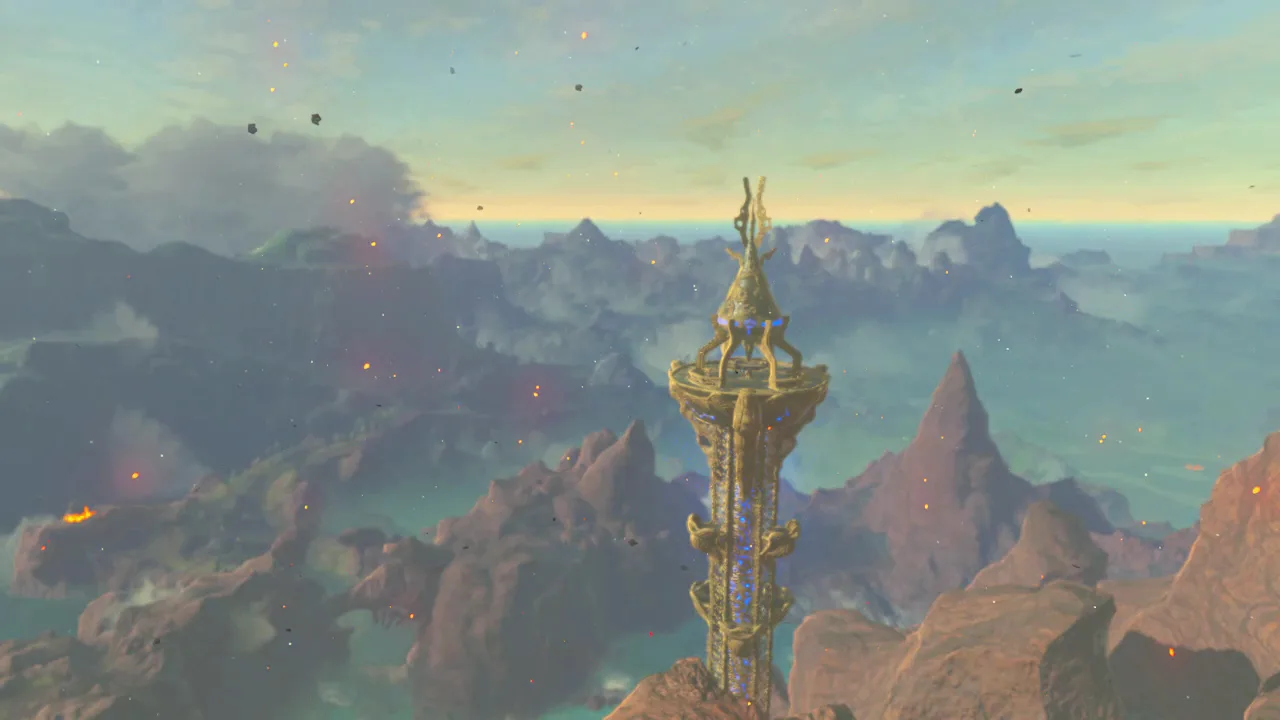
Fifteen Sheikah Towers erupt out of the ground the instant you place the Sheikah Slate into the terminal on the Great Plateau. The game shows you exactly one of them by name. The other fourteen you find by looking at the horizon, and Hyrule does not make that easy — one tower sits in the middle of a bog that swallows you if you walk in, one has a sword buried in a stone skull on its summit, and one is ringed by enough Decayed Guardians that it reads as a ruin to avoid rather than a tower to climb.
This is the list our beginner's guide tells you to chase before shrines, without ever naming a location. Here are all fifteen, grouped by region, with what actually stands between you and each one.
What activating a tower actually unlocks
Every Sheikah Tower ends in the same terminal: press the Sheikah Slate to it and the surrounding region fills in on your map, down to stables, landmarks and points of interest. That part is consistent across all fifteen.
Two things about the reward are easy to get backwards:
- Only the Great Plateau Tower makes shrines glow. The moment you activate it, every Ancient Shrine in Hyrule lights up orange and stays that way permanently — the other fourteen towers do not add or remove any shrine markers, they just let you see further so you can spot the glow yourself.
- The Sheikah Sensor unlocks off any single tower after that. Climb one regional tower — any one — after leaving the Plateau and the Sensor activates, letting you home in on unfound shrines by sound. (Repairing the Slate at the Hateno Ancient Tech Lab does the same thing, if you get there first.) Our shrine guide covers what the Sensor actually does once it is on.
Every tower terminal is also a permanent fast-travel point the moment you scan it, separate from the map it fills in — a tower at the edge of a hostile region doubles as a safe warp-in point before a fight.
How the climb itself works
Towers are climbed the same way structurally: wicker-like walls broken up by rest platforms where Link can stop and catch his breath mid-ascent. What varies is what is put in your way before or during that climb — Malice pools, spiked vines, patrolling enemies, or in a couple of cases nothing at all except height and a lack of places to stand.
Revali's Gale is the universal shortcut. Once you have Vah Medoh's Champion ability, a single updraft gets you past almost any tower's obstacle course in one jump, which is worth remembering if you are revisiting one you struggled with early.
All 15 towers in one table
| Tower | Region | What makes it different |
|---|---|---|
| Great Plateau Tower | Great Plateau | The one the story puts you at directly; activating it is what makes every shrine in Hyrule start glowing |
| Dueling Peaks Tower | West Necluda | Sits in the Squabble River ringed by rock pillars; a Soldier's Spear waits in a stone chest behind a cracked wall east of the base |
| Hateno Tower | East Necluda | Base wrapped in brambles; otherwise the quietest climb on this list |
| Faron Tower | West Necluda | No obstacle or hazard on record — the climb is plain, the distance is the only cost |
| Lake Tower | Faron Grasslands | Sunken, spike-barricaded paths crawling with Bokoblins and Lizalfos before you even start climbing; a cooking pot sits just south of the base |
| Central Tower | Hyrule Field | Ringed by the Hyrule Garrison Ruins and its Decayed Guardians; in Master Mode a Sky Octorok platform north of the tower carries a Knight's Claymore |
| Lanayru Tower (the "North Tower") | Lanayru Wetlands | Rises out of a monster-encamped hill; Gruve is stranded on top after being caught there when the towers erupted |
| Ridgeland Tower | Hyrule Ridge | Ringed by a small lake patrolled by Electric Lizalfos and Electric Wizzrobes; Branli, a self-described bird-man researcher, is stuck at the top |
| Woodland Tower | Great Hyrule Forest | Rises inside the ruined Military Training Camp; a Royal Claymore is embedded in a stone skull on the summit |
| Gerudo Tower | Gerudo Highlands | Exceptionally tall, set in the Birida Lookout Chasm; Kass sits at the top, and two hidden chests along the spiral path hold Bomb Arrows and Fire Arrows |
| Wasteland Tower | East Gerudo Highlands | Base sits in a Bottomless Bog — walk in and you sink, so cross by Cryonis or paraglide in from above |
| Eldin Tower | Eldin Canyon | No enemies at all, but the tallest bare climb here, with only two rest platforms; Zelda Wiki logs the summit temperature at a scorching 98–102 |
| Akkala Tower | Akkala Highlands | A Malice pool covers the surrounding ground and climbs partway up the tower itself; the freezing summit needs at least low-level Cold Resistance |
| Tabantha Tower | Tabantha Frontier | No obstacle or hazard on record |
| Hebra Tower | Tabantha Frontier (Hebra) | The only other tower besides Eldin with a posted temperature figure: -11 to -14 |
Necluda and Faron's four towers
Dueling Peaks, Hateno and Faron Towers sit closest to the Great Plateau and are usually the first three players find after the tutorial, in whichever order the road takes them. None carries a serious combat threat — Dueling Peaks is ringed by rock rather than enemies, Hateno's only obstacle is a patch of brambles at its base, and Faron has nothing standing between you and the climb at all.
Lake Tower, further south in the Faron Grasslands near the Bridge of Hylia, is the outlier of the four. The ground around its base is a fractured, sunken maze of pathways lined with spiked barricades, and Bokoblins and Lizalfos use it as a camp — you are fighting before you are climbing.
Central Hyrule's four towers
Central Tower is easy to fly past without recognizing, because the Hyrule Garrison Ruins surrounding it are stocked with Decayed Guardians rather than an obvious "climb here" silhouette. In Master Mode specifically, there is a metallic chest carrying a Knight's Claymore on a Sky Octorok platform just north of the tower — our Master Mode guide covers how those platforms work in general.
Ridgeland Tower and Lanayru Tower (which NPC dialogue calls the "North Tower") both come with a stranded NPC on top rather than a fight: Branli, obsessed with Rito flight mechanics, on Ridgeland; Gruve, caught there when the towers first erupted, on Lanayru. Ridgeland's actual hazard is the small lake around its base, patrolled by Electric Lizalfos and Electric Wizzrobes — strip metal gear before you engage.
Woodland Tower, inside the ruined Military Training Camp in the Great Hyrule Forest, is worth a specific detour: there is a Royal Claymore embedded in a stone skull sitting on top of the tower, a piece of loot no other tower on this list has.
Two Gerudo towers, two different problems
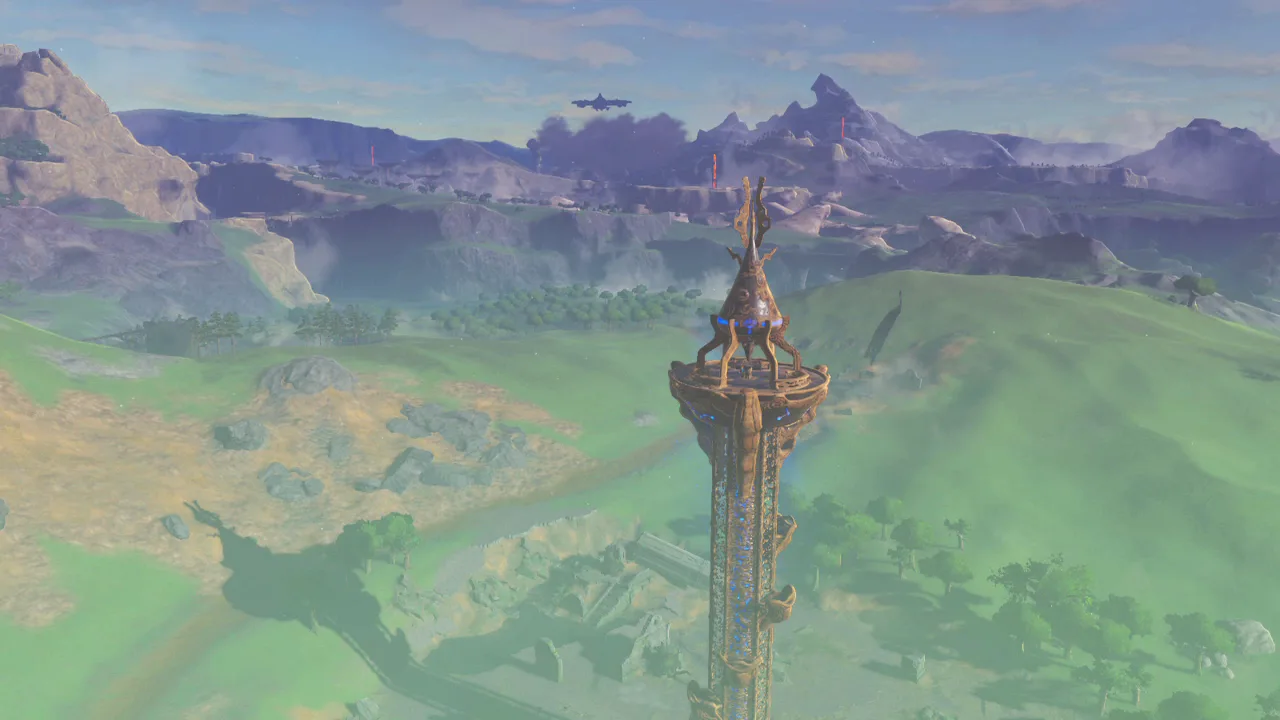
Gerudo Tower and Wasteland Tower both sit in the Gerudo Highlands, and they fail in opposite directions. Gerudo Tower is a height problem — it is one of the tallest towers in the game, set into the Birida Lookout Chasm — with a reward at the top: Kass sits there playing an accordion and hands out the Shrine Quest "Sign of the Shadow" (our shrine guide covers shrine quests generally). Two hidden metallic chests along the spiral climbing path carry five Bomb Arrows and five Fire Arrows.
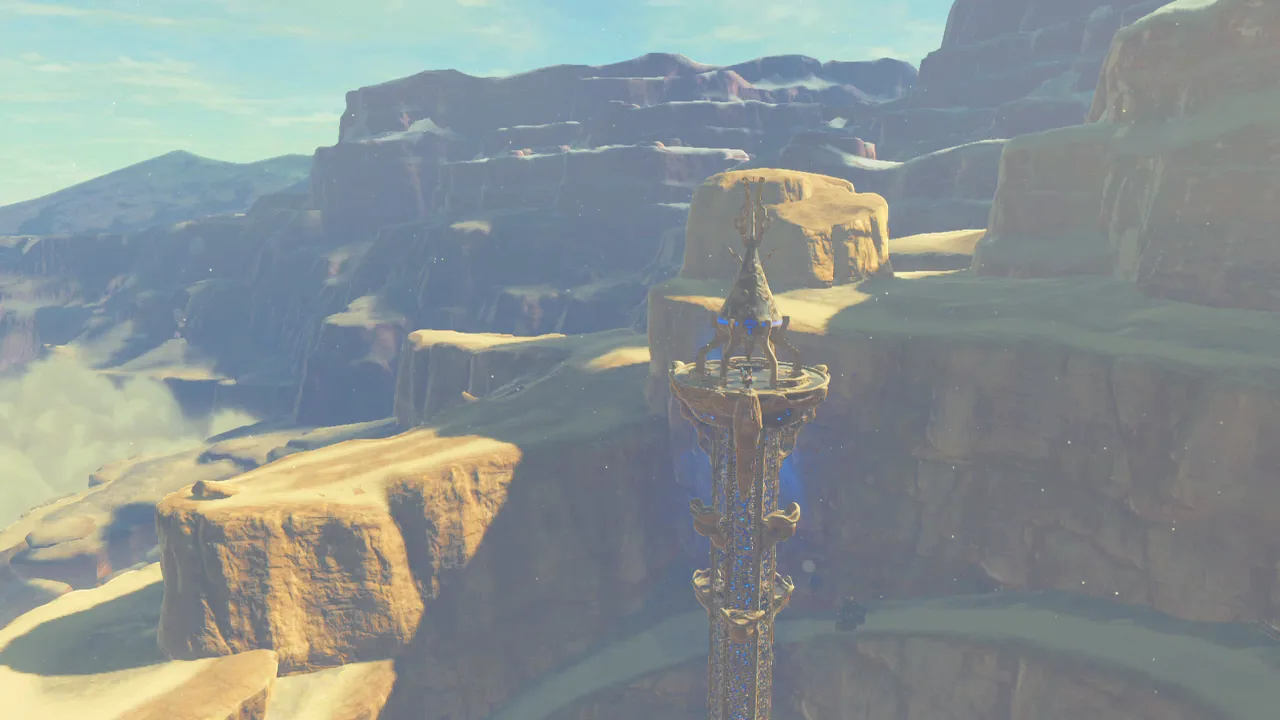
Wasteland Tower, out on Spectacle Rock in the eastern Highlands, is a terrain problem instead. It sits in a Bottomless Bog, and walking toward the base sinks you. The intended routes are Cryonis pillars across the mud or paragliding straight in from higher ground — do either before you try to climb.
Eldin and Akkala sit at opposite extremes
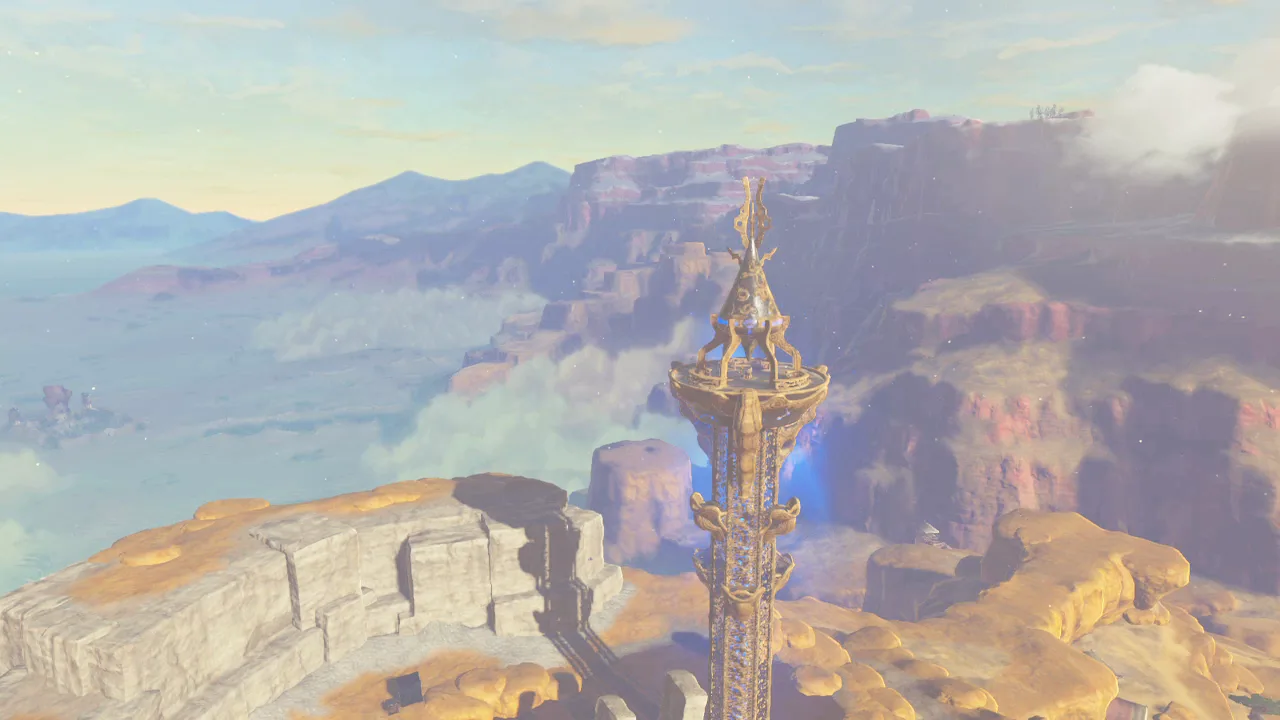
These are the two towers in the entire list where the region's environment is explicitly part of the climb, and they sit at opposite ends of the thermometer. Eldin Tower, south of Death Mountain, has no enemies or obstacles blocking the route — the challenge is purely that it is unusually tall with only two rest platforms along the way, and Zelda Wiki's own infobox puts the summit temperature at a scorching 98–102. Gliding in from a nearby rock ledge cuts a meaningful chunk off the climb.
Akkala Tower is Eldin's mirror image: a Malice pool covers the ground the Akkala Citadel Ruins were later built around, and that Malice climbs partway up the tower structure itself. The summit is cold enough that the game requires at least one piece of low-level Cold Resistance gear to stand there without taking damage. A broken Guardian at the top is worth searching for Ancient Materials before you scan the terminal.
Tabantha and Hebra, the quiet northwest
Tabantha Tower and Hebra Tower both sit in the Tabantha Frontier, and neither has much written about it beyond its location — Tabantha carries no recorded obstacle at all, and Hebra's page notes only that it maps the surrounding Hebra Tower Region. The one fact worth knowing about Hebra: its infobox lists a temperature of -11 to -14, making it the only other tower on this entire list with a posted temperature figure besides Eldin. Dress for cold before you go, the same as anywhere else in the Hebra mountains.
Is there a right order to climb them?
Not in the way Divine Beasts have one — nothing gates you from any tower structurally, and the game never ranks them. What actually decides a sensible order is geography: the four towers around Necluda and Faron sit closest to the Great Plateau and are the natural second stop, Central Hyrule's four are the next ring out, and the Gerudo, Eldin/Akkala and Tabantha/Hebra towers all sit far enough out that they are usually the last legs of a full map-clearing run rather than something you detour for early.
The practical version: climb whichever tower is closest to wherever the story or your own curiosity is already pointing you, and treat the far corners — Wasteland, Hebra, Akkala — as trips you plan a full inventory for rather than ones you stumble into.
More Hyrule breakdowns live on the Breath of the Wild coverage hub, and the rest of our coverage is on the Mythras blog.
Quick Action Checklist
- Activate the Great Plateau Tower first — it is the only one that makes every shrine in Hyrule start glowing.
- Climb any second tower to unlock the Sheikah Sensor, or repair the Slate at Hateno's Ancient Tech Lab instead.
- Scan every terminal even on a quick pass — each one is a permanent fast-travel point, separate from its map reward.
- Bring Cryonis or a running start before Wasteland Tower; walking toward its base sinks you in the Bottomless Bog.
- Pack at least low-level Cold Resistance for Akkala Tower's summit and for Hebra Tower's approach.
- Grab the Royal Claymore off the stone skull on top of Woodland Tower while you are in the area.
- Check the two hidden chests along Gerudo Tower's spiral path for free Bomb Arrows and Fire Arrows.
- Expect a fight before the climb at Lake Tower — its sunken approach is a live Bokoblin and Lizalfos camp.
- Save Central Tower's Guardian-ringed climb for when your gear can handle a Decayed Guardian mistake.
Frequently Asked Questions
How many towers are in Breath of the Wild?
What do Sheikah Towers actually unlock in Breath of the Wild?
Do you have to climb every tower in Breath of the Wild?
What is Central Tower in Breath of the Wild?
Which Breath of the Wild tower is hardest to reach?
Keep Reading
- Zelda Wiki — Sheikah Tower: full list of all 15 towers and how activation works
- Zelda Wiki — Akkala Tower: Malice pool and Cold Resistance requirement
- Zelda Wiki — Gerudo Tower: Kass, the Sign of the Shadow shrine quest, and hidden chests
- Zelda Wiki — Wasteland Tower: Bottomless Bog crossing
- Zelda Wiki — Central Tower: Hyrule Garrison Ruins and the Master Mode chest
Related Guides
Breath of the Wild Korok Seed Guide: You Only Need 441 of the 900
Breath of the Wild has 900 Korok seeds and you need 441 of them. The other 459 buy a golden novelty item. Here is the exact cost curve, the smart buy order, and where Hestu keeps wandering off to.
Breath of the Wild Shrine Guide: All 120, Sorted by What They Actually Give You
There are 120 shrines in Breath of the Wild and they are not interchangeable. Some are ten-minute puzzles, some are the best weapon farm in the game, and 42 of them are hidden behind overworld quests you can miss entirely.
Breath of the Wild Kilton: Shop Locations, Mon and Masks
Kilton pays 3 Mon for a Bokoblin Horn, exactly what a shop pays in rupees, and 100 Mon for a Lynel Guts a shop buys for 200. Here is where the Fang and Bone opens, the full Mon exchange table, all twelve wares and their Divine Beast unlocks, and what the masks, the Dark set and Monster Extract actually do.
Breath of the Wild Great Fairy Fountain Locations and Costs
In Breath of the Wild the 10,000-rupee Great Fairy is not Tera. It is whichever fountain you open fourth. Here is where Cotera, Kaysa, Mija and Tera are, what each fairy you revive unlocks, and what every upgrade tier costs in materials once the rupees are paid.
Breath of the Wild Beginner's Guide: Your First 10 Hours
Breath of the Wild does not tell you that armor matters more than hearts, that your weapons are ammunition, or that the Blood Moon is a restock button. Here is the stuff the game leaves you to discover the hard way.
Breath of the Wild Rupee Farming: How to Make Money Fast
Four Lynel Guts and an Energetic Rhino Beetle sell for 830 rupees raw and 2,330 as an elixir, by the selling formula Zelda Wiki publishes for Breath of the Wild. Here is what sells for the most, what the cooking pot does to a price, what Ramella pays for gems, where rupees still drop as rupees, and which side quests pay in cash or Diamonds.