Breath of the Wild Master Mode: The HP Numbers, and the Rule It Takes Away
Master Mode is not the same game with a bigger health bar on the enemies. It moves most of them up a rank, lets them heal mid-fight, takes away the hidden rule that stops you dying in one hit, and cuts your autosaves from five to one. Here is every change, with numbers.
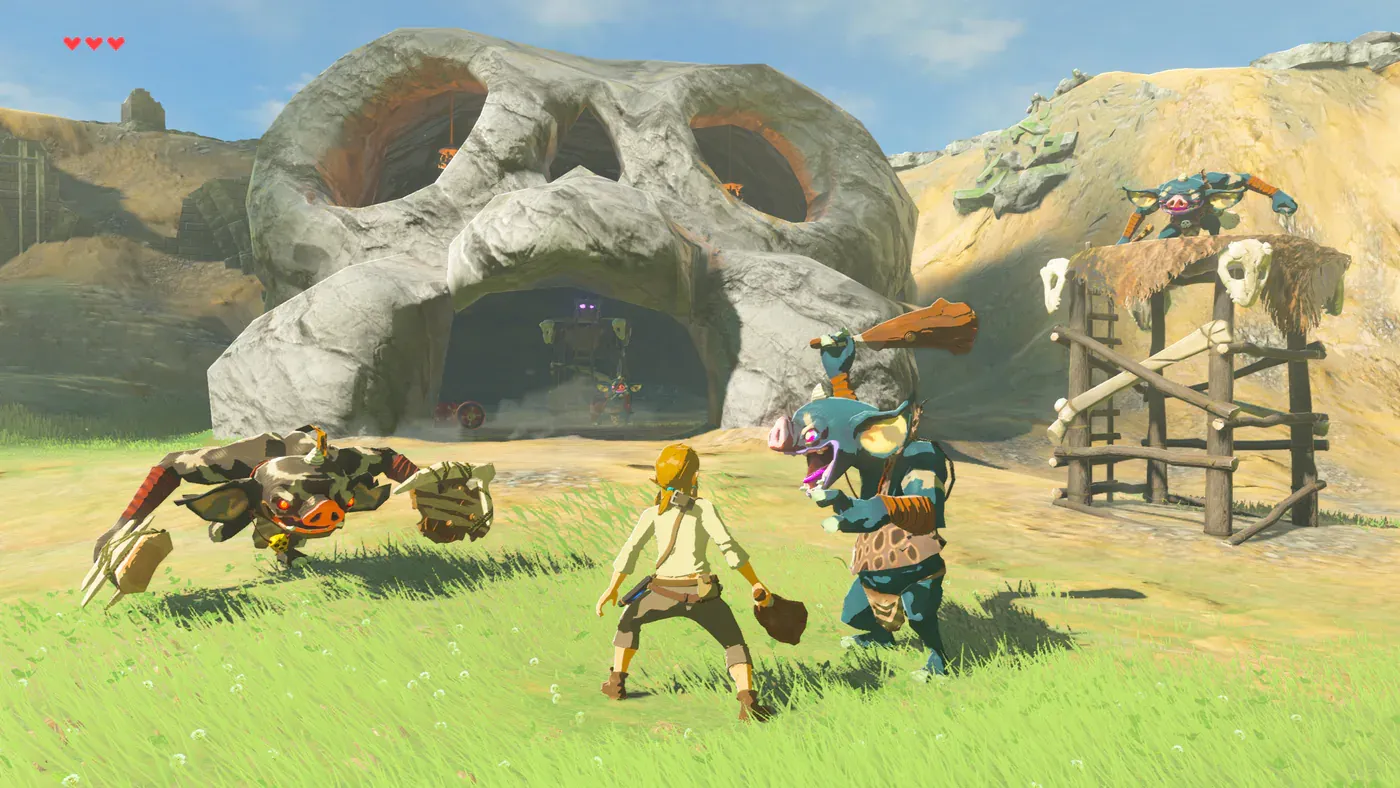
A Red Bokoblin has 13 HP. That is the thing standing between you and the Great Plateau in a normal save, and a tree branch handles it.
In Master Mode there are no Red Bokoblins. Nintendo said so in the announcement — "you won't find any Red Bokoblins in this quest!" — and the replacement, a Blue Bokoblin, has 72 HP. Same tutorial, same tree branch, five and a half times the health bar, and it heals itself while you swing.
That is Master Mode in one encounter. It is not a damage multiplier bolted onto the same game. It changes four separate systems, and one of them is a rule the base game never tells you exists.
What Master Mode is, and how to switch it on
Master Mode shipped with The Master Trials, DLC Pack 1, on June 30, 2017. It is not sold on its own — it comes with the Breath of the Wild Expansion Pass, $19.99 in the US, which also carries The Champions' Ballad and three bonus chests on the Great Plateau.
Once the pack is installed, Master Mode appears as its own option on the title screen. Three things follow from that:
- It is a separate file. Master Mode save data is kept apart from your Normal Mode save, so starting one does not endanger the other.
- It starts from scratch. There is no converting a finished save into a hard-mode run.
- A small Triforce sits in the bottom-left of the screen the whole time, which is the only persistent on-screen tell that you are in it.
It was called Hard Mode when the Expansion Pass was first announced, and renamed before release. Same feature.
Most enemies move up one rank
The headline change is a promotion. Most enemies and bosses are powered up by one level, which means the colour tier you would expect at any given point is replaced by the next one along. The bottom rung stops existing and a new top rung — Golden — is added above Silver.
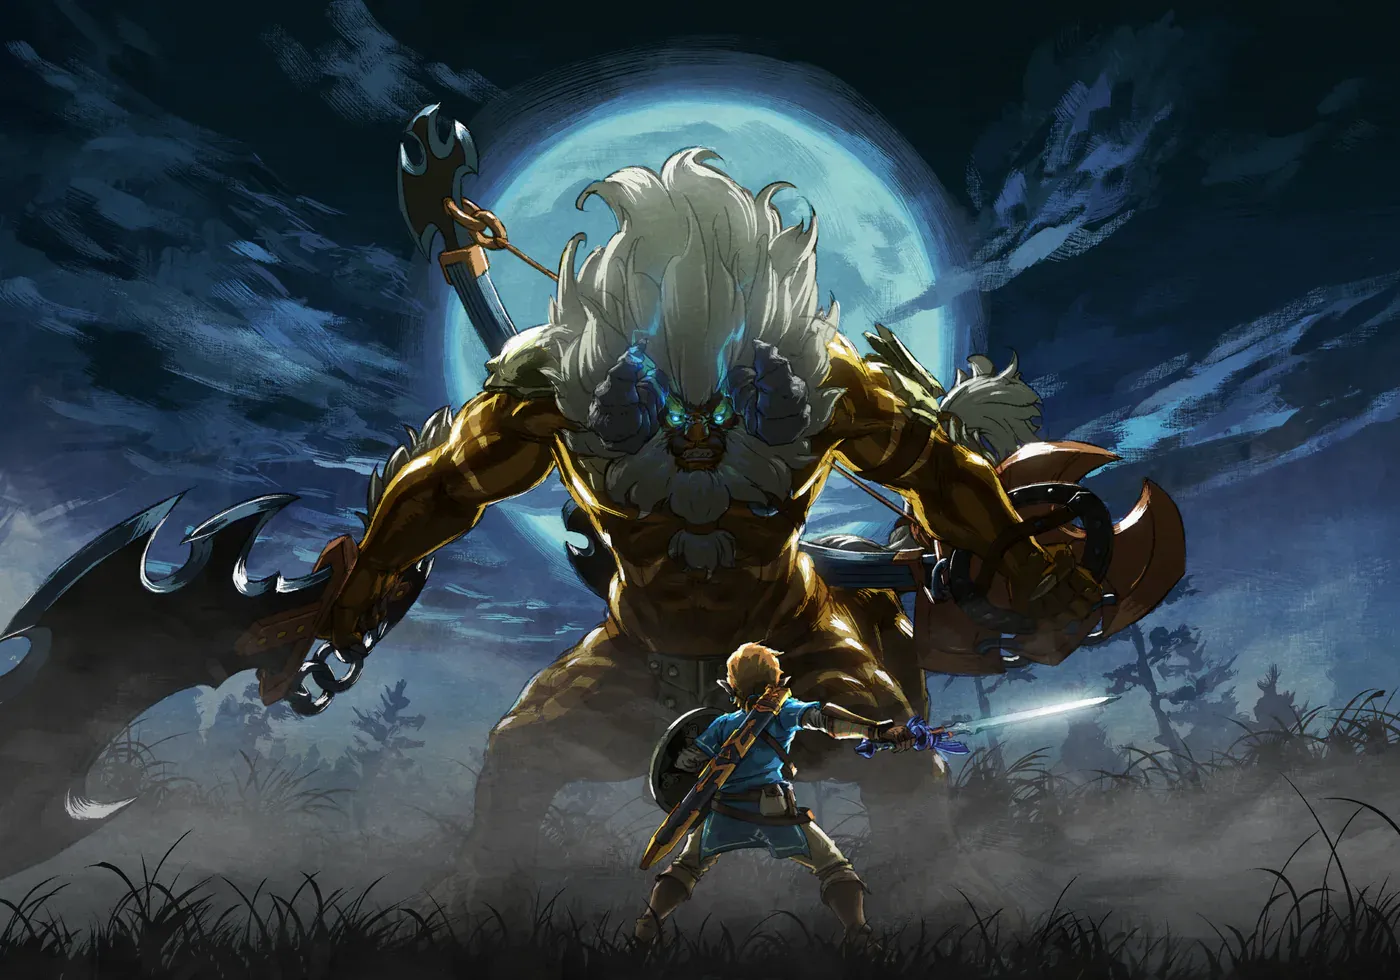
Golden monsters arrive as Golden Bokoblins, Golden Moblins, Golden Lizalfos, and Golden Lynels. They are not just Silvers with more health. Per Zelda Wiki they carry stronger resistance to status effects: they shake off Shock faster, thaw out of Ice faster, and are less susceptible to burning. Half the crowd-control toolkit you leaned on in a normal save gets noticeably worse right when the health bars get longer.
Lynels also spawn in more places. Hyrule holds 22 of them in a normal save; Master Mode adds one on the Great Plateau, and the Trial of the Sword contributes two more. In a normal save the opening area is a walled garden with no Lynel in it. In Master Mode it is not.
The HP tables
Here is the actual scale of the promotion, family by family.
| Family | Red | Blue | Black | Silver | Golden |
|---|---|---|---|---|---|
| Bokoblin | 13 | 72 | 240 | 720 | 1,080 |
| Lizalfos | 50 | 120 | 288 | 864 | 1,296 |
| Moblin | 56 | 144 | 360 | 1,080 | 1,620 |
Two things fall out of that table.
The first is that the early game is where Master Mode hits hardest. A Bokoblin going from 13 to 72 is a 5.5x jump; a Moblin going from 1,080 to 1,620 is 1.5x. You are least equipped to absorb the change at exactly the moment the change is largest.
The second is that the Golden tier is a clean multiplier. Every Golden entry above is exactly 1.5 times its Silver counterpart — 720 to 1,080, 864 to 1,296, 1,080 to 1,620. Lynels follow the same rule: a Silver Lynel's 5,000 becomes a Golden Lynel's 7,500. If you can already kill a Silver, you can kill a Gold; it just takes half again as long, which matters more than it sounds once you read the next section. Our Lynel guide covers the mounting and headshot loop that makes those health bars survivable — five free swings with no durability cost is worth far more against 7,500 HP than it is against 5,000.
Enemies heal themselves mid-fight
This is the change that actually rewrites how you fight, and the game attaches no number to it anywhere on screen.
In Master Mode, enemies regain health over time during a fight. Zelda Wiki notes there is a limit on how much they can recover, so it is not an infinite reset — but it is enough to punish a specific playstyle completely.
Chip damage stops working. The patient normal-mode approach — poke, back off, poke again, wait out the aggro, come back with a fresh weapon — hands the enemy its health back between your pokes. Anything you cannot kill inside one sustained window, you may not be able to kill at all with that loadout.
What replaces it is burst. The tools that already delivered damage in one lump are now the tools that matter:
- Sneakstrikes, which multiply damage on an unaware target and open the fight with a chunk instead of a scratch.
- Flurry Rush, which lands a whole string of hits inside a single window rather than one hit per opening. If your dodge timing is not automatic yet, fix that before you start a Master Mode file — the combat tips guide is the drill.
- Perfect Guard against Guardians, which reflects the laser for a flat 500 damage regardless of how much health the thing has regenerated.
- Attack-up food and the Barbarian set, because raw damage per swing is now doing double duty. The armor guide has the set breakdown, and the cooking guide has the buffs.
The practical rule: do not start a fight you cannot finish. Regeneration turns "I softened it up for later" into wasted durability.
The safety net Master Mode deletes
Normal Mode quietly cheats on your behalf. There is a mechanism that stops Link being killed outright by a single powerful hit — instead of dying, you are left standing at a quarter heart. It is never announced, it has no icon, and it only fires against damage that would have ended the run, so it is invisible by design.
Master Mode does not have that protection.
That single removal does more for the difficulty than the HP tables do. A Guardian laser, a Lynel crusher, a Golden Moblin swing — anything whose damage exceeds your current hearts now simply kills you, with no floor to catch you. It also means armor gets a promotion. Defense in this game is a subtraction, not a percentage, and every point you stack lowers the chance that a hit crosses the line that used to be survivable by rule and is now survivable only by arithmetic.
If you take one habit into a Master Mode file, make it this: upgrade armor before you upgrade hearts.
Sky Octoroks are the reward half of the deal
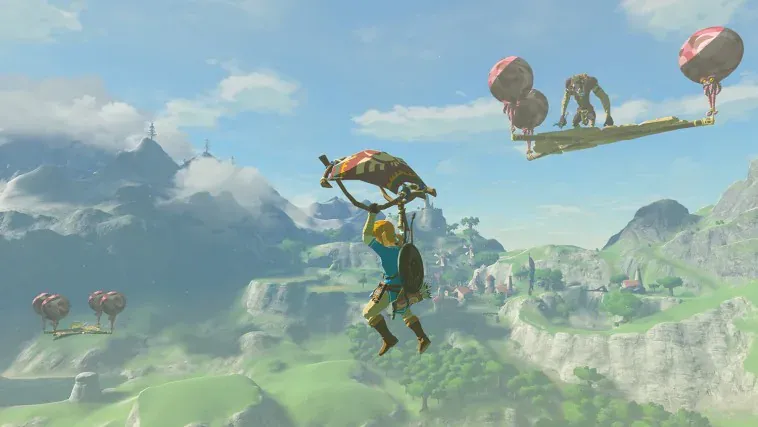
Master Mode is not purely a tax. It adds a loot source that does not exist in Normal Mode at all: Sky Octoroks, floating in groups of three or four, holding wooden planks in the air with enemies and treasure chests riding on top.
They turn up near bridges, around Sheikah Towers, and above open water. What makes them one of the better deals in the game:
- Each Sky Octorok has 8 HP and goes down to a single arrow.
- They cannot attack. They are harmless — the danger is whatever they are carrying.
- Killing them drops the plank's contents, chest included, so you do not have to climb up there.
- They do not need a Blood Moon to respawn, unlike the rest of Hyrule's enemies, and they drop no materials when defeated.
Zelda Wiki also records the detail that makes them findable: the platforms rise when a Bokoblin blows a horn — or when Link whistles. If you suspect there is a plank overhead and cannot see it, whistle.
What is in the sky chests
The chests usually hold strong, rare weapons, and the Royal Guard's Series is the one worth the arrow. It is the highest-attack equipment the Hyrulean soldiers ever carried, forged by the Sheikah with ancient technology to imitate the Master Sword — and cursed with terrible durability as a result.
| Royal Guard's item | Attack / Guard | Durability |
|---|---|---|
| Royal Guard's Claymore | 72 | 15 |
| Royal Guard's Bow | 50 | 20 |
| Royal Guard's Sword | 48 | 14 |
| Royal Guard's Spear | 32 | 15 |
| Royal Guard's Shield | 70 guard | 14 |
Fourteen swings out of a 48-attack sword is a rough trade in a normal save. In Master Mode, where the thing you are hitting is healing itself, a burst weapon that hits like a Lynel blade is exactly the right kind of disposable. Fire them into a fight you intend to end quickly, not one you plan to grind out.
Otherwise these live in Hyrule Castle, which is a long walk in a fresh file. A plank over a bridge on the road to Kakariko is not.
One autosave instead of five
The change with the least combat in it, and the one most likely to cost you an hour.
| Normal Mode | Master Mode | |
|---|---|---|
| Manual save files | 1 | 1 |
| Autosave files | up to 5 | 1 |
Autosaves fire on the usual triggers — opening a chest, resting at a campfire, approaching a shrine or a stable — and every five minutes on top of that. In Normal Mode that gives you a rolling five-deep history to fall back through when a fight or a decision goes wrong. In Master Mode there is one, and the five-minute timer is quite capable of overwriting the point you wanted to return to while you stand around deciding what to do.
Manual-save discipline stops being a nicety here. Save before you commit to anything expensive: a Lynel, a Guardian field, a climb you are not sure your stamina covers.
The rest of The Master Trials pack
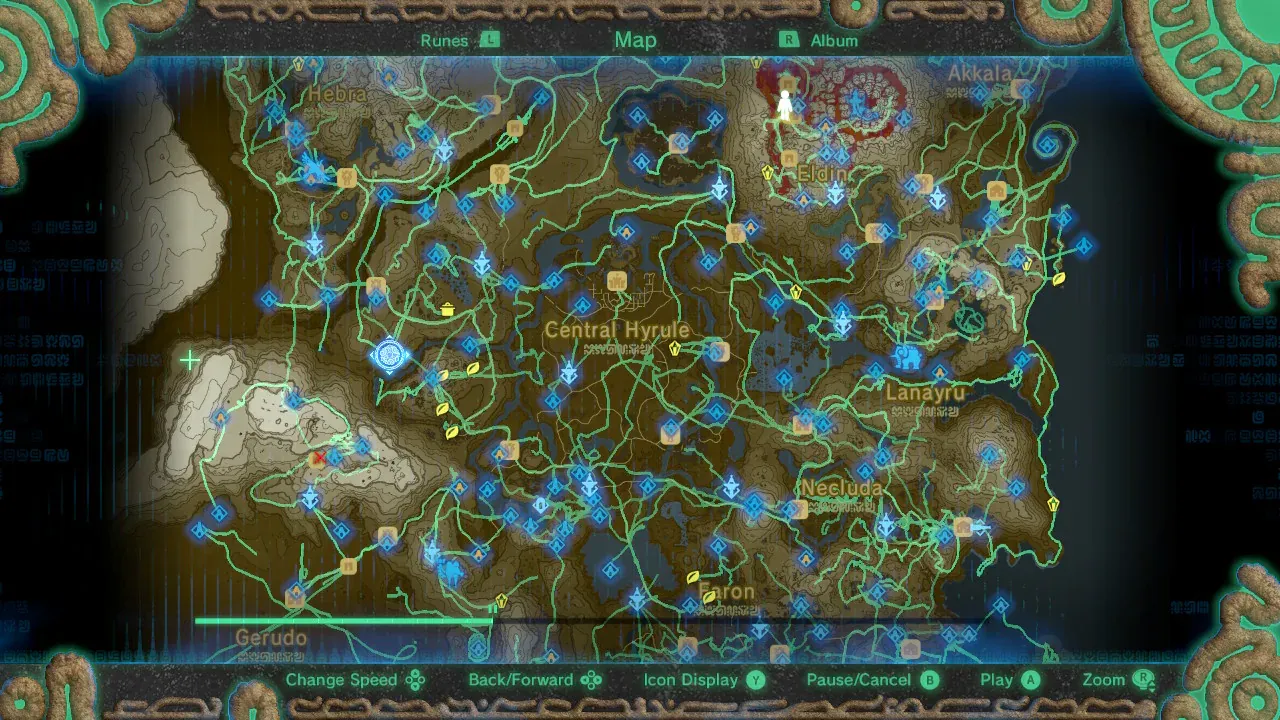
Master Mode is the headline, but Pack 1 is a bundle, and the rest of it applies to your Normal Mode save too.
- Hero's Path Mode draws a green line over the map tracing every step Link has taken in the last 200 hours. Press the map's toggle to play it back, and speed it up, pause it, or skip it. It is the single best tool for finding the corner of Hyrule you never walked into — which makes it a Korok hunting aid as much as a nostalgia reel.
- Trial of the Sword takes the Master Sword to a permanent 60 attack and 188 durability. The full 54-floor breakdown is in the Master Sword guide.
- The Travel Medallion sits in a hidden chest in the chamber beneath Lomei Labyrinth Island in northeast Akkala. It plants a custom fast-travel gate wherever you stand — but only one location at a time.
- Ten metal chests of armor appear around Hyrule, unlocked through seven EX side quests. Six open once you leave the Great Plateau; the seventh needs the Master Sword in hand.
| EX side quest | Reward |
|---|---|
| EX Trial of the Sword | Permanently powered-up Master Sword |
| EX Strange Mask Rumors | Korok Mask |
| EX Teleportation Rumors! | Travel Medallion |
| EX Treasure: Ancient Mask | Majora's Mask |
| EX Treasure: Fairy Clothes | Tingle's Outfit |
| EX Treasure: Twilight Relic | Midna's Helmet |
| EX Treasure: Phantasma | Phantom Equipment |
The quests start from three books the pack plants in the world: Misko's EX Journal at the Outpost Ruins, Super Rumor Mill V1 at Woodland Stable, and Super Rumor Mill V2 at South Akkala Stable. Read them and the quests appear.
The Expansion Pass also drops three hidden chests on the Great Plateau: a Ruby near Oman Au Shrine, ten Bomb Arrows near Keh Namut Shrine, and the Nintendo Switch Shirt near Ja Baij Shrine. Grab them on your way through — the beginner guide route passes all three.
Master Mode on the Switch 2 Edition
Breath of the Wild – Nintendo Switch 2 Edition launched June 5, 2025. It does not include The Master Trials, The Champions' Ballad, or any of the Expansion Pass bonus content. To play Master Mode on it you buy the Expansion Pass separately, exactly as you would on the original Switch.
Three other things worth knowing before you spend anything:
- Save data transfers from the Nintendo Switch version of Breath of the Wild to the Switch 2 Edition.
- The Switch 2 Edition adds one more save file, chosen when you start a New Game.
- If you hold a Nintendo Switch Online + Expansion Pack subscription, you can play the Switch 2 Edition after buying the base game at no extra charge, for as long as the subscription is active. That covers the upgrade, not the DLC.
Is it worth a second playthrough
If what you want is more Breath of the Wild, no. It is the same map, the same shrines, the same story, and Hero's Path will not draw you anything new.
If what you want is for the combat system to matter again, yes — and specifically because of the regeneration rule. Patience is the strategy a normal save rewards: back off, recover, return, whittle. Master Mode invalidates that on purpose, and what it leaves standing is sneakstrikes, Flurry Rush, parries, buff food, and the durability-free damage windows. Those are the mechanics a well-stocked normal file lets you ignore, because a bag of Royal weapons will brute-force anything the overworld puts in front of you.
The removed one-hit protection is what gives that teeth. You are not being asked to be tankier. You are being asked to stop getting hit.
More Hyrule breakdowns live on the Breath of the Wild coverage hub, and if you are ready to leave this Hyrule entirely, the Tears of the Kingdom beginner guide picks up the map a century later.
Quick Action Checklist
- Buy the Expansion Pass ($19.99) — Master Mode is not sold separately, and it is not bundled with the Switch 2 Edition.
- Start it from the title screen. It is a fresh file and it will not touch your Normal Mode save.
- Expect Blue Bokoblins at 72 HP on the Great Plateau instead of Reds at 13. Plan the opening hours around bombs, sneakstrikes, and stealing weapons rather than fair fights.
- Never start a fight you cannot finish in one window. Enemies regenerate health, so chip damage gives ground back.
- Upgrade armor before hearts. The rule that leaves you alive at a quarter heart after a lethal hit does not exist in Master Mode.
- Save manually, often. You get one autosave slot instead of five, and it overwrites every five minutes.
- Whistle when you suspect a plank overhead. Sky Octoroks rise to the sound, die to one arrow, and drop their chest to you.
- Prioritise Royal Guard's weapons out of the sky chests — 72 attack on the Claymore, and low durability stops being the drawback when you need fights over fast.
- Read Misko's EX Journal at the Outpost Ruins and both Super Rumor Mill volumes at Woodland and South Akkala Stables to open the seven EX quests.
- Turn on Hero's Path in a Normal Mode save too. It works in both, and 200 hours of tracked movement shows you every region you skipped.
Frequently Asked Questions
What does Master Mode change in Breath of the Wild?
How much health do Golden enemies have in Master Mode?
Do I need the DLC to play Master Mode?
Is Master Mode included with the Switch 2 Edition of Breath of the Wild?
Do enemies really heal in Master Mode?
What are the floating platforms in Master Mode?
How many save slots does Master Mode have?
Keep Reading
- Zelda Wiki — Master Mode: one-rank enemy bump, health regeneration with a cap, easier detection, removed one-hit protection, Triforce indicator, separate save data, single autosave slot
- Zelda Wiki — Gold Enemy: Golden Bokoblin 1,080 HP, Golden Lizalfos 1,296, Golden Moblin 1,620, Golden Lynel 7,500, plus status-effect resistance
- Zelda Wiki — Sky Octorok: 8 HP, one-arrow kill, groups of three or four, horn and whistle triggers, no Blood Moon respawn, no material drops
- Zelda Wiki — The Master Trials: June 30, 2017 release, full contents list, seven EX side quests and their rewards, journal locations
- Zelda Wiki — Expansion Pass: $19.99, both DLC packs, three Great Plateau bonus chests, not included with the Switch 2 Edition
- Zelda Wiki — Saving: Normal Mode one save plus five autosaves, Master Mode one save plus one autosave, five-minute autosave timer
- Zelda Wiki — Silver Bokoblin: 720 HP, tier context against Golden Bokoblins
- Zelda Wiki — Lynel: 22 in Hyrule, one extra on the Great Plateau in Master Mode plus two in the Sword Monk’s Shrine, Golden Lynel is Master Mode exclusive
- Zelda Wiki — Guardian Stalker: 1,500 HP, 500 damage from a Perfect Guard laser deflection, Ancient Shield auto-deflect
- Zelda Wiki — Hero's Path Mode: 200-hour movement trace, playback speed and skip controls
- Zelda Wiki — Royal Guard's Series: highest soldier-tier attack power, Sheikah ancient-technology origin, low durability by design
- Zelda Wiki — Breath of the Wild Nintendo Switch 2 Edition: June 5, 2025 release, DLC sold separately, save transfer, NSO + Expansion Pack upgrade path
- Nintendo UK — The Master Trials DLC reveal: no Red Bokoblins, new enemy ranks, better detection, health recovery, floating planks
Related Guides
Breath of the Wild Champions' Ballad: Every Trial in Order
The Champions' Ballad is the only quest in Breath of the Wild that takes your hearts away. Sixteen new shrines, a real dungeon, a 4,000 HP monk, and a motorcycle at the end of it — here is the whole run, in order, with the numbers.
Breath of the Wild Master Sword Guide: 13 Hearts, Durability, and the Trial
The Master Sword has 30 base attack. A Royal Broadsword has 36. The legendary blade of Hyrule is, on paper, a downgrade — until you understand when it glows and what 54 floors of the Trial of the Sword actually buy you.
Breath of the Wild Guardians: HP by Type and Every Drop
A Decayed Guardian has exactly 500 HP, and a Perfect Guard deals exactly 500 damage — parry once and it is dead. A Guardian Stalker takes three of the same parry, because it has 1,500. Six machines share the name "Guardian," and three of them tie at the exact same HP total.
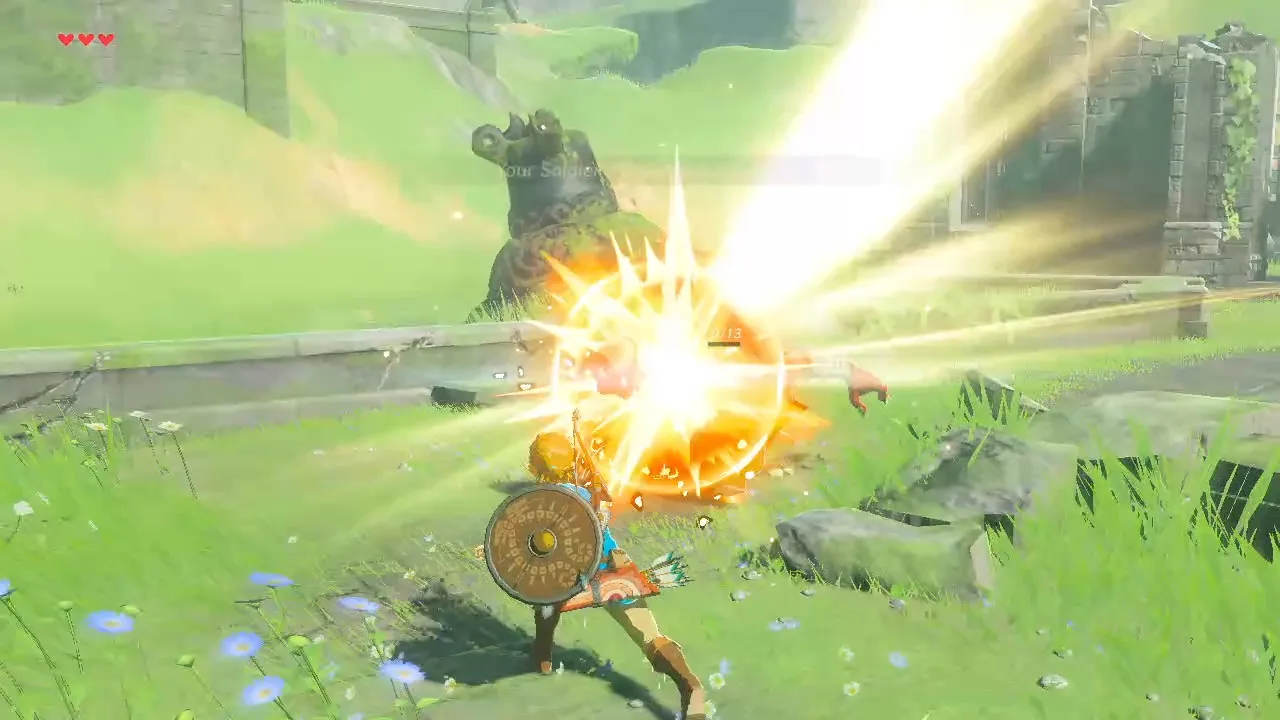
Breath of the Wild Weapon Durability: Hits and Bonuses
Durability in Breath of the Wild is not a timer or a wear bar. It is a plain integer the game calls Life, it ticks down only when the weapon connects, and knowing the number turns "my weapons keep breaking" into a budget you can actually spend.
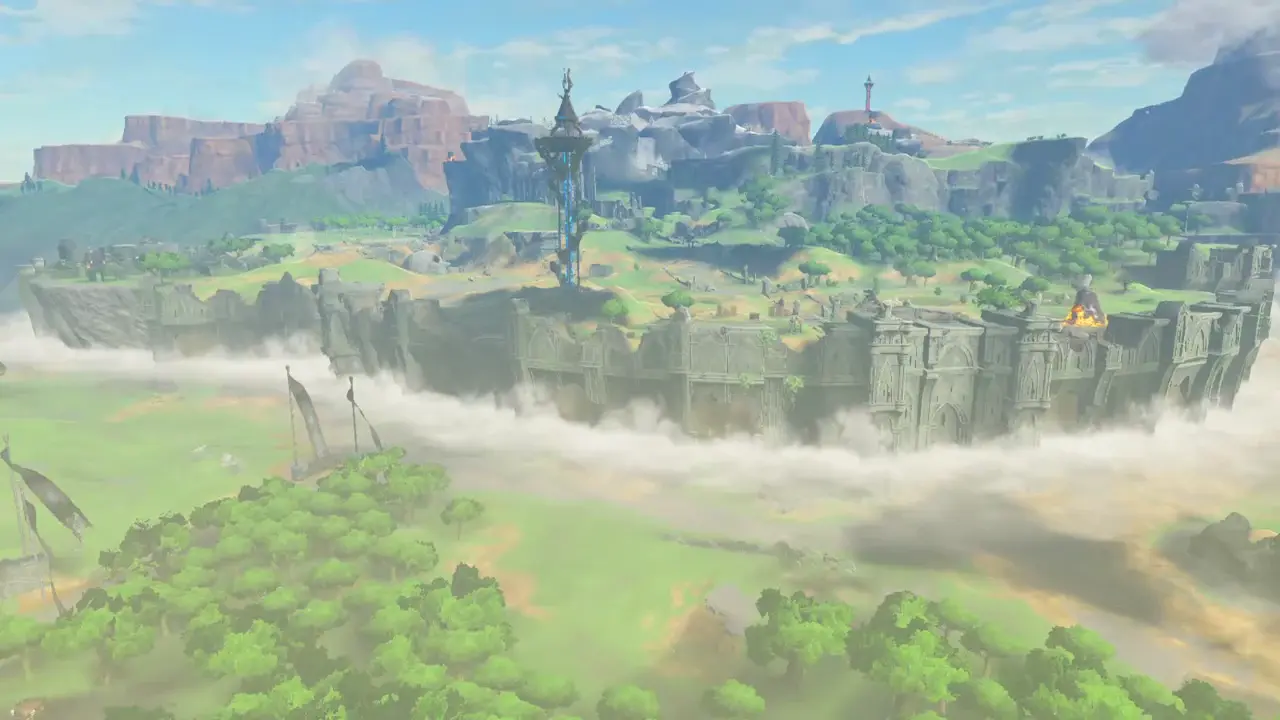
Breath of the Wild Beginner's Guide: Your First 10 Hours
Breath of the Wild does not tell you that armor matters more than hearts, that your weapons are ammunition, or that the Blood Moon is a restock button. Here is the stuff the game leaves you to discover the hard way.
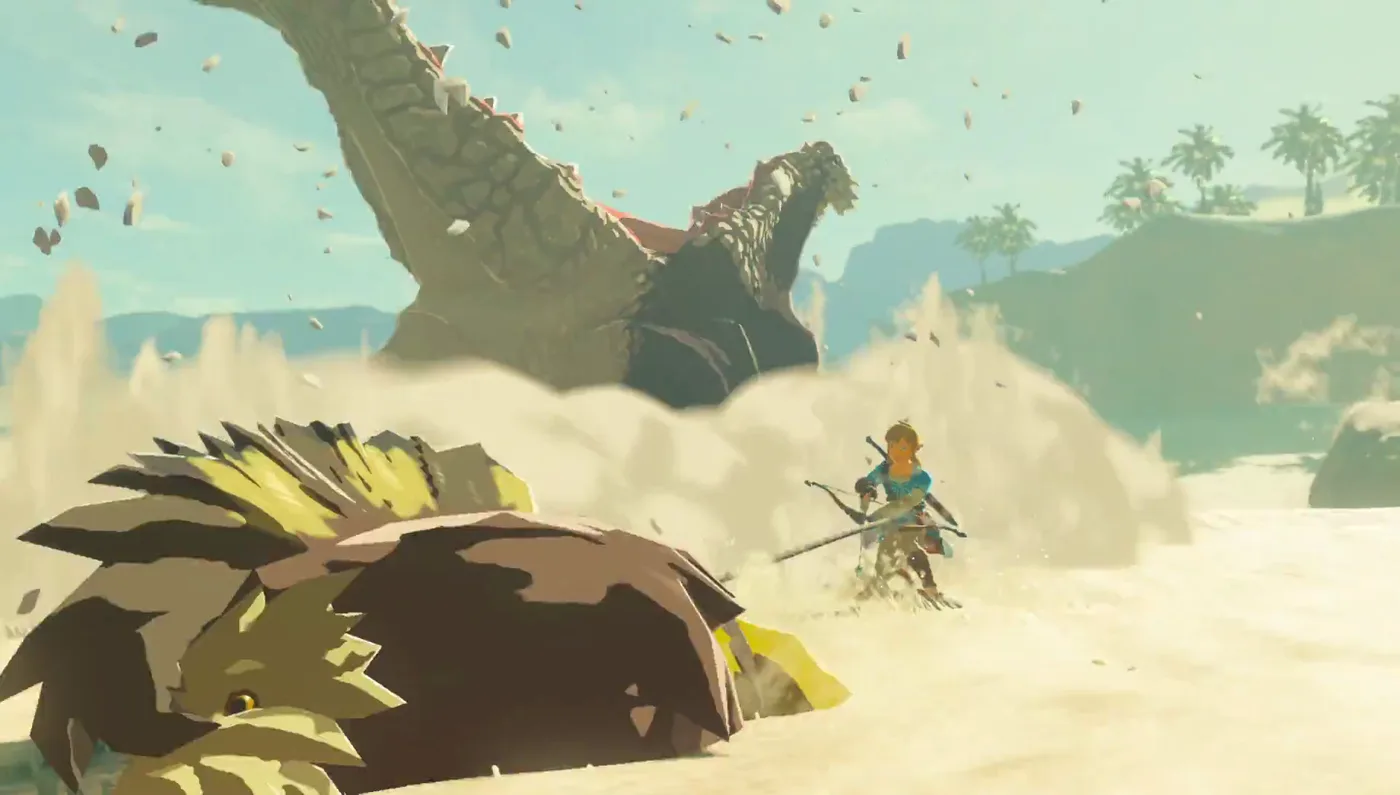
Breath of the Wild Field Bosses: The 84 Kills Kilton Wants, and the Hammer Math
Kilton will trade you three Medals of Honor for 40 Taluses, 40 Hinoxes and four Molduga. That is 84 kills, and the location lists add up to exactly those numbers. Here are the HP figures, the drop tables, and the weapon that quietly does four times damage.