Ocarina of Time Masks: The Full Trading Sequence
The Happy Mask Shop does not sell you anything — it loans you stock and expects the money back, and one of the four masks is a guaranteed loss. Here is the full chain, every buyer, and the flag bug that quietly deletes a capacity upgrade from your file.
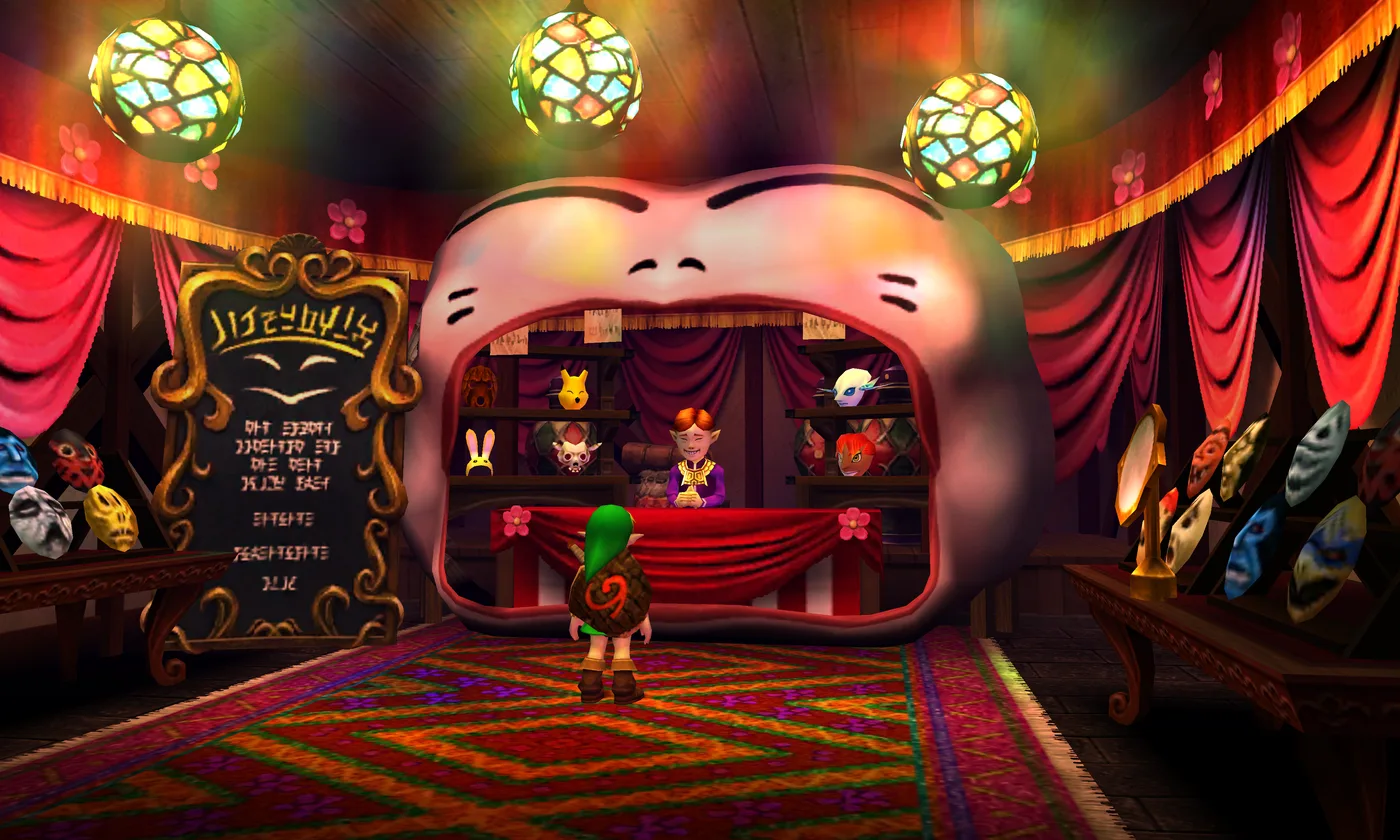
The Happy Mask Shop does not sell you anything. It loans you stock on consignment, sends you out to find your own buyer, and expects the money back before it hands over the next model. On one of the four masks you are contractually guaranteed to lose Rupees, and the shop knows it.
That would just be funny worldbuilding if the quest were not also wired to the nastiest permanently missable item in the game. Finish the mask chain in the wrong order relative to the adult-era trade quest and a Deku Nut capacity upgrade is gone from your file for good — not by design, but because of a one-line flag typo that shipped on the Nintendo 64 cart and stayed unfixed for thirteen years.
Here is the entire chain: who buys what, what each pays, what all eight masks do when you wear them, and the ordering that keeps a 100% run intact.
How the Happy Mask Shop actually works
The shop is in the Hyrule Castle Town Market, and it is shut until you show Zelda's Letter to the guard at the Death Mountain Trail gate in Kakariko Village. Walk in before that and the only thing inside is a bearded Hylian standing in an empty room wondering aloud when the place will open.
Once it is trading, the sign on the wall lays out terms that are genuinely unusual for a Zelda shop:
We do not sell masks at this shop. We just lend them to you. You sell the loaned masks on your own. You pay back the money for the mask, and we will lend you a newer model. You can borrow masks you have already sold again; however, you can sell each model of mask only once.
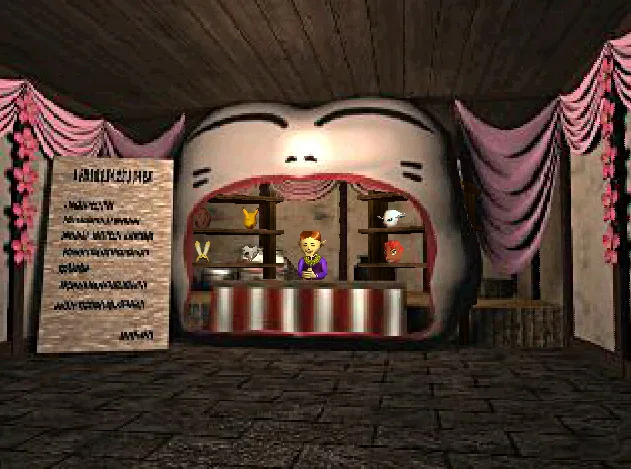
Three things fall out of that, and all three catch people out. You hold one mask at a time — sell the mask you have, walk back and pay the shop, then take the next one. Each model sells exactly once, so you cannot farm the guard for 15 Rupees a pop. And it is a child-era quest start to finish, because seven years later the Happy Mask Shop is a wrecked, abandoned shell.
That last one is less alarming than it sounds: the Pedestal of Time puts you back in the child era any time you want, so nothing in the mask chain is lost by pulling the Master Sword. The thing that is lost has nothing to do with the sword.
All eight masks at a glance
| Mask | Shop price | Sells for | Buyer | Net |
|---|---|---|---|---|
| Keaton Mask | 10 Rupees | 15 Rupees | Death Mountain Trail gate guard, Kakariko | +5 |
| Skull Mask | 20 Rupees | 10 Rupees | Skull Kid, Lost Woods | -10 |
| Spooky Mask | 30 Rupees | 30 Rupees | Graveyard Boy, Kakariko Graveyard | 0 |
| Bunny Hood | 50 Rupees | Fills your wallet | Running Man, Hyrule Field | Huge |
| Mask of Truth | Free to borrow | Not sellable | — | — |
| Gerudo Mask | Free to borrow | Not sellable | — | — |
| Goron Mask | Free to borrow | Not sellable | — | — |
| Zora Mask | Free to borrow | Not sellable | — | — |
Run the first three and you are down a net 5 Rupees for your trouble. The fourth pays for the entire rest of the game.
The four masks you have to sell, in order
Keaton Mask: the gate guard in Kakariko
The guard at the Death Mountain Trail gate is the one who tips you off that the shop exists, and he asks you to pick up the popular mask for his son, because he is too busy standing at a gate to go himself. Borrow the Keaton Mask for 10 Rupees, come back, wear it, and he buys it off you for 15.
You made 5 Rupees. Hold that thought, because later — once the sequence is finished and you can freely re-borrow masks — you can show the Keaton Mask to the little boy in the Kakariko Graveyard, and he will say he asked his daddy to get him one too. The dad never handed it over. The game does not comment. It does not have to.
Skull Mask: the Skull Kid who lowballs you
The Skull Mask costs 20 Rupees to borrow. Take the Lost Woods entrance out of Kokiri Forest and go through the tunnel on the left; the Skull Kid is waiting on the other side.
Do the next bit first or the quest stops dead here. Walk up to him cold and he simply vanishes — mask or no mask, he will not stand still long enough to talk, so there is nothing to sell him. You have to befriend him first: learn Saria's Song from Saria in the Sacred Forest Meadow, come back, stand on top of the tree stump across from where he sits, and play it. He decides you should be friends, hands over a Piece of Heart, and from then on he stays put.
Now put the mask on and approach. He clocks you instantly through the disguise — "aren't you that Kokiri kid?" — then decides he likes it anyway because it will make him look tougher, and asks you to hand it over.
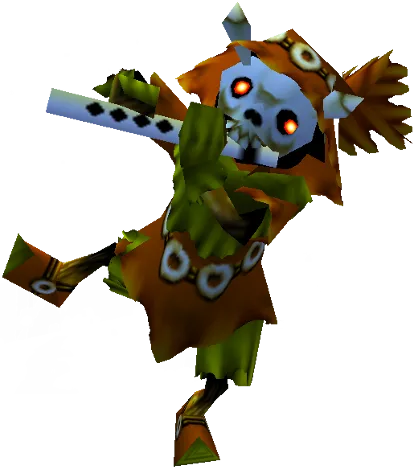
Then he pays you 10 Rupees for a 20-Rupee mask, and the game puts up a message that is essentially a receipt for being scammed: you lost money on that deal, go back to the Mask Shop and pay 20, and the difference comes out of your own pocket.
This is the only step in the chain where you are strictly worse off. Ten Rupees is the price of admission for the rest of the quest, and there is no way to negotiate it — the Skull Kid's payout is fixed.
Do not sell this mask and immediately move on, either. The Skull Mask has the best out-of-the-box use of the four, and it is the key to a permanent capacity upgrade covered two sections down.
Spooky Mask: the kid in the graveyard
Borrow the Spooky Mask for 30 Rupees and take it to the Kakariko Graveyard during the day. The boy there — the gate guard's son, running the world's most dedicated Dampé fan club — sees a small figure in a rotting wooden face and screams that the gravekeeper has come for him.
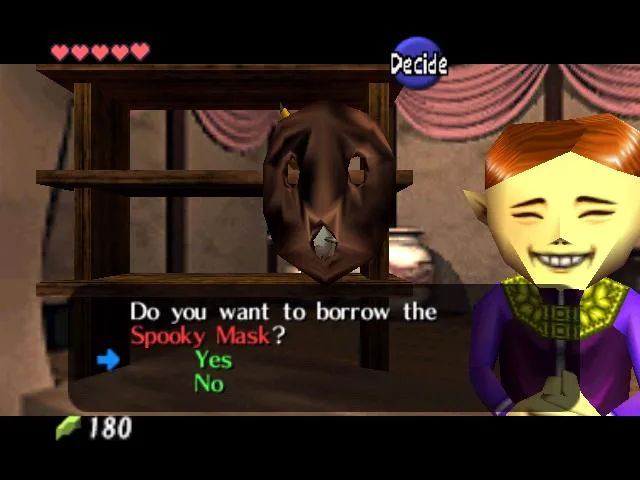
Once he works out it is a mask, he buys it for the full 30 Rupees without haggling — the only buyer in the chain who pays sticker price. The game's own message reads like it is impressed: you sold the 30-Rupee mask to a kid for full price, and he did not mind paying at all.
One detour worth taking before you sell it: wear the Spooky Mask to the Lakeside Laboratory and the scientist examines it, thinks about it, and confirms it was manufactured from a plank taken out of a coffin. It is also a dead ringer for the face a ReDead wears, which explains a lot.
Bunny Hood: the Running Man empties his pockets
The Bunny Hood is where the quest stops being a break-even exercise and starts printing money — and where the timing gate lives.
The buyer is the Running Man, who jogs a fixed loop around Lon Lon Ranch in Hyrule Field. He does not exist until you have collected all three Spiritual Stones, and while he is running you cannot talk to him, so you have to catch him during one of his rest stops at night. He is obsessed with rabbits, remembers when Hyrule Field was full of them, and decides your borrowed hood has genuine ears from the animal of legend that will let him hear the voices.
He pays for it too. The exact figure is not fixed: he simply hands over however many Rupees it takes to fill your current wallet, and the game's message says he paid more money than you can count. Then you owe the shop 50 for the mask.
So there is a real optimisation here. Sell the Bunny Hood while your wallet is as large as possible — the Giant's Wallet caps you at 500 Rupees and comes from 30 Gold Skulltula tokens, per the Gold Skulltula reward thresholds — and as empty as possible, because he tops you up rather than paying a flat sum. Do both and the sale clears roughly 450 Rupees after you settle with the shop. Do it on a full 99-Rupee starting wallet and you get almost nothing.
One consequence nobody warns you about: once the Running Man has the hood, he gets noticeably faster, and running into him will knock child Link over. Meet him again as an adult in the carpenters' tent in Gerudo Valley and, once the bridge is repaired, he challenges you to a race to the Kokiri Forest bridge — which he wins by exactly one second no matter how well you run it.
Hand the shop its 50 Rupees and the Happy Mask Salesman calls it: he lends you the Mask of Truth as a reward, tells you it is a mysterious mask passed down by the Sheikah, and adds that from now on you can borrow any mask you want. The Gerudo, Goron, and Zora Masks go up on the rack at the same time, free to take out whenever you like.
The Deku Nut upgrade this quest can permanently delete
This is the part that turns a charming sidequest into a scheduling problem.
Wearing the Mask of Truth at the Forest Stage (next section) earns a Deku Nut capacity upgrade. That upgrade becomes permanently unobtainable the moment you receive the Poacher's Saw from Fado in the adult-era Biggoron's Sword trade quest.
It is not a design choice. Every quest in the game sets a "finisher flag" when it completes, and the Poacher's Saw pickup code sets the Deku Nut upgrade's flag as well as its own — a typo that has been traced in the game's code by decompilation researchers. Take the Saw and the game is now convinced you already collected the nut upgrade. Show up at the Forest Stage in the Mask of Truth afterwards and the Deku Scrubs will react, but no upgrade is ever handed over.
Order that actually matters: finish the mask chain, get the Mask of Truth, take it to the Forest Stage, and only then start the Biggoron's Sword trade. Everything else in both quests is order-agnostic.
Worth killing a persistent myth while we are here: you do not have to finish this before pulling the Master Sword. The Running Man shows up once you have all three Spiritual Stones — the same set that opens the Door of Time — so the chain is finishable before you ever touch the sword, and even if you have already pulled it, the Pedestal of Time takes you back. The Poacher's Saw is the only real deadline.
Forest Stage: two capacity upgrades under a flower patch
The Forest Stage is a small underground room in the Lost Woods packed with young Deku Scrubs waiting to be entertained. Getting in is the hard part: it sits at the bottom of a hole hidden under a patch of flowers, in a clearing under a single tree. The reliable tell is a cluster of butterflies hovering over the spot.
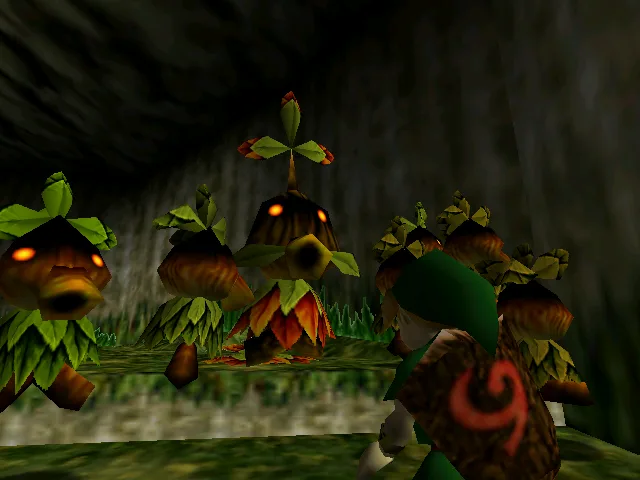
Put on a mask and stand in front of the crowd. Two masks have a scripted outcome. For every other mask the Scrubs roll a fresh reaction on each visit — a handful of Rupees, a barrage of nuts to the face, a dance, or nothing at all — so the same mask can get you two completely different receptions back to back. The two that pay:
- Skull Mask — the Scrubs decide you look exactly like their sacred forest totem, swarm you happily, and hand over Deku Sticks plus a permanent Deku Stick capacity upgrade. No deadline on this one.
- Mask of Truth — they do not like the mask at all, but they give you the Deku Nut capacity upgrade for showing up. This is the one the Poacher's Saw bug eats.
Plenty of guides will tell you the Spooky Mask is the one that gets you pelted with nuts. It is not — the nut barrage is one branch of that random roll, and the Bunny Hood or the Goron Mask will earn it just as readily.
What each mask does when you actually wear it
Most of the eight are pure NPC-reaction toys. Three are not, and one of those three is quietly one of the most useful quality-of-life items in the game.
| Mask | Effect while worn |
|---|---|
| Keaton Mask | Reactions only |
| Skull Mask | Keese and Guay will not attack you; Forest Stage Deku Stick upgrade |
| Spooky Mask | Glows in the dark at night |
| Bunny Hood | Stalchildren stop spawning in Hyrule Field at night |
| Mask of Truth | Lets you talk to Gossip Stones; Forest Stage Deku Nut upgrade |
| Gerudo Mask | Reactions only |
| Goron Mask | Reactions only |
| Zora Mask | Reactions only |
The Bunny Hood entry is the one to circle. Stalchildren are the skeletons that claw out of the ground in Hyrule Field after dark, and simply wearing the Bunny Hood stops them appearing. You sold it to the Running Man, yes — but once the chain is complete you can borrow it back off the rack and keep it on indefinitely. Anyone doing a nocturnal Big Poe hunt across the field should have it equipped.
The three cosmetic masks are pure comedy. The Gerudo Mask convinces most of Hyrule that you are a woman, gets you told off by actual Gerudo thieves for having the guts to try it, and earns a flat "I hate Gerudos!!" from Darunia. The Zora Mask gets Princess Ruto delightedly asking whether becoming a Zora means you are finally ready to marry her. The Goron Mask does nothing at all.
The Mask of Truth turns every Gossip Stone into a tip line
The actual prize for the whole chain is conversational. Gossip Stones — the squat stone heads with the Sheikah eye on them scattered across Hyrule — are inert until you put the Mask of Truth on, at which point each gives up a hint or a piece of trivia. The tone is exactly what you would expect: one outside the Temple of Time tells you Malon set the original obstacle-course record at Lon Lon Ranch, another that using glasses at the Treasure Chest Shop is against the rules.
The stones do other things too, mask or no mask, and this is the part most players never test:
- Hit one with your sword and it displays the current in-game time.
- Play any of five songs — Zelda's Lullaby, Saria's Song, Epona's Song, the Sun's Song, or the Song of Time — near one and it releases a Fairy. Play the Song of Storms and you get a Big Fairy instead. Only one at a time per stone — leave the area and come back to reset it.
- Set a bomb next to one and it flashes blue and launches into the sky.
- Din's Fire makes it spin. The Megaton Hammer flattens it.
The fairy trick is the practical one: every Gossip Stone is a free fairy dispenser, which makes topping up bottled fairies before a hard dungeon far quicker than trekking to a Fairy Fountain.
N64, Master Quest, and the 3DS remake
The mask chain itself is identical across every version — same buyers, same prices, same order. What differs is whether the game is lying to you about the Deku Nut upgrade.
| Release | Deku Nut flag bug | Forest Stage entrance |
|---|---|---|
| Nintendo 64 original | Present | Hole hidden under opaque grass |
| GameCube Collector's Edition | Present | Hole hidden under opaque grass |
| Master Quest disc | Present | Hole hidden under opaque grass |
| Virtual Console ports | Present | Hole hidden under opaque grass |
| Ocarina of Time 3D | Fixed | Hole visible through the grass |
On everything except the 3DS remake, the Poacher's Saw will kill the Deku Nut upgrade. Ocarina of Time 3D patches it, so if you are playing the remake you can run the mask quest and the Biggoron trade in whatever order you like.
Master Quest only reworks dungeon interiors — every mask buyer, the Forest Stage, and the Gossip Stone network sit in the overworld and are untouched. It does still carry the flag bug, so treat a Master Quest run exactly like an N64 run for ordering purposes.
The remake helps in one more mundane way. On N64 your whole item loadout fights over three C buttons, so keeping a mask equipped means giving up the Bow, the Hookshot, or the Lens of Truth. Ocarina of Time 3D spreads items across X, Y, and touch-screen slots, which is what makes leaving the Bunny Hood on for a night crossing practical rather than a menu tax — one more entry on the pile of things the 3DS version quietly got right.
One last piece of trivia: in version 1.0 of the N64 release, the Keaton Mask is misspelled "Keatan Mask" on the item screen. Later revisions fixed the typo, which is more than the Deku Nut flag ever got.
Quick Action Checklist
- Show Zelda's Letter to the Death Mountain Trail guard in Kakariko to open the Happy Mask Shop. It is a child-era quest only.
- Sell in order: Keaton Mask to that same guard (10 in, 15 out), Skull Mask to the Skull Kid through the left Lost Woods tunnel (20 in, 10 out), Spooky Mask to the boy in the Kakariko Graveyard by day (30 in, 30 out).
- Before the Skull Mask step: learn Saria's Song from Saria in the Sacred Forest Meadow and play it standing on the stump opposite the Skull Kid. Until you do, he vanishes every time you approach and cannot be traded with. It also pays a Piece of Heart.
- Get all three Spiritual Stones first, then catch the Running Man resting at night in Hyrule Field for the Bunny Hood.
- Before selling the Bunny Hood, get the Giant's Wallet (30 Gold Skulltula tokens) and spend down to near zero — he fills your wallet rather than paying a fixed amount.
- Take the Skull Mask to the Forest Stage for the Deku Stick upgrade. The butterflies mark the hidden hole.
- Take the Mask of Truth to the Forest Stage for the Deku Nut upgrade before you accept the Poacher's Saw — on every version except Ocarina of Time 3D, the Saw permanently kills that upgrade.
- Re-borrow the Bunny Hood for night-time Hyrule Field runs. It stops Stalchildren from spawning entirely.
- Use Gossip Stones as free fairy vending machines: Zelda's Lullaby, Saria's Song, Epona's Song, Sun's Song, or Song of Time for a Fairy; Song of Storms for a Big Fairy.
Frequently Asked Questions
How many masks are in Ocarina of Time?
How do you get the Mask of Truth in Ocarina of Time?
Can you permanently miss the Deku Nut upgrade in Ocarina of Time?
How much does the Running Man pay for the Bunny Hood?
Where is the Running Man in Ocarina of Time?
Do any Ocarina of Time masks have real gameplay effects?
Do you have to finish the mask quest before pulling the Master Sword?
Keep Reading
- Zelda Wiki — Happy Mask Shop, the loan system, shop sign text, and full mask price table
- Zelda Wiki — Mask Trading Sequence, every buyer and payout in order
- Zelda Wiki — Permanently Missable Items, the Poacher's Saw and Deku Nut upgrade flag bug
- Zelda Wiki — Forest Stage, location and the two capacity upgrades
- Zelda Wiki — Skull Kid, the Saria's Song stump prerequisite before he will stop vanishing
- Zelda Wiki — Running Man, the all-three-Spiritual-Stones spawn condition and wallet-filling payout
- Zelda Wiki — Gossip Stone, Mask of Truth secrets and Big Fairy from the Song of Storms
- Ocarina of Time decompilation — En_Dnt_Demo, the randomised Forest Stage reaction roll and its mask result table
- Ocarina of Time decompilation — En_Gs, the five ocarina songs that spawn a Gossip Stone Fairy
Related Guides
Ocarina of Time Lost Woods: Route, Upgrades and Hearts
Take the wrong doorway in the Lost Woods and the game just puts you back in Kokiri Forest. Here is the seven-turn route to the Sacred Forest Meadow, how to find it by ear instead, and everything the route walks past: two Pieces of Heart, five capacity upgrades, four Gold Skulltulas and two shortcuts out.
Ocarina of Time Gerudo's Fortress: Free All 4 Carpenters
The Gerudo do not want you dead. They want you in a cell. Here is how to cross Gerudo Valley, get through the fortress, beat the four Gerudo Thieves guarding the carpenters, and walk out with the Gerudo Token — plus the collectibles on the grounds.
Ocarina of Time Bottle Locations: All 4 Empty Bottles and What to Put in Them
Most players finish Ocarina of Time with two bottles because two of the four are handed out by farm animals. Here is every bottle location, the full Big Poe spawn list, what belongs in each slot, and the sell prices that turn a bottle into a money printer.
Ocarina of Time Fishing Pond Guide: Golden Scale, Sinking Lure, and the Hylian Loach
The Fishing Pond looks like a throwaway 20-Rupee diversion, but it gates a required-adjacent item, hides an illegal lure with four spawn points, and stocks a secret fish most players never see. Here is the actual record math, every lure spot, and the Hylian Loach recipe.
Ocarina of Time Dungeon Order: The Full Route, Explained
Ocarina of Time looks like an open adventure and plays like a corridor. Eight required dungeons, three side dungeons, and exactly one place where the game genuinely lets you pick. Here is the whole route with the reasons behind each lock.
Ocarina of Time Great Fairy Locations: All 6 Fountains and the Order to Get Them
Six Great Fairy Fountains, six blessings, and one of them is gated behind an item you can only find inside the final dungeon. Here is every location, every unlock requirement, and the order that actually makes the rewards useful when you get them.